Author: Colleen Grace

  • How to Edge a Garden Bed

    How to Edge a Garden Bed

    I stared at my side yard bed last spring. Grass had invaded the edges, blurring everything. The plants looked crowded, the whole space felt sloppy. I’d tried mowing close, but it never held.

    Edging fixed it. One clean line, and the bed breathed. Suddenly, the perennials stood out, the lawn neat.

    You can do this too. It takes an afternoon.

    How to Edge a Garden Bed

    This is the method I use every time a bed feels off. You’ll end up with a crisp line that makes plants pop and keeps grass at bay. Simple, lasting balance.

    What You’ll Need

    Step 1: Walk the Bed and Feel the Flow

    I start by walking the bed slowly. Barefoot if it’s warm. I feel where the bed wants to curve—gentle sweeps near taller plants, straighter by paths. This sets the flow.

    Visually, the bed shifts. Plants gain space, the lawn pulls back. It feels balanced already.

    Most miss how the eye follows curves. Straight lines work on small beds, but waves suit perennials. Avoid forcing sharp bends; they chop the view.

    Don’t rush marking yet. Let the shape settle in your mind first.

    Step 2: Lay Out Your Line

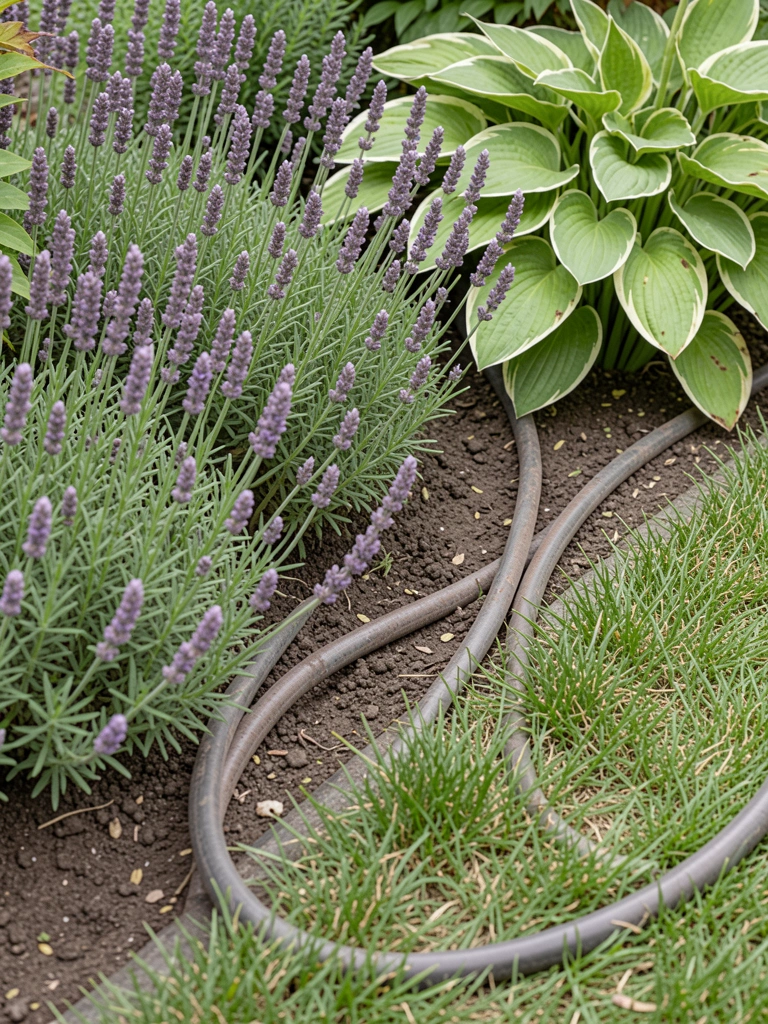
    Next, I grab the hose and drape it along the bed. Follow your walk’s feel—soft arcs where plants lean out. Pin it lightly with stakes if windy.

    The line appears. Grass meets bed cleanly; no more blur. The space looks intentional.

    People overlook hose flexibility. It shows true flow better than string. Mistake: pulling it too tight. Keep it loose for natural rhythm.

    Stand back. Adjust until it feels right from the path.

    Step 3: Cut the First Pass

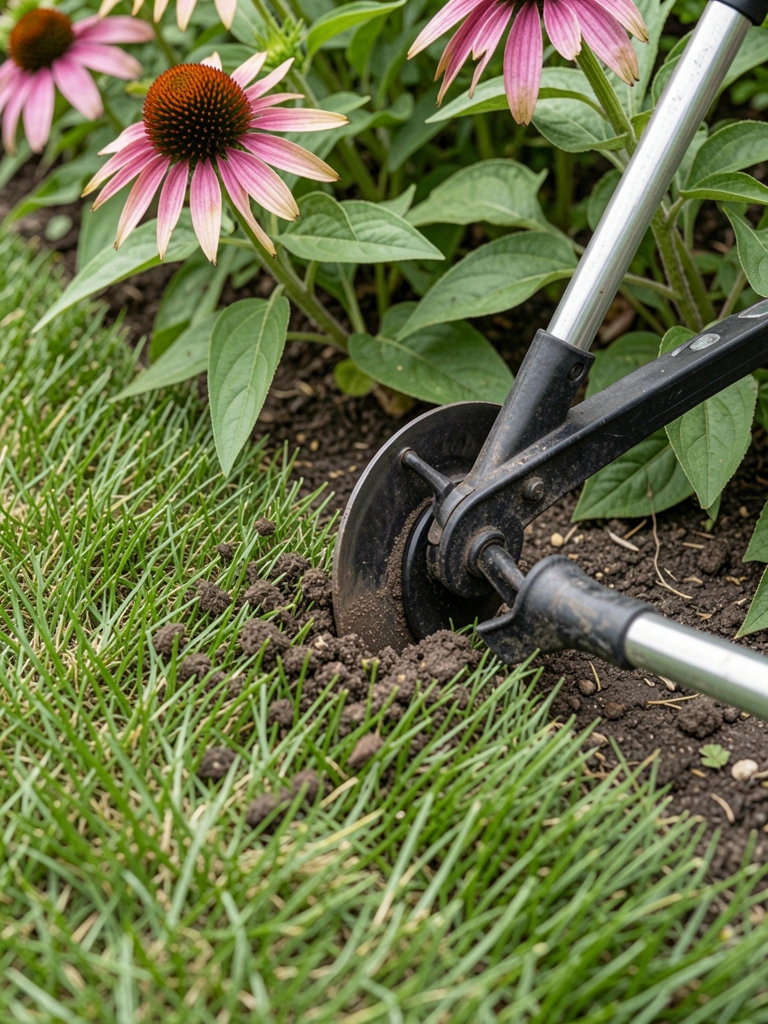
    I take the half-moon edger and slice along the hose. Vertical cuts, 4 inches deep. Lean into curves; let the tool guide.

    Turf lifts slightly. A clean trench forms, separating worlds. Beds pop, lawn firms.

    Insight: depth holds shape through rain. Most cut shallow—edges crumble. Avoid angling the blade; straight down prevents crumbling sides.

    Pause at obstacles. Plants stay safe.

    Step 4: Dig and Define the Trench

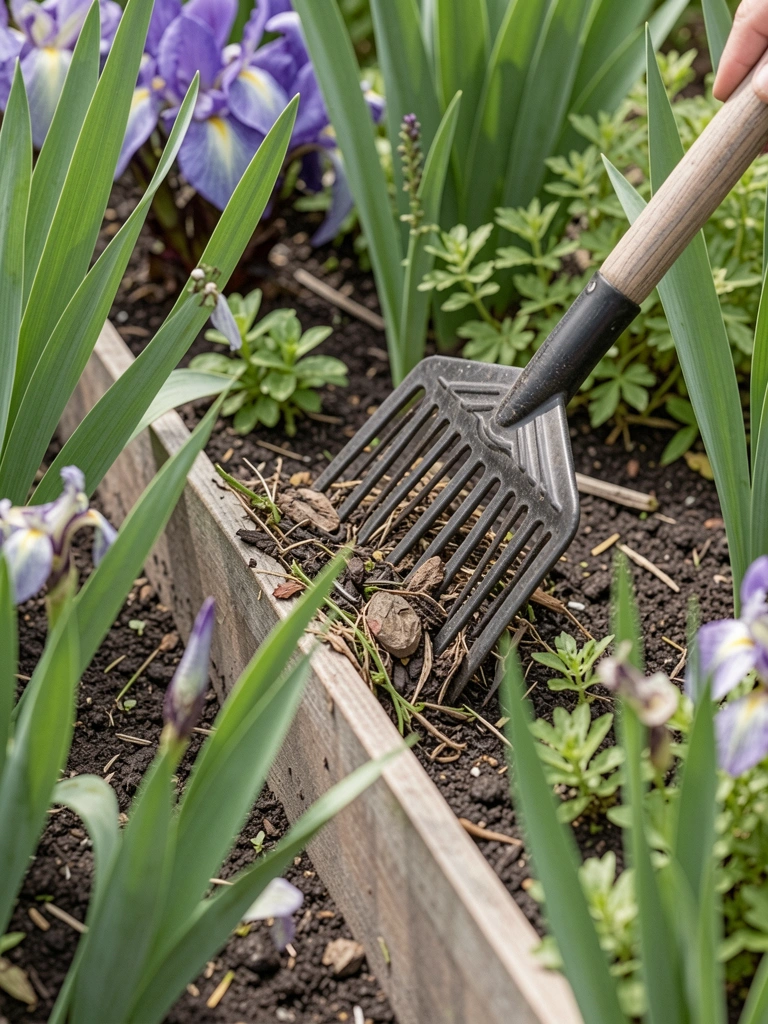
    Now the edging knife widens the trench to 6 inches. Pry out grass roots fully. Wheelbarrow hauls debris.

    The bed breathes deeper. Shadows define the line; plants frame it.

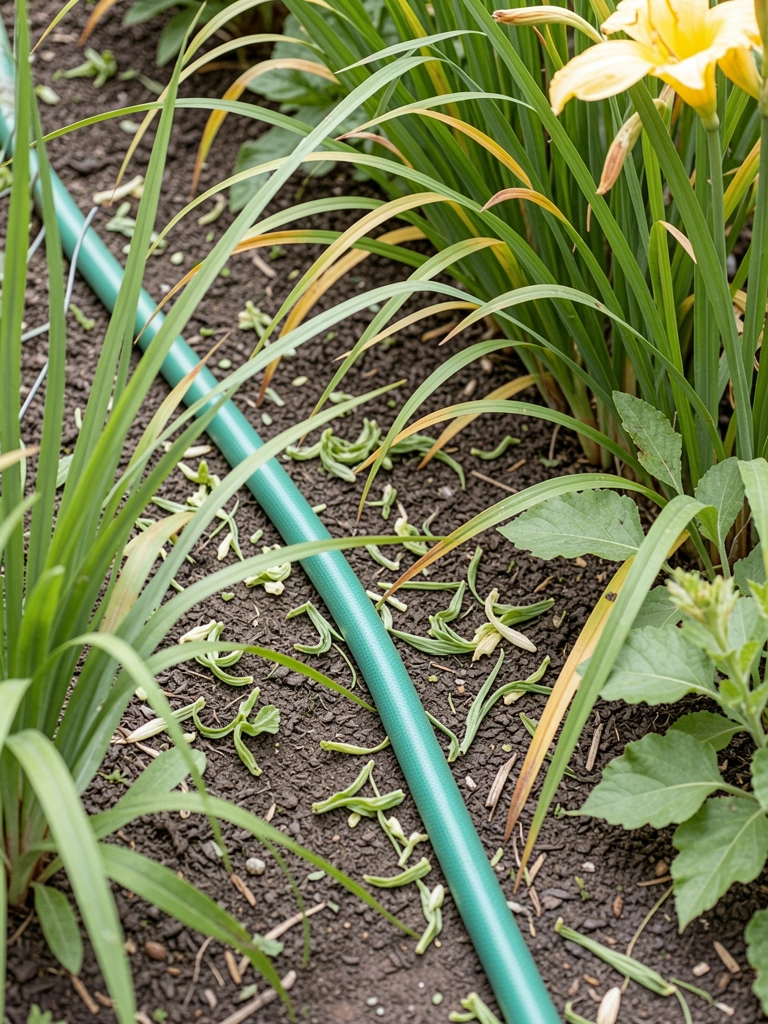
    Missed tip: fork soil back from roots. It prevents air pockets. Don’t leave roots dangling; they regrow fast.

    Smooth walls gently. Feels solid.

    Step 5: Backfill and Settle

    I rake soil from the bed side into the trench. Tamp with the mallet. Top with a thin mulch layer.

    Edge settles firm. Line sharpens; no gaps. Whole garden flows.

    People forget tamping. It locks shape. Avoid overfilling; slight dip catches clippings.

    Water lightly. It bonds.

    Step 6: Clean and Check Balance

    Rake clippings away. Walk the bed again. Tweak soft spots.

    Everything aligns. Plants stand tall, space calm.

    Insight: check from house view. Edges unify. Mistake: ignoring corners—they fray first.

    It’s done. Simple hold.

    Picking the Perfect Edge Shape

    Curves work best in my perennial beds. They echo plant forms. Straight lines suit formal paths.

    Waves add movement. But match your space:

    • Soft sweeps for large beds
    • Gentle repeats for repetition
    • Subtle dips near focal plants

    Test with hose. It reveals what fits.

    Blending Edges with Plants

    I let low growers hug the edge. Creeping phlox softens lines.

    Taller ones pull back. This layers depth.

    • Sedum for spill-over
    • Lavender for contrast
    • Grasses for feathery touch

    Avoid overcrowding. Space lets edge shine.

    Year-Round Edge Maintenance

    I refresh twice yearly. Spring and fall.

    Quick passes keep it crisp. Rain softens soil then.

    • Mow high on lawn side
    • Mulch annually
    • Spot-treat invaders

    Feels like minor tuning. Lasts seasons.

    Final Thoughts

    Start with one bed. The clean line builds confidence.

    You’ll notice how it quiets the garden. Plants get room.

    Edge when soil’s moist. It’s straightforward work with real payoff.

  • 15 Modern Garden Edging Ideas to Copy

    15 Modern Garden Edging Ideas to Copy

    A few years back, my front bed edges were a disaster—grass creeping in, dirt spilling out. I felt defeated every mow. Then I started experimenting with simple borders. Suddenly, the garden breathed easier, lines held firm. Plants popped against the neat frames.
    If your edges blur like mine did, stick with me. These fixes feel right in real dirt.

    15 Modern Garden Edging Ideas to Copy

    These 15 modern garden edging ideas pulled from my own messy trials will sharpen your borders without perfection. Easy to source, forgiving to install. Copy what fits your yard.

    1. Thin Black Aluminum Strips for Crisp Lawn Lines

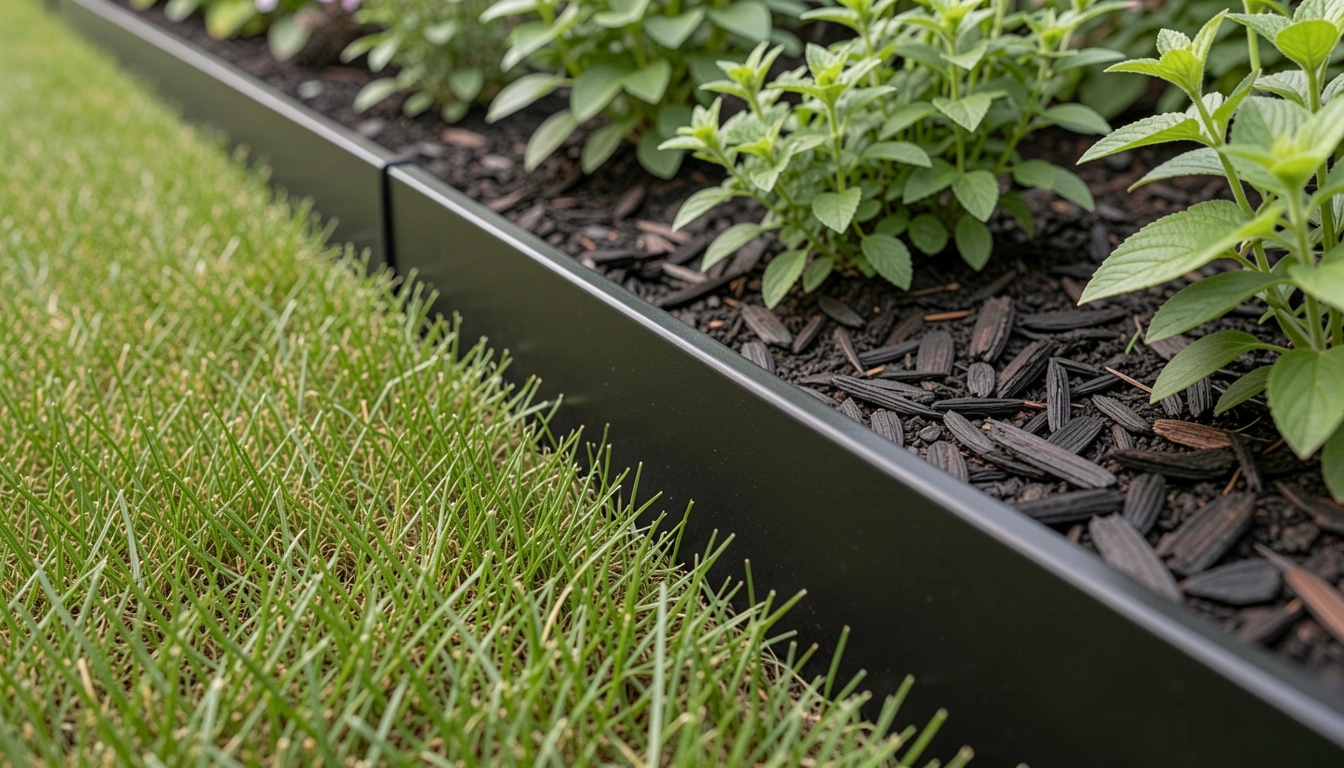
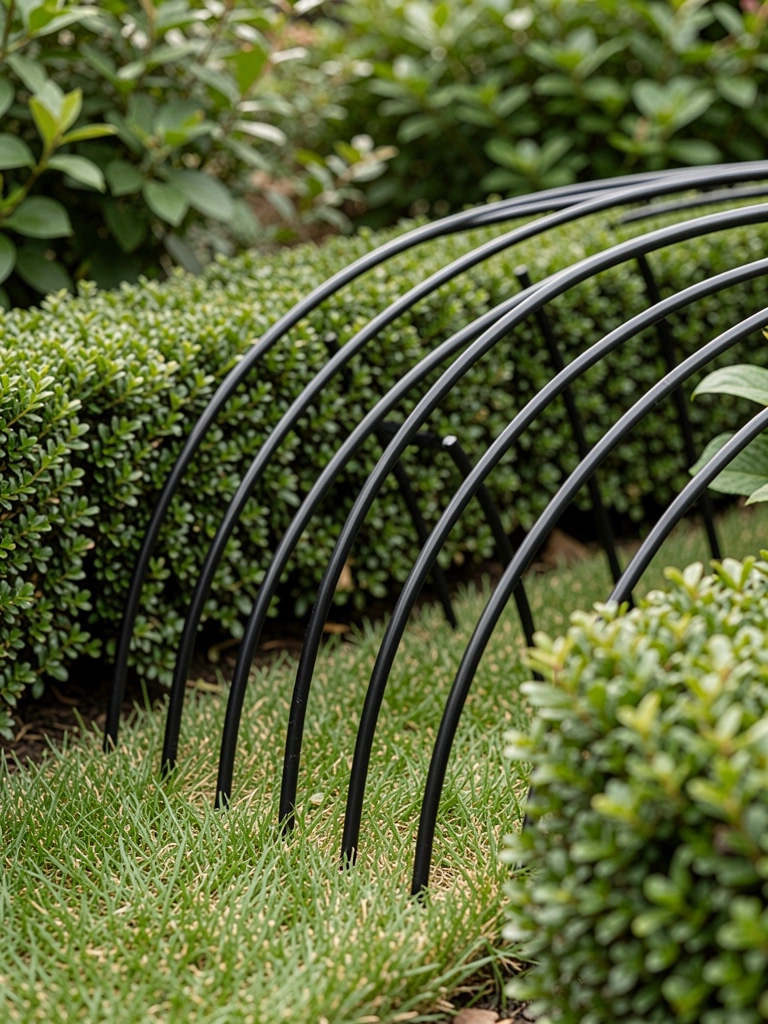
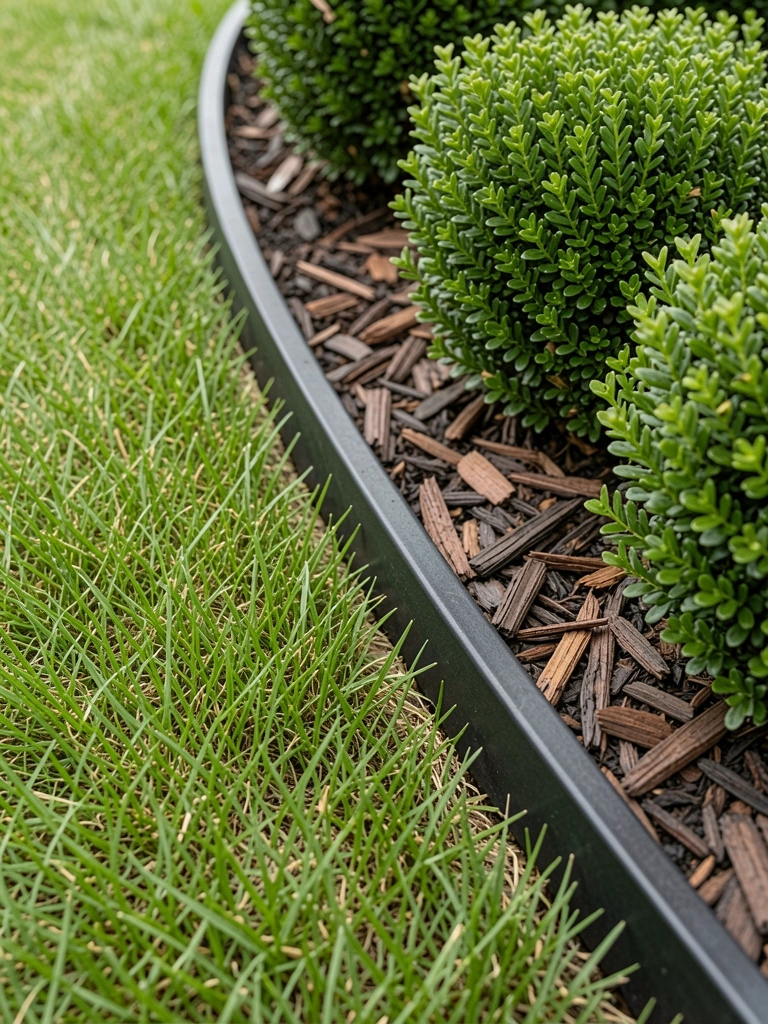
    I hammered in these slim aluminum strips around my back lawn last spring. The black finish blends without stealing show, holding grass back like a quiet guard. Mowing's a breeze now—no more trimming strays. Visually, it pulls the eye along the curve I never noticed before.
    The garden feels longer, more intentional.
    Watch the depth: go 6 inches down to stop roots sneaking under. I skimped once, regretted it.
    Bend them gently for sweeps; straight sections for paths.

    What You’ll Need for This Look

    2. Corten Steel Curves for Rustic Depth

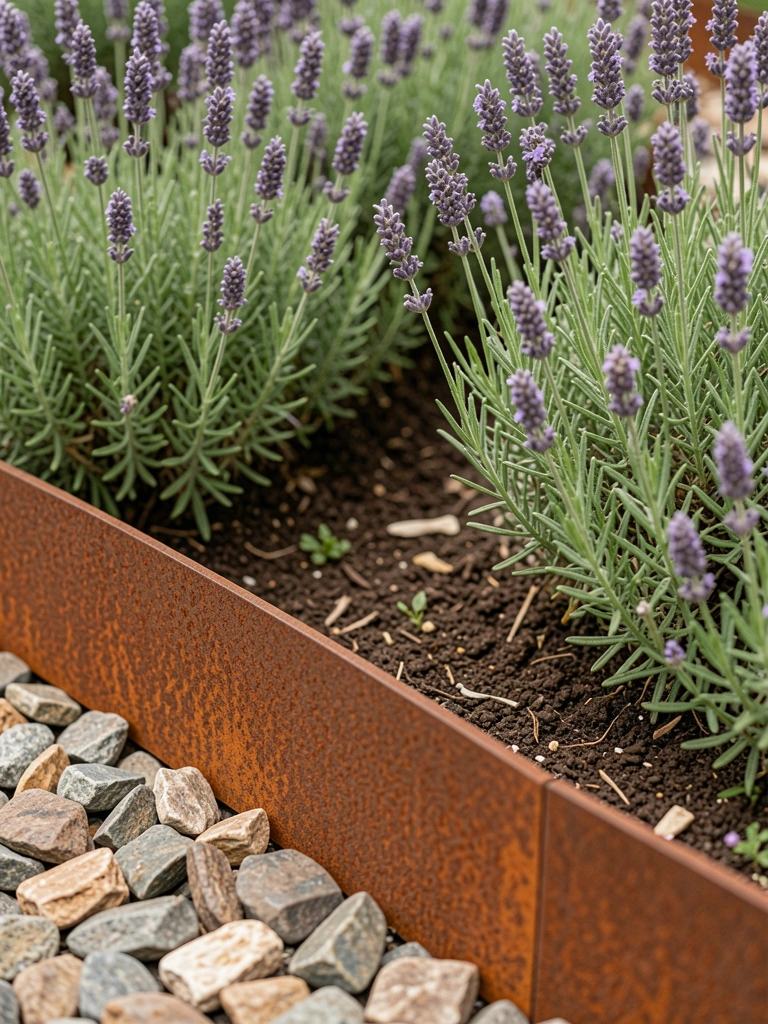
    Corten steel went in my side yard beds two summers ago. That slow rust builds character, warming the modern edge. It grips curves tight, framing perennials like they belong there. The beds feel grounded, not boxy.
    Emotionally, it's satisfying—watching the patina deepen with rain.
    Cut with a reciprocating saw for your shape; overlap ends slightly. Bury halfway to let it settle.
    Pairs best with gravel or mulch inside.

    What You’ll Need for This Look

    3. Composite Timber Sleepers for Low Pathways

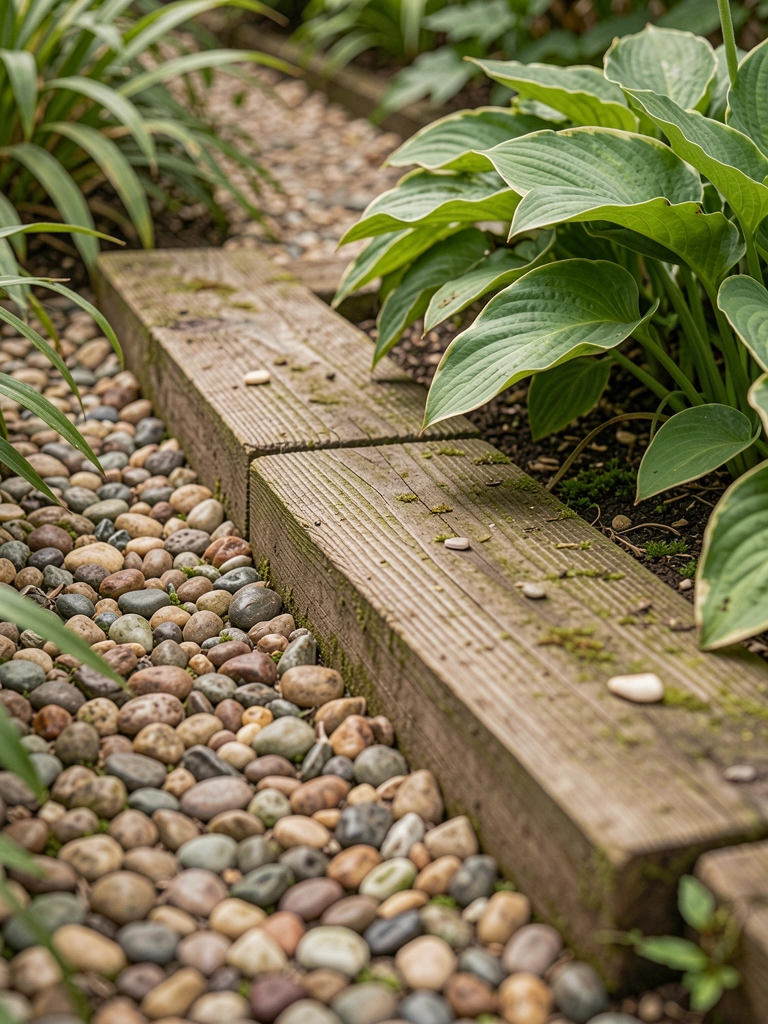
    I laid composite sleepers along my veggie path, thinking they'd rot like real wood. Nope—three years strong, no warp. The faux grain looks real up close, guiding steps cleanly. Plants spill just right over the top edge.
    It made the path feel wider, safer at dusk.
    Mistake: I didn't level first; one dipped. Shovel out, tamp gravel base.
    Stack single layer for modern flatness.

    What You’ll Need for This Look

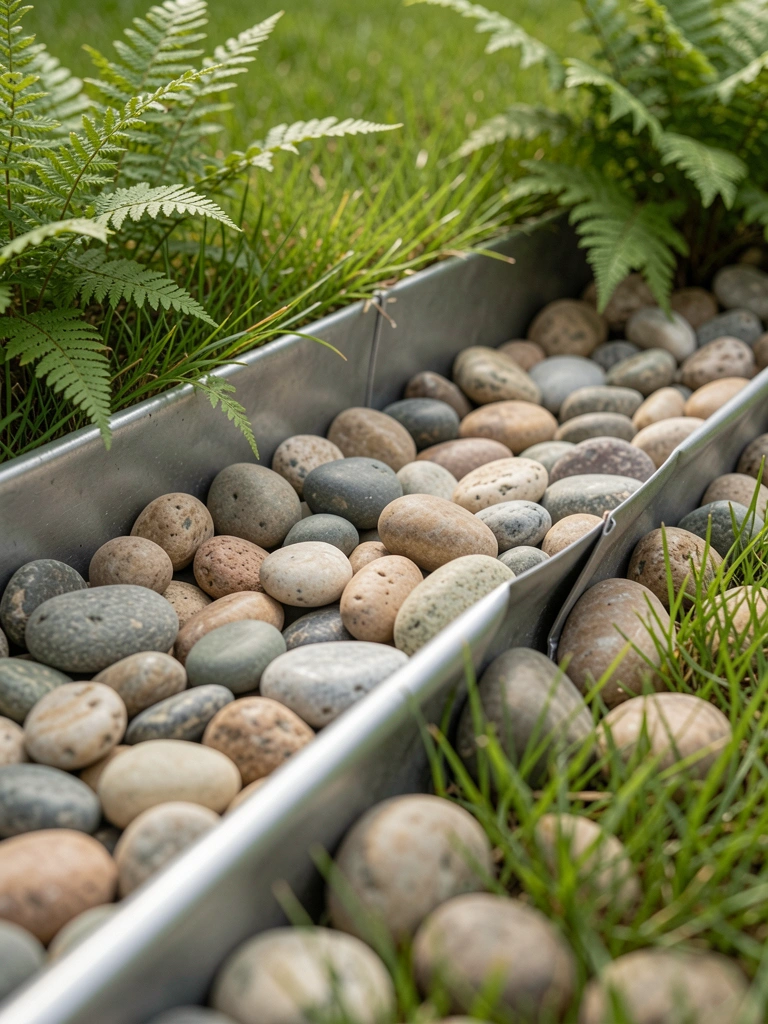
    4. Pebble Moat with Metal Liner

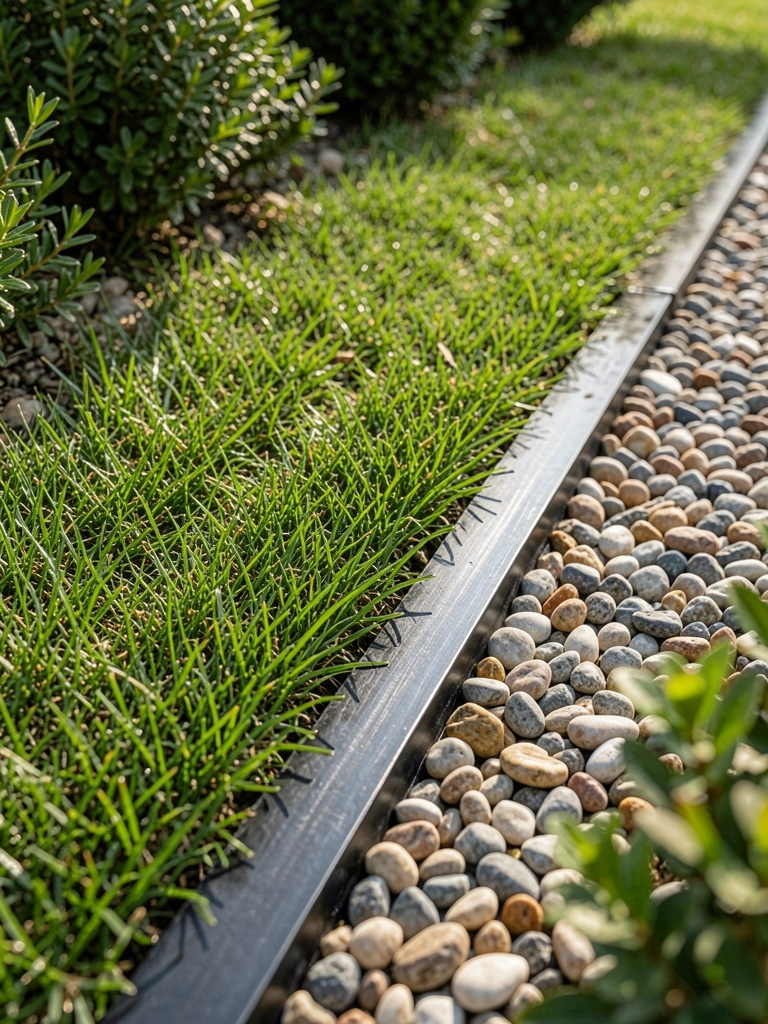
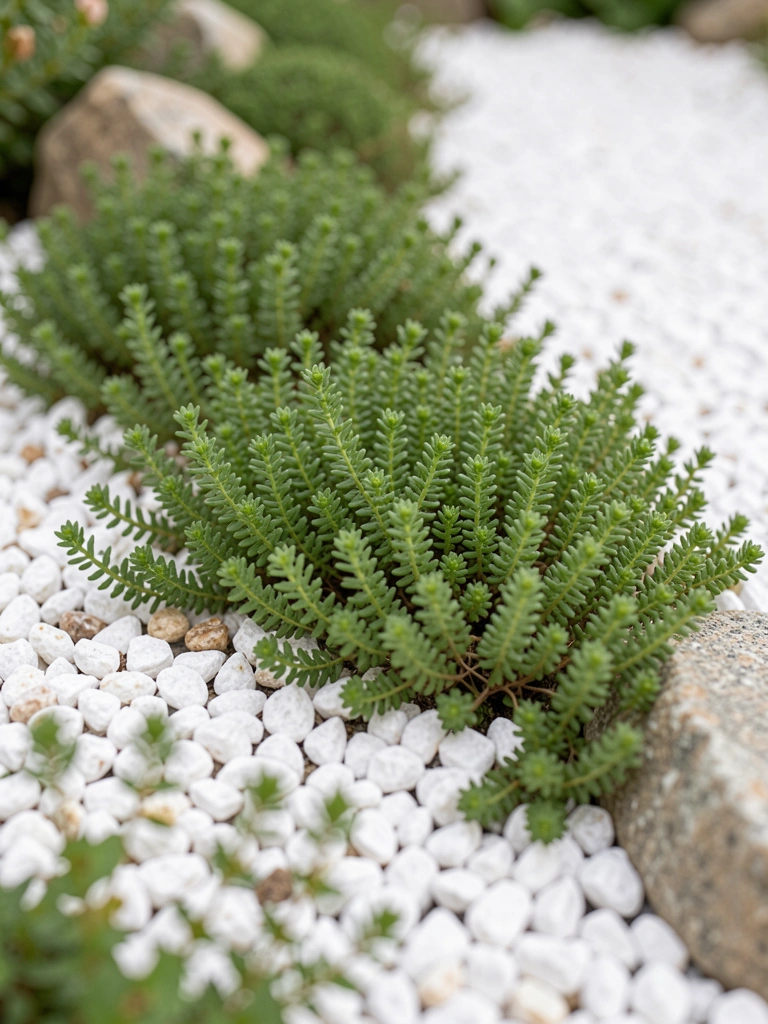
    Dug a shallow moat around my front roses, lined it thin metal, filled with pebbles. No digging overgrowth anymore—weeds drown out. The shimmer draws you in, softens hard lines. Beds stand out crisp.
    Feels calm, like a dry creek bed.
    Line prevents stones sinking; 4-inch wide trench. Rake smooth after rain.
    White pebbles pop against green.

    What You’ll Need for This Look

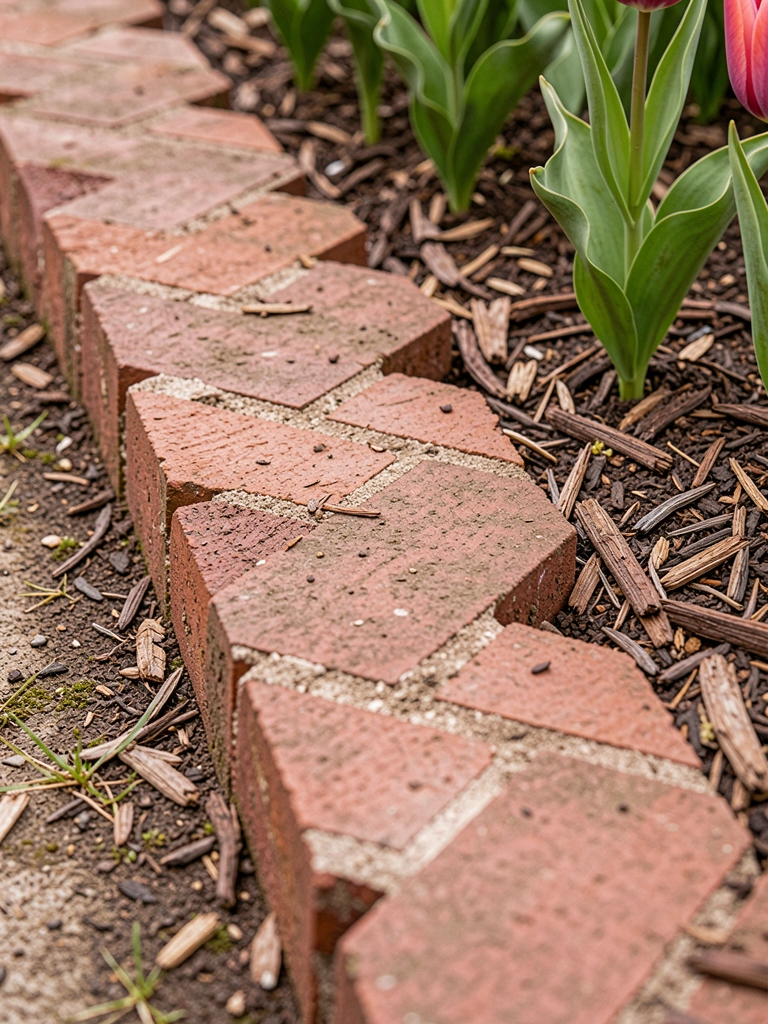
    5. Brick Paver Zigzags for Geometric Pop

    Zigzag bricks edge my herb bed now—cut pavers at angles for the pattern. It breaks monotony, leads the eye playfully. Herbs hug the warm red without spilling.
    The yard gained rhythm I didn't plan.
    Set in sand bed; no mortar needed for flex. I glued once—froze wrong.
    Half-brick height keeps it low.

    What You’ll Need for This Look

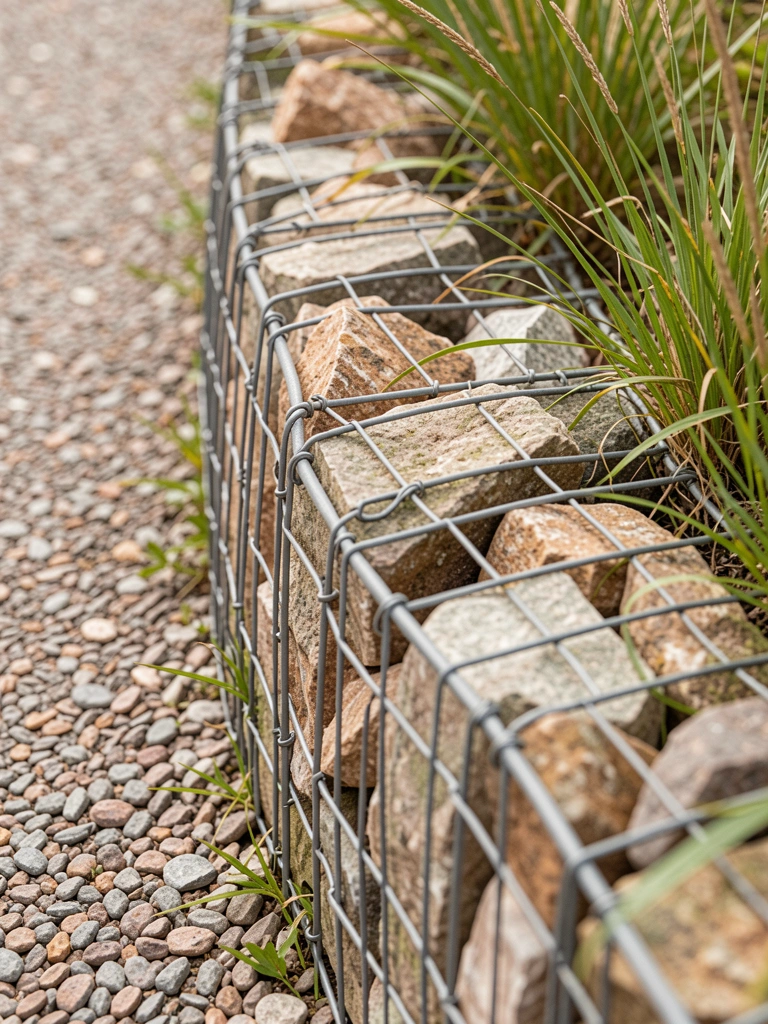
    6. Gabion Basket Stone Walls

    Filled gabion baskets line my driveway edge—heavy stones inside wire cages. Sturdy against cars, modern industrial vibe. Plants tuck into gaps naturally.
    It anchors the whole front, feels solid.
    Pack tight bottom-up; river rock drains best.
    One basket high for subtlety.

    What You’ll Need for This Look

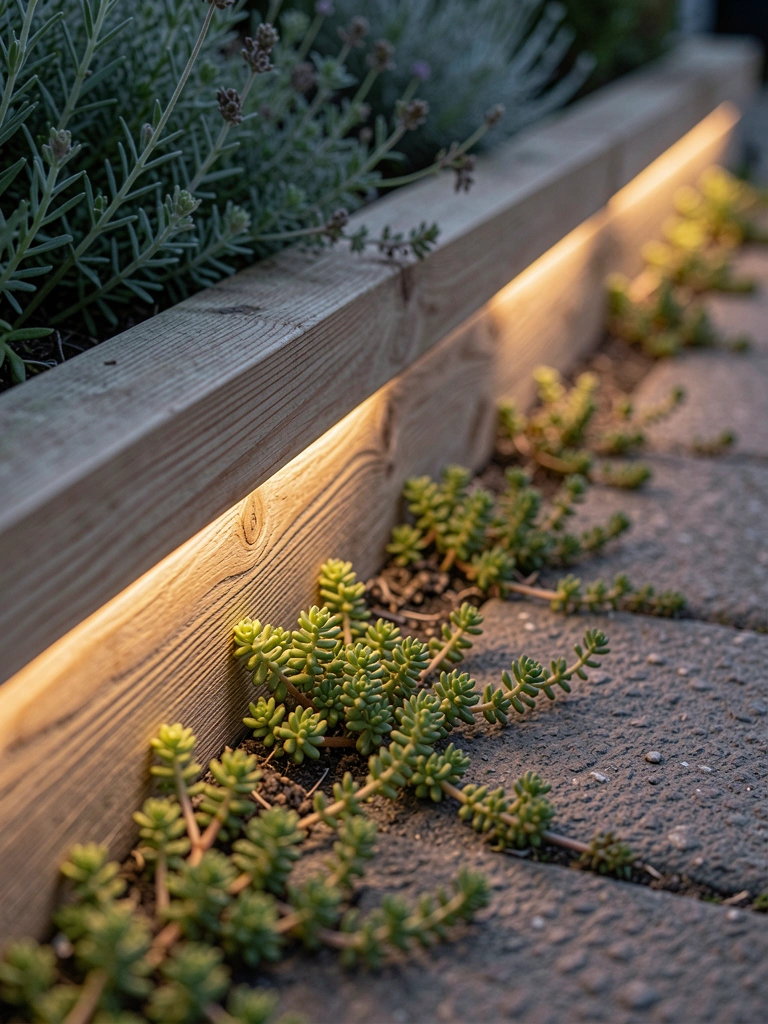
    7. LED-Lit Timber Edges for Night Glow

    Timber edges with low LEDs went in my patio border. Glow outlines at night, safe steps. Daytime, wood warms it modern. Sedums catch the light soft.
    Evenings changed—cozy without glare.
    Mistake: buried wires shallow; critters chewed. Sleeve in conduit first.
    Solar tops for ease.

    What You’ll Need for This Look

    8. Bamboo Pole Clusters for Textured Screens

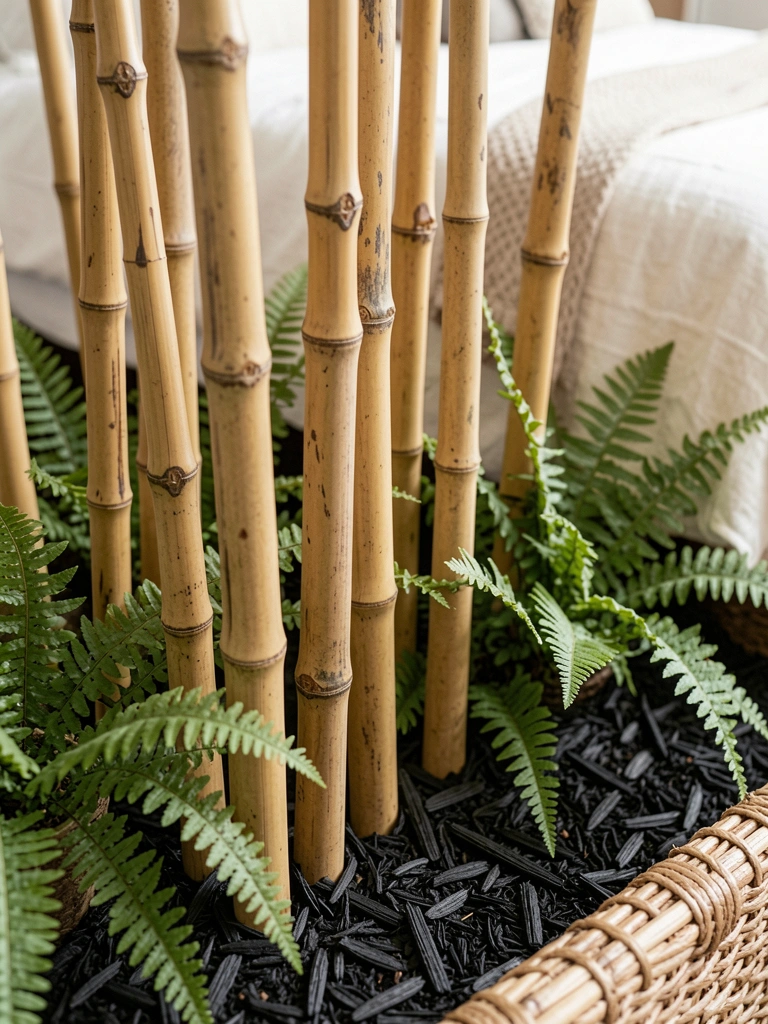
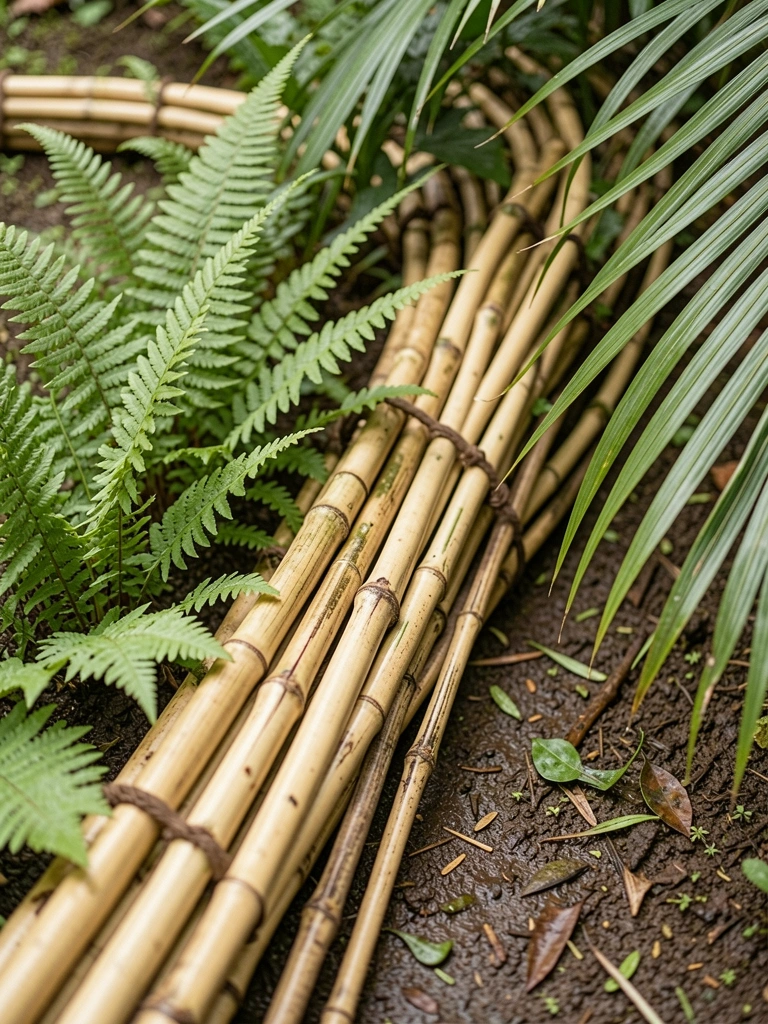
    Bamboo poles clustered tight edge my shade bed—split lengths for height play. Textures sway gentle, block weeds soft. Ferns weave through.
    Feels alive, not stiff.
    Hammer in 18 inches; bind tops loose. Varnish ends against rot.
    Mix thick and thin poles.

    What You’ll Need for This Look

    9. Recycled Plastic Lumber Strips

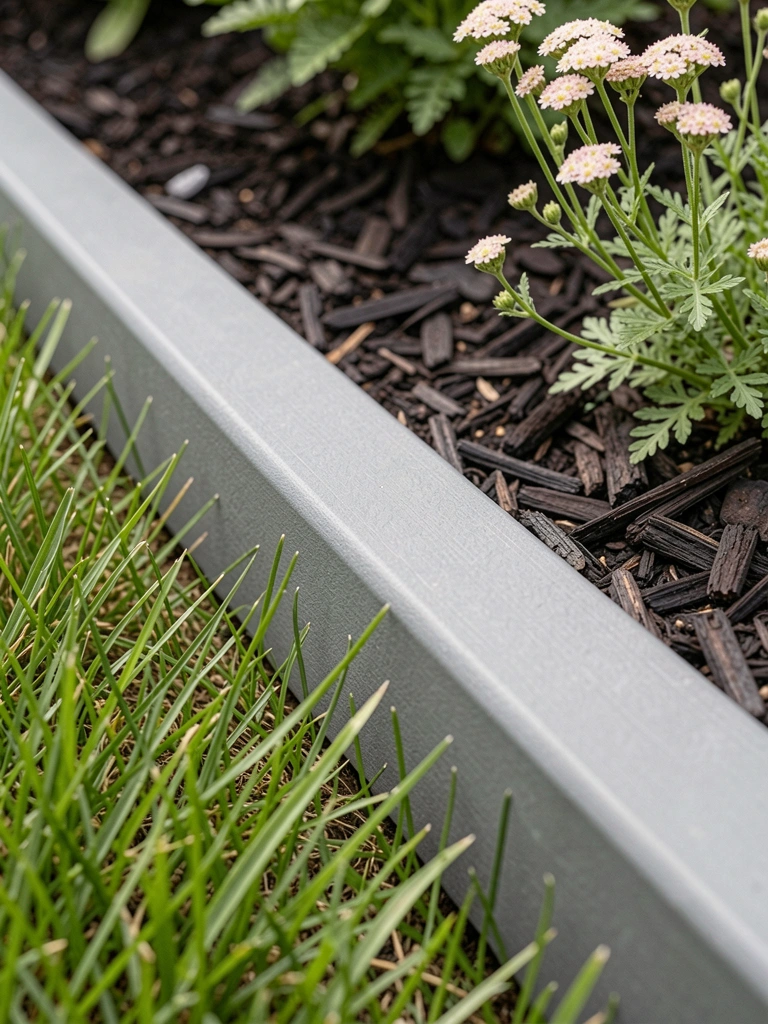
    Recycled plastic strips border my play yard—no splinter, no fade. Mimics wood grain light, holds forever. Kids run edges safe.
    Practical joy; cleans with hose.
    Stake every foot; flexes for curves.
    Gray tones modern without cold.

    What You’ll Need for This Look

    10. Polished Pebble Rivers with Flanks

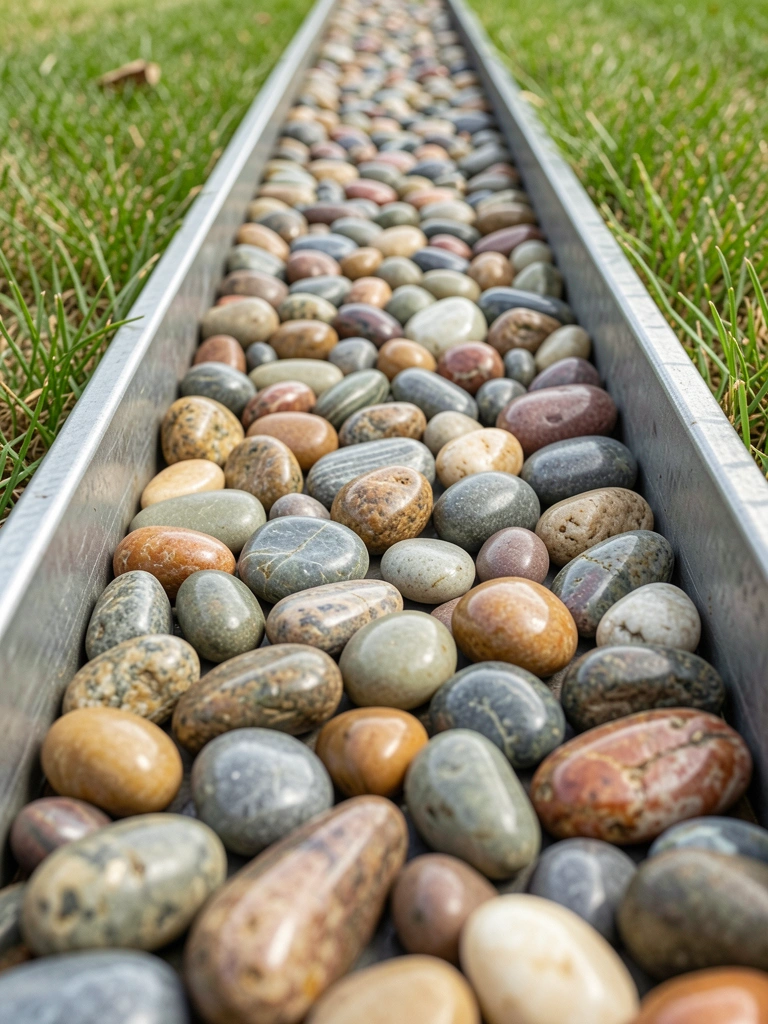
    Pebble river snakes my walkway, flanked low metal. Pebbles gleam rain-wet, path feels flowing. No mud tracks.
    Yard moves better now.
    Insight: sift pebbles uniform; big ones shift underfoot. Landscape fabric under.
    Flanks keep it contained.

    What You’ll Need for This Look

    11. Laser-Cut Metal Panels for Artful Lines

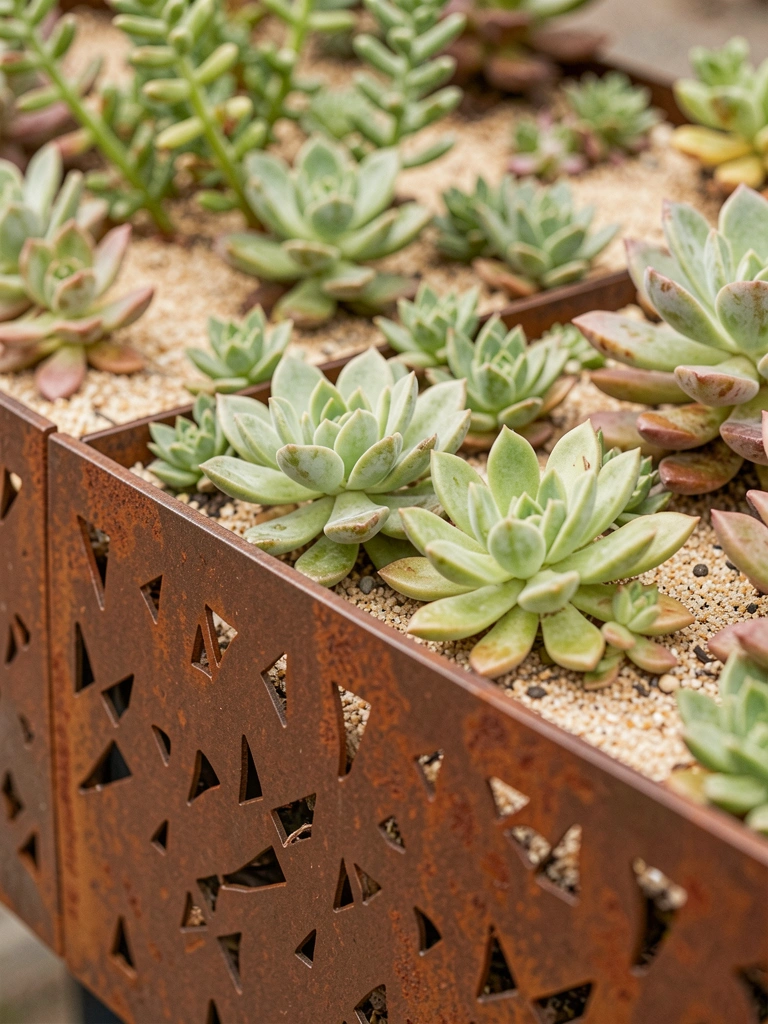
    Laser-cut panels screen my succulent strip—slits let light filter, shadows dance day-long. Modern without fussy. Plants peek artistic.
    Bed feels gallery-quiet.
    Bolt to stakes; powder coat lasts.
    Panels 12 inches high max.

    What You’ll Need for This Look

    12. Vertical Slat Timber Frames

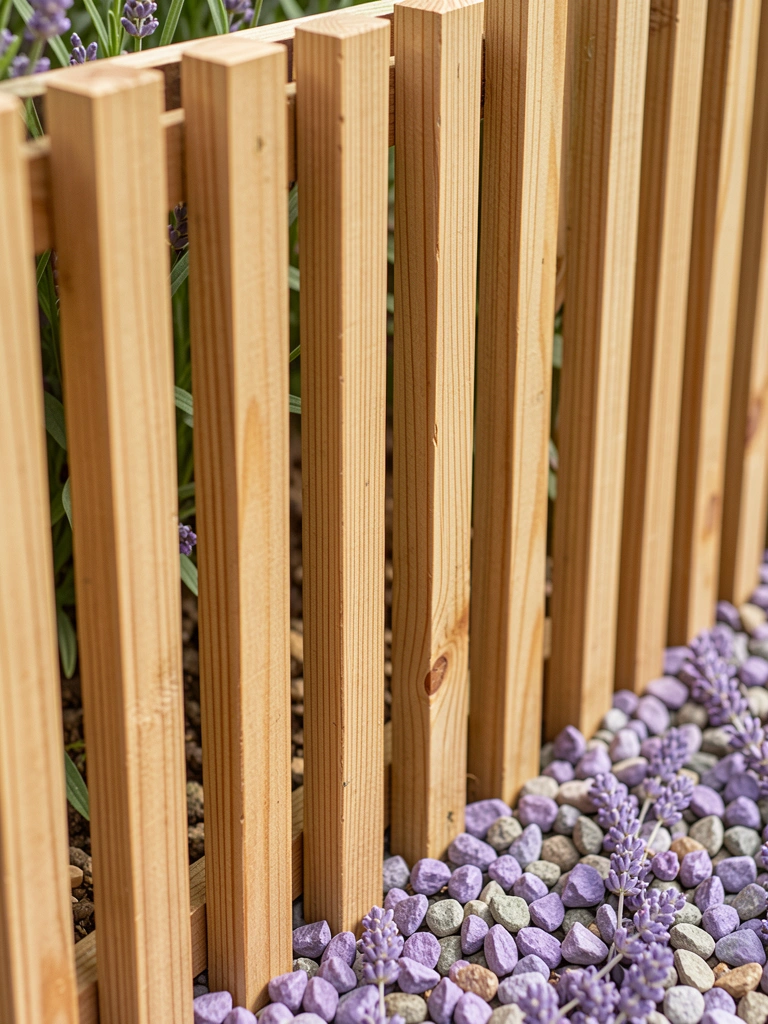
    Vertical cedar slats frame my herb edge—1x2s spaced half-inch. Light stripes through, air flows. Herbs thrive shadow-free.
    Clean yet woody warm.
    Pre-drill to avoid split; sink posts 12 inches.
    Stagger heights subtle.

    What You’ll Need for This Look

    13. Black Mulch Trenches with Stone Caps

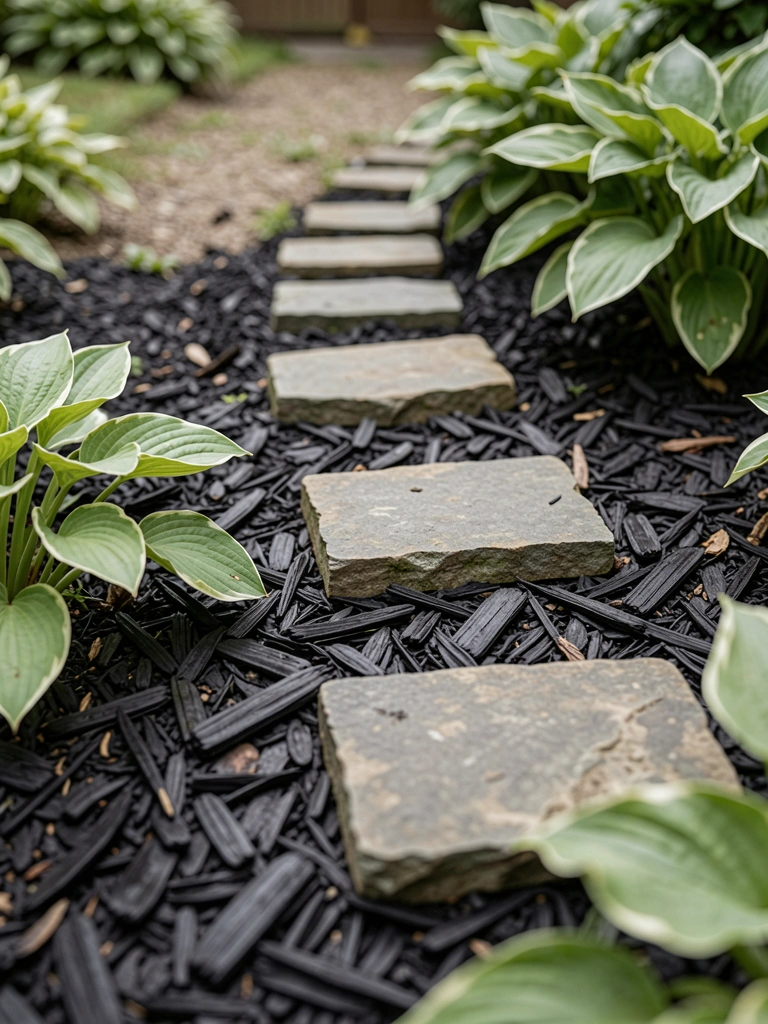
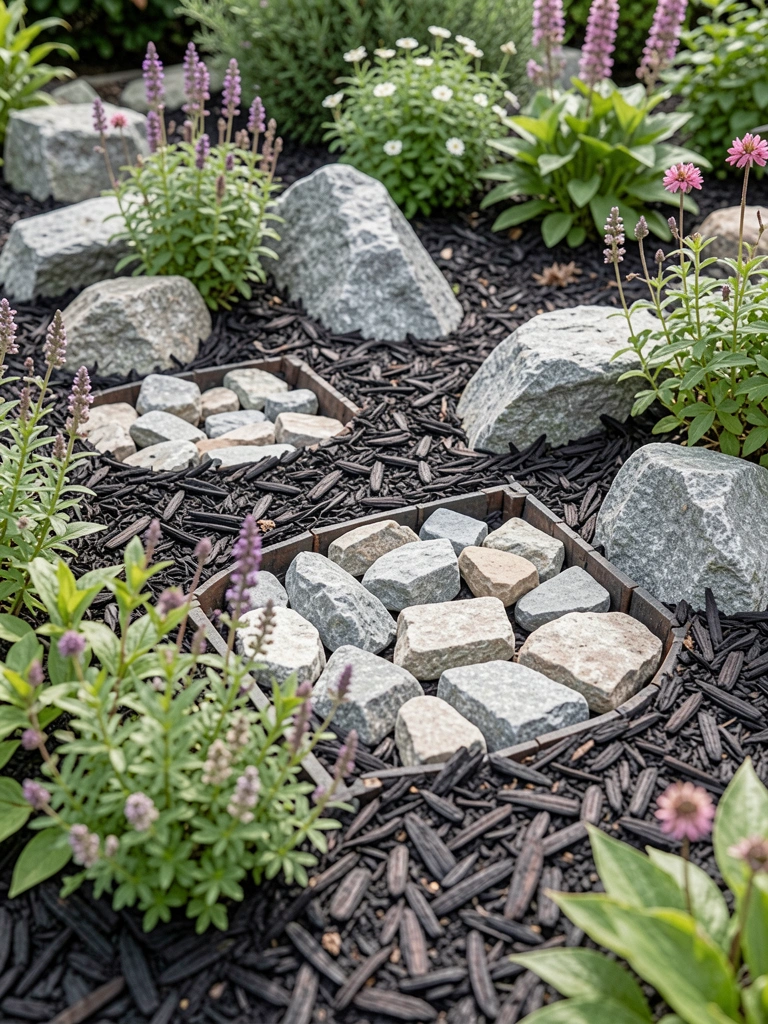
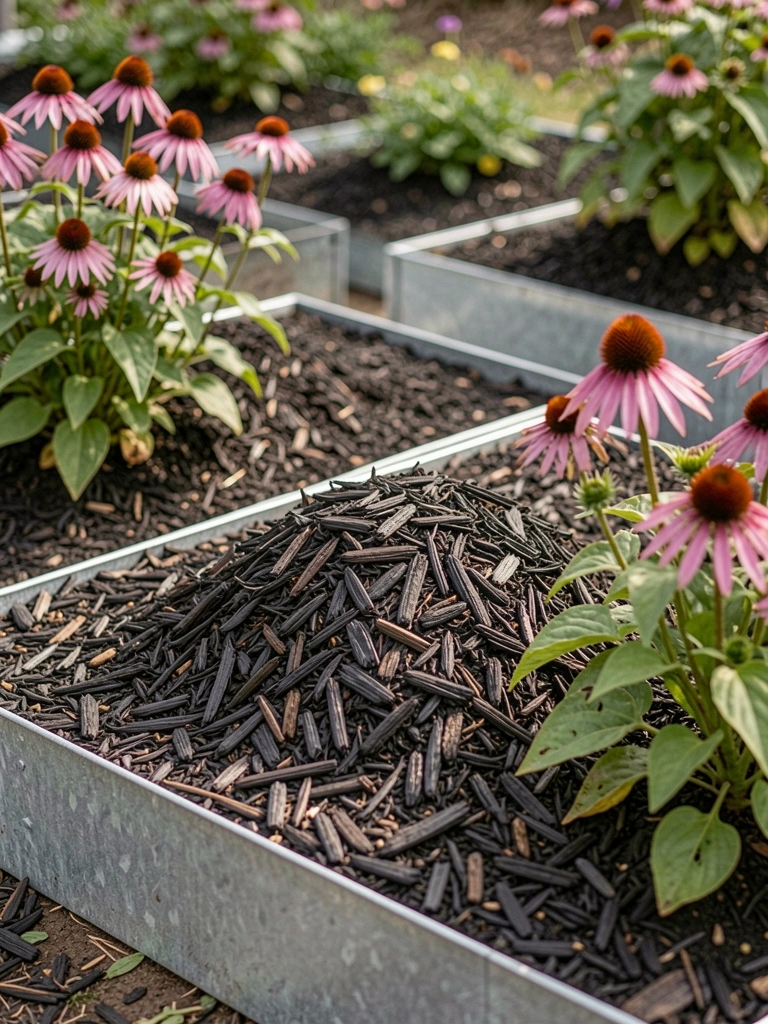
    Black mulch trench caps my front beds with flat stones. Mulch stays put, weeds hate dark. Stones ground it flat modern.
    Beds recede soft, plants forward.
    Tamp trench 4 inches deep; cap overhangs.
    Rubber mallet sets stones.

    What You’ll Need for This Look

    14. Log Slice Circles for Organic Curves

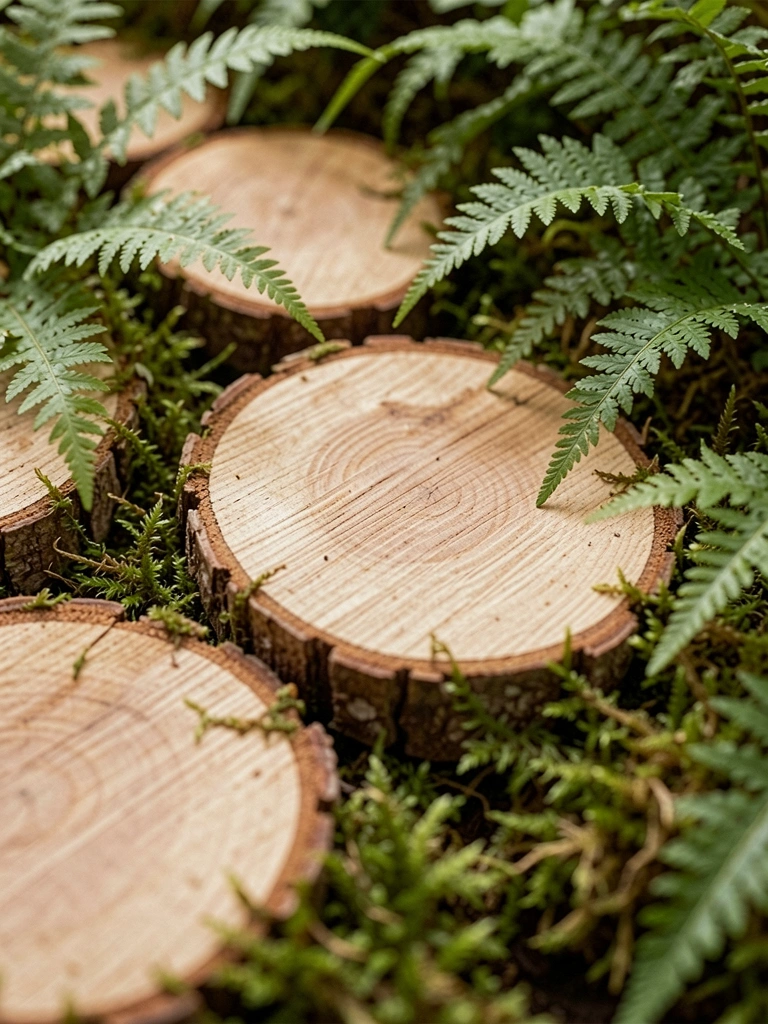
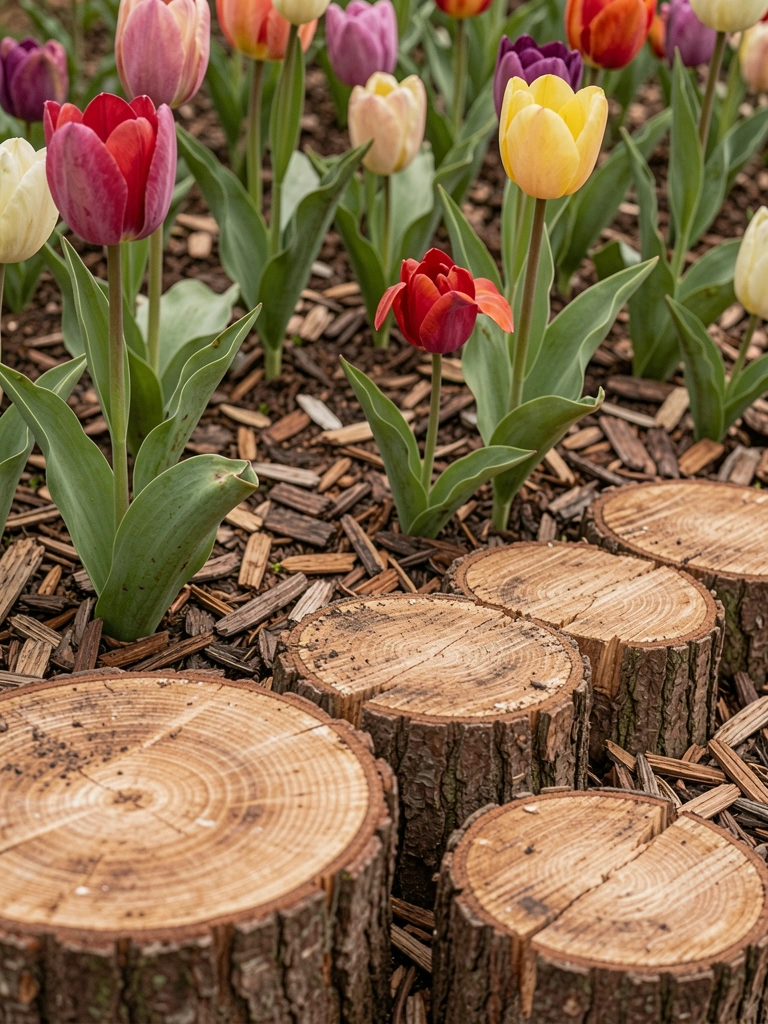
    Log slices circle my tree bed—fresh-cut rounds laid flat. Organic curve hugs roots perfect. Moss creeps in natural.
    Feels forest-modern blend.
    Mistake: green wood shrank gaps; kiln-dry next. Bury half deep.
    Varied sizes fit puzzle.

    What You’ll Need for This Look

    15. Succulent-Filled Concrete Troughs

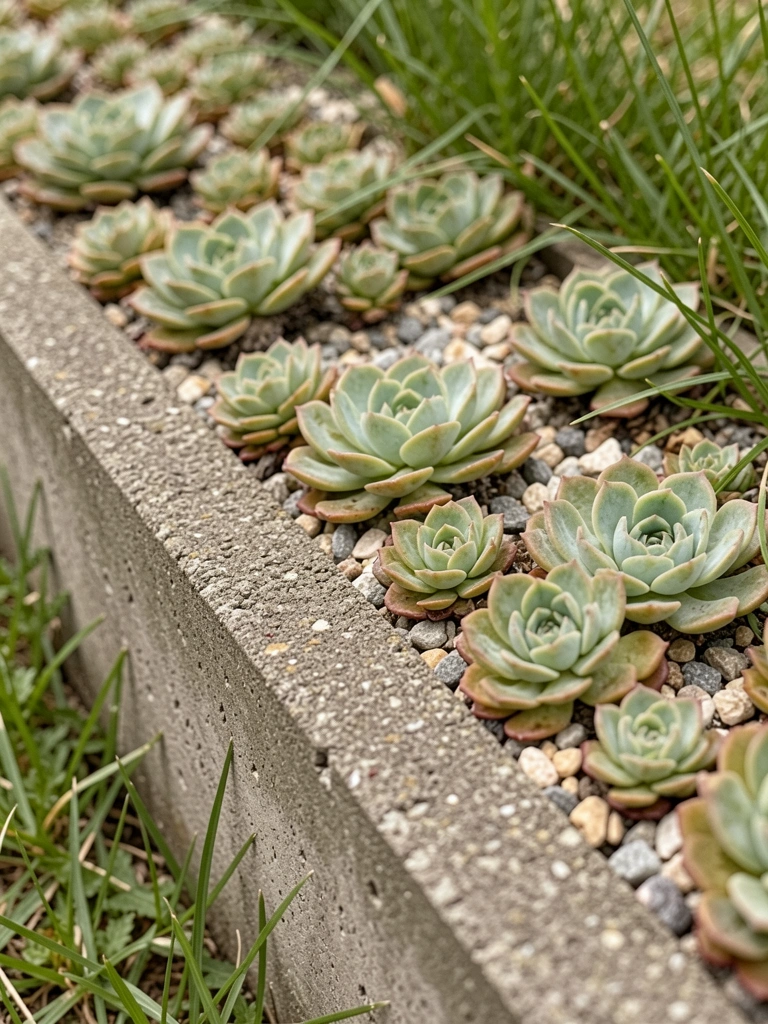
    Concrete troughs hold succulents along my walk—split rail style low. Plants fill slow, drought-proof edge. Textures mix rough-smooth.
    Path feels framed alive.
    Drill drainage; gritty soil mix. Space troughs tight.
    Gray concrete ages nice.

    What You’ll Need for This Look

    Final Thoughts

    Pick one or two ideas that match your dirt and light. My garden's a mix, not all at once. They'll hold up through seasons, save your back.
    You've got this—start small, watch it settle. Your edges will feel right soon.

  • 7 Cheap Garden Edging Ideas That Look Great

    7 Cheap Garden Edging Ideas That Look Great

    I used to dread mowing because the grass invaded every bed. One spring, I grabbed leftover bottles from parties and lined my paths. It stopped the creep, made edges crisp without spending a dime.

    Now, walking there feels tidy, like the garden knows its place. Edges matter more than you think—they frame everything.

    These small fixes turned chaos into calm. You can do them too, step by step.

    7 Cheap Garden Edging Ideas That Look Great

    Here are 7 cheap garden edging ideas I've tried in my real backyard. They look sharp, hold up, and cost next to nothing. Let's get into them.

    1. Wine Bottle Edges Buried Neck-Down

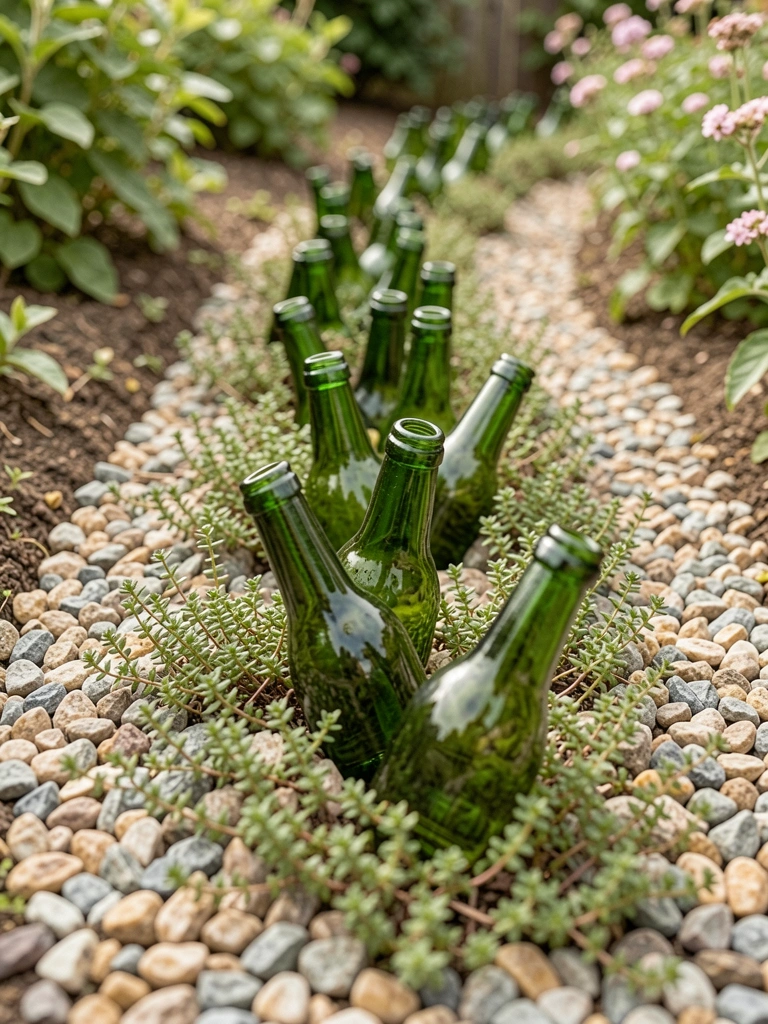
    I had a pile of wine bottles from summer barbecues. Dug a shallow trench along my front bed, buried them neck-down so the bottoms stuck up like glass bulbs. Grass stopped pushing in, and it caught the light just right.

    The curve softened the straight lawn edge. In my garden, it frames the hostas perfectly—no more mowing right up to stems.

    Watch the depth; too shallow and they tip. I learned after one rainy night.

    It feels cozy now, like a little secret path.

    What You’ll Need for This Look

    2. Gravel Trenches with Pebble Caps

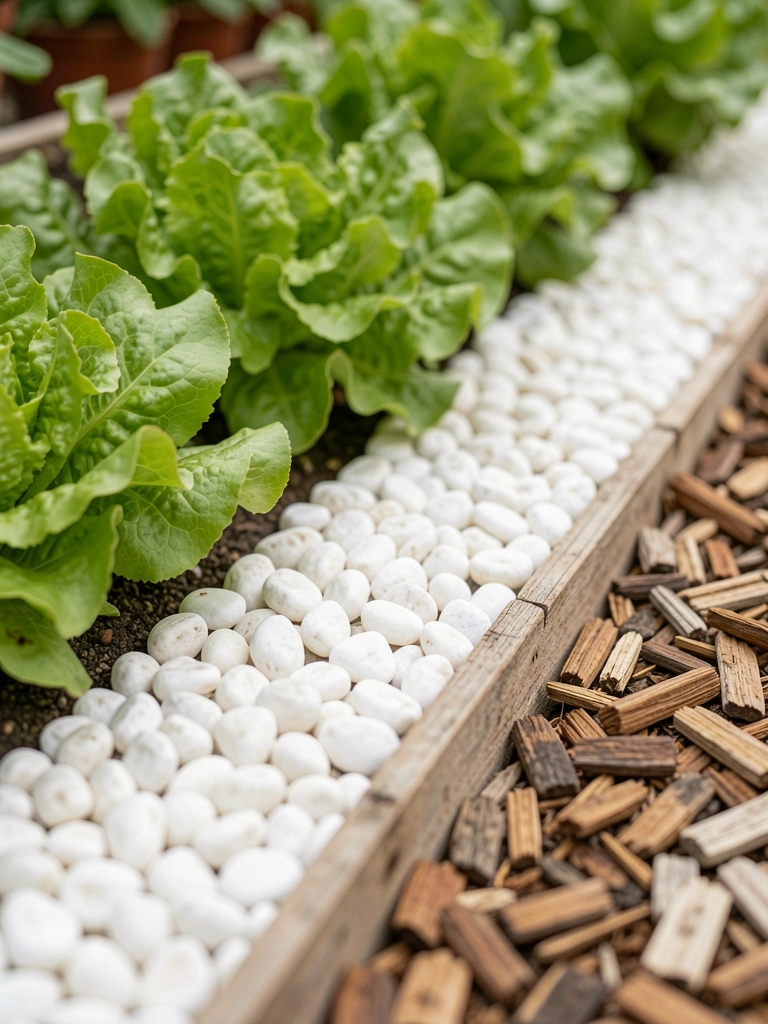
    My veggie patch edges got fuzzy fast. I dug a 4-inch trench, filled with cheap gravel from the hardware store, topped with smooth pebbles. Weeds can't root, and it drains rain without pooling.

    Visually, it pulls the eye along the rows. The beds feel bigger, more intentional.

    I overdid the gravel once—too deep washed out. Keep it level.

    Now, it looks clean year-round, even in winter mud.

    What You’ll Need for This Look

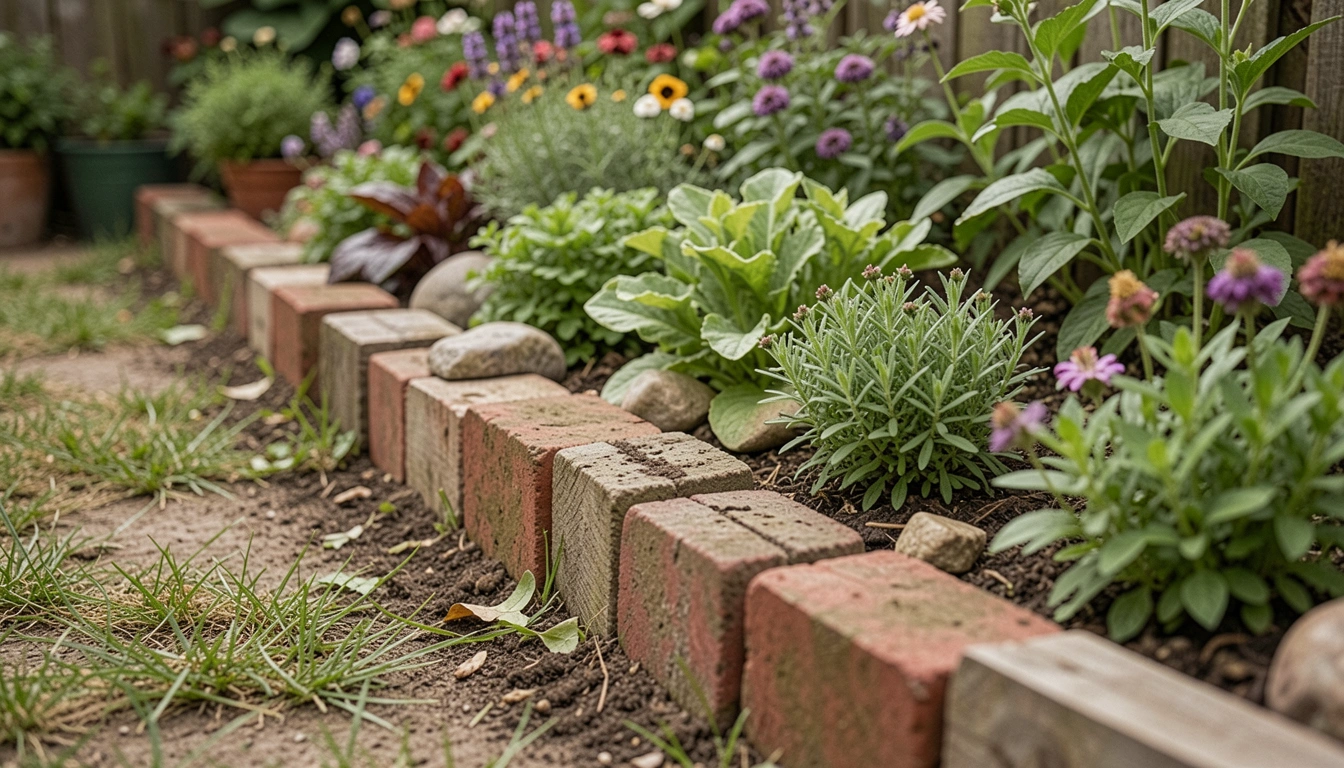
    3. Recycled Brick Stacks from Old Walks

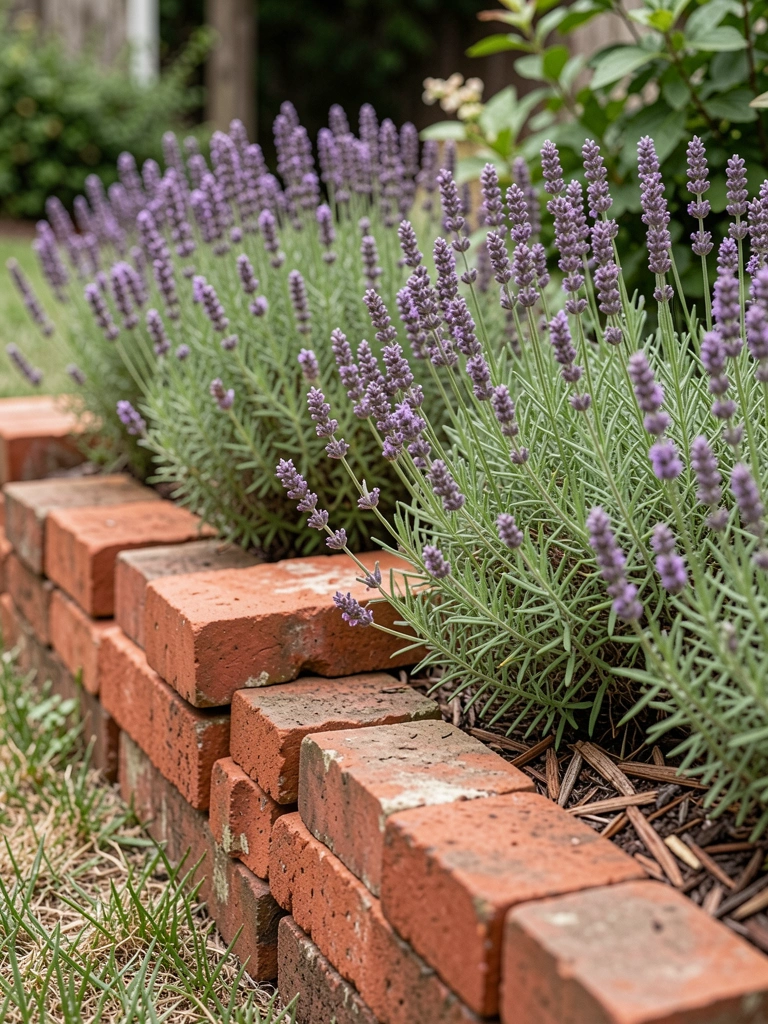
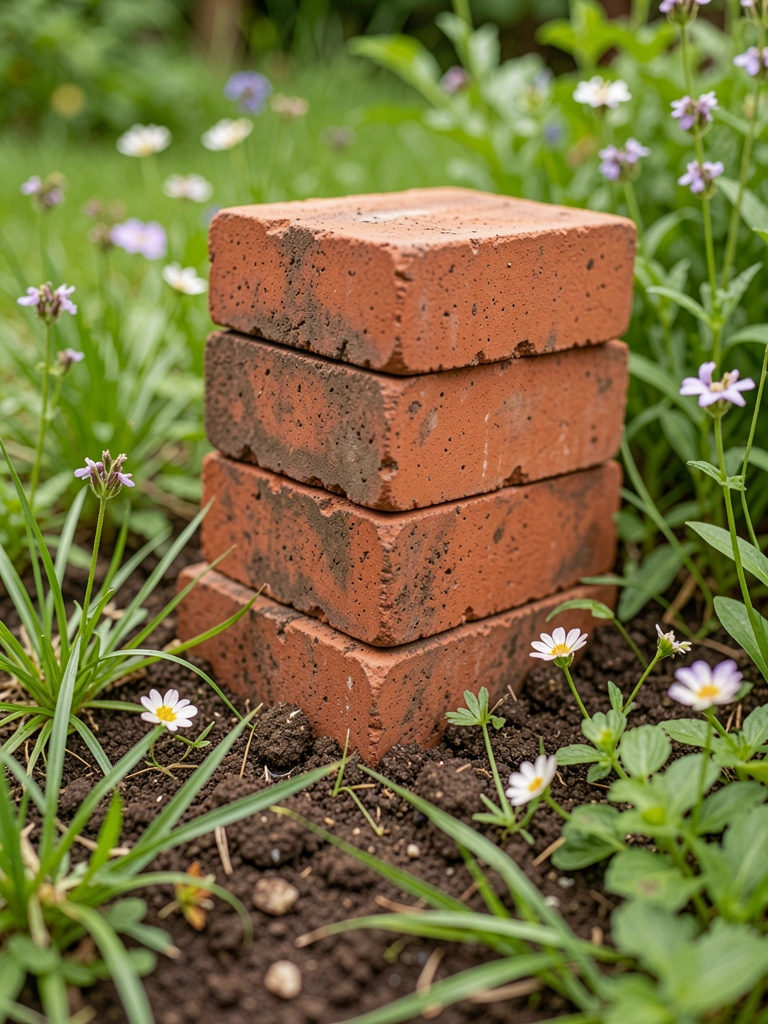
    Tore up an old patio last year, saved the bricks. Stacked two high in a dry-laid row along my perennials. No mortar needed; they nestle into soil and hold firm.

    It added warmth to the cool lavender tones. The bed pops against the lawn now.

    Bricks shift if soil's loose—firm it up first. Mine did after frost.

    Feels solid, like it's always been there.

    What You’ll Need for This Look

    4. Sawn Log Rounds from Yard Prunings

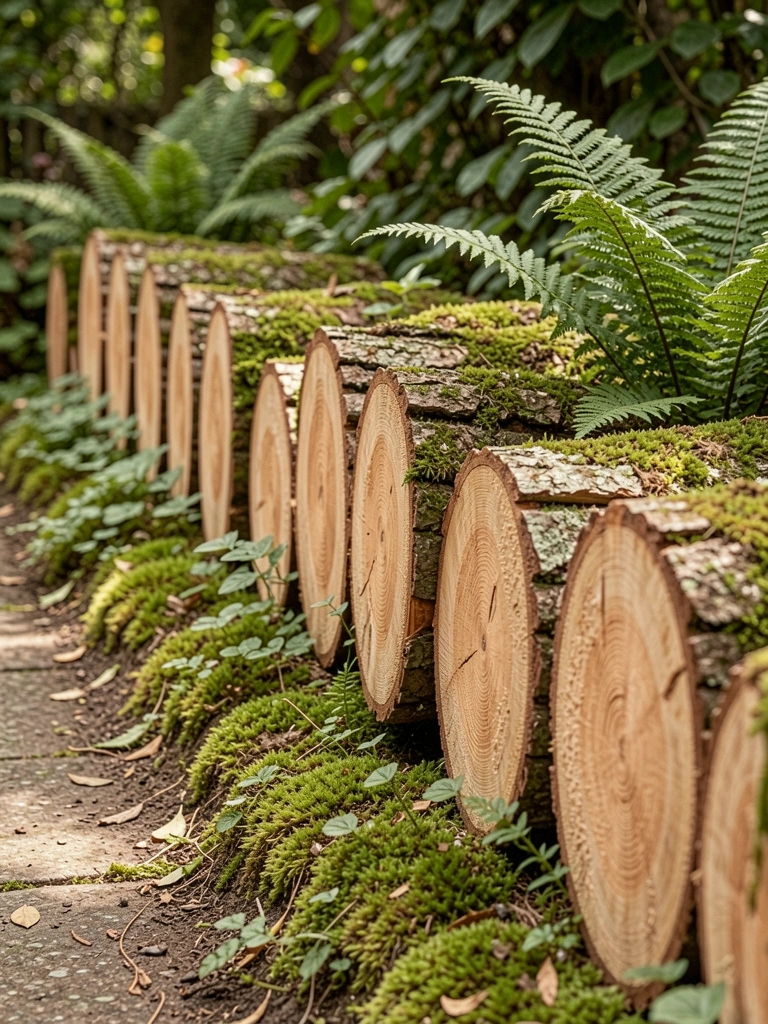
    Pruned a dying tree, cut rounds with a handsaw. Buried half-deep along my shade path. They weathered to silver, blending with ferns.

    The texture breaks up flat grass. Walking feels grounded.

    They rot eventually—I replaced one section last fall. Use rot-resistant wood.

    Rustic without trying.

    What You’ll Need for This Look

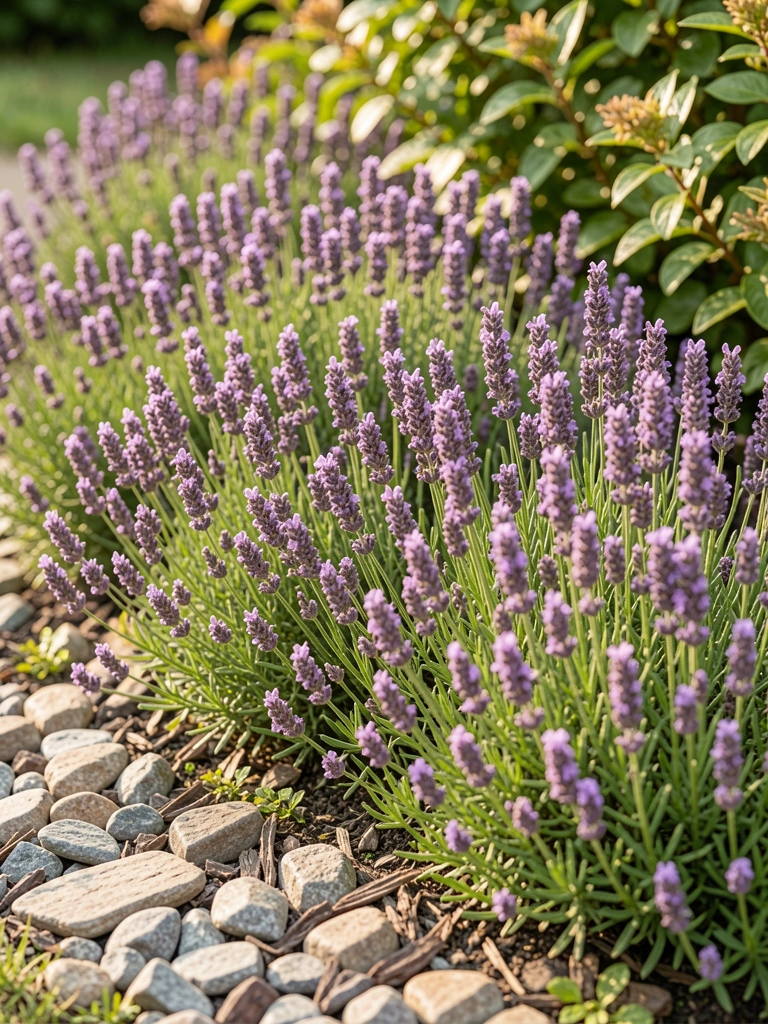
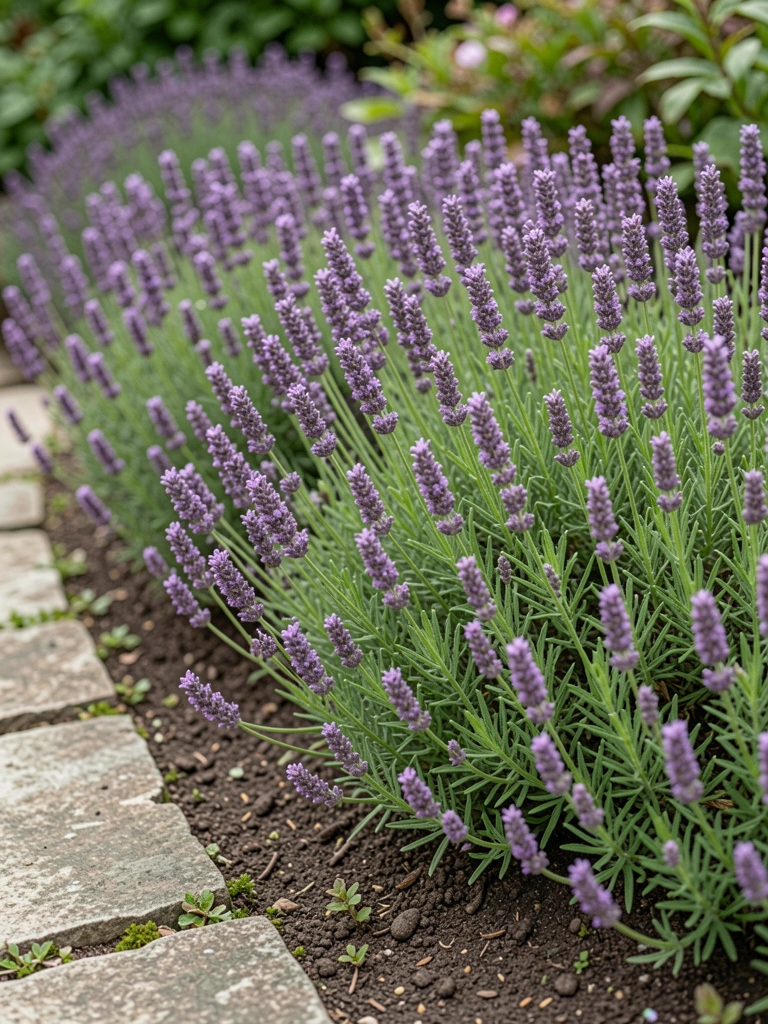
    5. Low-Growing Lavender Mounds

    Planted lavender plugs tight along my sunny border. Mounded soil slightly; they filled in thick, spilling over without invading.

    Smell hits you mowing by. Softens hard edges visually.

    Bought too many once—overcrowded. Space 12 inches apart.

    Bees love it too.

    What You’ll Need for This Look

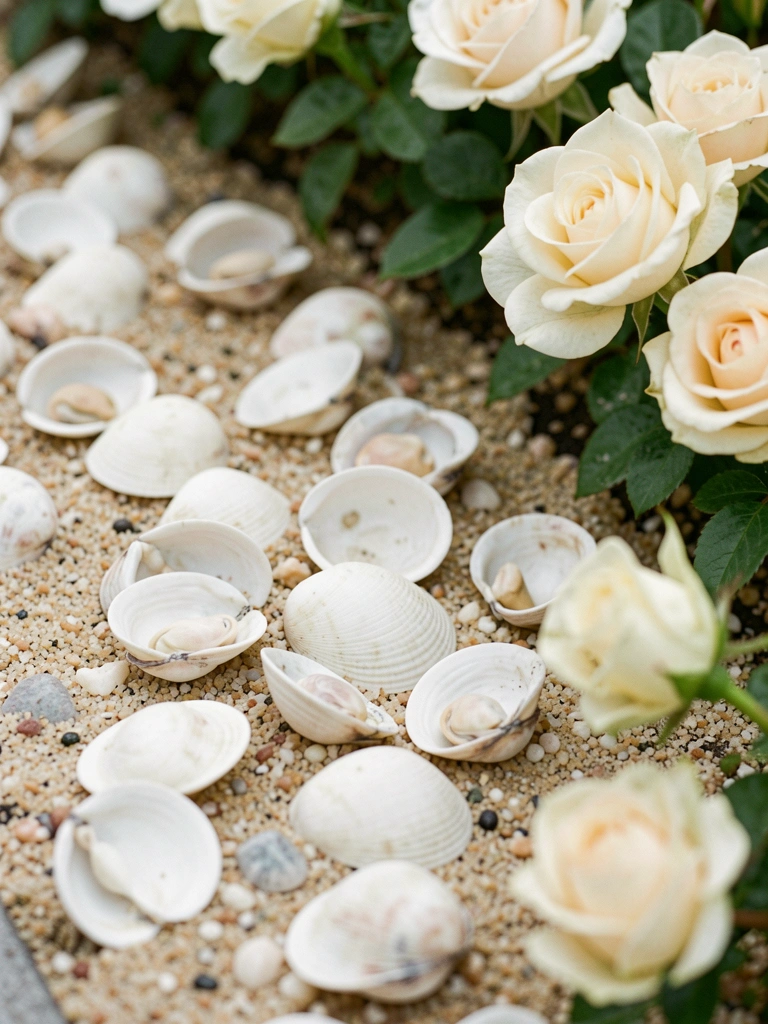
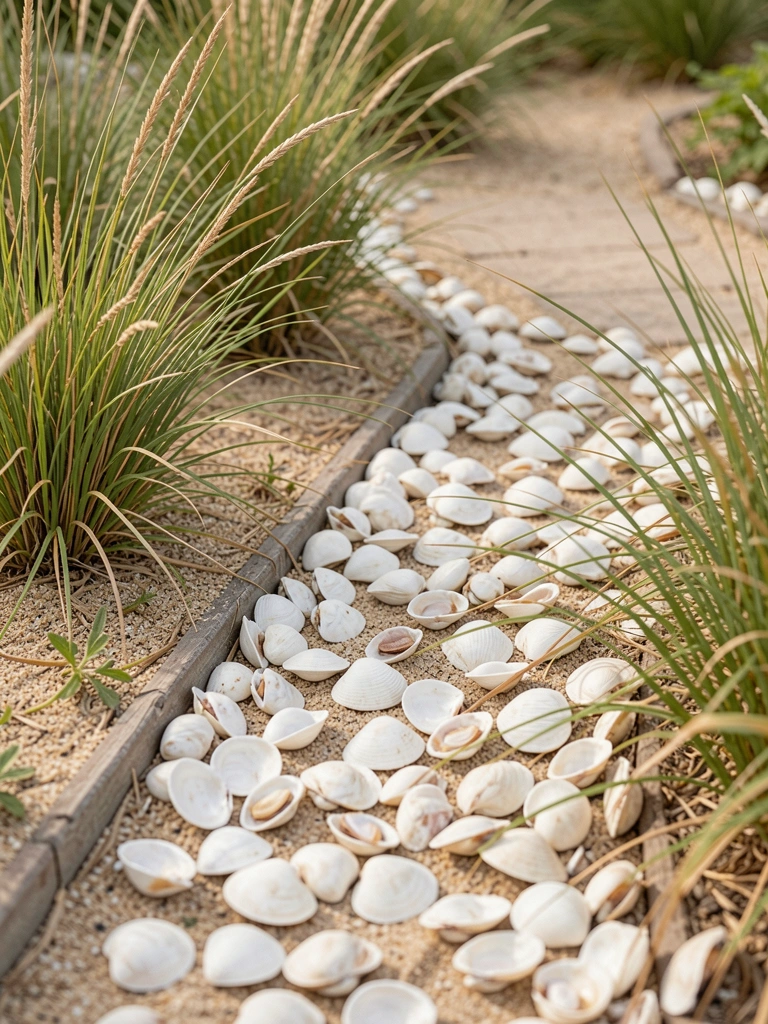
    6. Seashell Lines from Beach Trips

    Collected shells on vacation, rinsed and pressed halfway into soil along my roses. They crunch underfoot, keep soil in place.

    Adds a beachy lightness to heavy clay. Glows at dusk.

    Shells scatter in wind—glue bases if needed. I skipped, no issue.

    Quiet, happy vibe.

    What You’ll Need for This Look

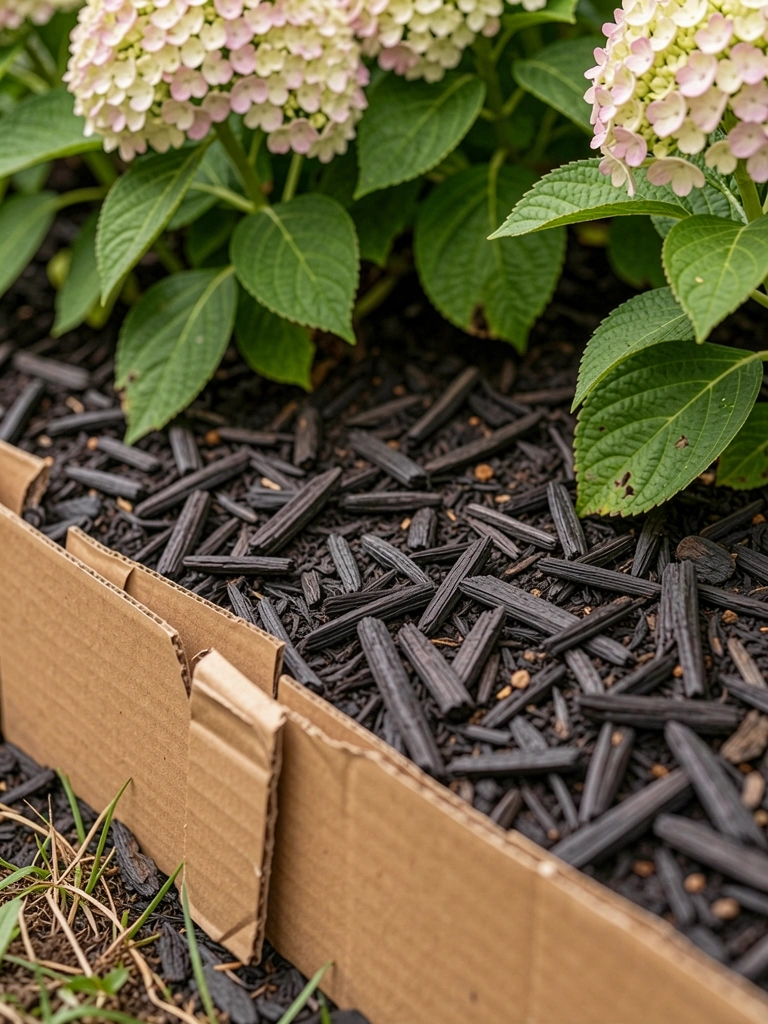
    7. Cardboard Mulch Barriers

    Layered wet cardboard under mulch along shrubs. Free from boxes, kills grass slow, breaks down feeding soil.

    Edges stay neat months. Shrubs root deeper now.

    Forgot to overlap once—weeds snuck. Double layer.

    Simple fade-in fix.

    What You’ll Need for This Look

    Final Thoughts

    Pick one idea that fits your yard. Start small—a single bed. They'll hold up better than you expect.

    Mine mix now: bottles here, gravel there. Yours can too.

    You've got this. Edges done, garden breathes.

  • 21 DIY Garden Edging Ideas Anyone Can Make

    21 DIY Garden Edging Ideas Anyone Can Make

    A few years back, my front bed looked like a war zone—weeds spilling over the lawn, no clear line anywhere. I started edging it myself one rainy afternoon, hands in the dirt. That sharp border changed everything. It made the whole yard breathe easier.

    Now, edges hold my gardens together. They stop the chaos without much work.

    You can do this too. No fancy tools. Just honest fixes that last.

    21 DIY Garden Edging Ideas Anyone Can Make

    Here are 21 DIY garden edging ideas I've used in my real yards over the years. They're straightforward, forgiving for beginners, and keep weeds at bay. Pick one that fits your space—we don't need perfection.

    1. Stacked Bricks Buried Halfway for a Clean Flower Bed Line

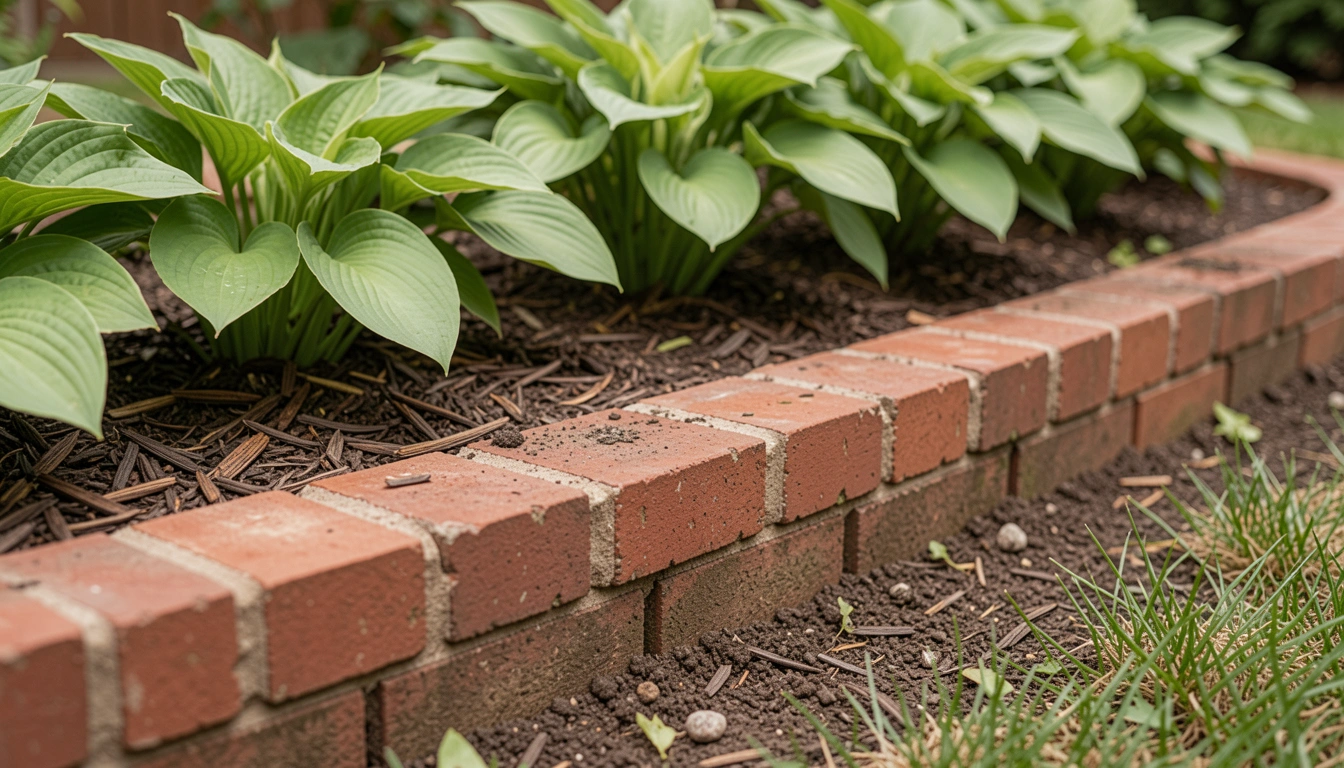
    I grabbed old bricks from a neighbor's pile and buried them halfway along my front flower bed. It gave a straight, sturdy line that stopped grass from creeping in. The red tones warmed up the green lawn instantly—made the bed pop without trying.

    Before, sod invaded everything. Now, it's neat for months. I spaced them tight, no mortar, just dirt packed around.

    Watch the depth—too shallow and they tip. In clay soil like mine, they hold forever.

    One tip: Wet the bricks first so they settle even.

    What You’ll Need for This Look

    Red clay bricks (8×4 inch)
    Garden trowel with ergonomic handle

    2. River Rocks Lined in a Shallow Trench Border

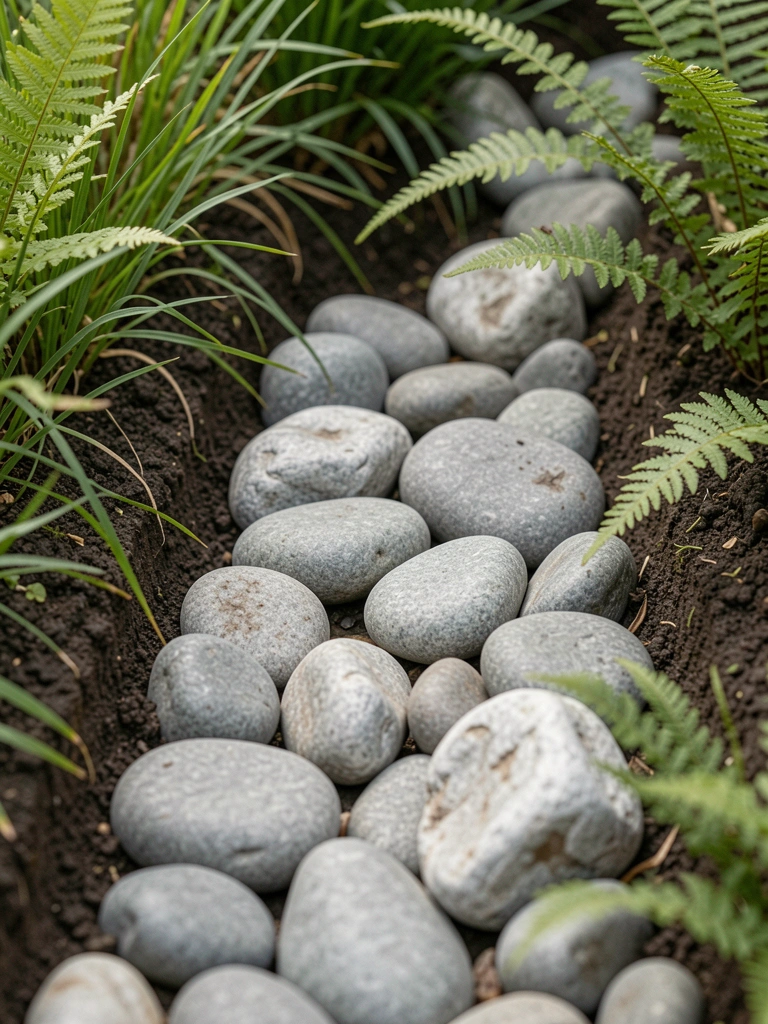
    My side yard sloped bad, so I dug a shallow trench and dropped in smooth river rocks. They curved gently around the hostas, creating a soft, natural edge that water drains through easy. The grays blended with the soil—feels calm, not showy.

    It fixed mud overflow after rain. Rocks shifted at first till I topped with gravel.

    Pay attention to rock size—fist-sized grip best. I learned that after smaller ones washed away.

    What You’ll Need for This Look

    Natural river rocks (mixed sizes, 25 lb bag)
    Landscape gravel pea stone (0.5 cu ft)

    3. Pressure-Treated Logs Sliced Thin for Rustic Path Edges

    I cut leftover 4×4 posts into rounds and laid them along my veggie path. The wood's warm brown aged nice against the mulch—holds the edge firm, keeps feet out of beds. Smells good too after rain.

    It straightened my wonky walkway. Logs sank a bit in wet soil, but tamped down fine.

    Bury ends deep or they rot fast—I forgot once.

    Tip: Seal ends with oil for longer life.

    What You’ll Need for This Look

    Pressure-treated landscape timbers (4x4x48 inch)
    Hand saw for wood cutting

    4. Recycled Glass Bottles Upside Down as Quirky Borders

    I buried old wine bottles neck-down around my herb patch. The glass caught light just right, edging the lavender without cost. It sparkles subtle, draws eyes to the plants.

    Weeds can't push through necks. One broke when digging—wear gloves.

    Space even or it looks off. Dig slots first.

    What You’ll Need for This Look

    Gardening gloves with nitrile coating
    Landscape fabric pins (6 inch)

    5. Low-Growing Lavender Hedge for Fragrant Bed Edges

    Planted 'Munstead' lavender tight along my rose bed—grows knee-high, fills with scent on hot days. The silver leaves edge soft, bees love it. No trimming needed much.

    It hid ugly grass line. Overwatered once, drowned a few—now mulch heavy.

    Choose full sun spots. Trim after bloom.

    What You’ll Need for This Look

    Lavender 'Munstead' plants (4 inch pots)
    Organic mulch bark nuggets (2 cu ft)

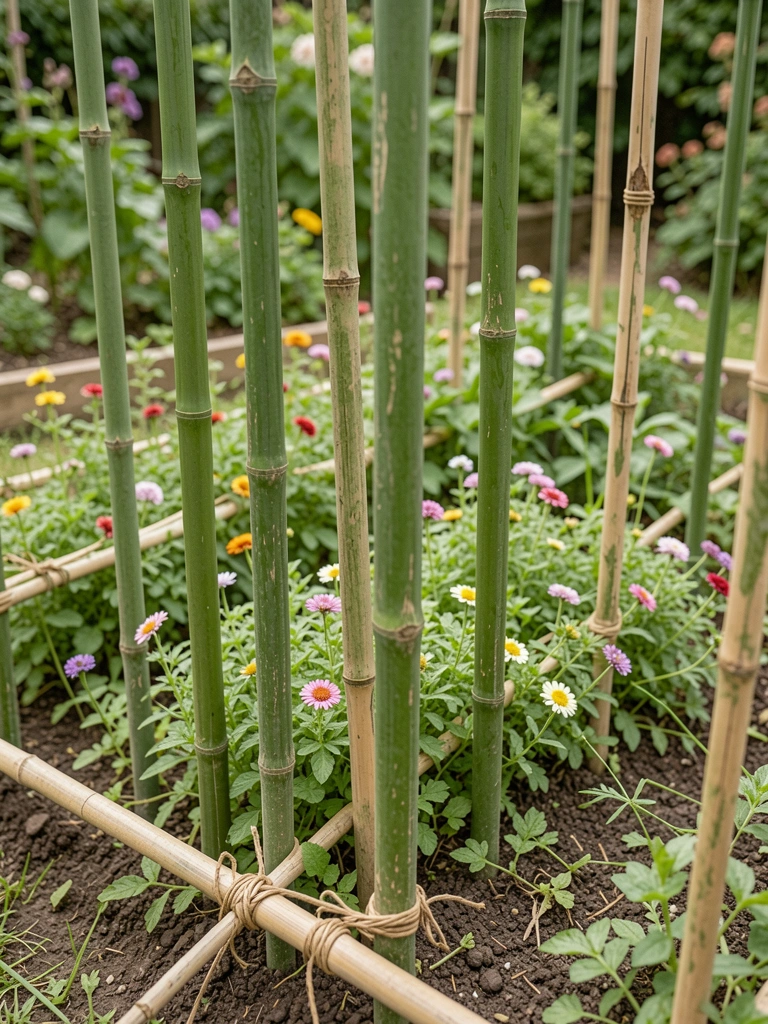
    6. Bamboo Stakes Driven in for Tall, Flexible Borders

    Hammered bamboo stakes every foot along my tall phlox bed. Tied with twine for curve—they sway gentle in wind, block invasion clean. Light and cheap.

    Wind snapped thin ones once—go thicker.

    Drive deep, 18 inches min.

    What You’ll Need for This Look

    Bamboo garden stakes (1 inch x 36 inch)
    Natural jute twine (200 ft)

    7. Painted Pebbles in a Flat Row for Kid-Friendly Edges

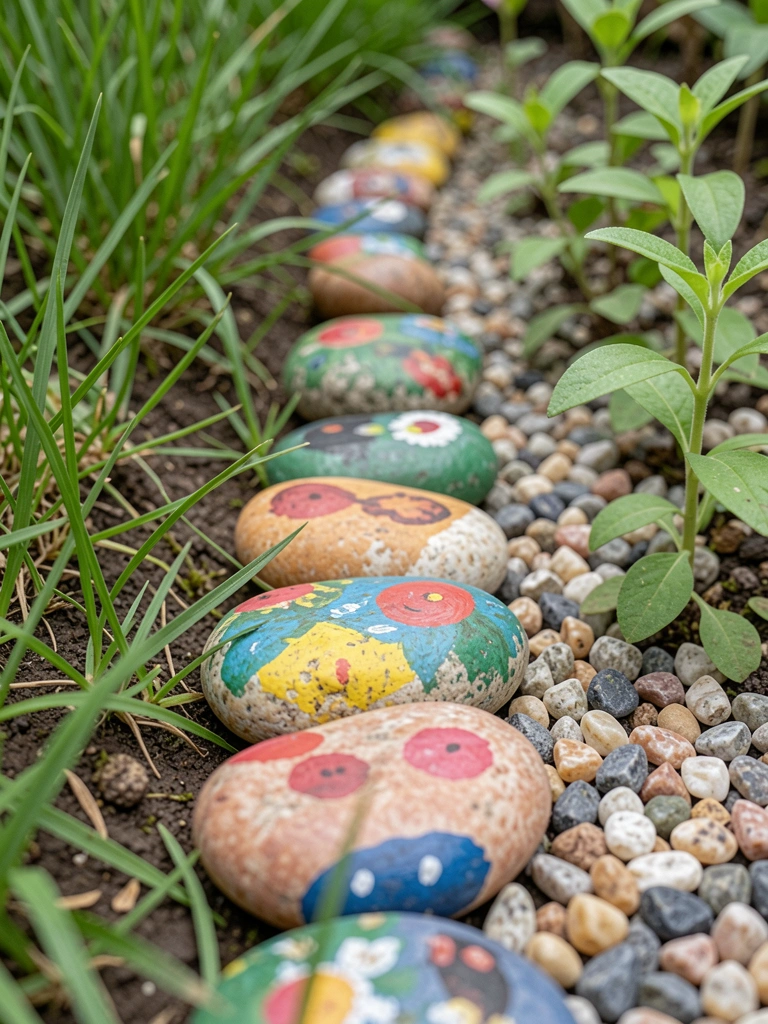
    My kids painted flat pebbles blue and yellow, laid flat along the play bed. Bright pops guide little feet, no tripping. Fades soft over time.

    Rocks scattered till edged with wire.

    Use outdoor paint only.

    What You’ll Need for This Look

    Smooth river pebbles (flat, 5 lb)
    Outdoor acrylic paint set (12 colors)

    8. Mini Railroad Ties for Straight Veggie Patch Lines

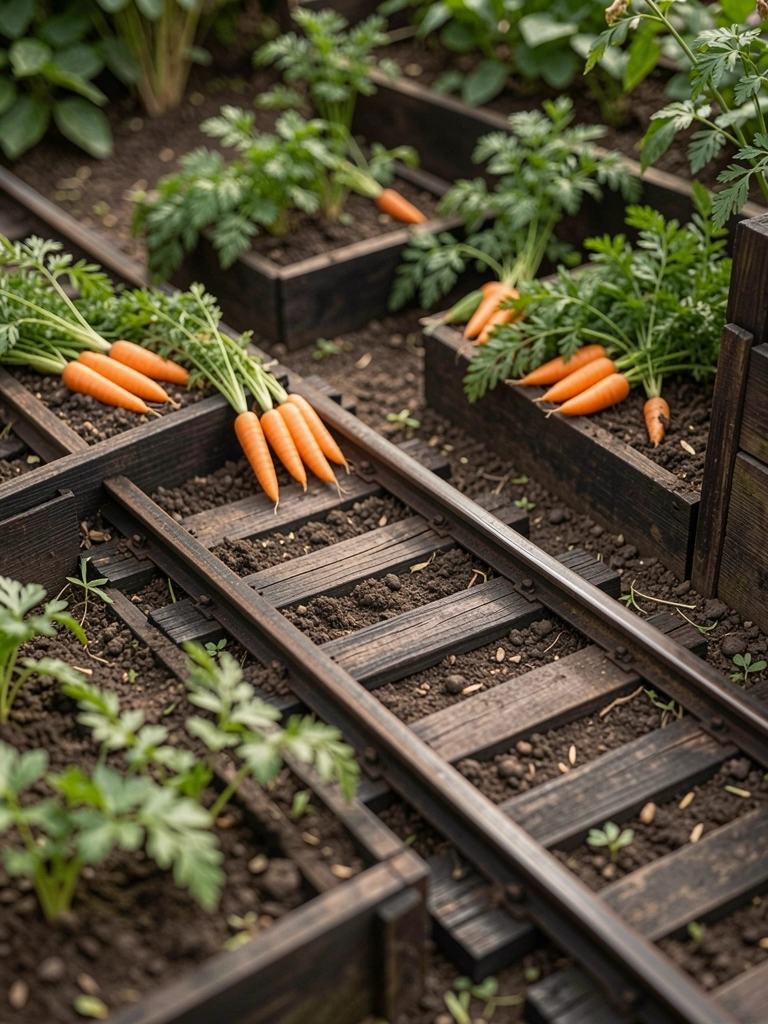
    Used short ties to frame my raised veggie boxes. Heavy wood anchors perfect, soil stays in. Earthy scent mixes with tomatoes.

    Slipped on slope—level first.

    Short lengths easiest.

    What You’ll Need for This Look

    Landscape railroad ties (mini 4x6x24 inch)
    Level tool 24 inch

    9. Seashells Buried Along Coastal-Style Borders

    Collected shells from a trip, half-buried around dune grass. Shimmery whites reflect sun, edge feels beachy calm. Crunches nice underfoot.

    Small ones lost to wind—mix sizes.

    Rinse salt off first.

    What You’ll Need for This Look

    Assorted seashells bulk (5 lb)
    Coarse sand mulch (20 lb)

    10. Bent Metal Strips for Modern Sleek Lawn Edges

    Bent thin steel strips with pliers for my modern back lawn. Invisible almost, slices grass clean. Sharp line makes mowing easy.

    Rusted fast—paint or powder coat.

    Hammer stakes in ends.

    What You’ll Need for This Look

    Steel landscape edging (1/16 inch thick, 40 ft)
    Black spray paint rust-resistant

    11. Mulch Moats with Inset Larger Stones

    Dug moats, filled cedar mulch, pressed big stones in spots. Soft barrier, stones anchor—yard feels grounded. Suppresses weeds deep.

    Mulch faded—refresh yearly.

    Stones stop erosion.

    What You’ll Need for This Look

    Cedar mulch fine (2 cu ft)
    Decorative landscape boulders (12 inch)

    12. Pallet Wood Slats Hammered Vertical

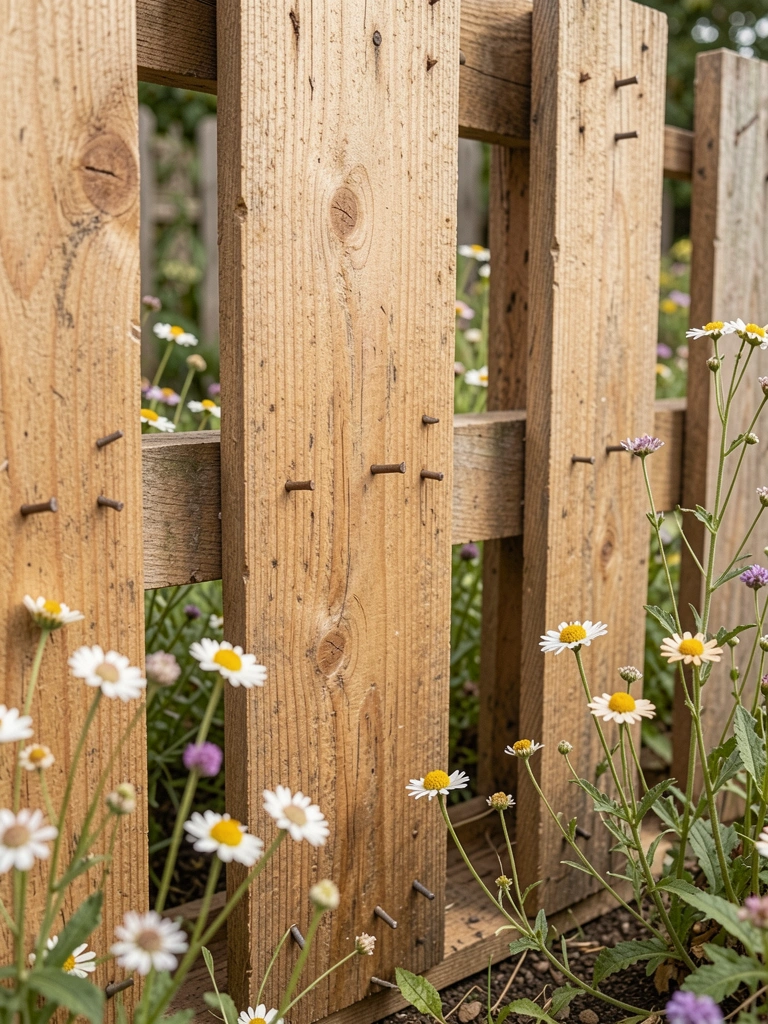
    Disassembled pallets, hammered slats vertical along fence bed. Rustic texture matches old house, blocks roots strong. Aged gray quick.

    Splintered hands—sand rough spots.

    Nail caps prevent trips.

    What You’ll Need for This Look

    Recycled pallet wood slats
    Galvanized nails 3 inch (1 lb)

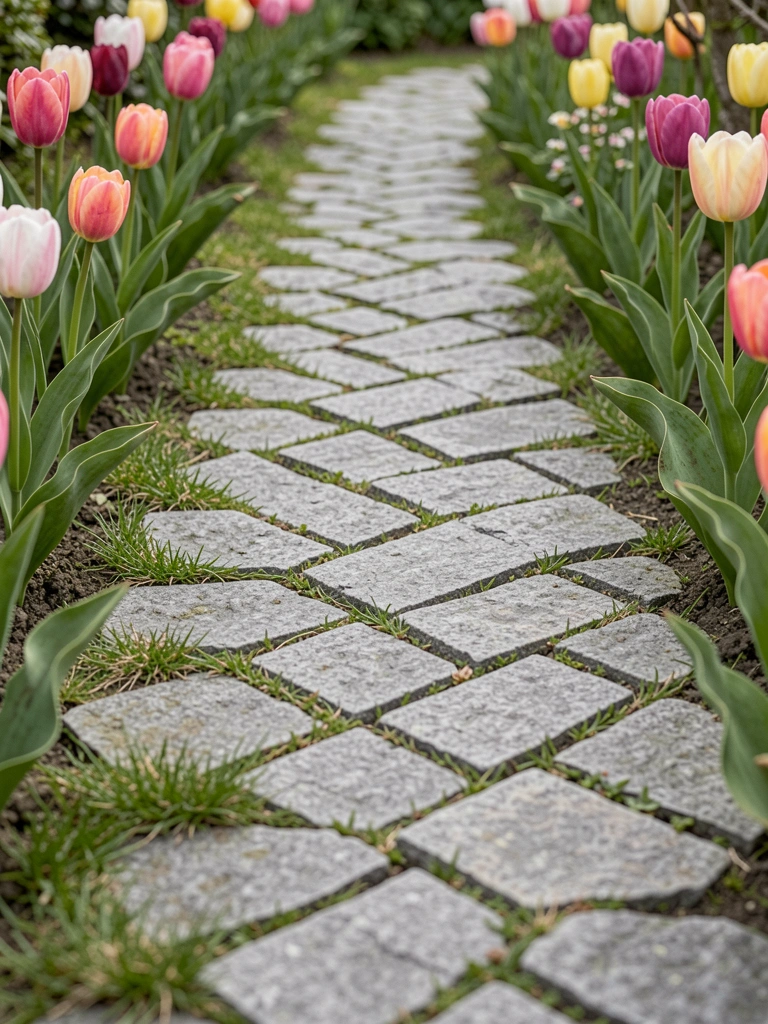
    13. Flat Cobblestones in a Zigzag Pattern

    Laid flat cobbles zigzag around bulbs. Old-world feel, flexible for curves. Steps stable now.

    Weeds in gaps—sand fill.

    Level base key.

    What You’ll Need for This Look

    Granite cobblestones flat (12×12 inch)
    Play sand 50 lb

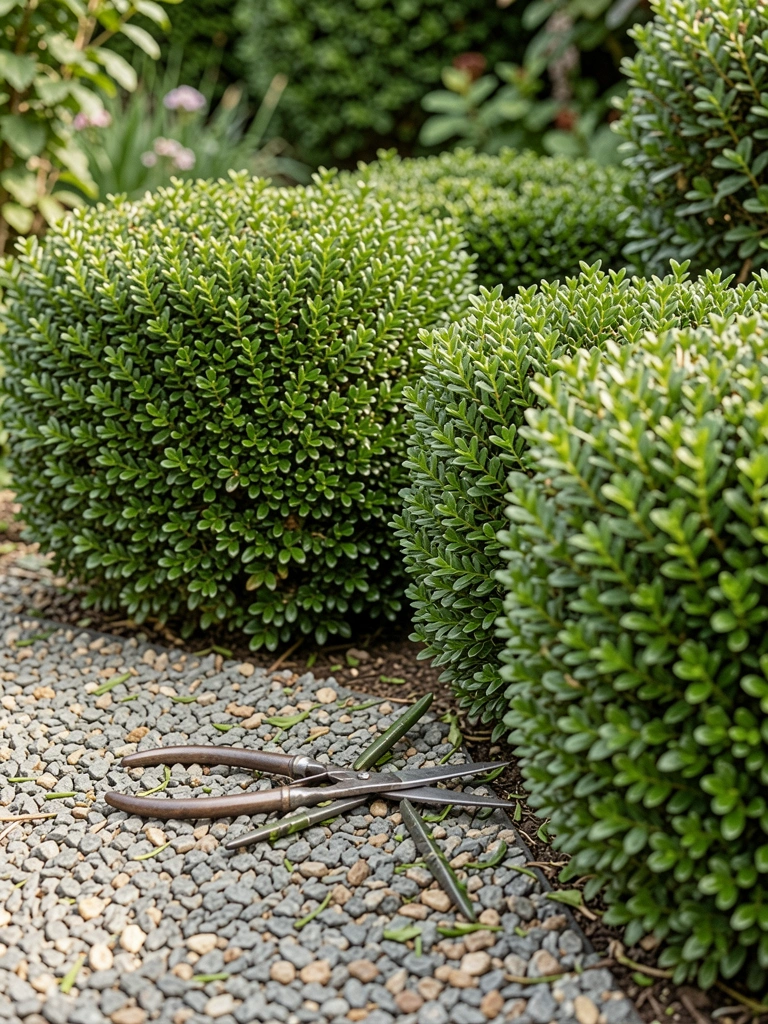
    14. Dwarf Boxwood Clippings for Formal Low Hedges

    Planted boxwood starts tight for knee-high hedge. Trim twice yearly—crisp edge, evergreen winter hold. Deer nibble less.

    Planted too deep once—lifted.

    Sun partial best.

    What You’ll Need for This Look

    Dwarf boxwood plants (1 gallon)
    Hedge shears manual

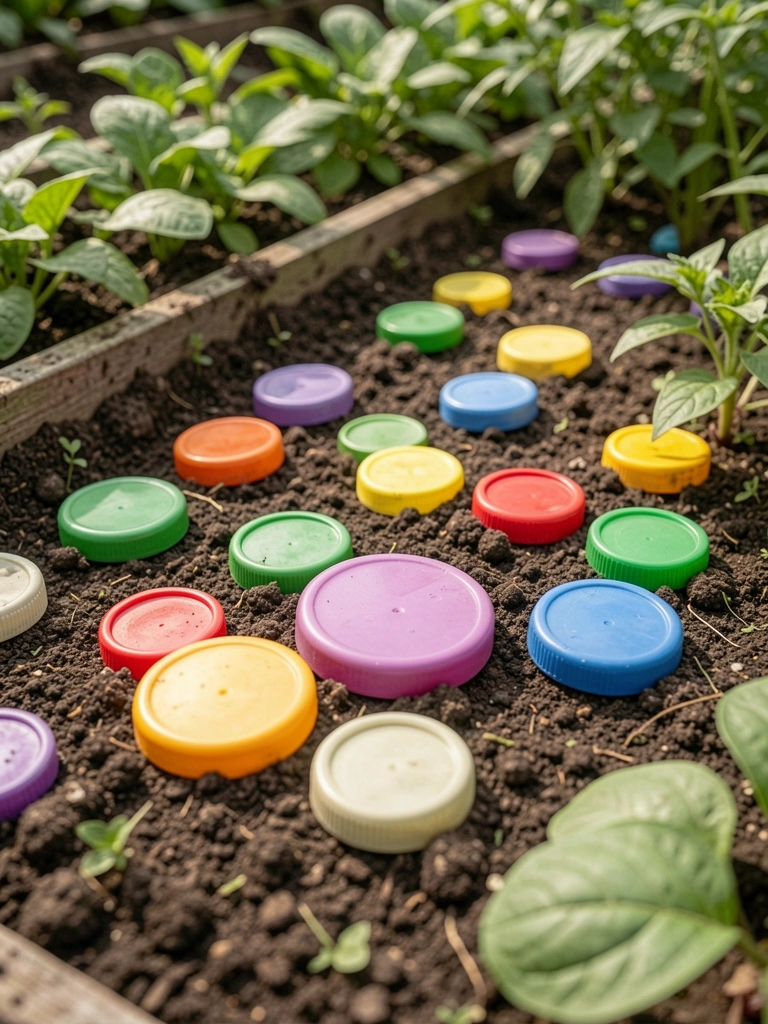
    15. Plastic Bottle Caps Pressed into Soil Lines

    Saved caps, pressed row into soft soil around tomatoes. Free color dots edge rows clear. Kids helped sort.

    Faded sun—dark colors last.

    Press deep.

    What You’ll Need for This Look

    No products needed—use household recyclables for extras
    Garden knee pads

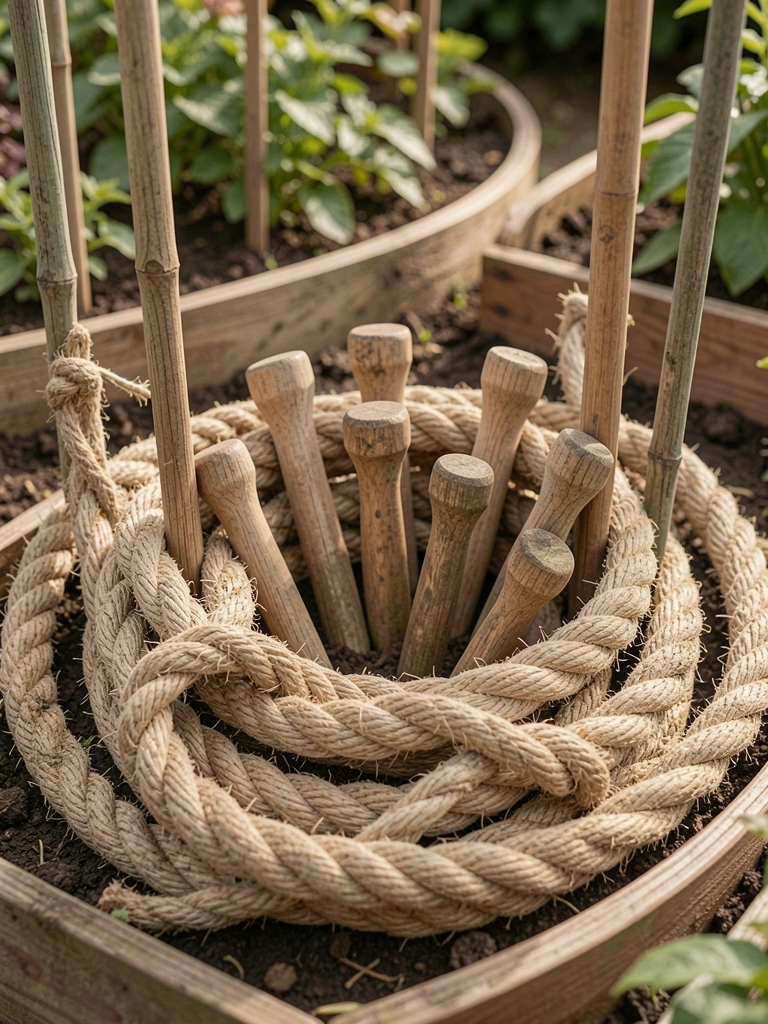
    16. Twisted Rope Coiled with Wooden Pegs

    Coiled heavy rope, pegged with sticks along curves. Nautical soft edge, moves with soil shift. Weathered nice.

    Rope rotted wet—treat or replace.

    Peg every coil.

    What You’ll Need for This Look

    Heavy sisal rope 1.5 inch (50 ft)
    Wooden garden stakes (18 inch)

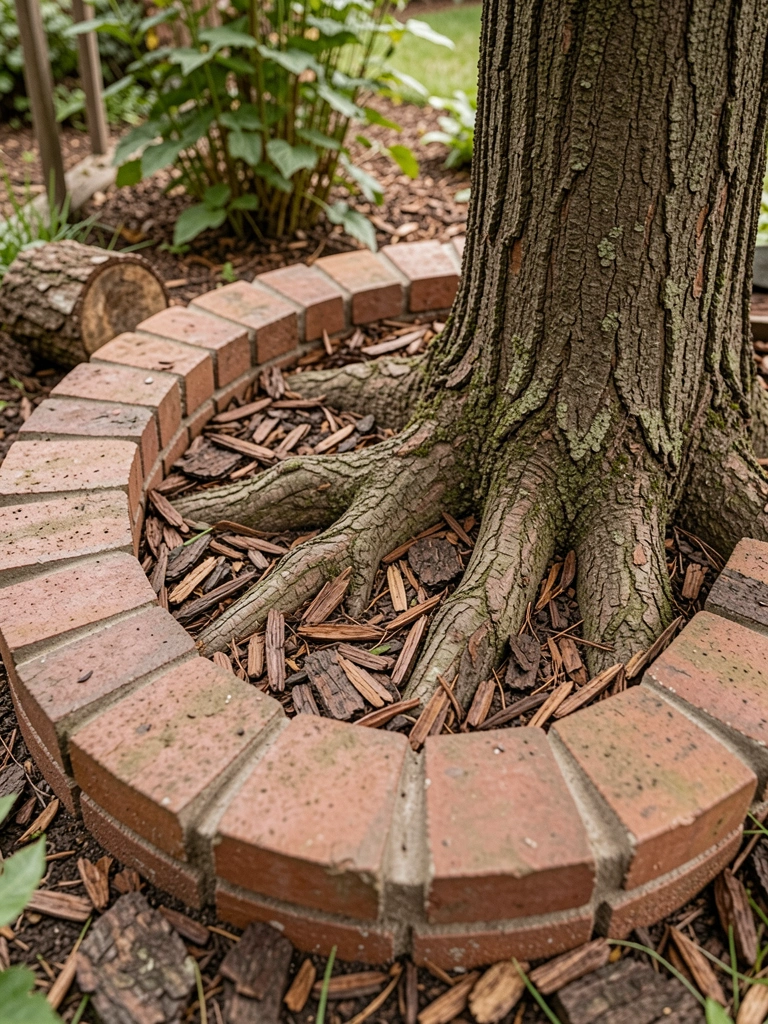
    17. Half-Moon Bricks Arched Around Trees

    Split bricks into half-moons, arched tree bases. Circles protect roots, neat mulch hold. Shadows play nice.

    Chips flying—score first.

    Radiate even.

    What You’ll Need for This Look

    Standard bricks for splitting (8×4)
    Masonry chisel

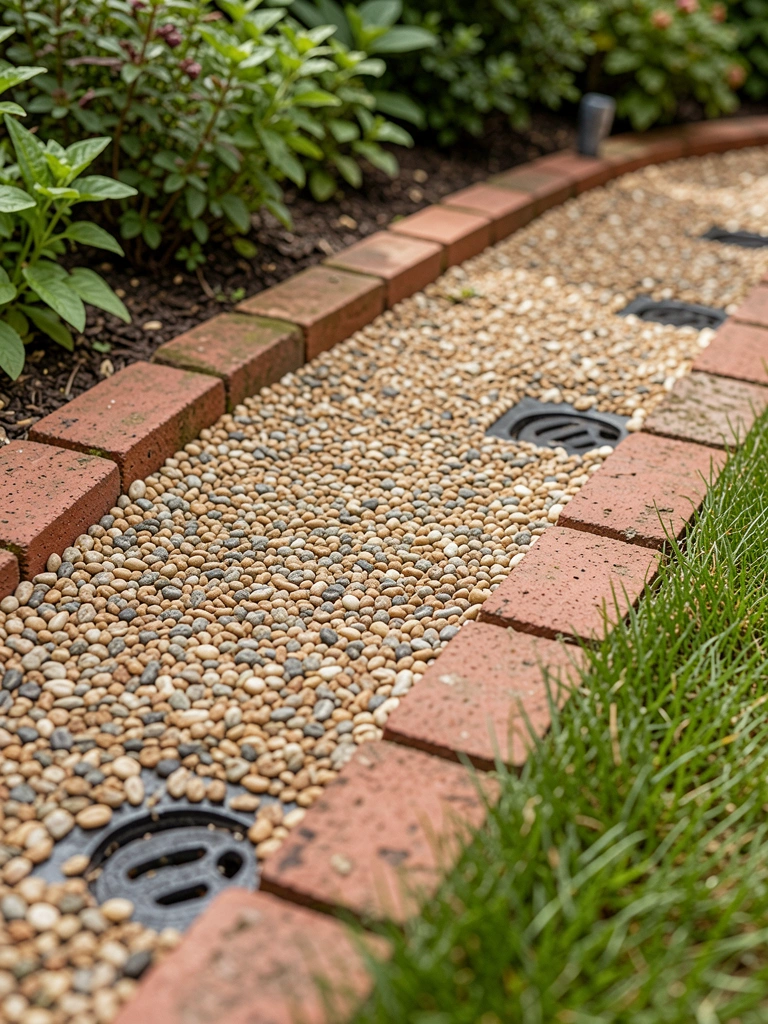
    18. Gravel Strips Flanked by Brick Caps

    Filled strips with gravel, capped bricks. Drains water fast, clean walk line. Low upkeep.

    Gravel migrates—landscape cloth under.

    Brick glue optional.

    What You’ll Need for This Look

    Pea gravel 0.5 cu ft
    Landscape fabric roll (3 ft x 50 ft)

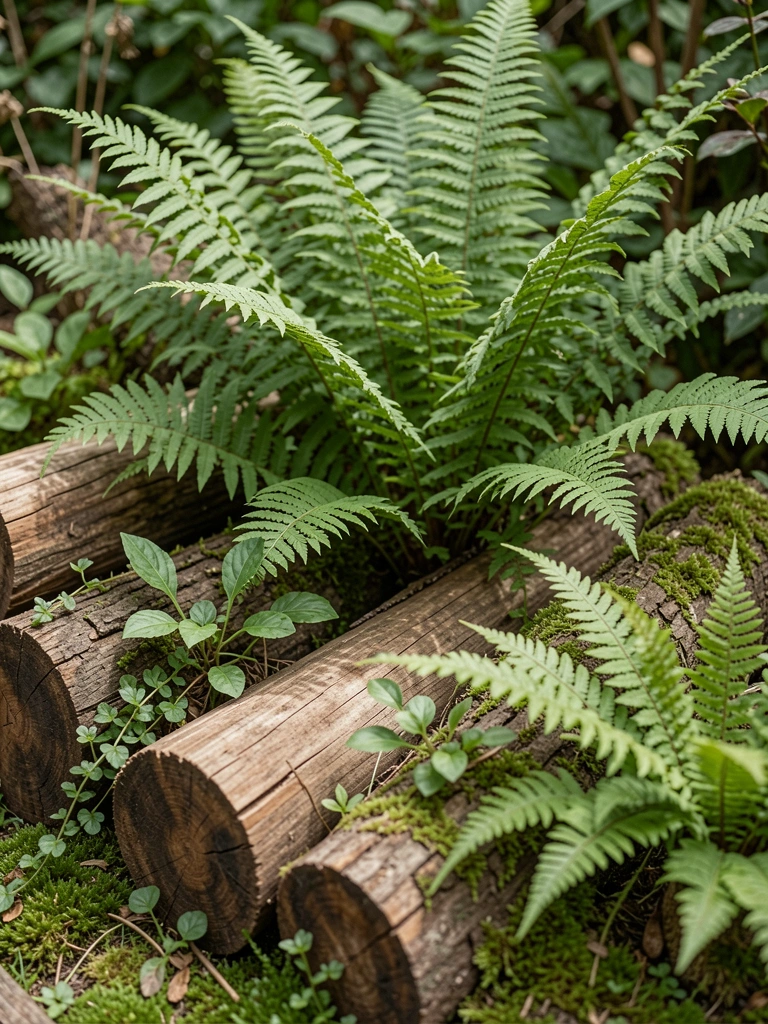
    19. Fern Fronds Tucked Behind Log Rolls

    Rolled logs, tucked native ferns behind. Shady edge softens wood, spills natural. Thrives cool spots.

    Ferns spread wild—thin yearly.

    Moist soil key.

    What You’ll Need for This Look

    Native fern plants (Autumn Brilliance)
    Log rounds pressure-treated

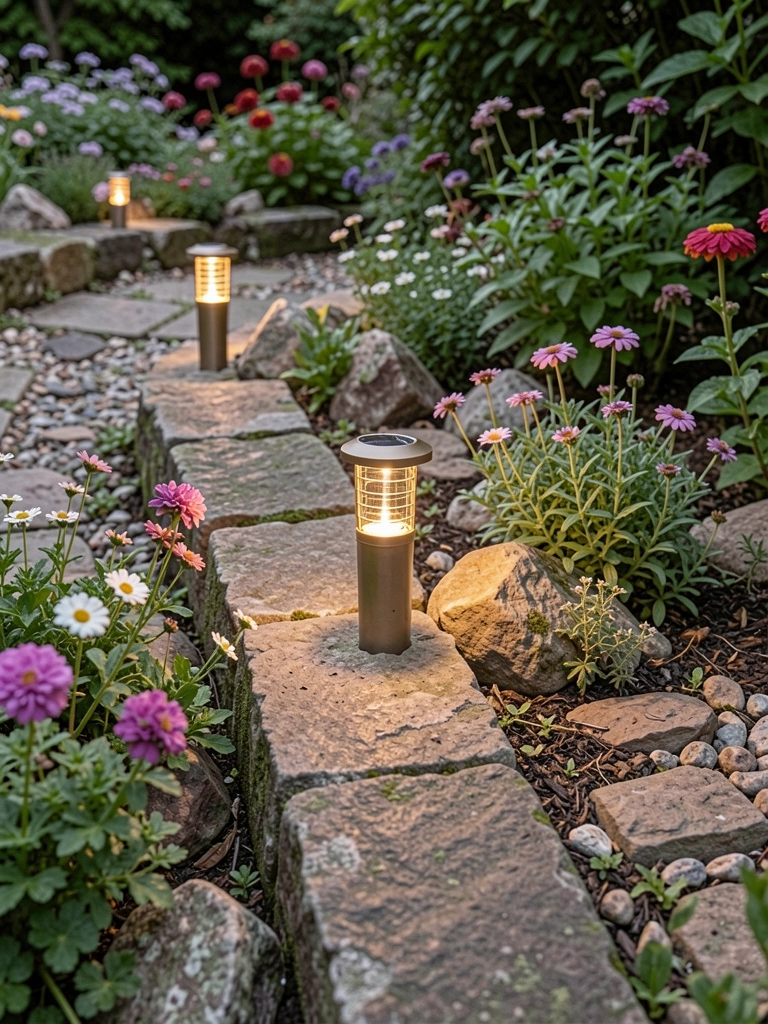
    20. Solar Lights Spaced Along Stone Borders

    Stuck solar stakes between stones—night edges glow soft, safe walks. Day, they hide. No wires.

    Cloudy days dim—full sun charge.

    Angle down.

    What You’ll Need for This Look

    Solar pathway lights warm white (8 pack)
    Natural stone edging pieces

    21. Woven Willow Branches for Curvy Cottage Edges

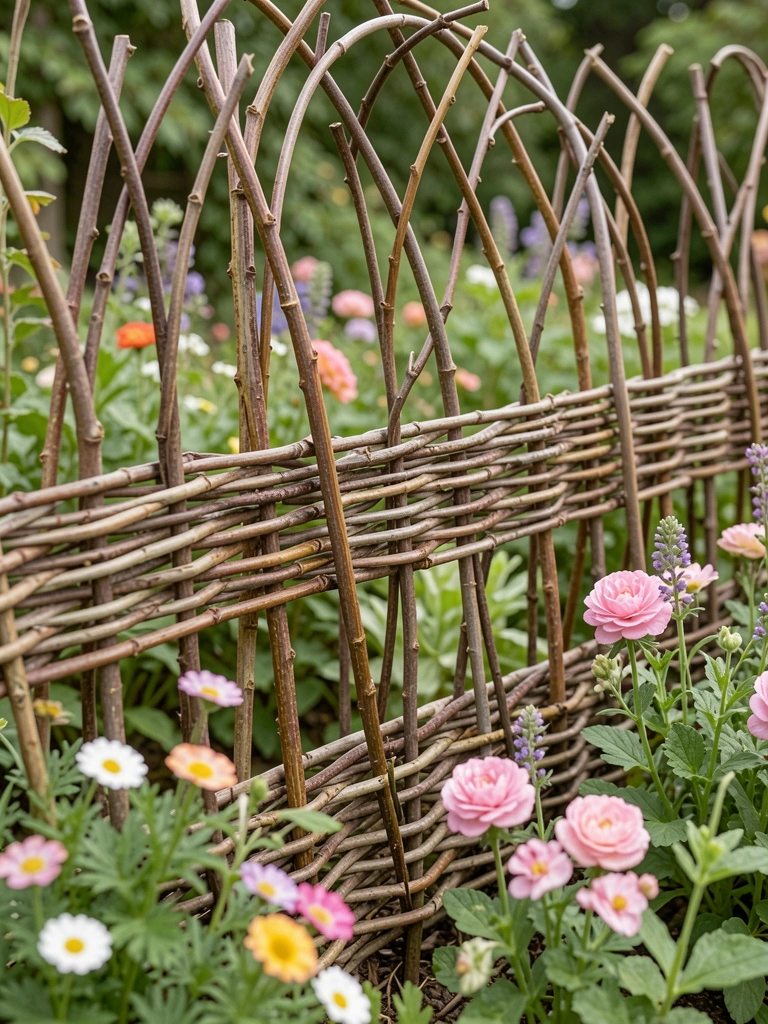
    Soaked willow whips, wove between stakes. Curves hug beds cozy, lives with seasons. Gold fall color.

    Dries stiff—wet weave.

    Trim sprouts.

    What You’ll Need for This Look

    Willow branches flexible (6 ft lengths)
    Willow stakes 5 ft

    Final Thoughts

    Start with one edge that bugs you most. These ideas build slow confidence—no rush to do the yard at once.

    They've kept my gardens sane through mistakes and growth spurts. Yours will settle in too.

    Grab dirt time this weekend. You'll see the shift.
  • 11 Stylish Garden Edging Ideas to Define Borders

    11 Stylish Garden Edging Ideas to Define Borders

    I remember staring at my front bed last spring. Grass creeping in everywhere, no clear line between lawn and plants. It felt sloppy, like the garden couldn't breathe.

    One afternoon, I grabbed some bricks and edged it. Suddenly, everything settled. The beds looked held, intentional.

    That small fix pulled me back outside more. Edges matter—they frame what grows.

    11 Stylish Garden Edging Ideas to Define Borders

    These 11 ideas come from yards I've worked on, including my own. Real borders that last through seasons. Pick one, start small—you'll see the difference right away.

    1. Curved Brick Edges That Soften Pathways

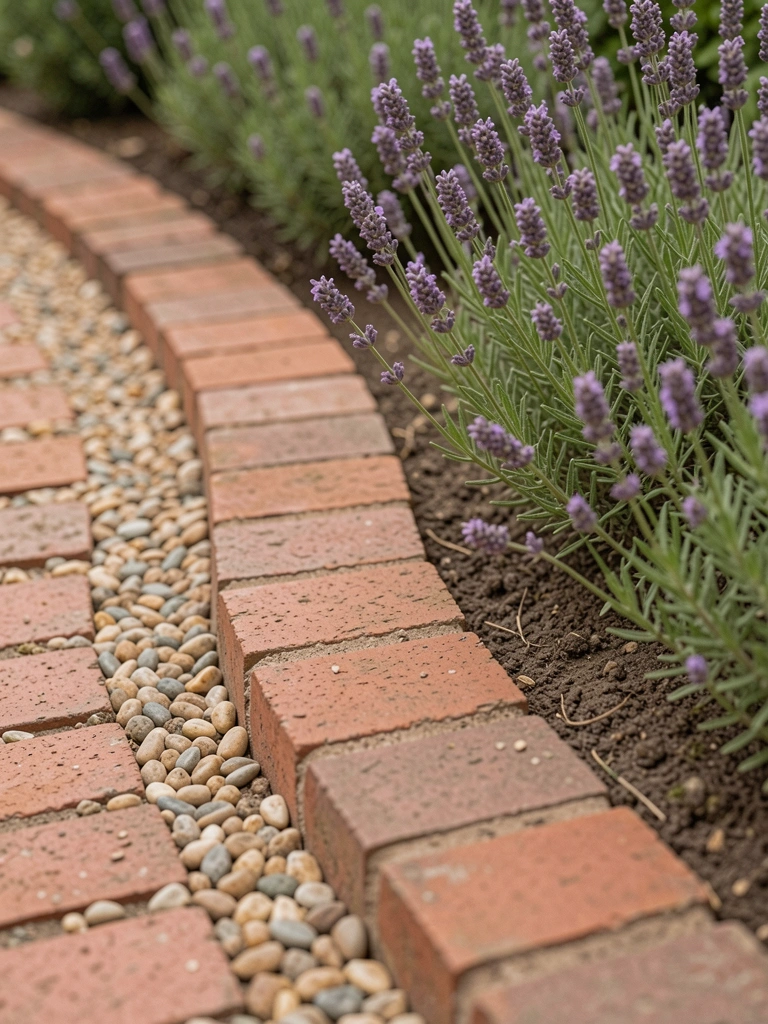
    I laid these bricks along my side path three years ago. They curve gently, leading your eye without harsh lines. The red tones warm up the gray gravel I paired them with.

    Before, the path blurred into the lawn. Now, it feels like a quiet walk, flowers spilling just over the top.

    Dig a shallow trench first—about 4 inches deep. Set bricks on sand for stability. I skipped that once; they shifted after rain.

    In my yard, they hold back hostas without bulging. Simple, and they age nicely.

    What You’ll Need for This Look

    2. Stacked Flat Stones for Low Retaining Walls

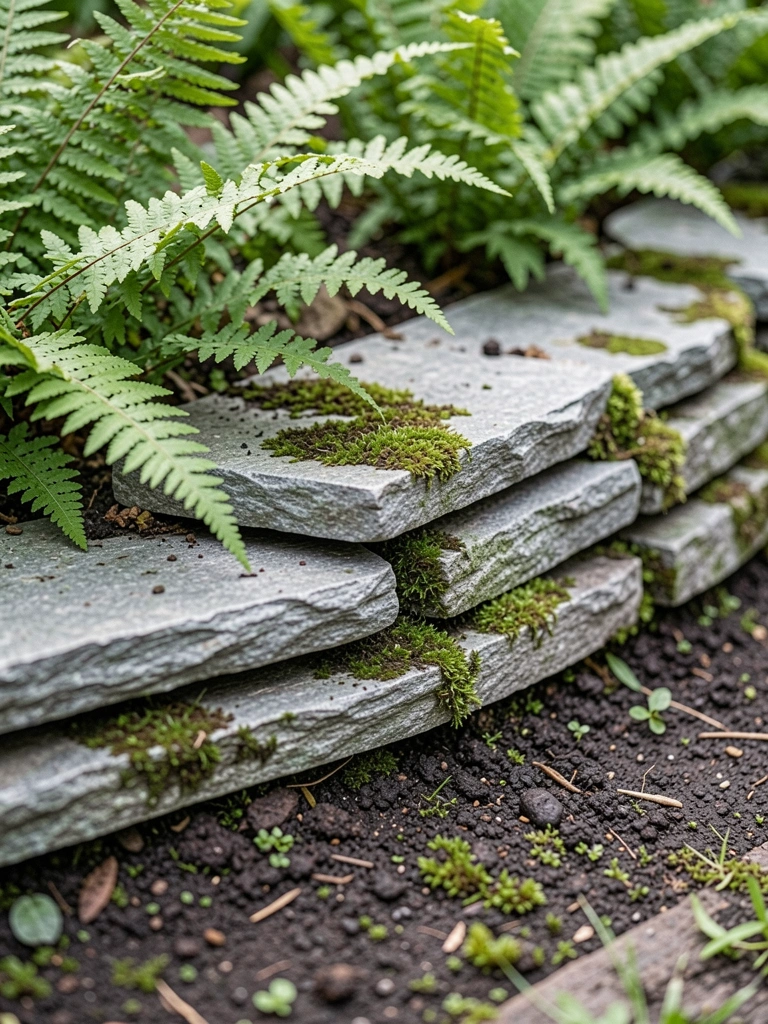
    Stacked these flagstones around my backyard veggie bed. They're flat-topped, about 6 inches high, holding soil back without looking forced.

    It started as a fix for washout—dirt spilling onto the grass. Now, the bed feels tucked in, herbs brushing the stones.

    Pick stones of similar thickness. I mixed sizes once; it wobbled until I repacked.

    They warm under sun, cozy against green leaves. Lasts years with no upkeep.

    What You’ll Need for This Look

    3. Halved Log Rounds Lining Flower Borders

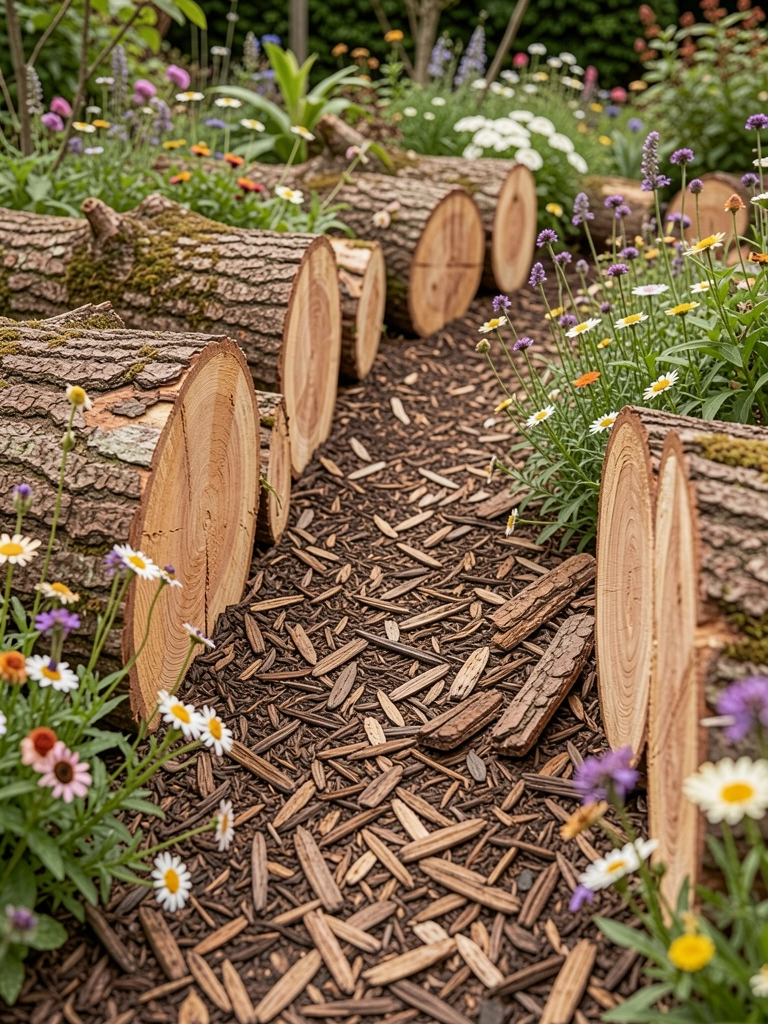
    I split cedar logs in half for my front border. Buried them halfway—keeps them steady, lets bark weather to gray.

    The flowers pop against the wood grain. Before, the bed straggled into lawn. Now, it's framed, soft and natural.

    Bury deep enough; mine tipped early from frost heave.

    Feels like cottage edges, but holds up. Rabbits hop over without digging under.

    What You’ll Need for This Look

    4. Thin Steel Strips for Crisp Modern Lines

    Hammered these black steel strips into my side yard. 4 inches tall, they slice clean lines between lawn and shrubs.

    It tamed the chaos—grass invading everything. Now, the space breathes, modern but not cold.

    Pound them straight; I bent one rushing. Use a mallet.

    Rust patina softens them over time. Pairs with gravel paths perfectly.

    What You’ll Need for This Look

    5. Creeping Thyme Mats Spilling Over Gravel

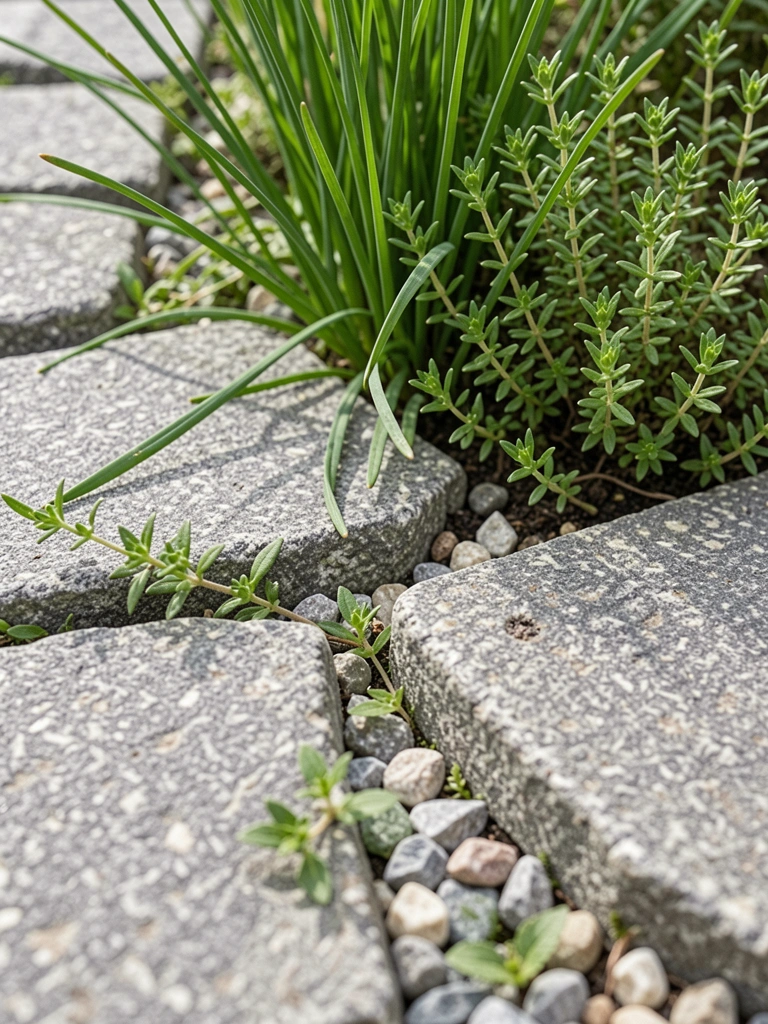
    Planted thyme plugs along my gravel walk. It creeps low, flowers pink in summer, softens the edge.

    No more bare dirt washing out. The scent hits when you brush it—pure joy.

    Water new plants steady first month. Mine browned from neglect.

    Low upkeep, bees love it. Defines without blocking view.

    What You’ll Need for This Look

    6. Weathered Timber Frames Around Raised Beds

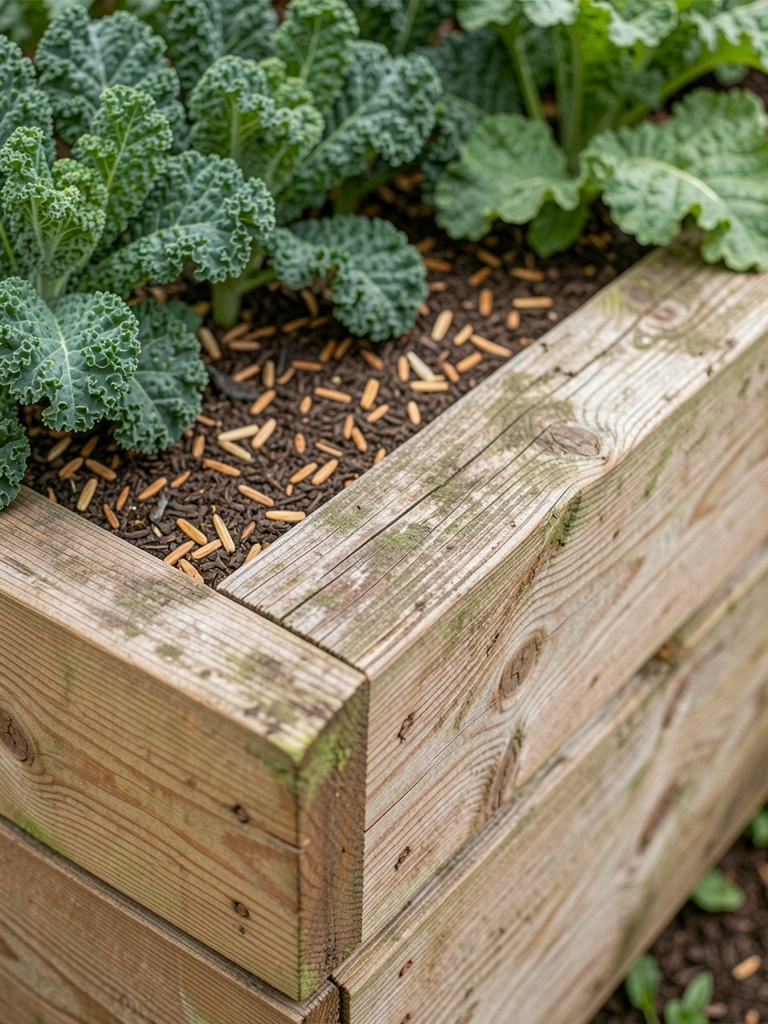
    Framed my raised beds with 4×6 timbers. Screwed corners secure, they lift soil 12 inches.

    Veggies thrive contained—no sprawl. Yard feels organized, beds like little rooms.

    Treat ends with oil; mine cracked one winter untreated.

    Earthy look, holds heavy soil. Easy to reach inside.

    What You’ll Need for This Look

    7. Recycled Bottle Borders That Catch Light

    Buried old wine bottles necks-down along my herb bed. Glass glints, edges sparkle at dusk.

    Cheap fix for jagged lawn line. Herbs nestle close, feels playful.

    Clean bottles well—dirt buildup happened to me.

    Weeds grow less between necks. Unique without trying.

    What You’ll Need for This Look

    8. Bundled Bamboo Poles for Tropical Curves

    Tied bamboo poles in bundles for my shady corner. Curves hug the ferns, adds height without bulk.

    Transformed a weedy patch. Feels lush, airier.

    Secure with wire—loose ones fell in wind for me.

    Fades to silver, blends year-round.

    What You’ll Need for This Look

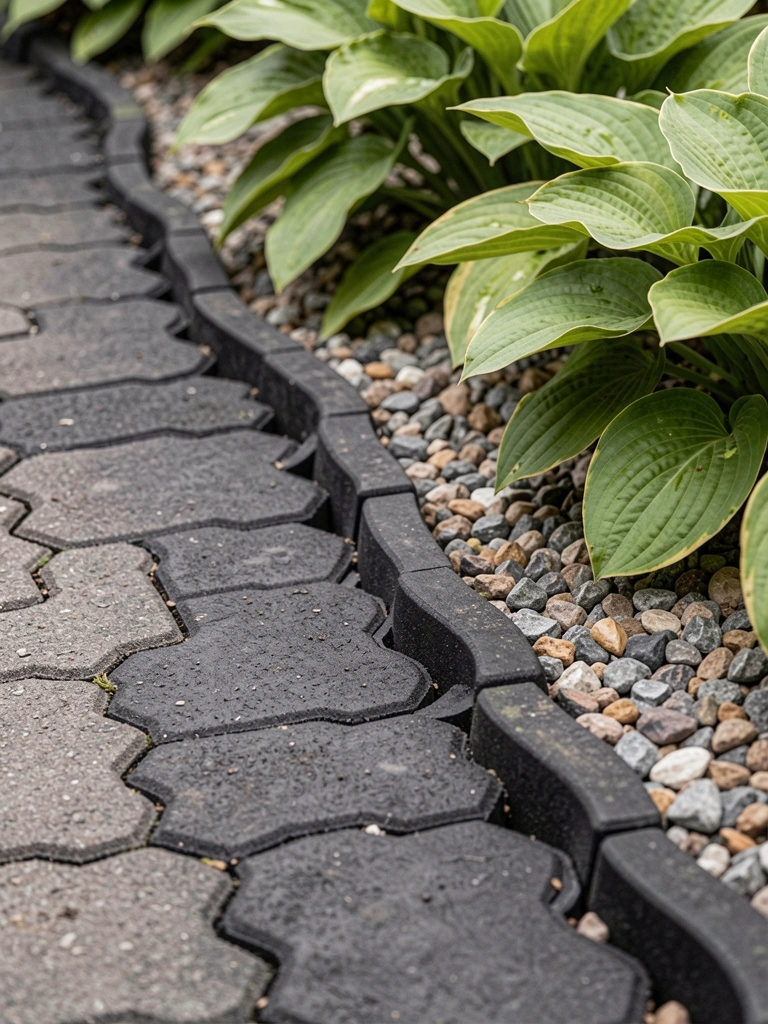
    9. Interlocking Rubber Pavers for Flexible Paths

    Clicked these rubber pavers around my patio bed. Flexible for curves, soft underfoot.

    No more mud splash. Clean line, drains fast.

    Cut with saw carefully—jagged edge on mine showed.

    Durable, recycles tires. Kid-friendly yard.

    What You’ll Need for This Look

    10. Cobblestone Halves in Herb-Lined Curves

    Halved cobbles for my kitchen herbs. Low curve keeps them tidy, smells great up close.

    Spillover softened the stone. No overrun grass.

    Level base key—mine settled uneven at first.

    Classic feel, practical for picking.

    What You’ll Need for This Look

    11. Mulch Mounds Edged with Thin Metal

    Used galvanized metal for mulch mounds in back. Thin strips mound soil high, plants root deep.

    Yard gained depth—no flat mess. Flowers stand tall.

    Overlap ends tight; gaps let weeds in for me.

    Clean, lets mulch breathe. Scales easy.

    What You’ll Need for This Look

    Final Thoughts

    Edges don't need perfection. One good border shifts your whole garden—makes it yours.

    Try the simplest first, like bricks or plants. Watch how it settles in.

    You've got this. Your yard waits.

  • How to Install Lights in Garden Pergola

    How to Install Lights in Garden Pergola

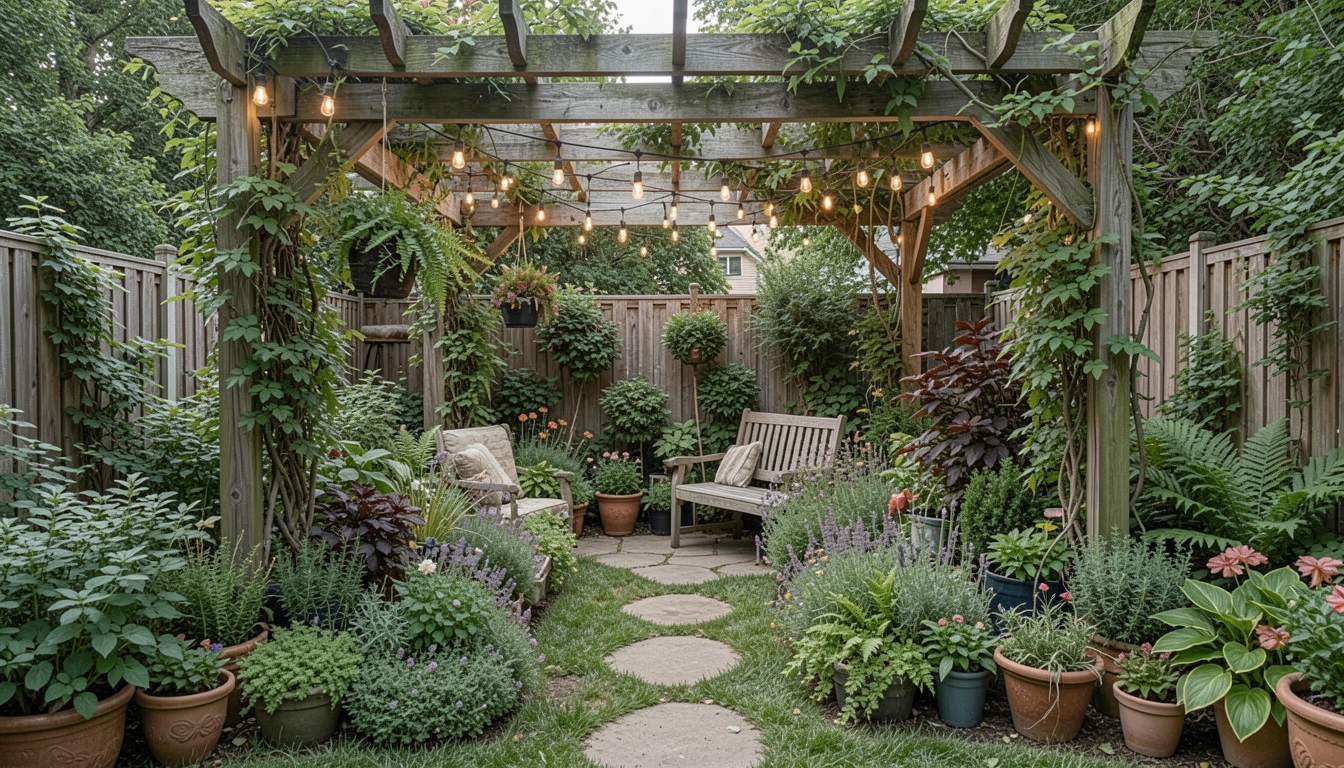
    I remember staring at my pergola after dinner. The vines climbed nicely, but evenings left it shadowy and forgotten. It felt off, like a half-finished thought.

    I'd tried a few lights before. They tangled or looked slapped on. Nothing settled right.

    You know that pull to make outdoor spaces hold up at dusk? This fixes it.

    How to Install Lights in Garden Pergola

    This shows you how I hang lights so the pergola feels balanced and warm at night. No fuss, just even glow that pulls the space together. You'll end up with comfortable light that lasts.

    What You’ll Need

    Step 1: Map the Light Path Across Beams

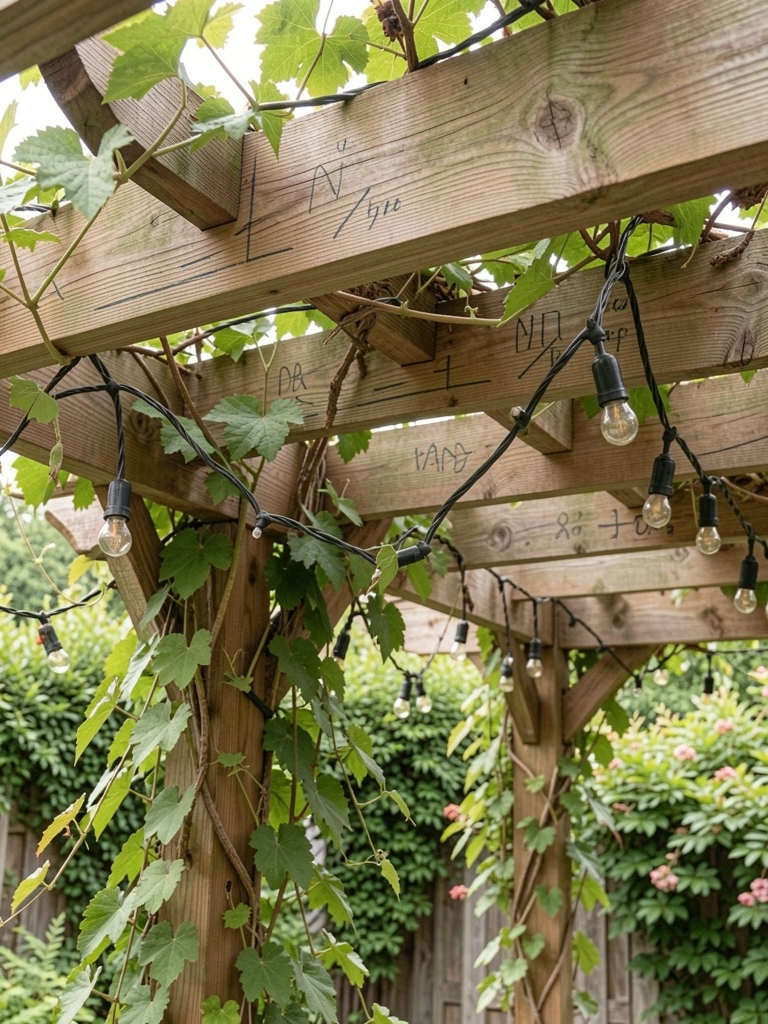
    I walk around the pergola first. I imagine sitting under it at dusk. Lights need to follow the roofline, not fight it—loop gently over crossbeams for even pools of light.

    This changes the feel right away. Bare wood starts looking framed, inviting. People miss how lights echo the pergola's shape; random hangs make it cluttered.

    Skip draping lights too low. They snag heads or block views. Keep them 8 feet up minimum.

    I step back often. Adjust the path until it balances the open spaces below.

    Step 2: Prep and Test Lights on the Ground

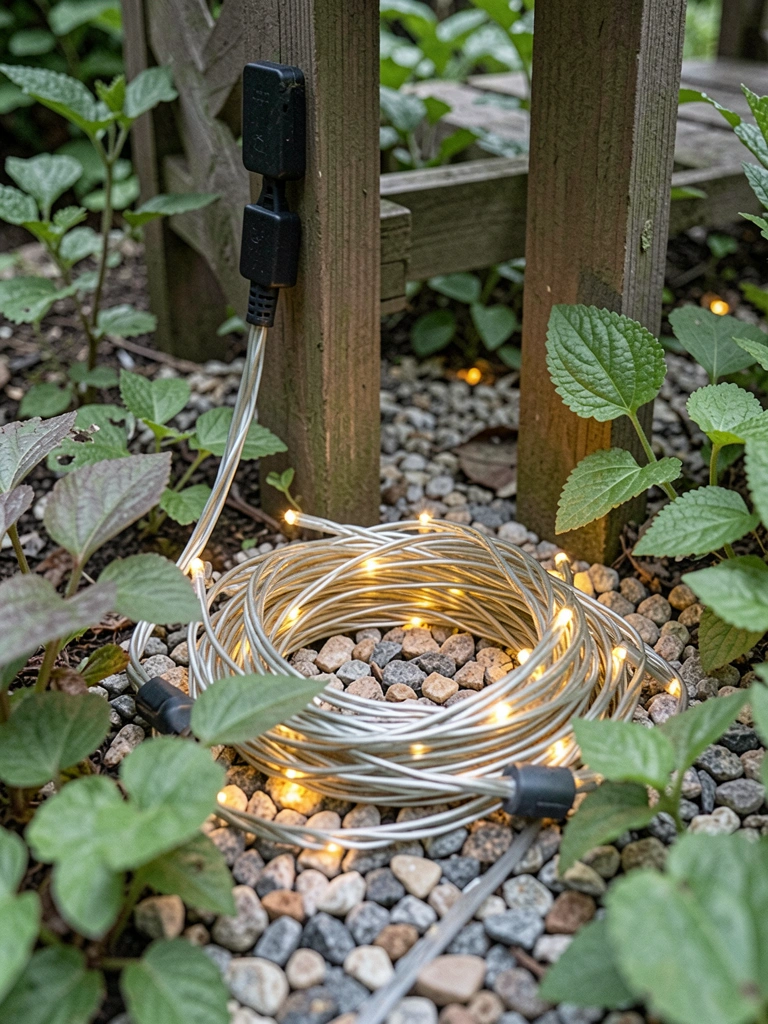
    I unspool the lights on the grass. Plug them in, walk the length. Check for dead bulbs or weak spots—fix now, not later.

    Visually, they come alive here. Warm glow against green plants hints at the night effect. Most overlook testing; one bad section kills the whole run.

    Don't stretch them tight yet. Tension snaps strands over time. Leave some slack for wind sway.

    I note where to start and end. This sets a calm flow from there.

    Step 3: Secure Hooks Along the Path

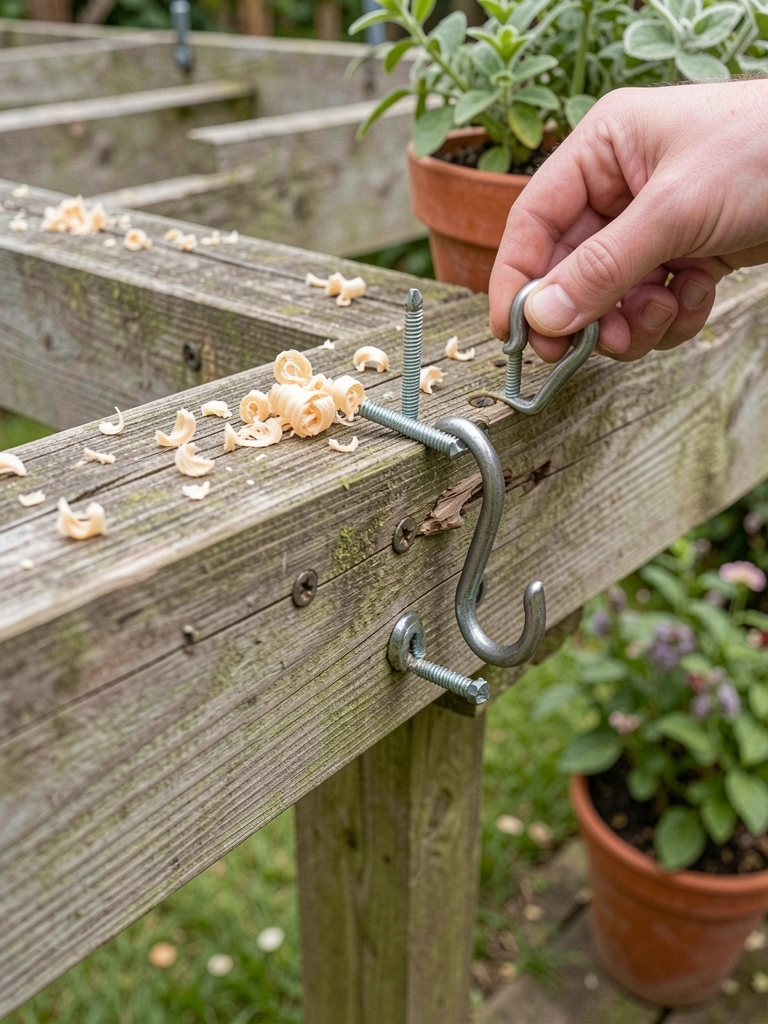
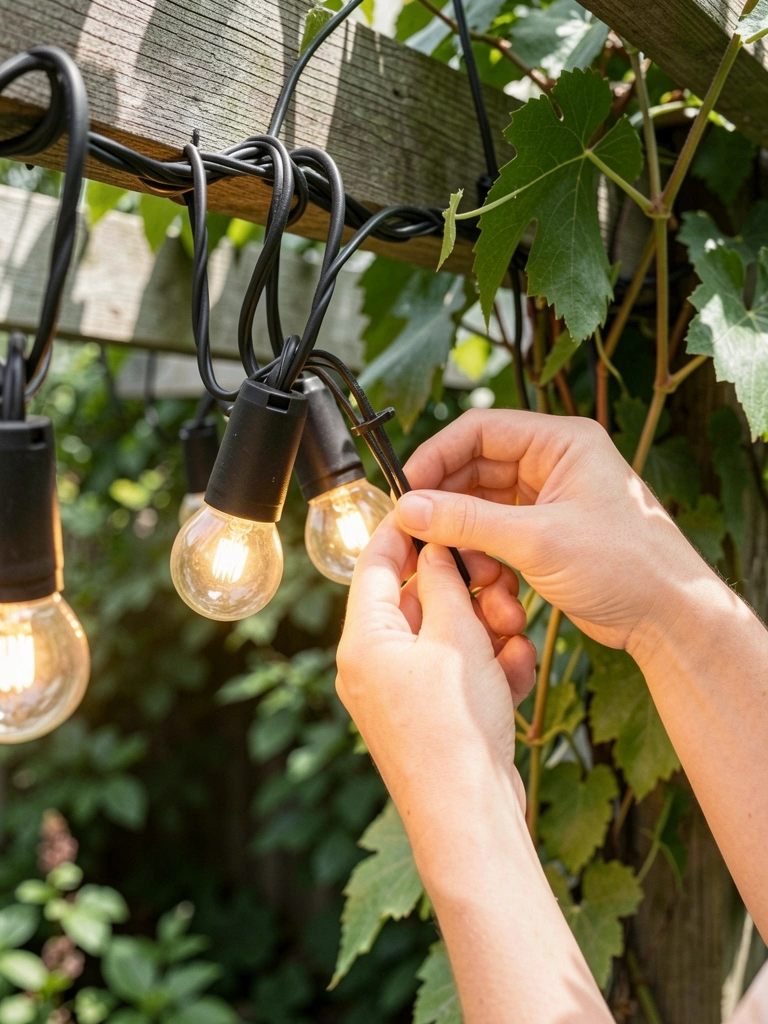
    I climb up steady. Screw hooks every 2-3 feet along my marked path. Space them to match light loops—tight on curves, looser on straights.

    Beams gain subtle anchors now. It feels purposeful, not pierced. Folks miss using beam grain direction; twist against it, and hooks loosen fast.

    Avoid over-tightening. Wood splits under pressure. Hand-turn final threads.

    I pause, check balance from below. Hooks fade in, ready for lights.

    Step 4: Drape and Tie Lights Evenly

    I start at one end. Drape lights over hooks, zip-tie loosely. Pull gently to sag uniform—12-inch drops between hooks.

    The pergola shifts. Light outlines soften the structure, blending with plants. People forget sag creates movement; flat lines look rigid.

    Don't yank ties tight. They pinch wires, shorten light life. Snip extras clean.

    I circle twice. Tweak until glow promises even night coverage.

    Step 5: Connect, Tuck, and Balance Final Look

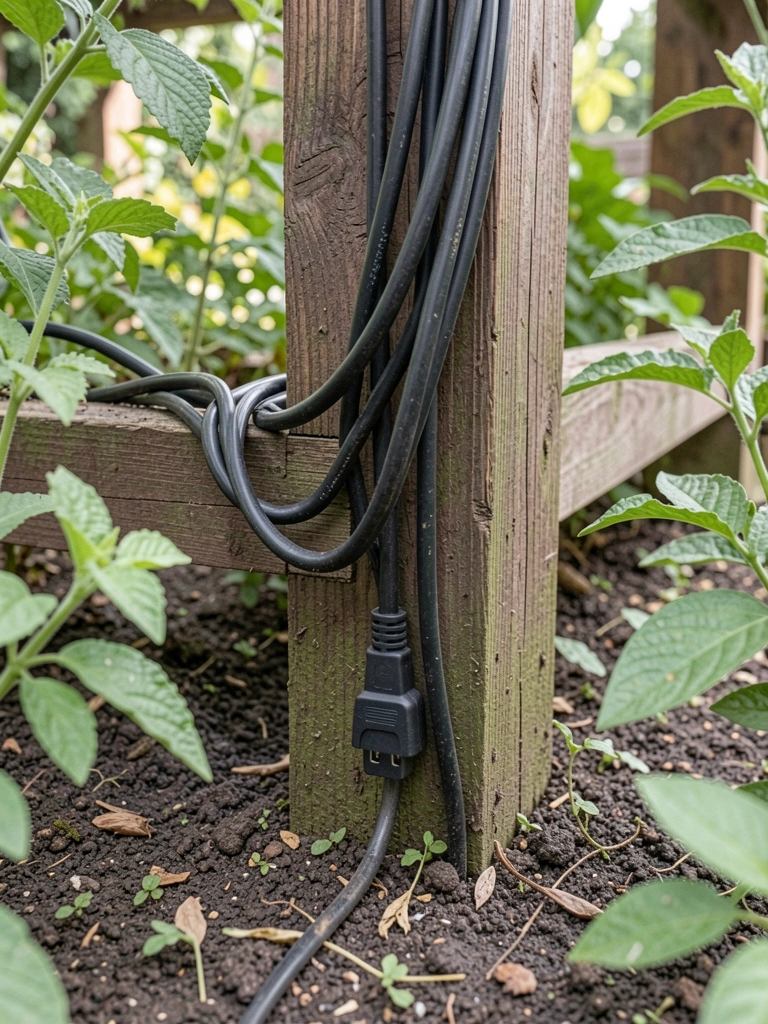
    I run the extension down a post. Plug in, tuck cords behind vines. Smart plug goes low for phone control.

    Now it hums alive, even in day. Balanced light pulls eyes around comfortably. Overlook cord paths; they trip or glare if exposed.

    Steer clear of ground loops. Elevate plugs slightly.

    Step back far. Adjust one last sag. It's done—warm, lived-in ready.

    Picking Lights That Fit Your Pergola's Vibe

    I match lights to my space's feel. Warm white softens wood tones. Cool whites sharpen modern edges.

    • Warm LEDs mimic firelight—cozy under vines.
    • Dimmable ones let mood shift with seasons.
    • Solar skips cords if outlets hide.

    Test samples at dusk first. They change everything.

    Keeping Lights Balanced Through Seasons

    Wind tugs, rain fades. I check ties monthly. Re-sag after storms.

    • Trim blocking growth—lights breathe.
    • Swap bulbs yearly for steady glow.
    • Layer fairy lights on posts for depth.

    It stays intentional, not neglected.

    Troubleshooting Uneven Glow

    One side dims? Trace back—loose hook or pinched wire. I unplug, re-drape that run.

    Overloaded plug? Split strands across outlets.

    • Flicker means moisture; dry connections.
    • Colors off? Match kelvin ratings.

    Small fixes keep the calm flow.

    Final Thoughts

    Start with one beam if it feels big. You'll see the shift quick.

    You've got this—your pergola just needed that even hand.

    Now evenings settle right. Simple as that.

  • How to Decorate Garden Pergola

    How to Decorate Garden Pergola

    My pergola stood empty for two summers. Just plain wood beams casting sharp shadows. I walked under it daily, but it never felt like part of the garden. Bare corners collected dust. It needed life, not flash.

    I started small. Watched how sun hit the posts at different times. Noticed what grew nearby. Slowly, it shifted from stark to shaded spot I actually used.

    You know that feeling. Your pergola waits. Here's how I make mine balanced and comfortable.

    How to Decorate Garden Pergola

    This is the method I use every time. You'll end up with a pergola that shades comfortably and draws you in. It's simple placement that feels right.

    What You’ll Need

    Step 1: Frame the Top with Climbers

    I plant climbers at each post first. They soften the roofline over time. Why? They pull your eye up, making the space feel taller and connected to the sky.

    Visually, beams go from flat wood to green frame. Shadows turn dappled. One insight: climbers hide uneven joints without effort.

    People miss spacing them evenly. Cluster too close, and one side lags. Avoid that—measure post gaps first. Plant one per corner. Water deeply. In a month, it greens up balanced.

    Mine took a season. Now it shades without blocking all light. Feels right.

    Step 2: Hang Trailing Plants for Depth

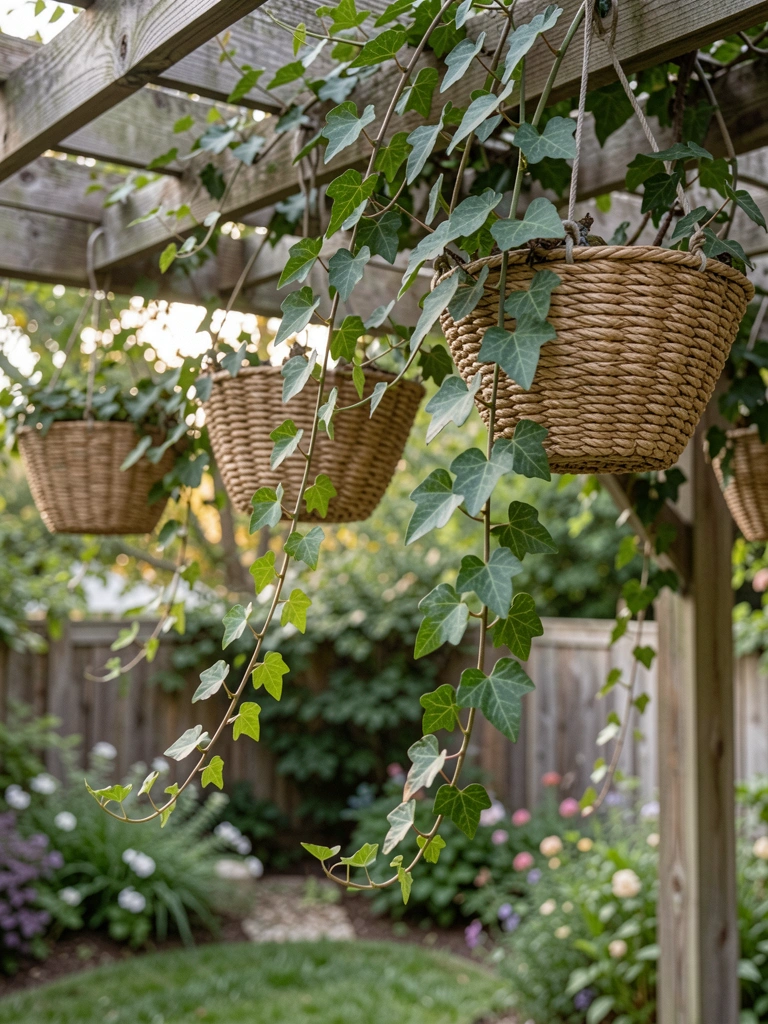
    Next, I hang trailing plants midway on beams. They add layers below climbers. This creates movement—leaves shift in breeze, drawing you closer.

    The change? Flat under-beams gain soft green curtains. Depth pulls the eye in stages. Insight folks skip: hang at eye level when seated. It frames your view.

    Don't overload one side. That tips balance. I space three baskets evenly. Use sturdy hooks. They sway gently now, making corners cozy.

    No rush. Let them grow into place.

    Step 3: Drape Fabric for Softness

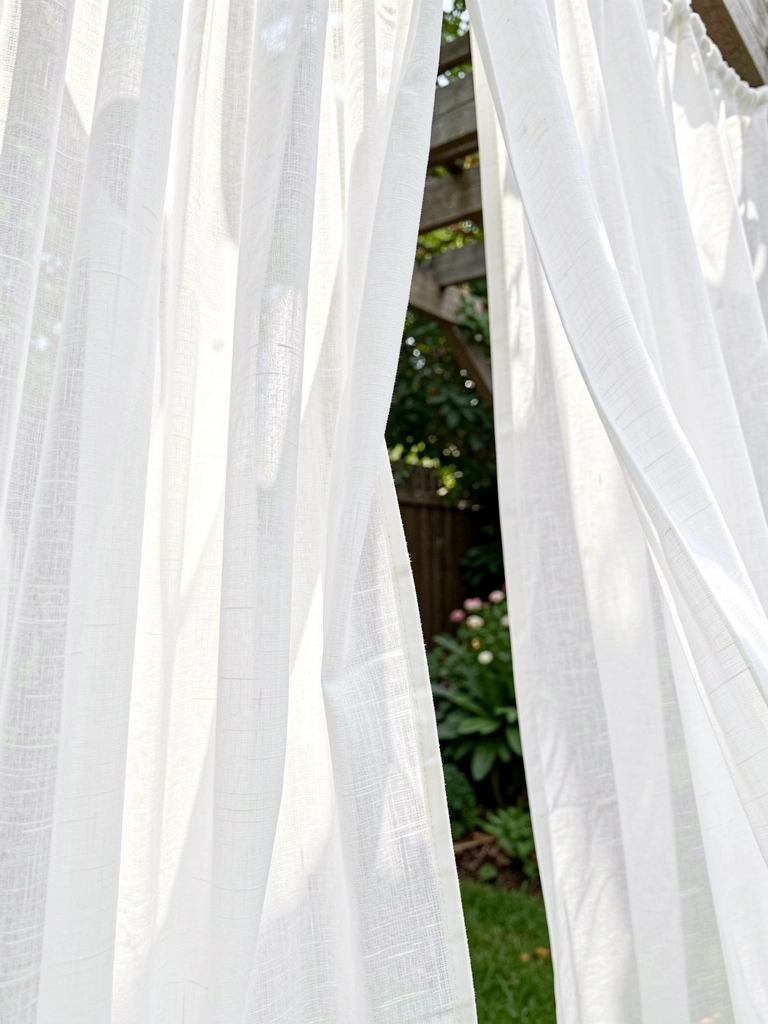
    I add sheer panels along two sides. Not tight—loose enough to billow. Why? They diffuse harsh sun, warm the air underneath.

    Suddenly, the space feels enclosed yet open. Light glows soft gold. Missed tip: choose lightweight fabric. Heavy ones sag and block flow.

    Avoid full coverage. That darkens everything. I drape halfway, knot loosely. Wind moves them just right.

    Now, sitting there reads peaceful.

    Step 4: Layer in Lighting

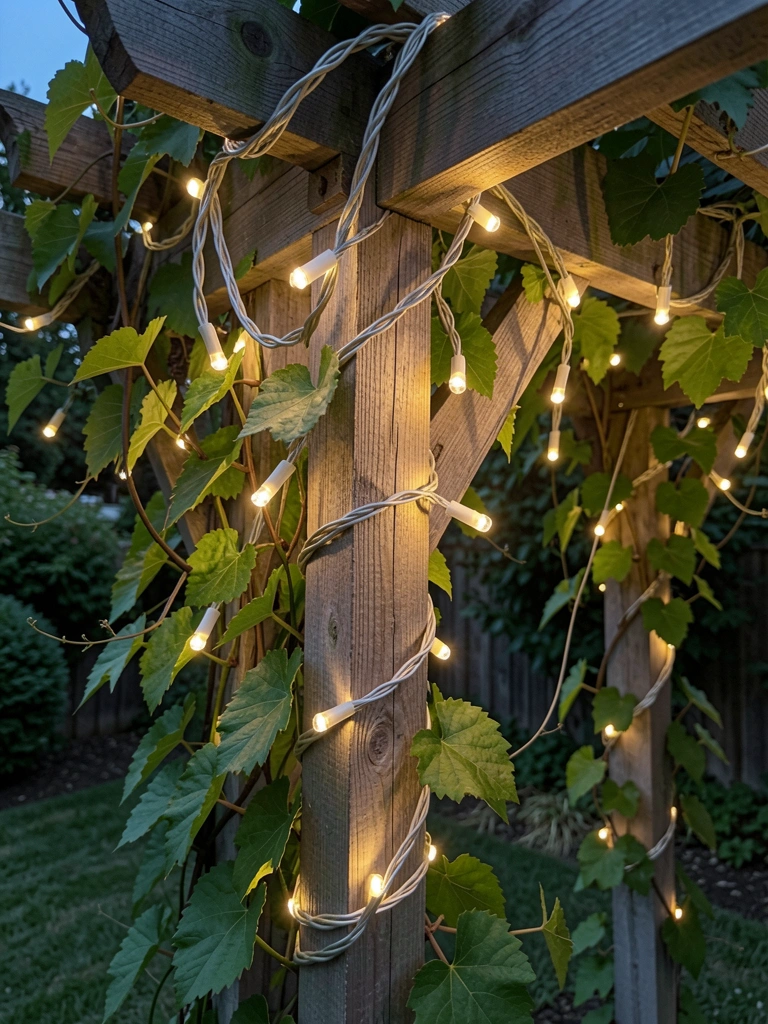
    String lights go next, wrapped loosely on beams. They highlight plants at dusk. Purpose: extend use into evenings without glare.

    Visual shift—day structure turns warm outline. Glows balance the green. Insight: wrap in loops, not straight lines. Straight feels rigid.

    Skip bright bulbs. They wash out plants. I use warm LEDs, plug in solar. Evenly spaced, they feel lived-in.

    Nights changed completely.

    Step 5: Ground with Lanterns and Pillows

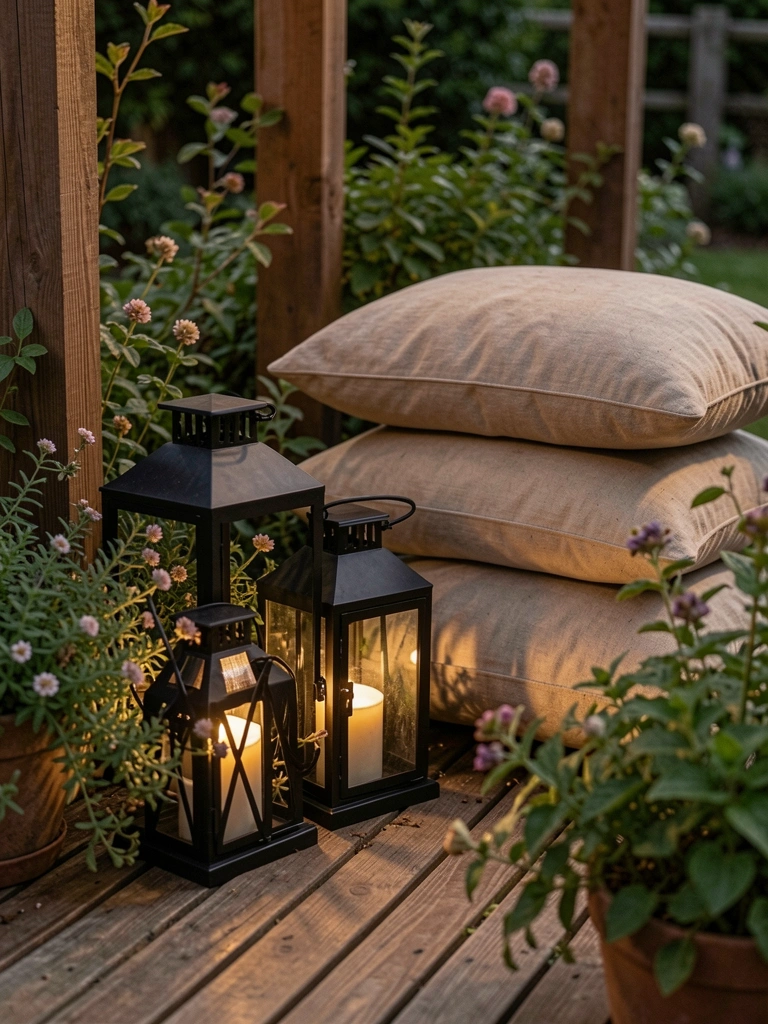
    Finally, lanterns on the floor, pillows nearby. They anchor the base. Ties top green to ground level.

    Change: open floor gains spots to linger. Feels complete. Tip overlooked: cluster odd numbers. Even feels too tidy.

    Don't scatter randomly. Group near seats. Mine invites pause now.

    Picking Plants That Last

    Climbers and trailers need sun check first. I watch my pergola's light patterns. North side gets less—ivy works there.

    • Clematis for flowers that repeat.
    • Ivy for steady cover.
    • Ferns in shade spots.

    They grow slow. Patient planting pays off. No replants needed.

    Year-Round Touches

    Winter bares some spots. I swap annuals for evergreens. Keeps balance.

    Bullets help:

    • Add pine branches in pots.
    • Tuck wool throws on seats.
    • Lights stay year-round.

    Simple swaps keep it comfortable.

    Avoiding Overcrowding

    Too much stuff closes it in. I step back often. Ask: does air flow?

    • Limit hangs to five.
    • Trim climbers yearly.
    • Clear floor weekly.

    Less is balanced.

    Final Thoughts

    Start with one climber. See how it sits. Build from there.

    You'll feel the shift—your pergola pulls you in.

    It's just placement. Yours will feel right soon.

  • 7 Garden Pergola Ideas with Lights That Glow

    7 Garden Pergola Ideas with Lights That Glow

    Last summer, my backyard pergola sat there plain as day—useful for shade, but evenings felt flat. I strung up some lights one afternoon, and suddenly it was a spot we lingered in till dark. That shift hooked me.

    Over years of tweaking gardens, I've learned lights aren't just add-ons. They pull the whole space together, especially under a pergola.

    These ideas come from what actually stuck in my plots. No fancy setups, just real glow.

    7 Garden Pergola Ideas with Lights That Glow

    Here are 7 garden pergola ideas with lights that glow. I've tried variations in my own yard—they're straightforward, forgiving for beginners, and turn evenings cozy without much fuss.

    1. Vine-Draped Pergola with Draped String Lights

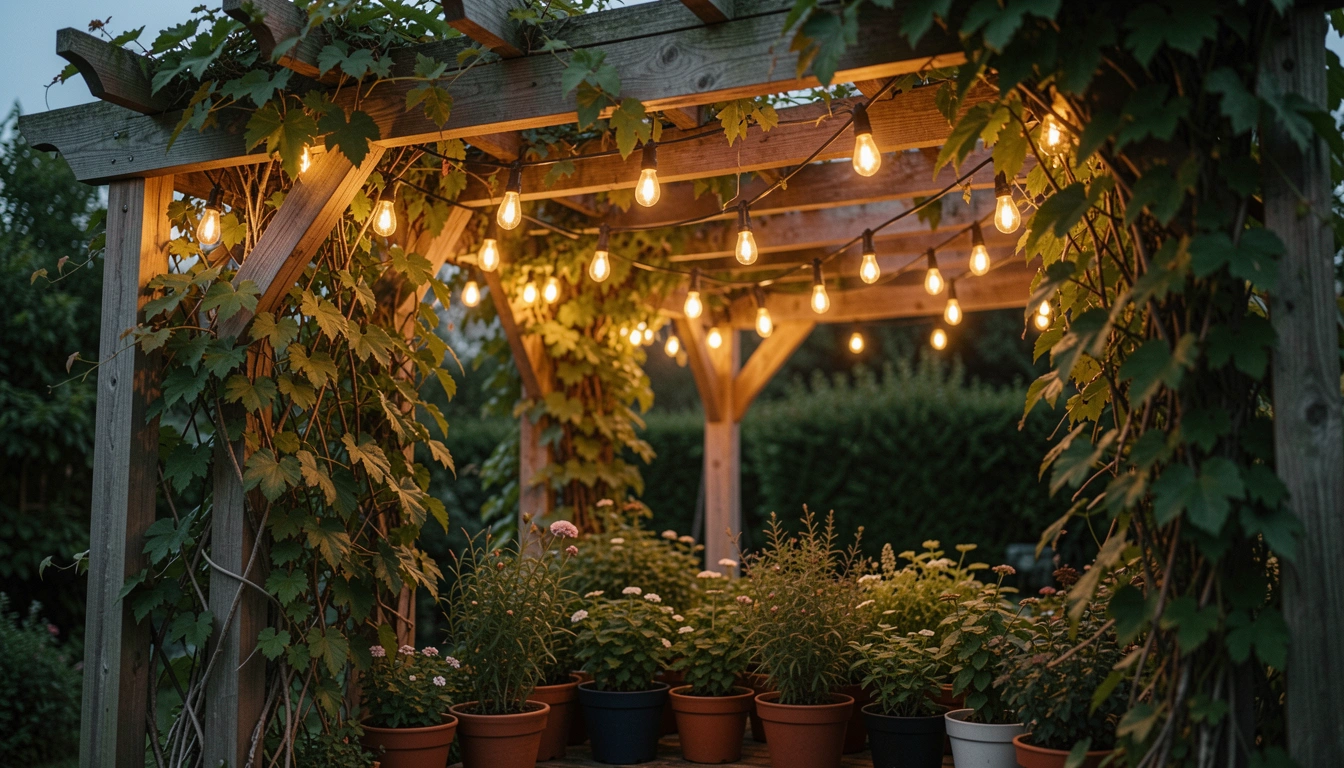
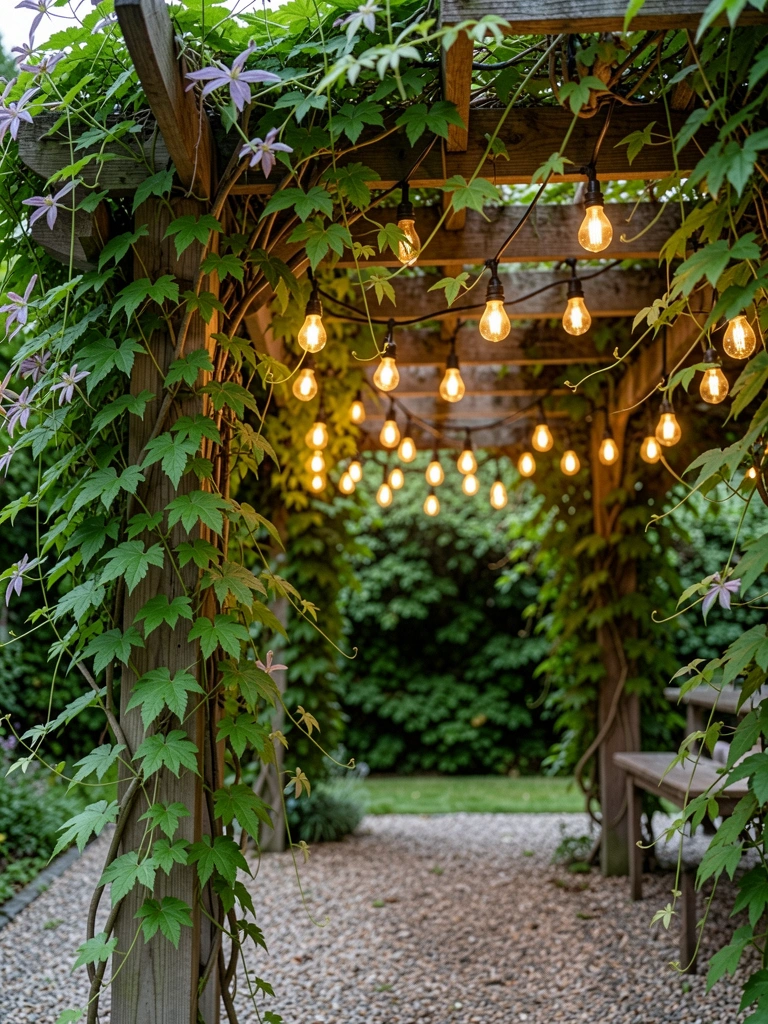
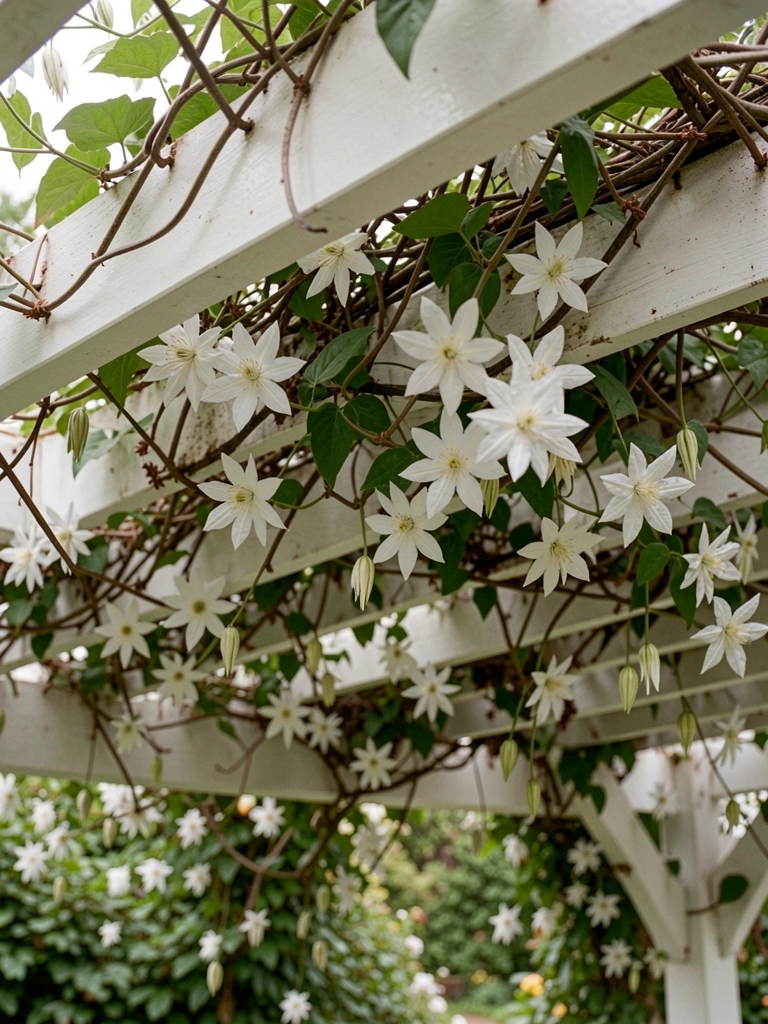
    I planted clematis along my pergola posts years back. It grew fast, but come evening, the bare wood felt stark. Draping warm string lights over the vines changed that—they nestle in the leaves now, casting a soft scatter.

    The glow filters through greenery, making dinners outside feel wrapped in summer. I watch fireflies mix in on quiet nights.

    Pay attention to spacing: too tight, and vines smother bulbs. I learned that after one season of dim spots.

    Keep it simple—plug-in lights if you're near an outlet, or solar if not. Lasts years with a yearly check.

    What You’ll Need for This Look

    2. Hanging Lantern Pergola for Table Gatherings

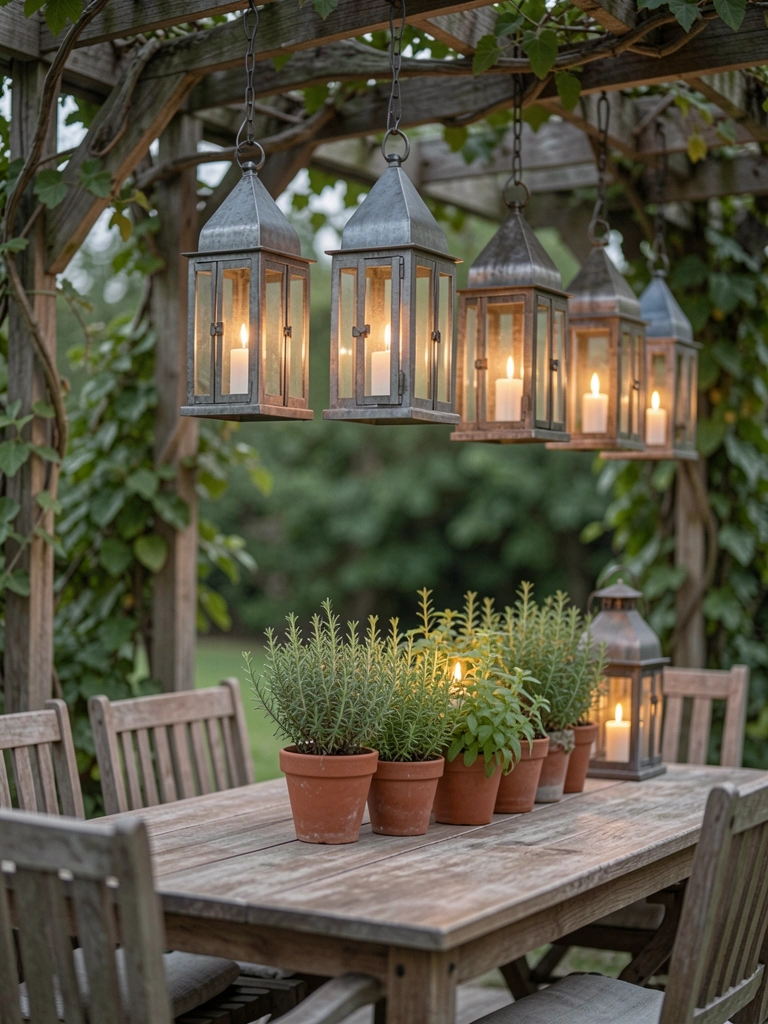
    My family hates eating in harsh yard light, so I hung lanterns from my pergola beams last spring. Battery-operated ones with real flame look—they sway gently, pooling light right where we sit.

    It pulls chairs into a circle naturally. Herbs on the table catch the flicker, smelling stronger somehow.

    I spaced them 4 feet apart after the first try bunched light in one spot. Wind tests them, so use shepherd hooks.

    Now it's our go-to for late talks. Feels grounded, not showy.

    What You’ll Need for This Look

    3. Modern Pergola with Under-Beam LED Strips

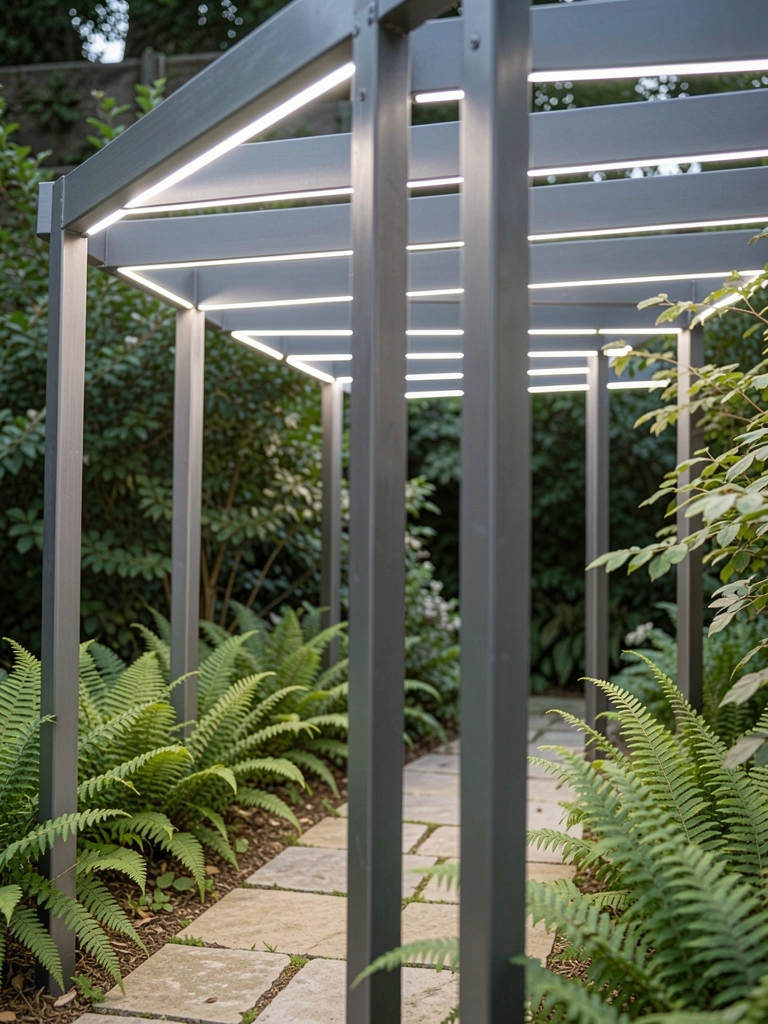
    I built a simple metal pergola for my side yard—clean lines, no frills. Tucked LED strips under the beams, and it washes light down even, no shadows pooling.

    Evenings feel open, not closed in. Ferns along the base look sharper in that steady glow.

    First go, I picked cool white—too stark, swapped for warm. Waterproof ones hold up to rain.

    Great for reading out there. Low upkeep, just a battery swap yearly.

    What You’ll Need for This Look

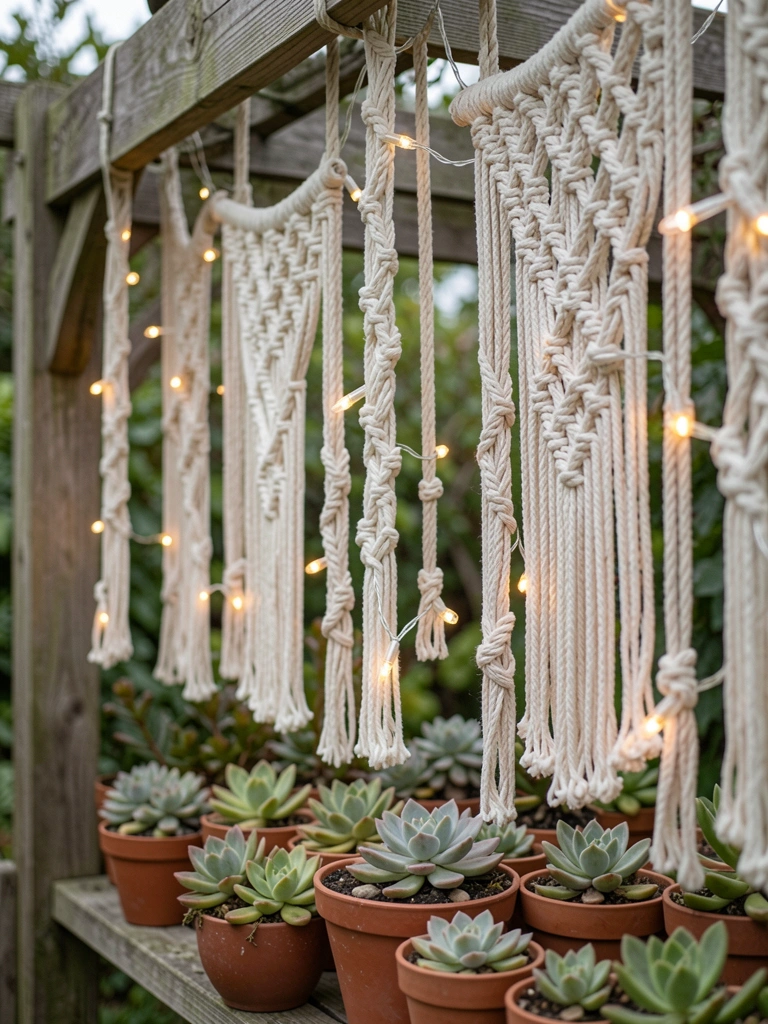
    4. Boho Pergola with Fairy Lights in Macrame

    Succulents were taking over my pergola corners, so I wove macrame holders and dropped fairy lights inside. They twinkle through the knots, soft against the fleshy leaves.

    Adds a casual hangout vibe—hammock swings below now. Light bounces off pots just right.

    I overknotted once, blocking glow—looser weave works. Cheap string lasts if stored dry.

    Feels like my spot, personal.

    What You’ll Need for This Look

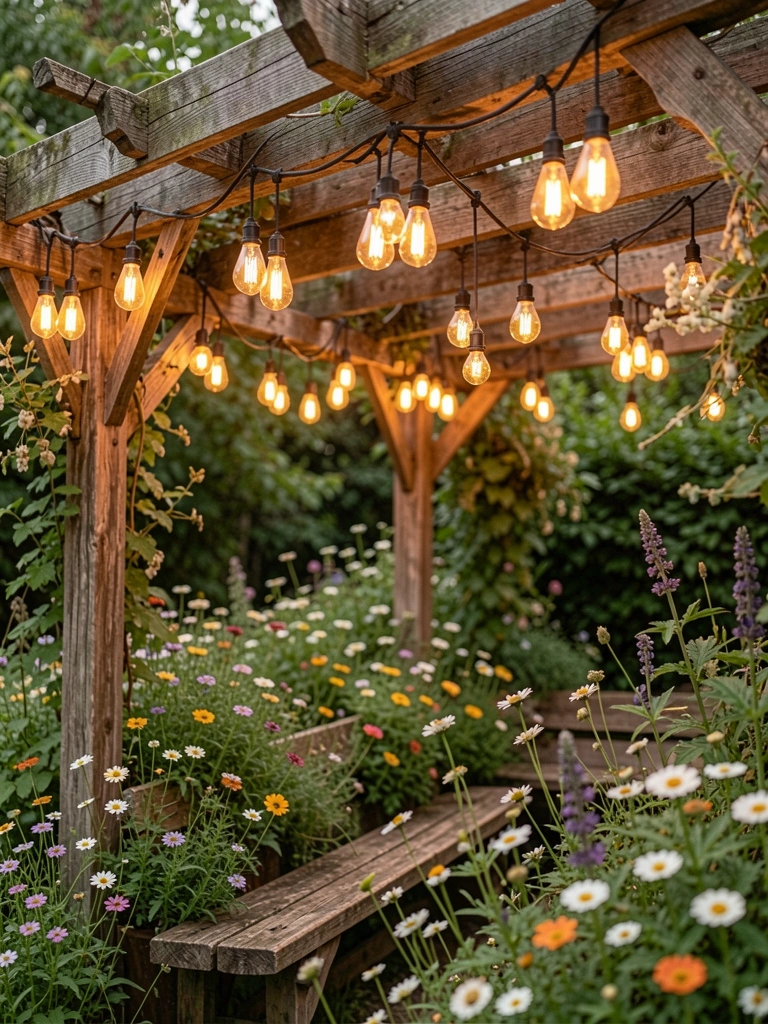
    5. Rustic Pergola with Edison Bulb Clusters

    Reclaimed wood pergola in my back plot begged for Edison bulbs—clustered in threes off crossbeams. Warm amber pulls eyes up, softens the rough edges.

    Wildflowers below nod in the light. Sit there with coffee, world quiets.

    Bought cheap sockets first—fizzled fast. Weatherproof now holds seasons.

    Rugged feel I love.

    What You’ll Need for This Look

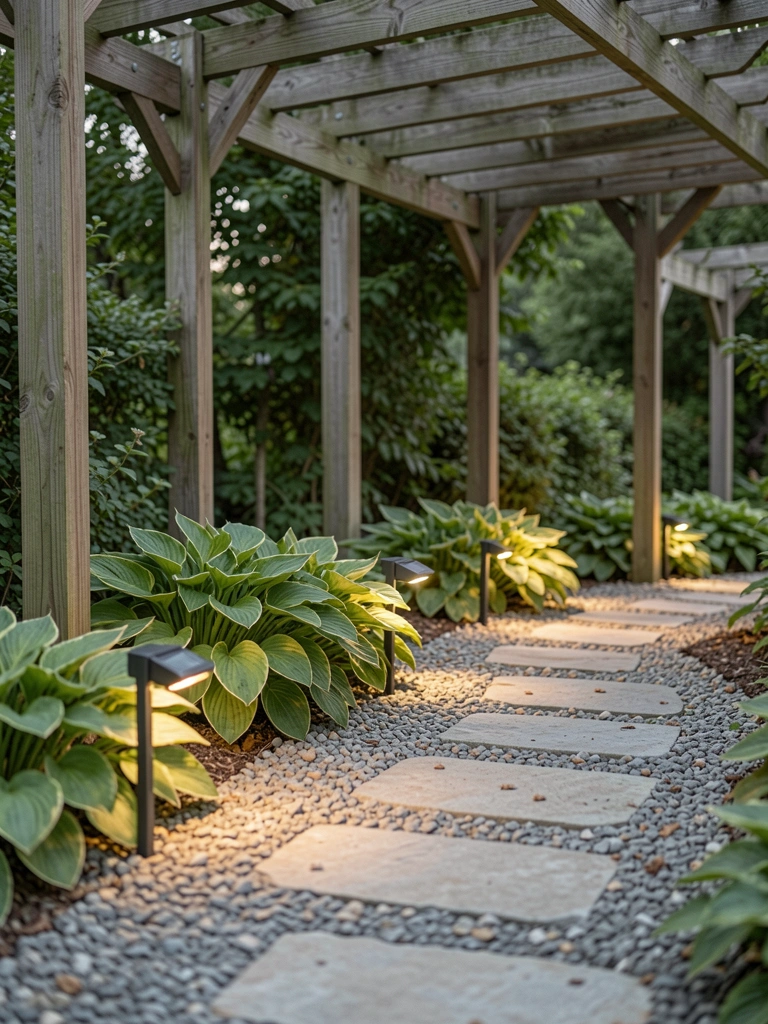
    6. Pergola Path with Solar Ground Lights

    Path under my pergola was a trip hazard at dusk. Stuck solar stakes along edges—low glow guides without glare.

    Hostas frame it soft. Walks feel safe, extended into night.
    Planted too close once, plants shaded them out—trim yearly.
    No wires, pure ease.

    What You’ll Need for This Look

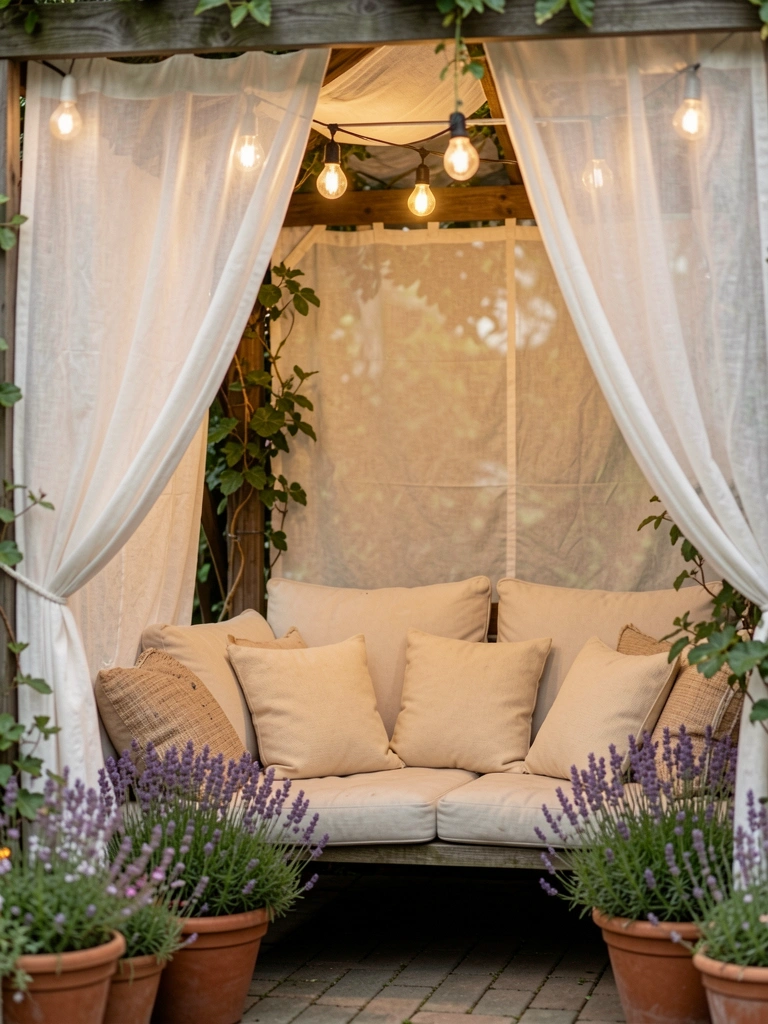
    7. Cozy Pergola Nook with Overhead Canopy Lights

    Carved a reading nook under pergola with sheer canopy—lights sewn along edges glow through. Lavender pots scent the air.

    Cushions sink in right. Rain patters soft outside.

    Canopy sagged first—taut ties fix it.

    My retreat now.

    What You’ll Need for This Look

    Final Thoughts

    Pick one idea that fits your yard's rhythm—maybe start with string lights if vines are there. No need for all seven.

    They build over time, like good gardens do. Yours will glow steady soon enough. Get out there this weekend.

  • 21 White Garden Pergola Ideas for Timeless Beauty

    21 White Garden Pergola Ideas for Timeless Beauty

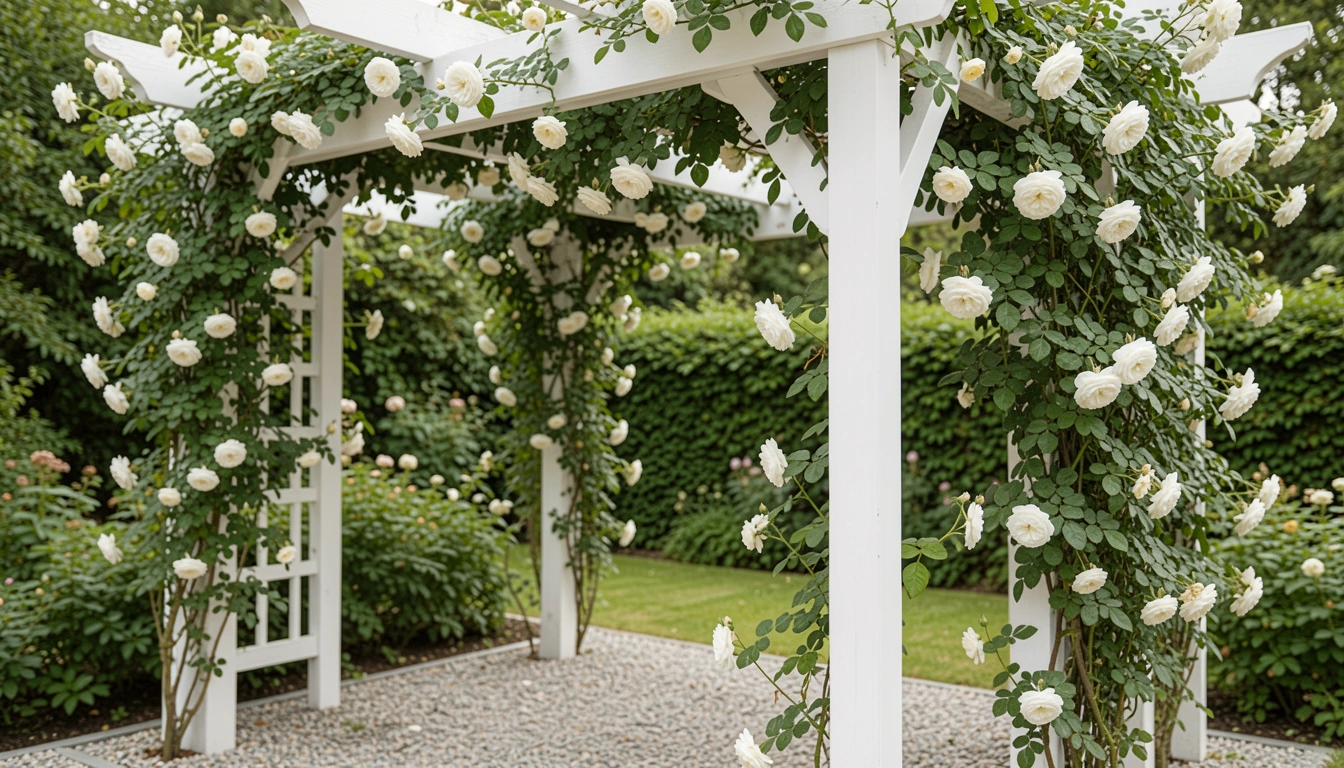
    I built my first pergola last spring, just a simple frame over the patio. Painted it white to blend with the sky. But it felt empty until white roses climbed up. That soft glow changed everything—cool shade by noon, quiet evenings lit by petals.

    Now, years in, I've tweaked it through wilted vines and wrong soils. White pulls it all together without fuss.

    White keeps gardens calm, year-round.

    21 White Garden Pergola Ideas for Timeless Beauty

    These 21 white garden pergola ideas come from my own yard and neighbor patches. They're straightforward, forgiving for beginners. You'll see exactly what works.

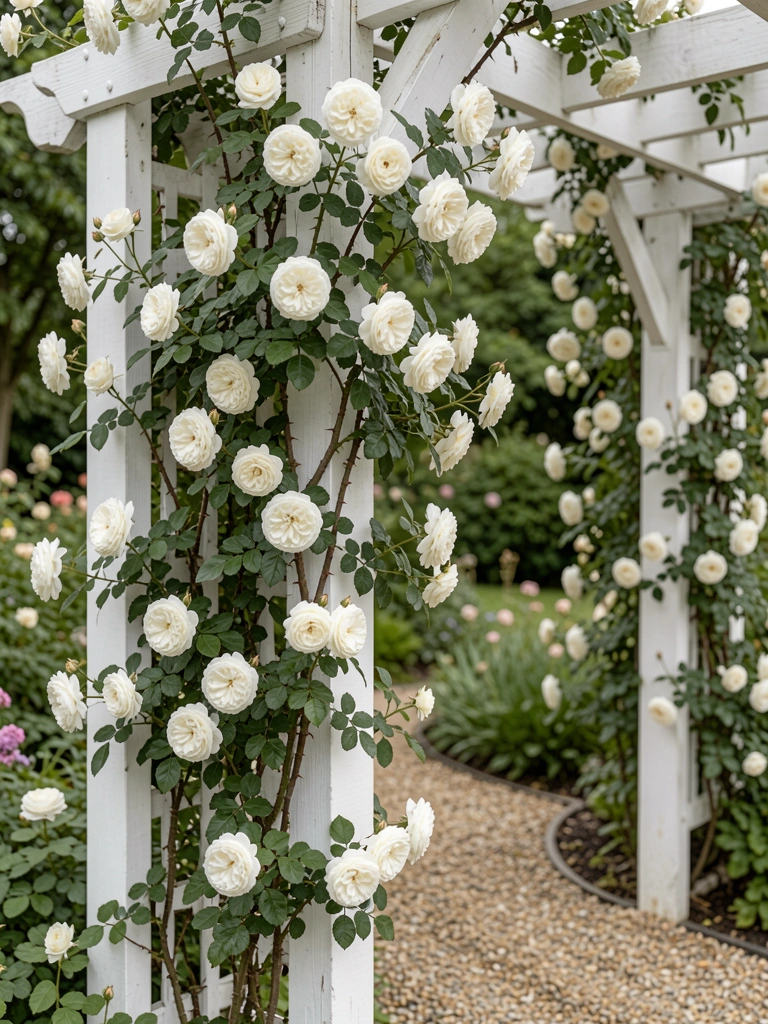
    1. Climbing White Roses Framing the Entrance

    I planted 'Iceberg' roses at the pergola base three years back. They scrambled up fast, framing the walkway like a soft curtain. Mornings feel brighter now, petals dusting the ground.

    The white repeats the pergola paint, no clash. Bees love it, but watch for black spot—mine got it once from poor air flow.

    Space them 8 feet apart. Prune lightly in winter.

    What You’ll Need for This Look

    Iceberg white climbing roses (bare root)

    White outdoor pergola paint (gallon)

    2. Draped Sheer White Curtains for Shade

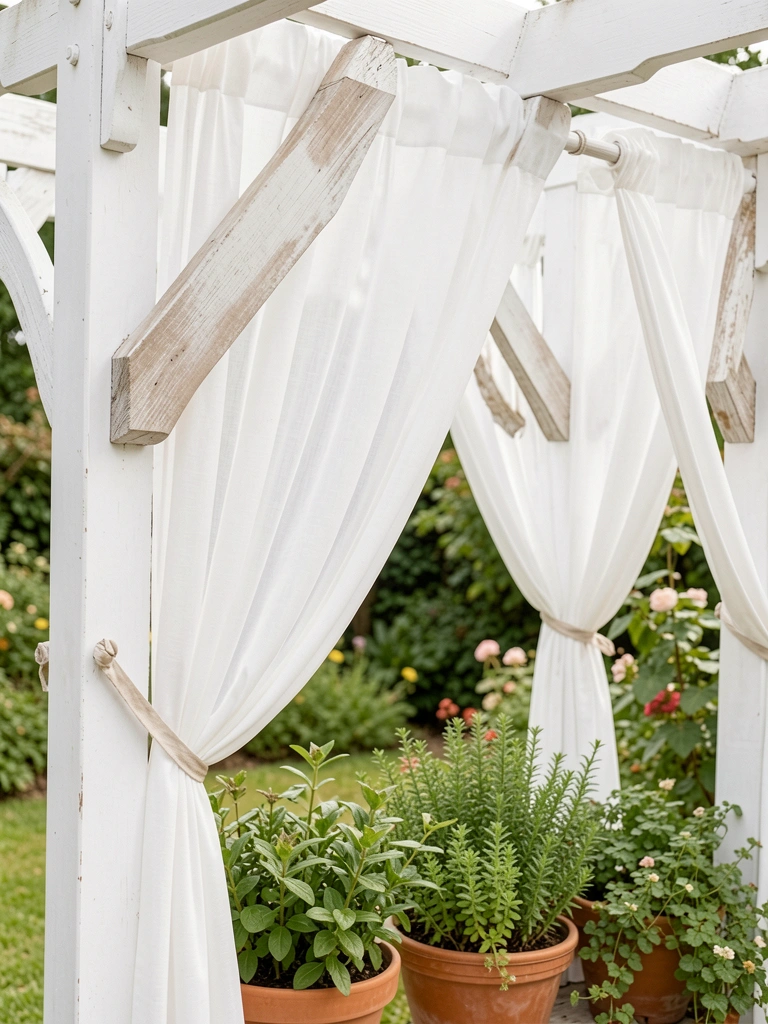
    Sheer white curtains on my pergola cut harsh sun without darkening lunch spots. Tied them back on windy days—flutter like sails.

    Bought cheap polyester first; shredded in a storm. Switched to outdoor voile. Now it sways gentle, keeps bugs out too.

    Hang from cup hooks, mid-beam height.

    What You’ll Need for This Look

    Sheer white outdoor curtains (8×10 feet)

    Cup hooks for pergola (pack of 20)

    3. Hanging White Baskets with Trailing Petunias

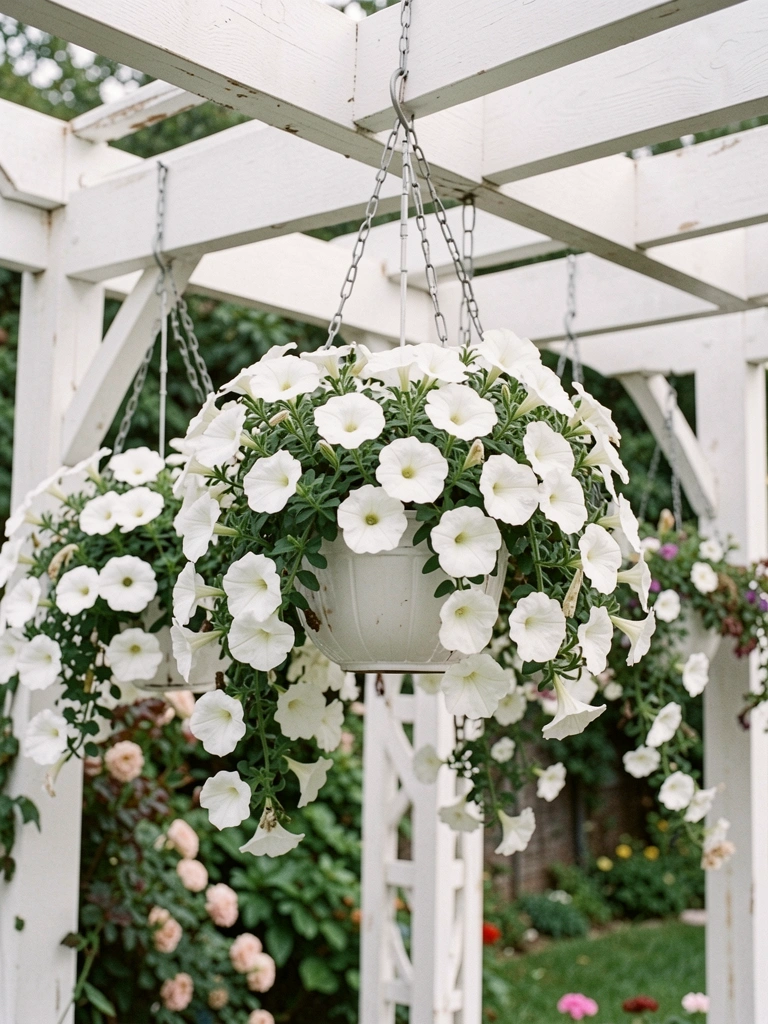
    White petunias in baskets off the beams spill like waterfalls. Planted last summer; they filled out by July, hiding rusty chains.

    Overwatered at first—roots rotted. Now I check soil thumb-deep dry.

    Every other beam, eye level.

    What You’ll Need for This Look

    White trailing petunias (6-pack)

    White metal hanging baskets (12 inch)

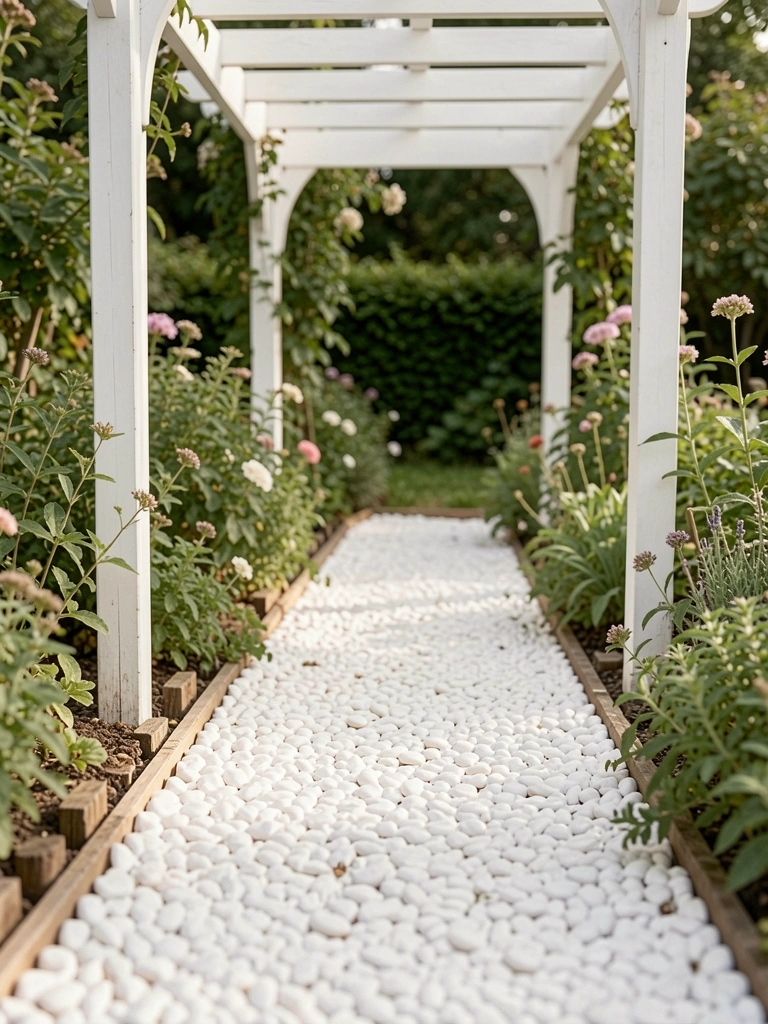
    4. White Gravel Path Leading Underneath

    White gravel under the pergola replaced muddy grass. Crunch soft underfoot, reflects light up to blooms.

    Edged with bricks first time—shifted. Plastic edging holds now.

    Rake weekly, 3-inch depth.

    What You’ll Need for This Look

    White pea gravel (50 lb bag)

    Plastic landscape edging (10 feet)

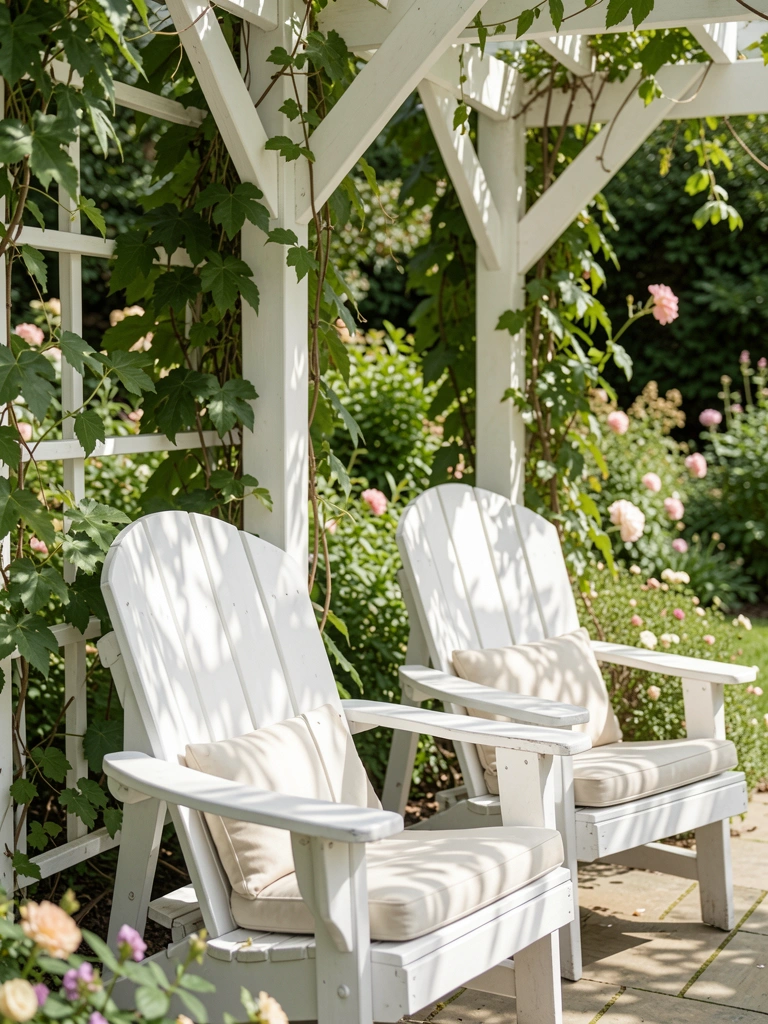
    5. White Adirondack Chairs in the Shade

    Two white Adirondacks tucked under my pergola invite coffee breaks. Wood weathers gentle, matches the frame.

    Cushions faded fast outdoors. Polyester holds color.

    Angle them toward the view.

    What You’ll Need for This Look

    White Adirondack chairs (set of 2)

    Outdoor white cushions (18×18 inch)

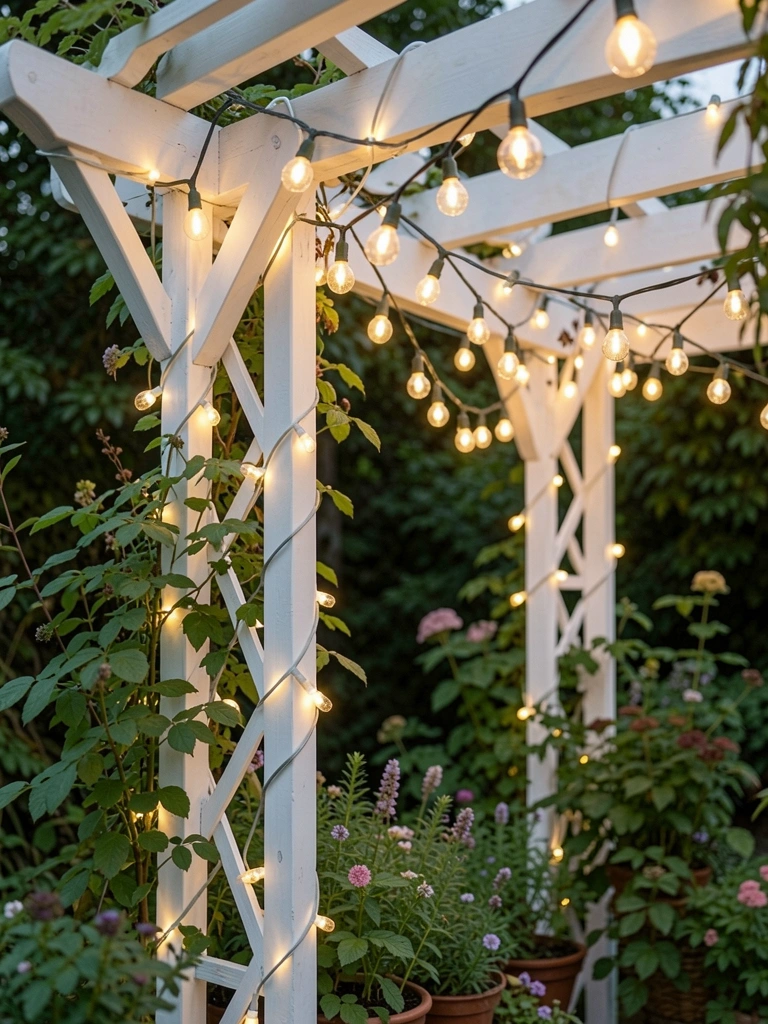
    6. Solar White String Lights Overhead

    White solar strings zigzag the beams. Evenings glow soft, no outlets needed.

    Cheap ones dimmed quick. Glass LED lasts.

    Wrap loose, not tight.

    What You’ll Need for This Look

    Solar white string lights (100 ft)

    LED glass bulb replacements (pack)

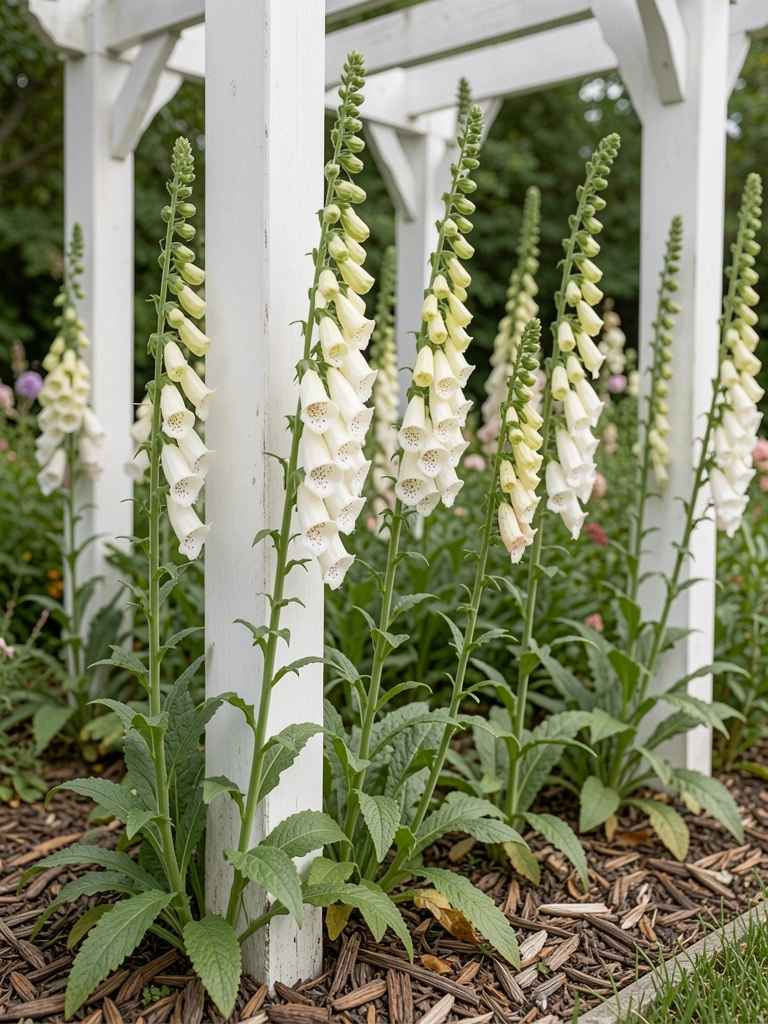
    7. White Foxgloves Lining the Posts

    White foxgloves at each post rise like sentinels. Self-seed gentle, fill gaps by year two.

    Planted in shade first—flopped. Full sun base suits.

    Biennial, so mix annuals.

    What You’ll Need for This Look

    White foxglove seeds (packet)

    Organic mulch (2 cu ft)

    8. Clematis Montana Blanketing the Roof

    Clematis 'Montana' covers my pergola top in white stars. Fragrant drifts down.

    Vigorous—prune hard yearly or it swamps.

    Train early shoots up wires.

    What You’ll Need for This Look

    Clematis Montana white (potted plant)

    Galvanized garden wire (50 ft)

    9. Fresh White Paint Refresh on Wood Beams

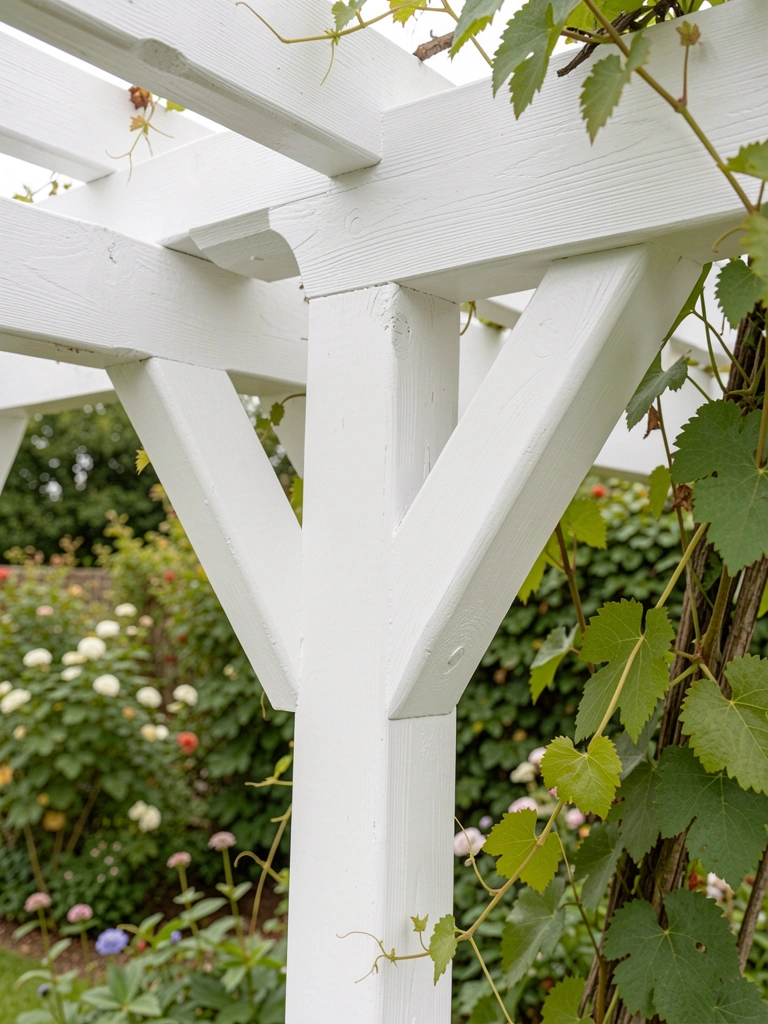
    Repainted beams white last fall. Lifted the whole space, hides dirt.

    Oil-based peeled in rain. Latex exterior sticks.

    Two coats, sand first.

    What You’ll Need for This Look

    Exterior white latex paint (1 gallon)

    Wood sanding block (medium grit)

    10. White Bulbs Naturalizing Below

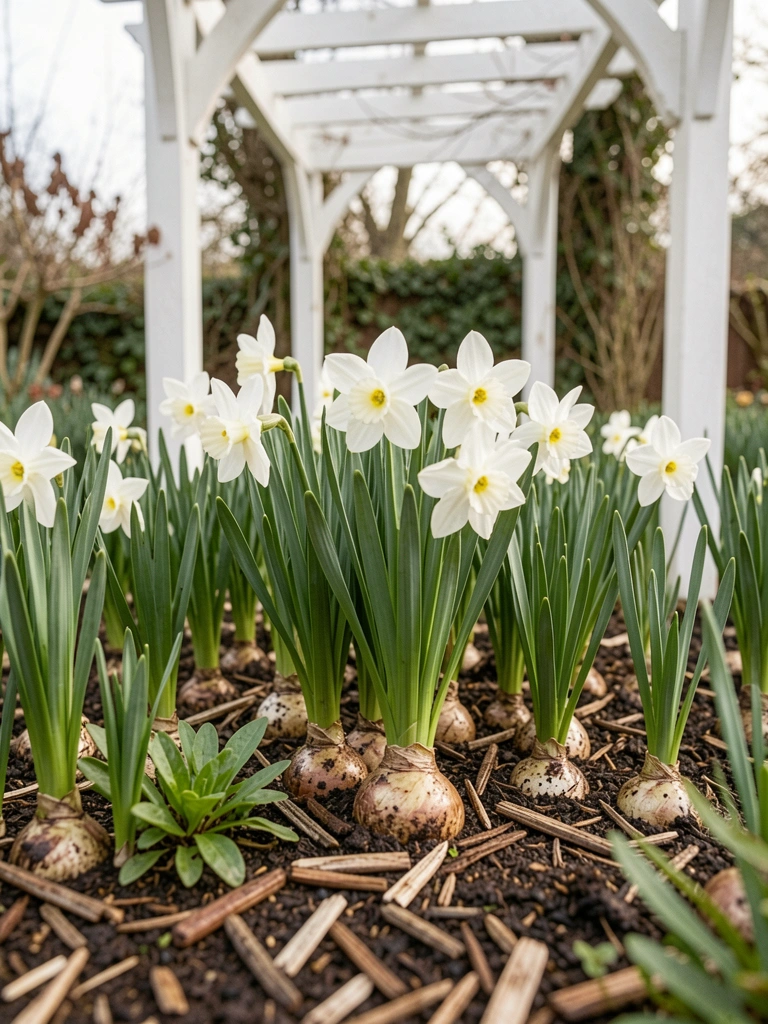
    White daffodils pop under the pergola each spring. Planted 50 bulbs; they multiply quiet.

    Squirrels dug some up once. Deer mesh first year.

    Plant 6 inches deep.

    What You’ll Need for This Look

    White daffodil bulbs (pack of 50)

    Deer netting mesh (50 ft)

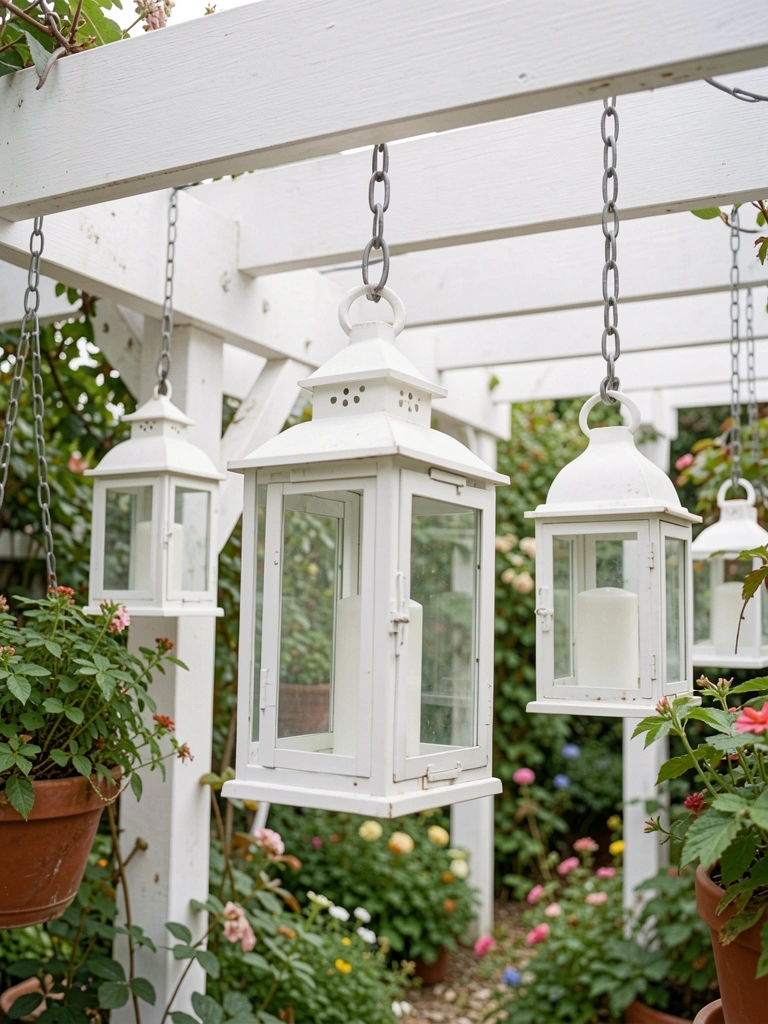
    11. Lanterns Hanging from Beam Centers

    White lanterns sway from centers. Candle flicker draws eyes up at dusk.

    Wax dripped messy. LED tea lights clean.

    Shepherd hooks steady sway.

    What You’ll Need for This Look

    White metal lanterns (12 inch)

    LED tea lights (pack of 50)

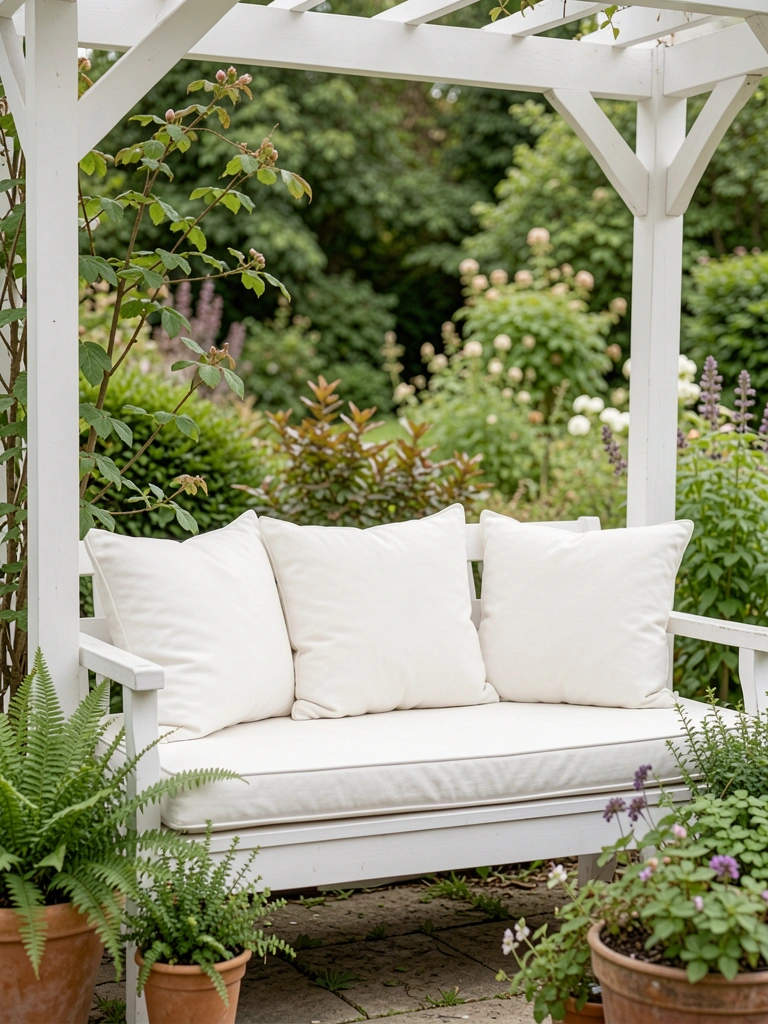
    12. Cushioned White Bench Along One Side

    White bench along the side holds two easy. Pillows make it stay longer.

    Bench wobbled on uneven ground. Level blocks fixed.

    Bolt to frame if windy.

    What You’ll Need for This Look

    White outdoor bench (4 ft)

    White bench cushions (set of 2)

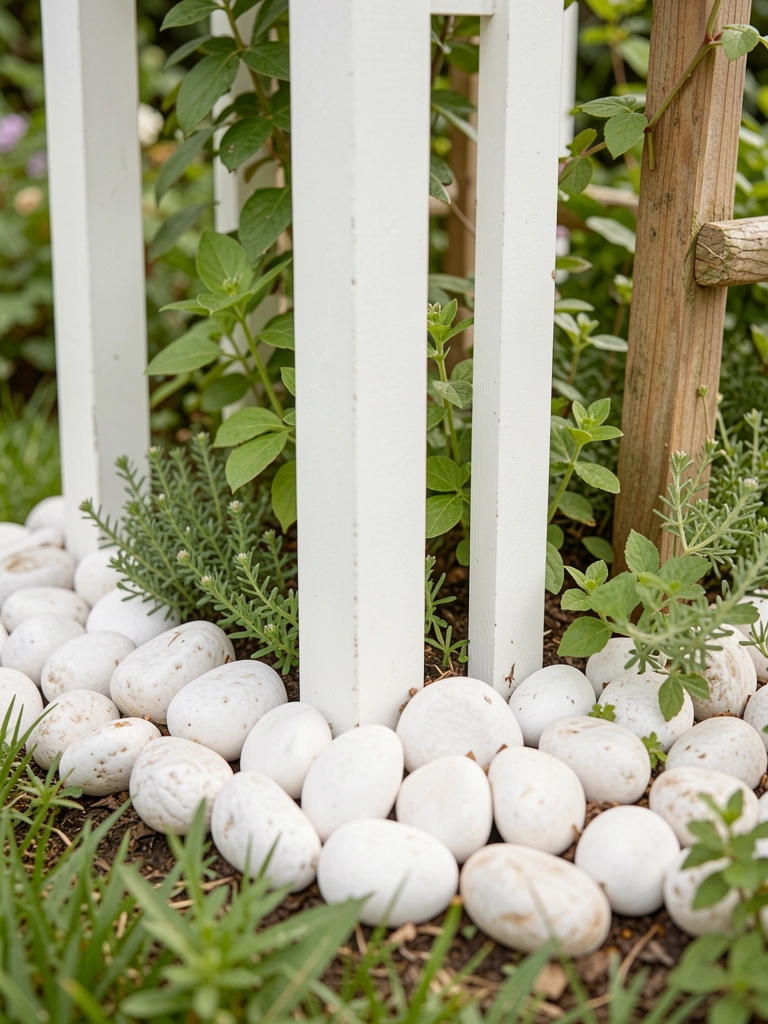
    13. White Pebble Border Around Base Plants

    White pebbles circle base plants. Neat edge, weeds pull easy.

    Weeds grew through gaps. Landscape fabric under now.

    2-inch layer max.

    What You’ll Need for This Look

    White decorative pebbles (20 lb bag)

    Landscape fabric (3×50 ft)

    14. Jasmine Vines Twining the Legs

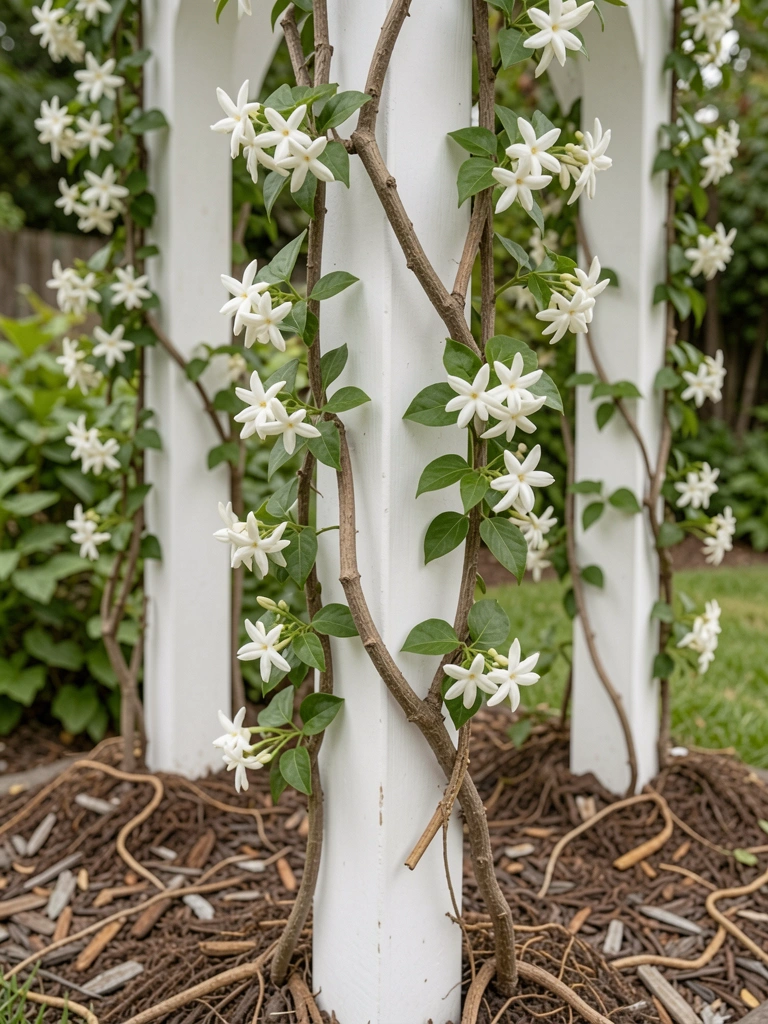
    White jasmine scents evenings from the legs. Climbs slow, blooms heavy.

    Snails ate leaves young. Slug bait yearly.

    Rich soil, moist.

    What You’ll Need for This Look

    White jasmine vine (potted)

    Organic slug bait (granules)

    15. Slim White Metal Side Table

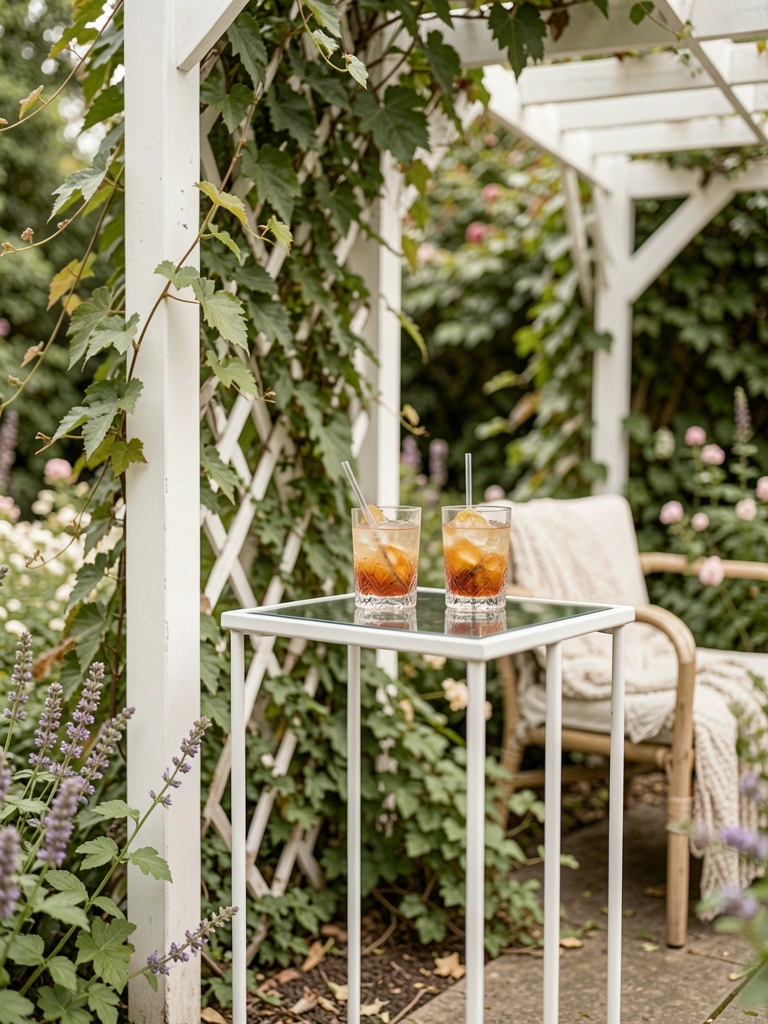
    Slim white table by chairs holds iced tea. Rust-free, light move.

    Glass scratched easy. Tempered swap.

    Wipe pollen daily.

    What You’ll Need for This Look

    Slim white metal side table (20 inch)

    Tempered glass top replacement

    16. Lily Clusters in White Pots Nearby

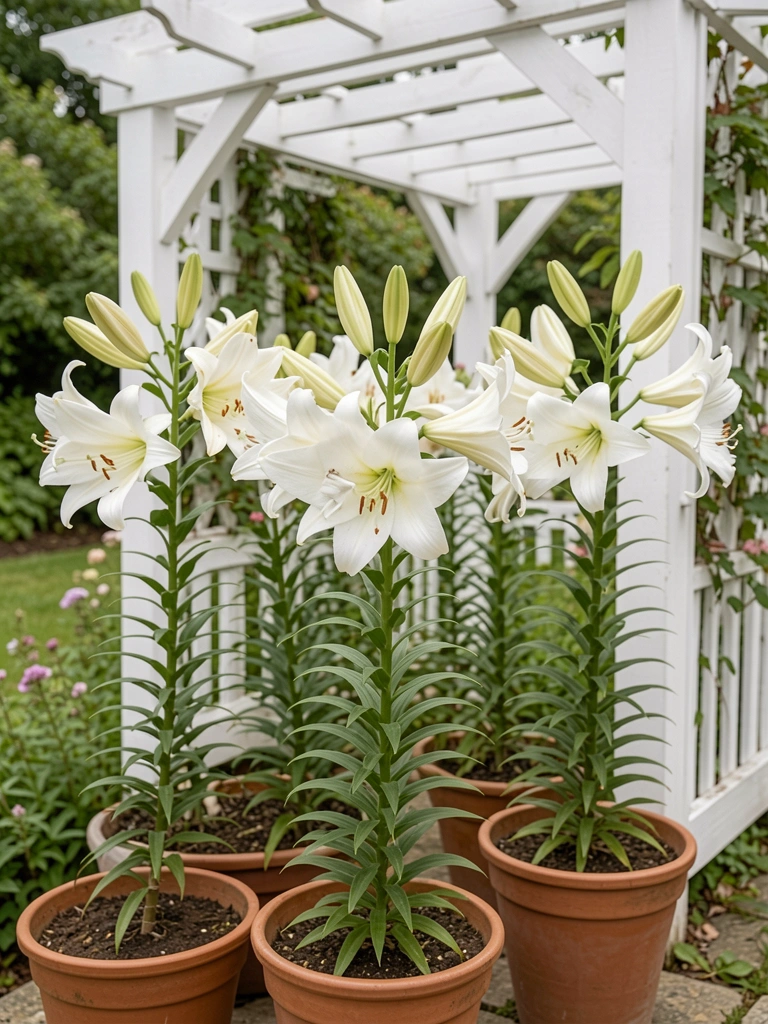
    White Asiatic lilies in pots flank the pergola. Bold scent cuts air.

    Bulbs rotted wet. Well-drain pots.

    Fertilize post-bloom.

    What You’ll Need for This Look

    White Asiatic lily bulbs (pack of 10)

    White ceramic pots (14 inch)

    17. Stepping Stones in White Concrete

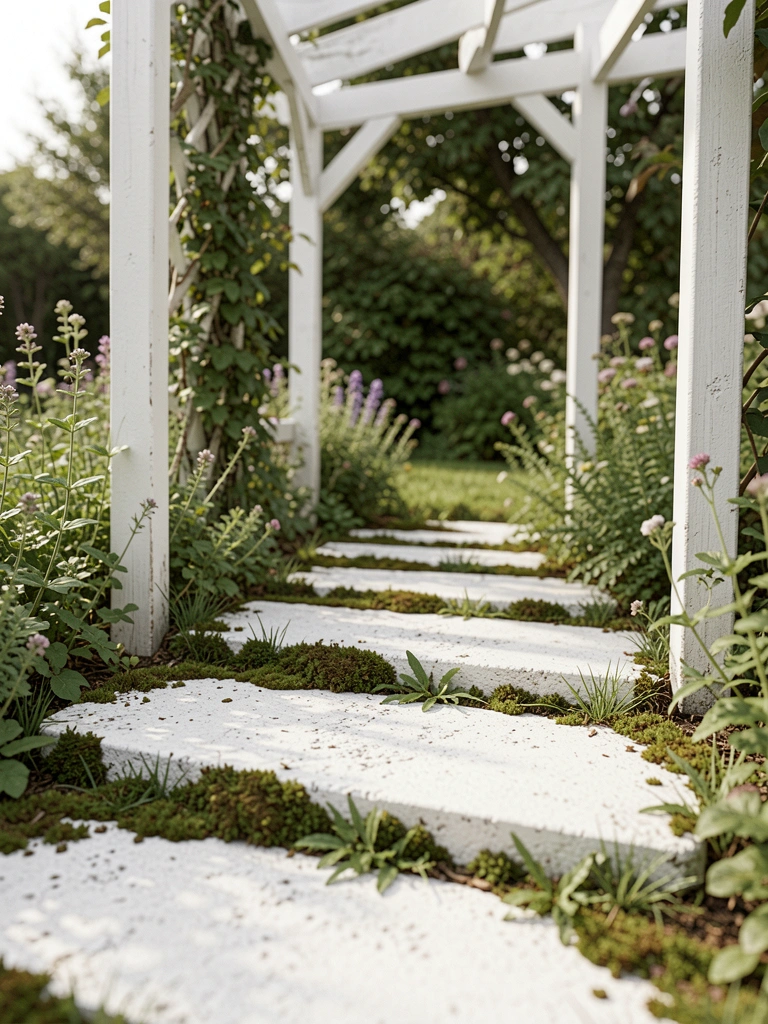
    White concrete stones guide through the shade. Feet stay dry after rain.

    Slipped when wet. Textured ones grip.

    Sink half-inch ground.

    What You’ll Need for This Look

    White concrete stepping stones (12 inch set)

    Rubber mallet for setting

    18. Overhead White Fabric Sails

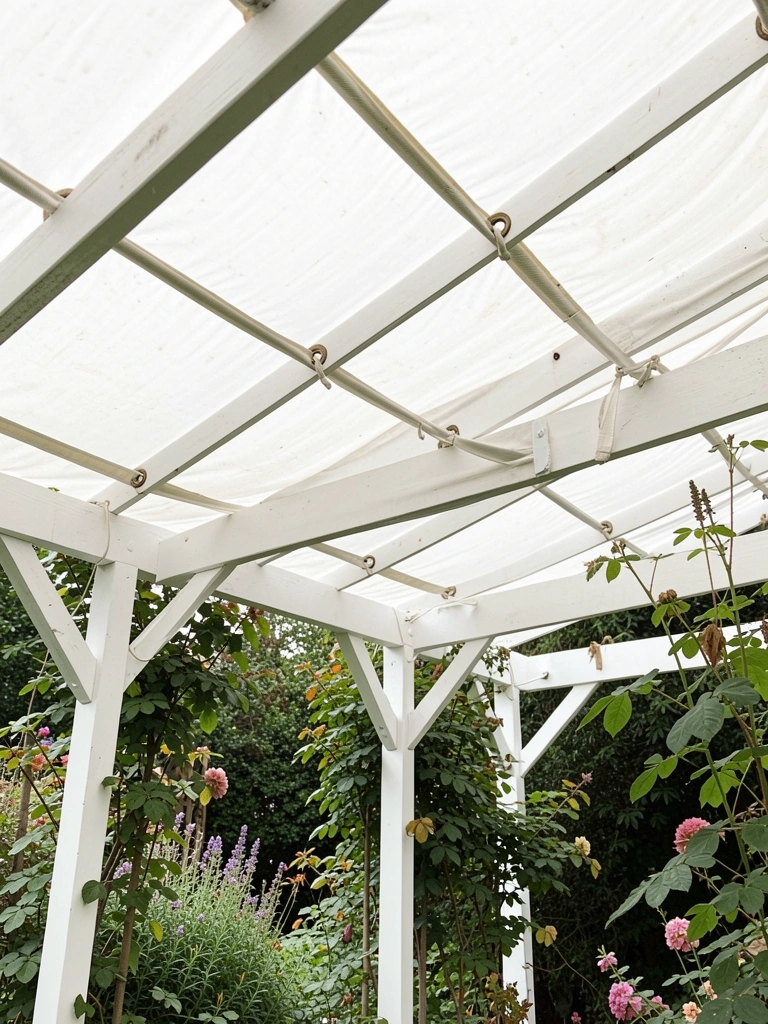
    White sails overhead filter sun soft. Removable for storms.
    Cotton mildewed. Polyester breathes dry.

    Tension clips secure.

    What You’ll Need for This Look

    White shade sails (10×10 ft)

    Tension clips for fabric (pack)

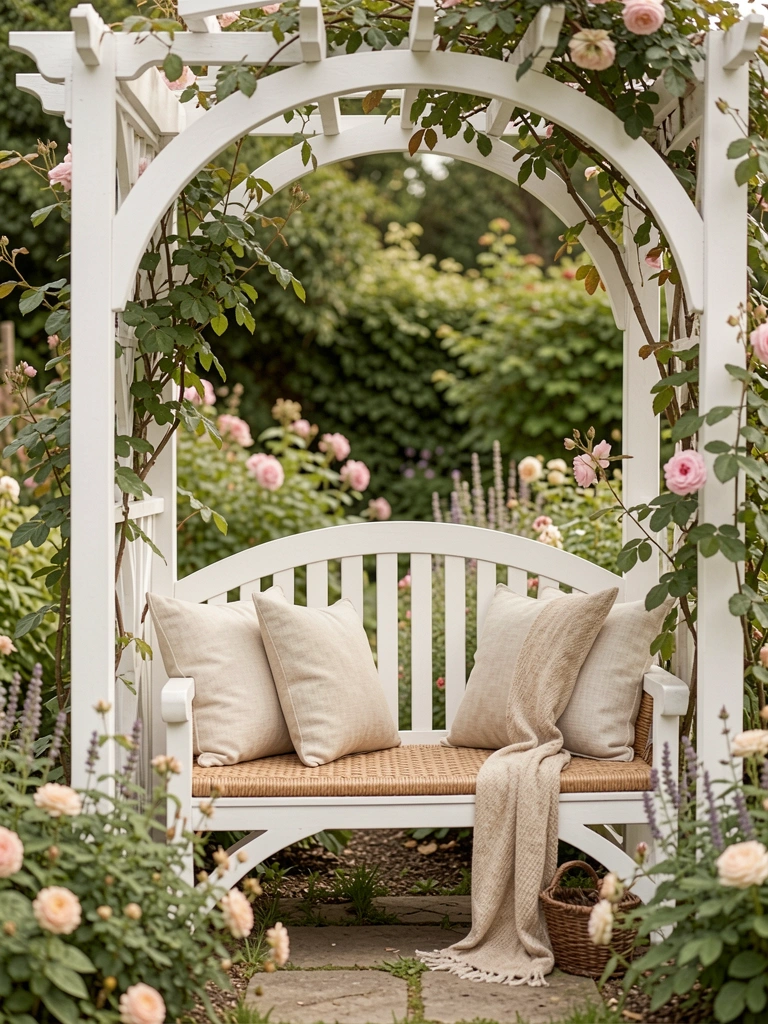
    19. Arched White Garden Bench Seat

    Arched white bench centers the pergola. Curves hug the sitter.

    Rattan splintered rain. Powder-coated metal endures.

    Anchor legs gravel.

    What You’ll Need for This Look

    Arched white metal garden bench

    Powder coat touch-up paint

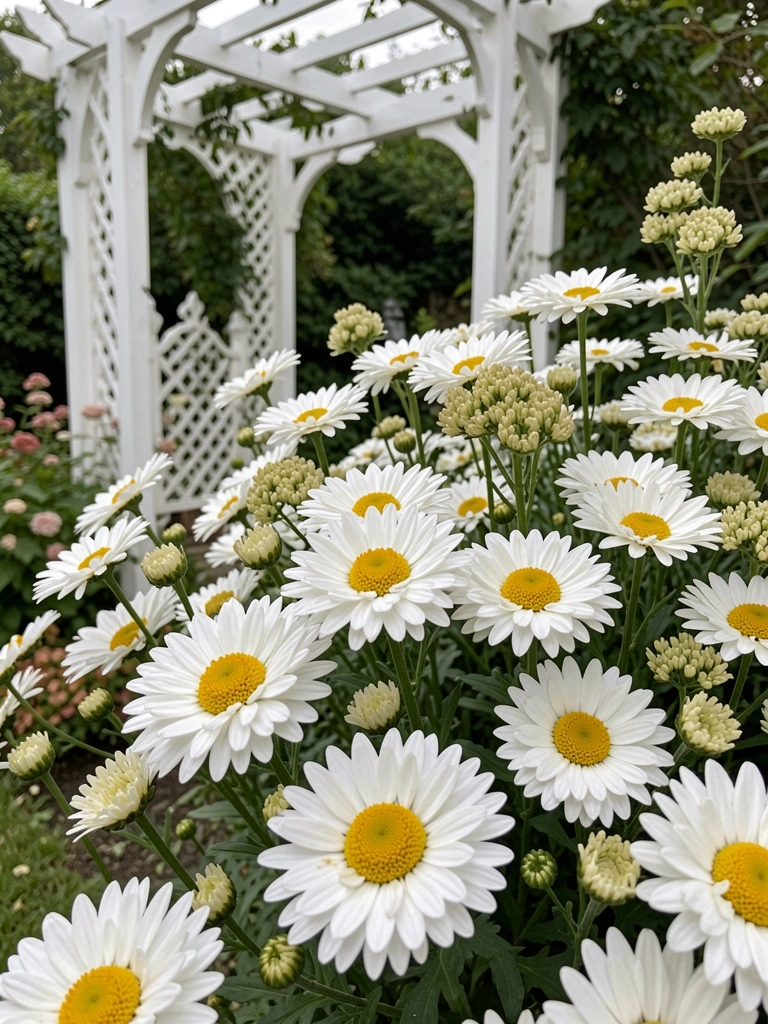
    20. Shasta Daisies in Front Border

    Shasta daisies front the pergola edge. Cheerful repeat blooms summer long.

    Flopped heavy heads. Stakes help.

    Divide every three years.

    What You’ll Need for This Look

    Shasta daisy plants (6-pack)

    Bamboo garden stakes (3 ft pack)

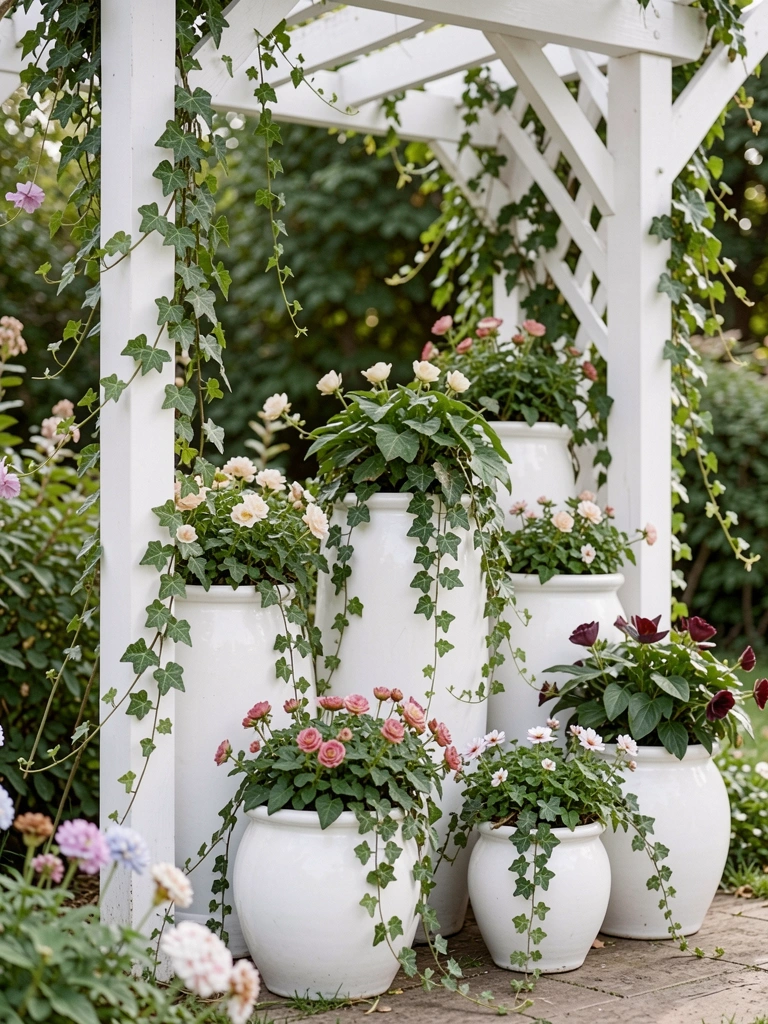
    21. Minimal White Ceramic Planters Grouped

    Clustered white ceramic pots under beams hold herbs, annuals. Heights vary natural.

    Cracked in frost. Thick-walled now.
    Group odd numbers.

    What You’ll Need for This Look

    White ceramic planters (assorted set)

    Frost-resistant pot feet (pack)

    Final Thoughts

    Pick one or two ideas that fit your space. White forgives small messes, grows with you.

    My pergola started bare, now it's home. Yours will too—start simple.

    You've got this.

  • 11 Small Corner Garden Pergola Ideas That Work

    11 Small Corner Garden Pergola Ideas That Work

    I stared at that tight corner next to the fence for two seasons. Bare dirt, zero life. Finally nailed a basic pergola there last spring. Vines took off, and now it's my go-to spot on hot afternoons.

    No fancy tools. Just trial and error.

    These ideas come from my own yard and helping neighbors. They fit small spaces without overwhelming.

    11 Small Corner Garden Pergola Ideas That Work

    Here are 11 small corner garden pergola ideas I've put into real gardens. They squeeze into tight spots, handle everyday mess, and deliver that cozy feel you want. Each one works—I promise.

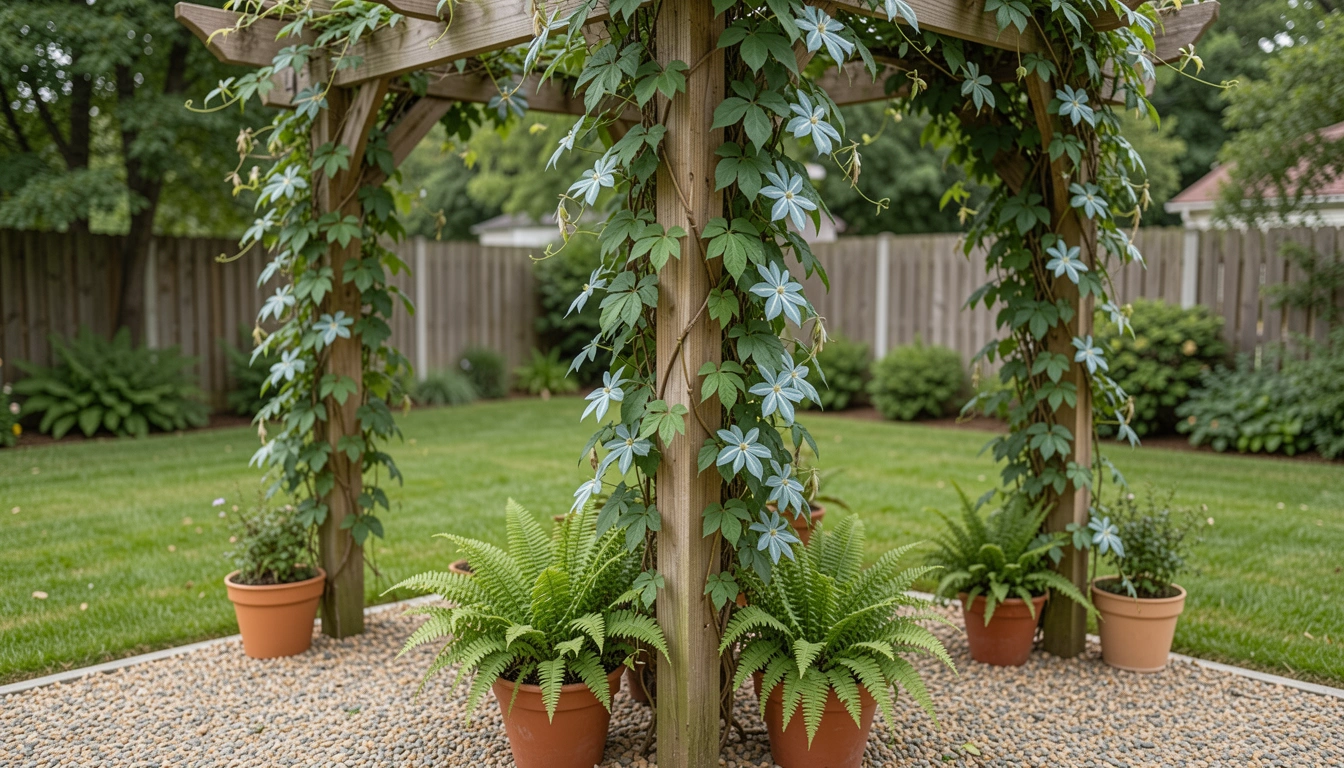
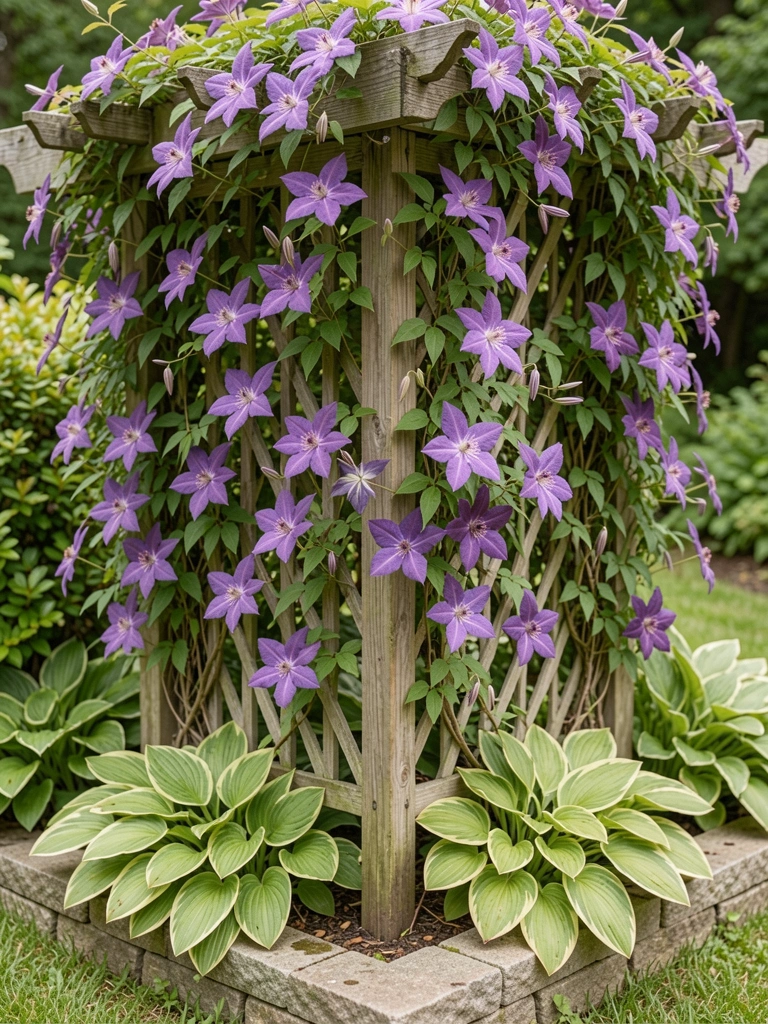
    1. Clematis-Clad Pergola for Soft Overhead Shade

    I built this pergola from scrap wood in a 6×6 foot corner. Planted clematis at the base—they scrambled up fast, giving dappled shade by July. Mornings feel cooler now, like sitting under a green umbrella.

    The vines hide the ugly fence behind it. I learned to prune them back in winter or they get wild.

    Pair with hostas underneath. They fill the ground without fuss.

    Watch the sun—clematis likes morning light, afternoon shade.

    What You’ll Need for This Look

    Clematis vine plant (Jackmanii variety)
    Hostas in 1-gallon pots
    Small wooden pergola kit (6×6 foot)

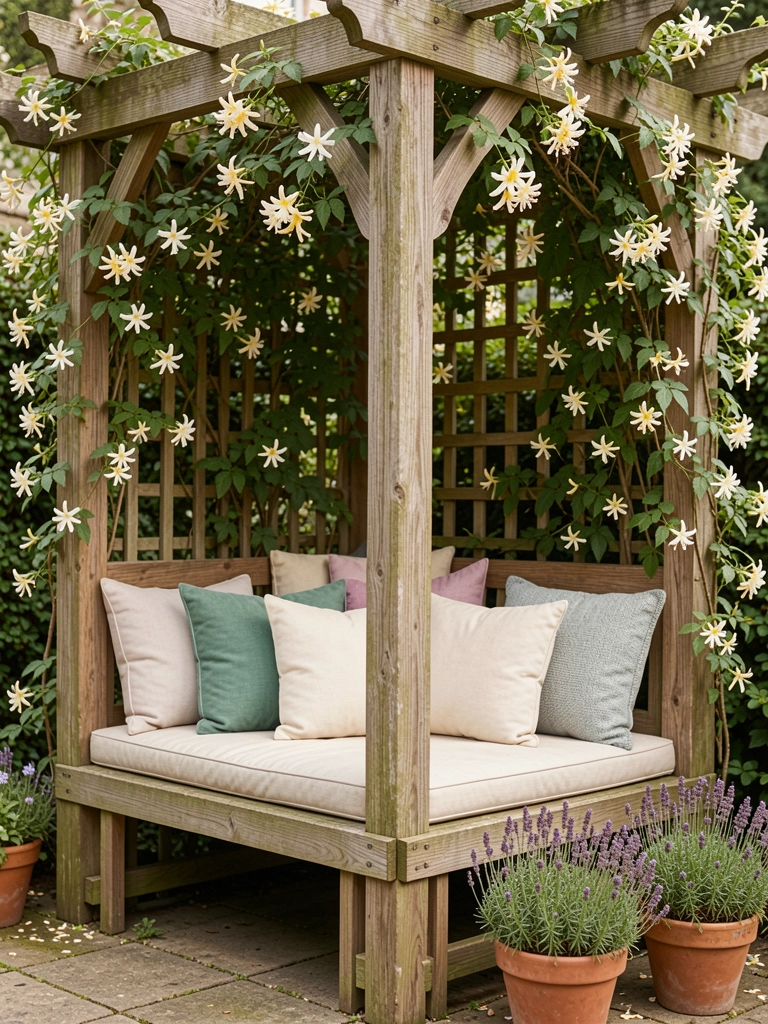
    2. Built-In Bench Under Honeysuckle Lattice

    My neighbor's corner was all concrete slab. I added a pergola with a simple bench seat inside. Honeysuckle climbed the sides, scent hitting you when you sit. It's for reading, feet up.

    The bench uses pressure-treated lumber—holds up to rain. Vines bloomed heavier than I expected.

    I forgot drainage at first; added gravel under now.

    Feels private, like your own nook.

    What You’ll Need for This Look

    Honeysuckle vine (evergreen variety)
    Outdoor bench cushions (18×18 inch, neutral)
    Pressure-treated lumber (2×4 boards)

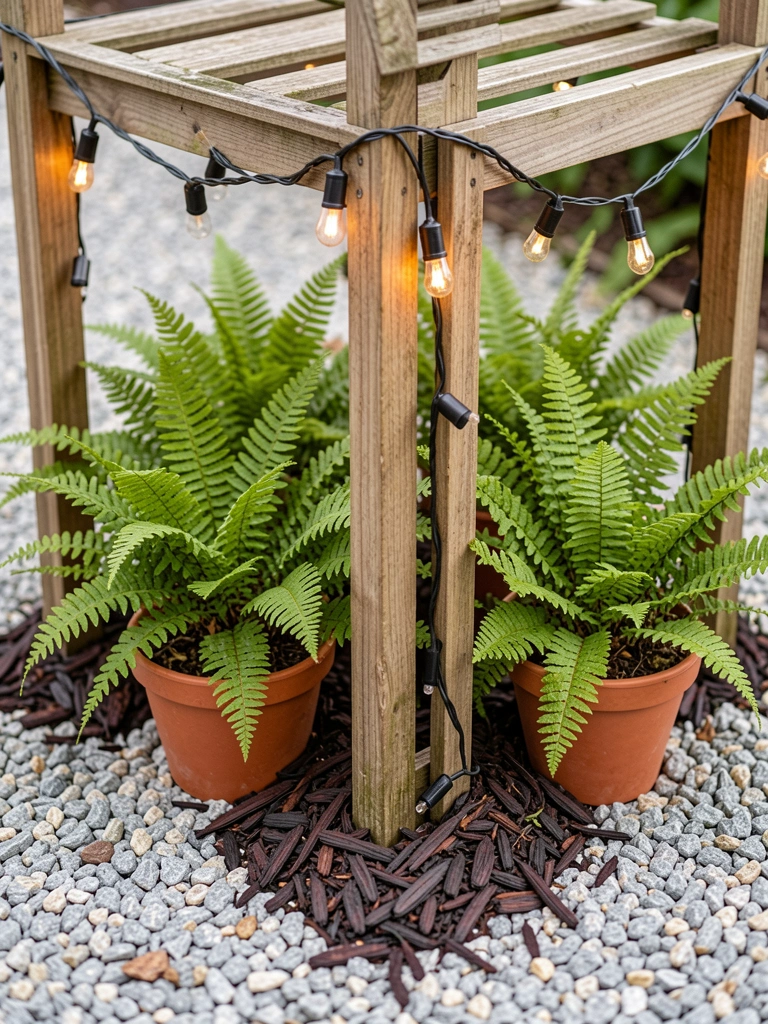
    3. Gravel Base with Potted Ferns and Lights

    Laid gravel in my side-yard corner under a metal pergola. Popped in fern pots—they thrive in the shade it casts. Added solar lights at dusk; glows soft without wiring hassle.

    Gravel keeps weeds down better than I thought. Ferns softened the edges.

    Bought too many pots once; stick to three now.

    Evenings change the whole vibe.

    What You’ll Need for This Look

    Ferns in hanging pots (Boston fern)
    Solar string lights (warm white, 33 feet)
    Gravel bags (pea gravel, 0.5 cubic foot)

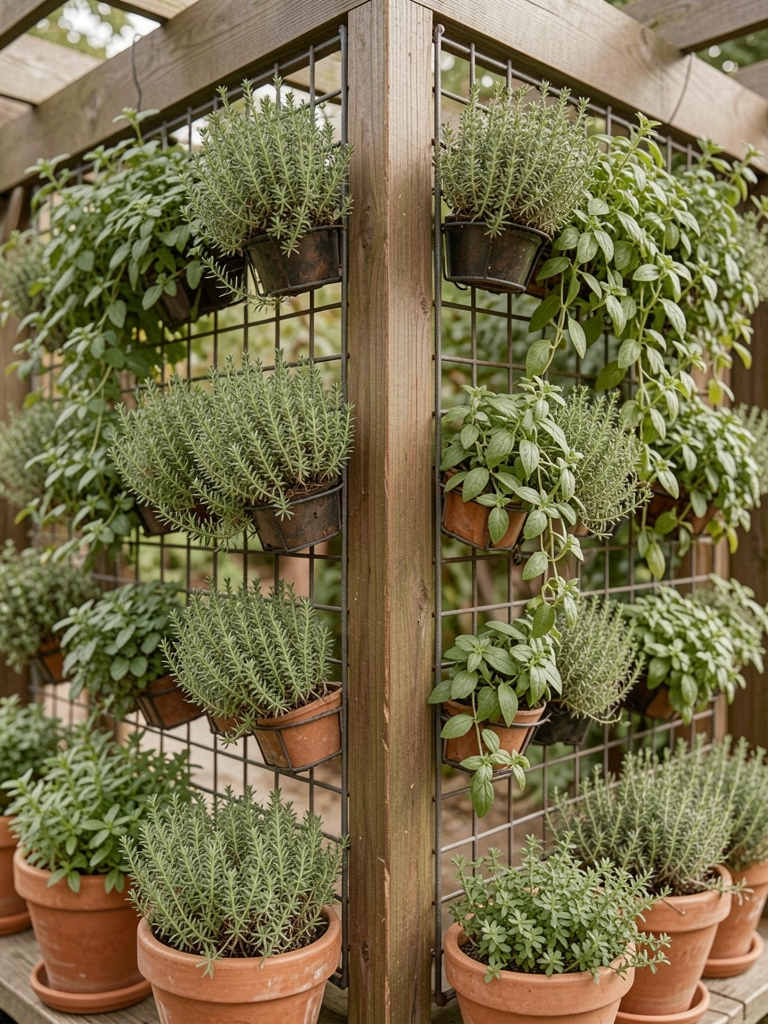
    4. Herb Wall Trellis Along Pergola Edge

    Tacked a wire grid to one pergola side in a sunny corner. Trailing herbs like thyme and oregano fill it out. Snip for cooking right there—fresh every meal.

    Herbs grew faster than basil I tried first; swapped those out.

    Fills vertical space without crowding the floor.

    Keeps the air scented.

    What You’ll Need for This Look

    Trailing thyme plant
    Oregano creeping variety
    Metal garden trellis (4 foot tall)

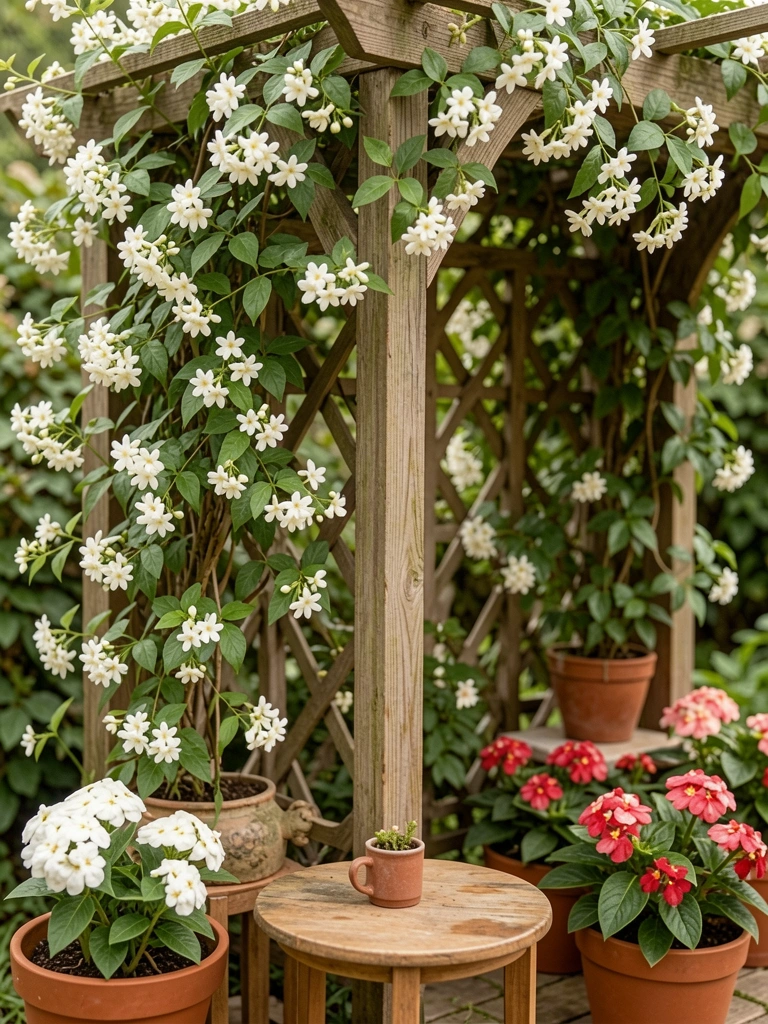
    5. Jasmine-Draped Pergola with Side Table

    Jasmine took over my backyard corner pergola quicker than expected. Sweet smell at night. Tucked a small table underneath for coffee. Impatiens in pots add color pops.

    Planted too close to the house once; space it out.

    Blooms keep coming summer long.

    Quiet spot now.

    What You’ll Need for This Look

    Jasmine vine plant (star variety)
    Impatiens in 6-inch pots (mixed colors)
    Small outdoor side table (round, metal)

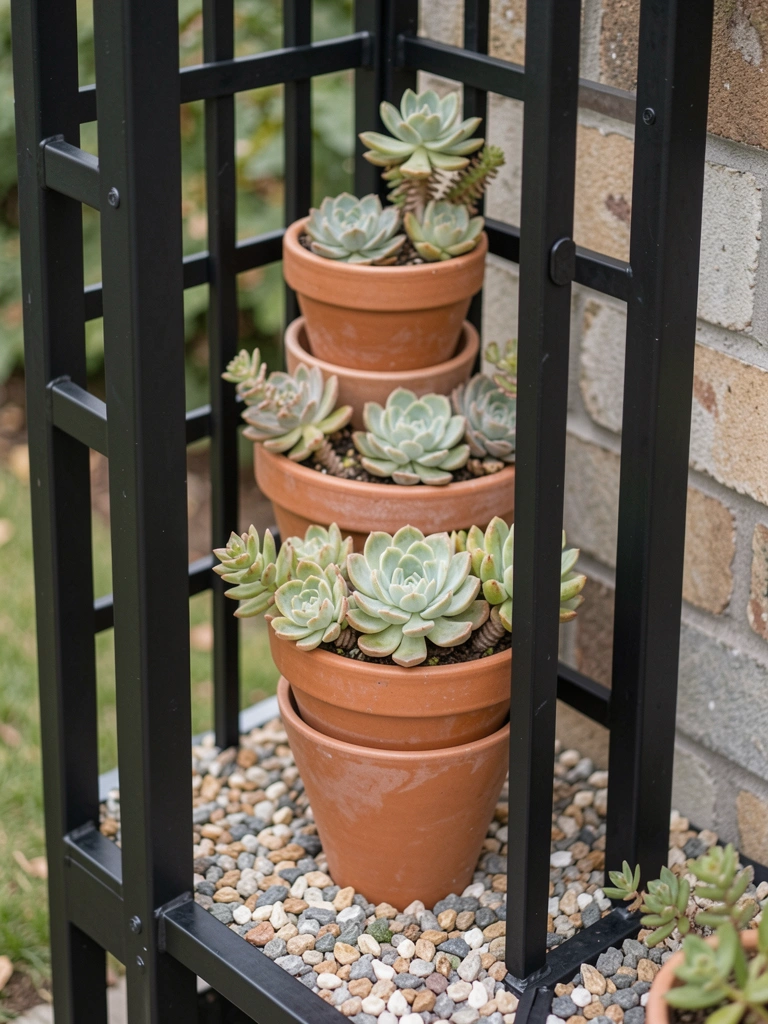
    6. Succulent Layers Around Black Metal Frame

    Went modern with a black metal pergola in a dry corner. Layered succulents in pots around the base—low water, no fuss. They catch morning sun just right.

    Forgot they spread; thin yearly.

    Clean lines, warm up evenings.

    Tough as nails.

    What You’ll Need for This Look

    Echeveria succulent set (assorted)
    Black metal pergola kit (8×8 foot)
    Stacked planter pots (ceramic, 3-tier)

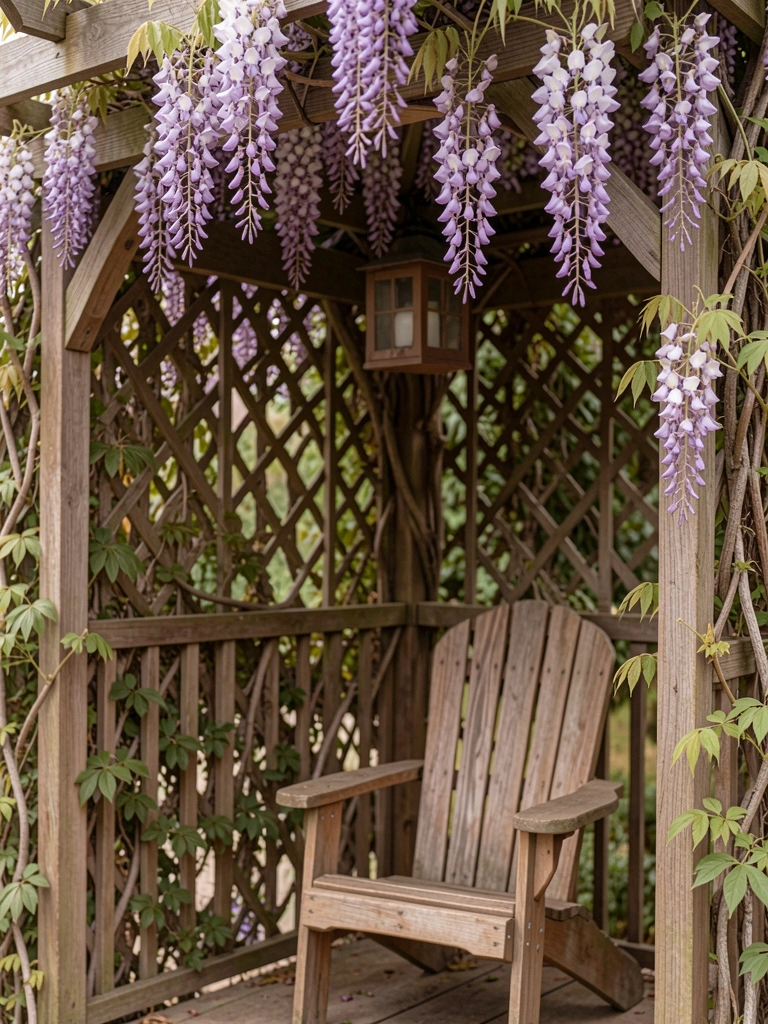
    7. Reading Nook with Wisteria Canopy

    Squeezed an Adirondack chair under a wisteria pergola in my shady corner. Blooms hang like curtains in spring—heavy shade after. Book stays open longer there.

    Wisteria roots spread wide; dig deep hole.

    Cozy without trying.

    What You’ll Need for This Look

    Wisteria vine (Amethyst Falls dwarf)
    Folding Adirondack chair (wood)
    Outdoor lantern (solar, black)

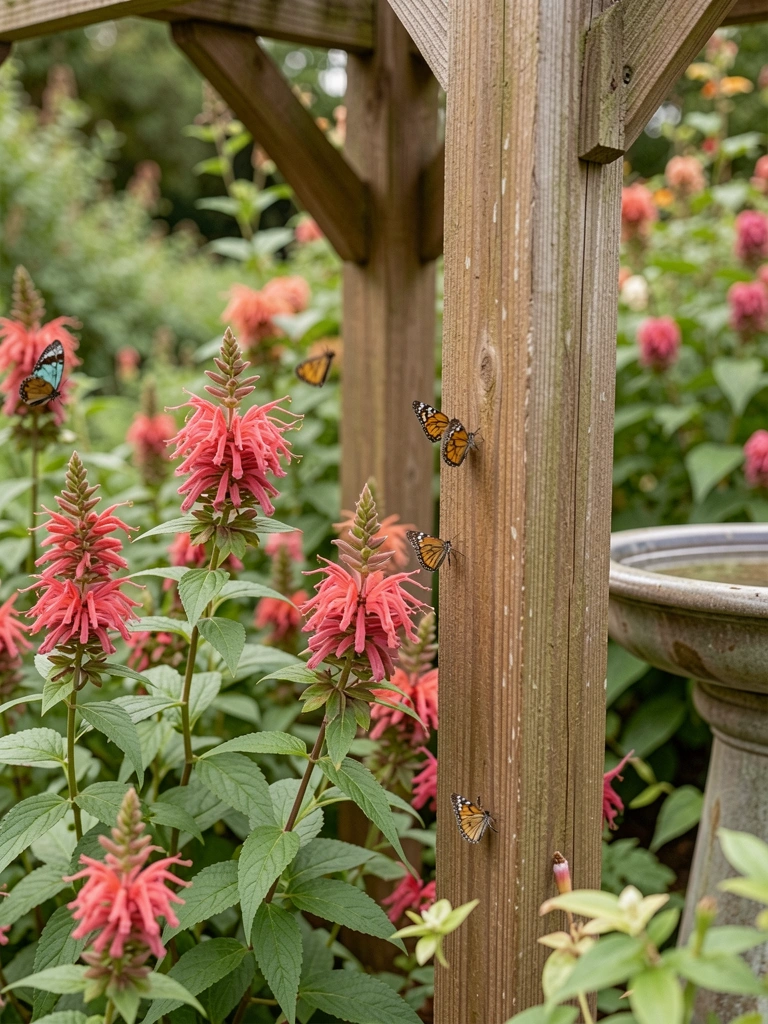
    8. Pollinator Haven with Bee Balm Clusters

    Planted bee balm around a simple post pergola. Butterflies show up daily now. Added a shallow birdbath—hummingbirds too.

    Bee balm flops in wind; stake it.

    Buzz of life changes everything.

    What You’ll Need for This Look

    Bee balm plants (Monarda)
    Small birdbath (ceramic, 12 inch)
    Wooden pergola posts (4×4, treated)

    9. Container Overload Balanced by Climbing Roses

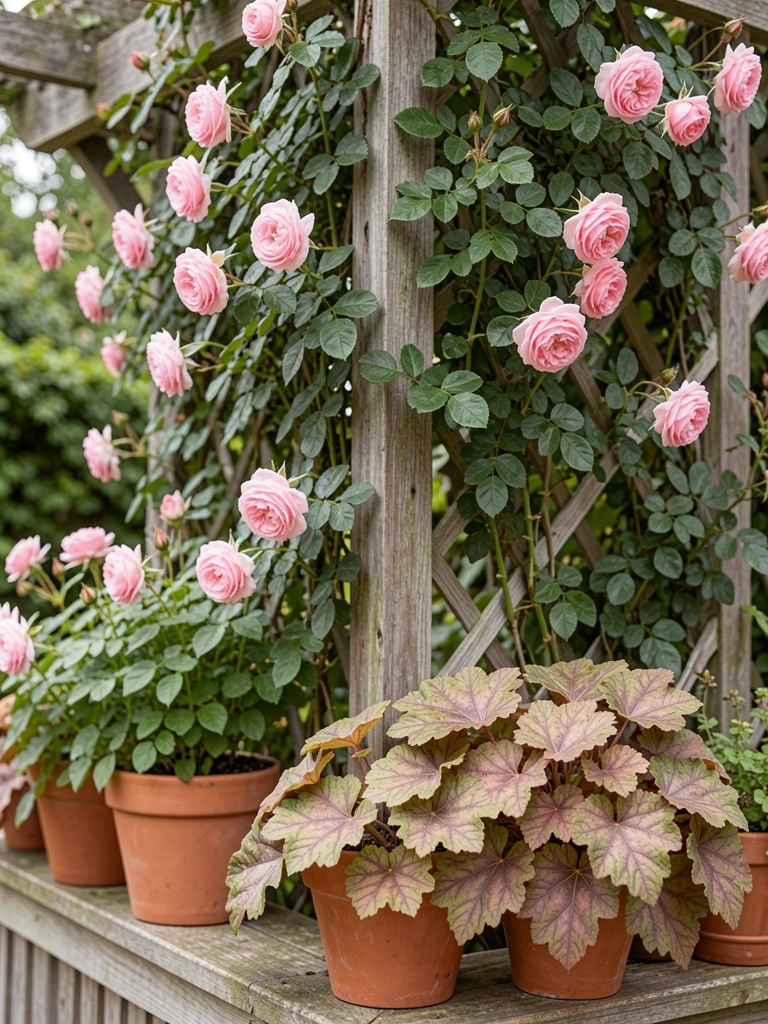
    Roses climb my pergola posts; pots of heuchera below balance it. Corner feels full, not junky.

    Overdid pots first; group in odds now.

    Roses repeat bloom reliably.

    Sit and smell them.

    What You’ll Need for This Look

    Climbing rose plant (New Dawn)
    Terracotta pots (10 inch set)
    Heuchera plants (coral bells)

    10. Low-Maintenance Ivy Screen with Hammock Hook

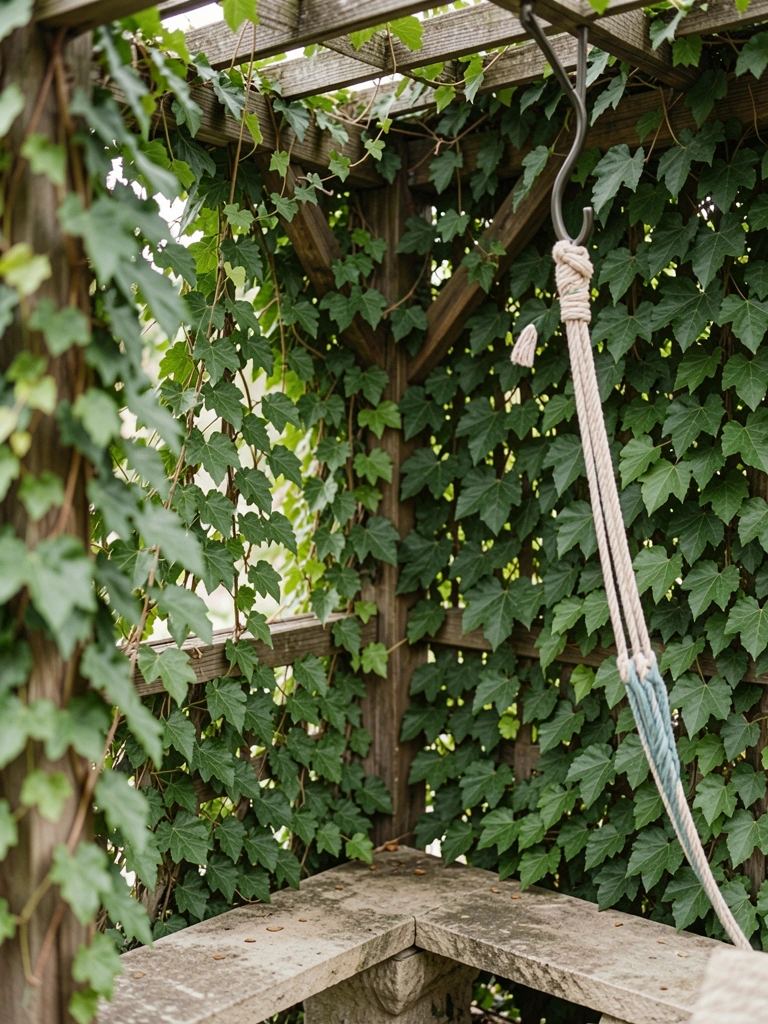
    English ivy screens the pergola side—blocks neighbor view quick. Hung a hammock hook for lazy swings.

    Ivy jumps fences; contain roots.

    Simple escape.

    What You’ll Need for This Look

    English ivy plant (groundcover)
    Hammock chair with hook
    Stone garden bench (small)

    11. Year-Round Perennial Base with Path Lights

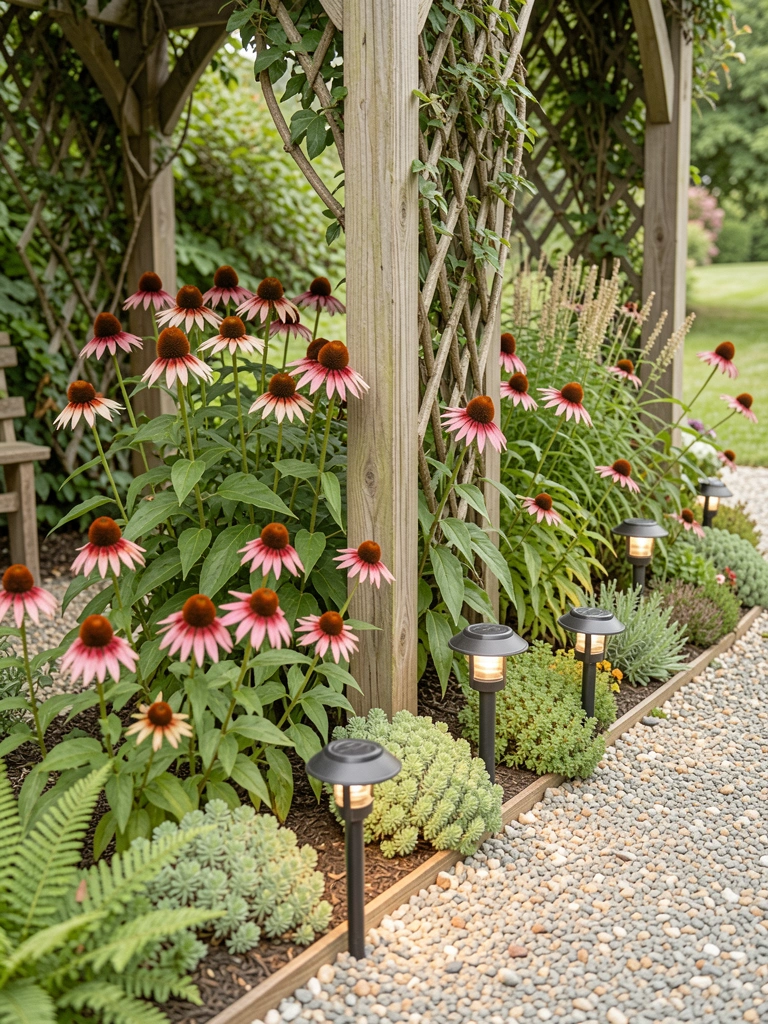
    Coneflowers and sedum under pergola give winter interest too. Path lights guide at night—gravel path leads in.

    Sedum dies back brown; cut low.

    Color shifts with seasons.

    Stays alive easy.

    What You’ll Need for This Look

    Coneflower plants (Echinacea)
    Sedum groundcover plants
    Solar path lights (stake, warm glow)

    Final Thoughts

    Pick one idea that fits your corner's light and your time. Start small—pergola first, plants later.

    Mine evolved over years. Yours will too.

    You've got this. Plant it, watch it grow.