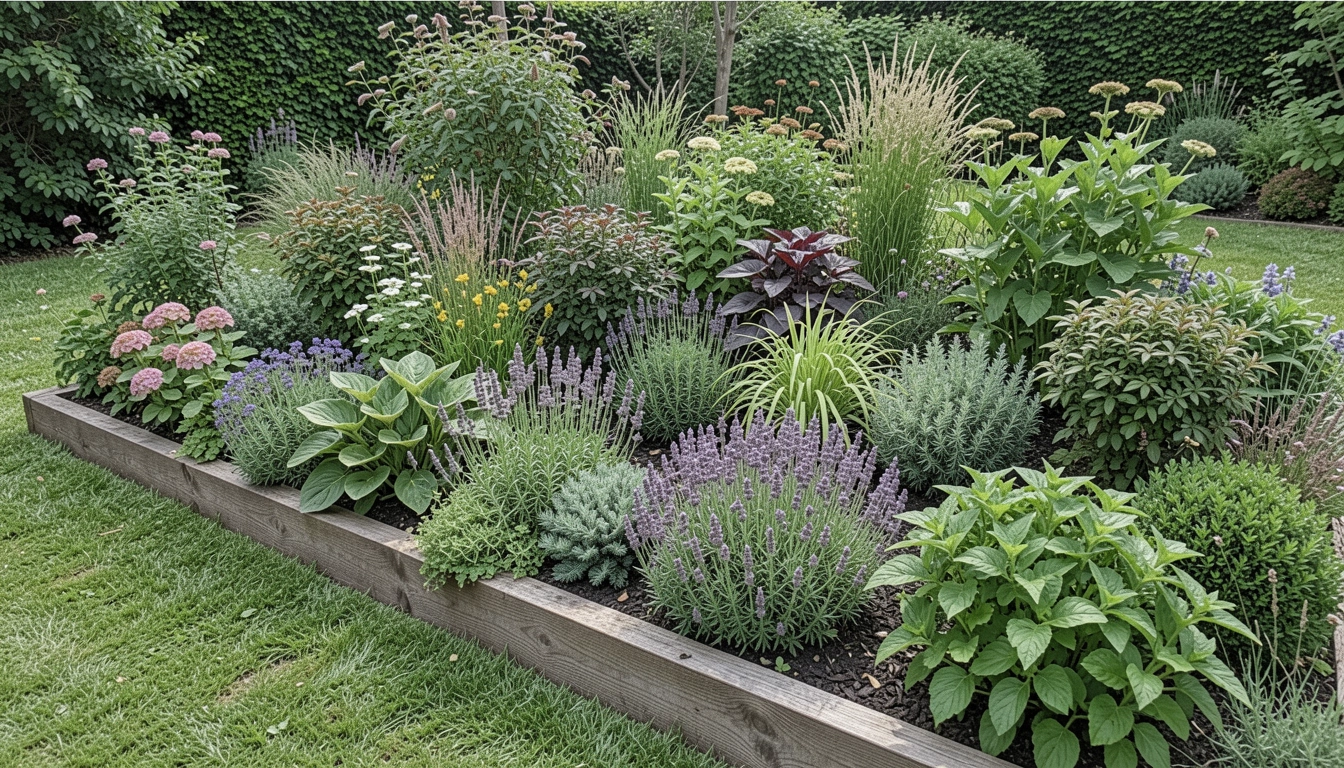
I stared at my side yard bed last spring. Grass had invaded the edges, blurring everything. The plants looked crowded, the whole space felt sloppy. I’d tried mowing close, but it never held.
Edging fixed it. One clean line, and the bed breathed. Suddenly, the perennials stood out, the lawn neat.
You can do this too. It takes an afternoon.
How to Edge a Garden Bed
This is the method I use every time a bed feels off. You’ll end up with a crisp line that makes plants pop and keeps grass at bay. Simple, lasting balance.
What You’ll Need
- 39-inch fiberglass half-moon lawn edger
- Heavy-duty garden hose, 50-foot length
- 100-foot nylon mason line with stakes
- 12-inch steel edging knife
- Landscape rake, 16-tine steel head
- Heavy-duty leather garden gloves, large
- Wheelbarrow, 6-cubic-foot steel
- Rubber mallet, 16-ounce
Step 1: Walk the Bed and Feel the Flow
I start by walking the bed slowly. Barefoot if it’s warm. I feel where the bed wants to curve—gentle sweeps near taller plants, straighter by paths. This sets the flow.
Visually, the bed shifts. Plants gain space, the lawn pulls back. It feels balanced already.
Most miss how the eye follows curves. Straight lines work on small beds, but waves suit perennials. Avoid forcing sharp bends; they chop the view.
Don’t rush marking yet. Let the shape settle in your mind first.
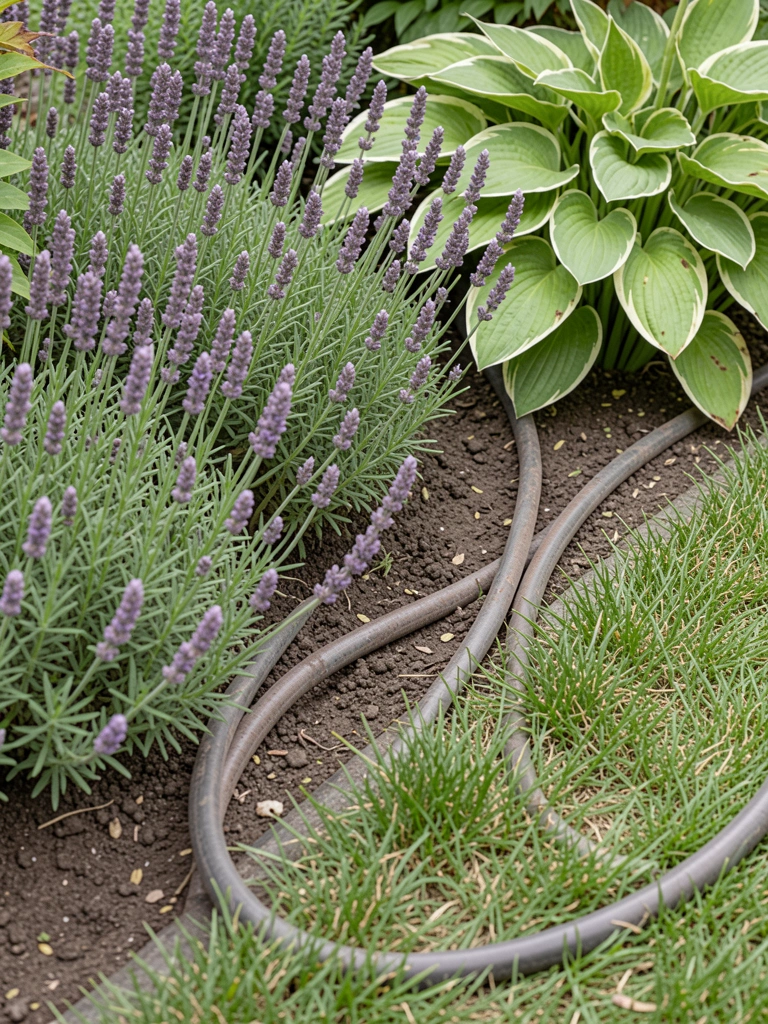
Step 2: Lay Out Your Line
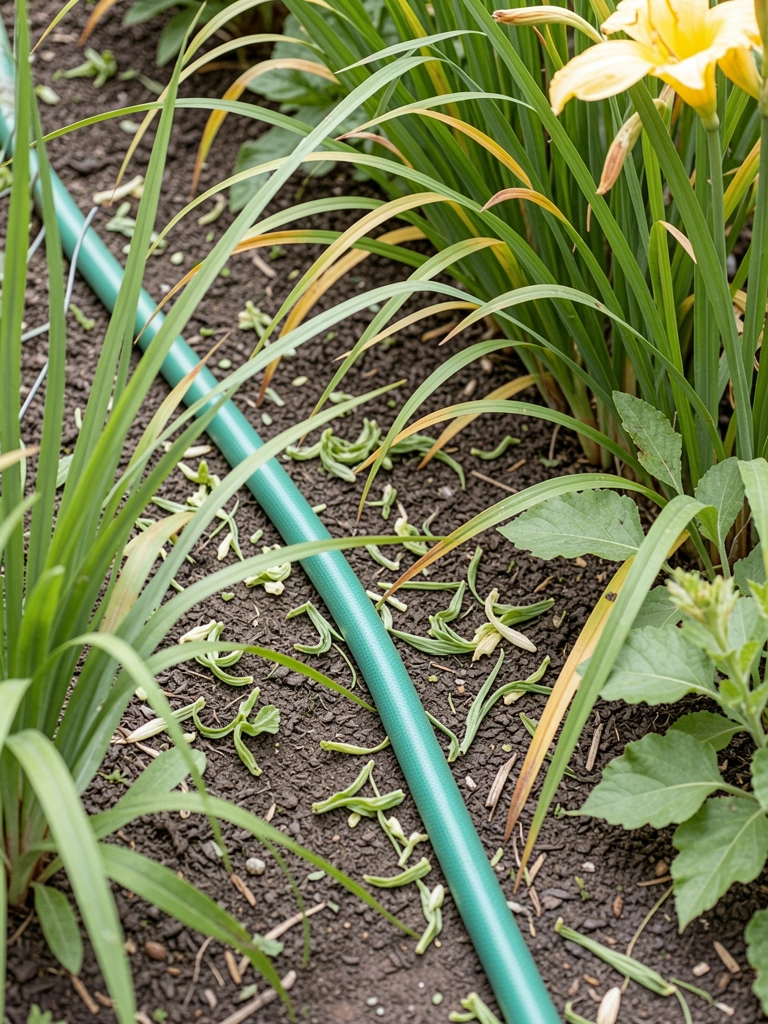
Next, I grab the hose and drape it along the bed. Follow your walk’s feel—soft arcs where plants lean out. Pin it lightly with stakes if windy.
The line appears. Grass meets bed cleanly; no more blur. The space looks intentional.
People overlook hose flexibility. It shows true flow better than string. Mistake: pulling it too tight. Keep it loose for natural rhythm.
Stand back. Adjust until it feels right from the path.
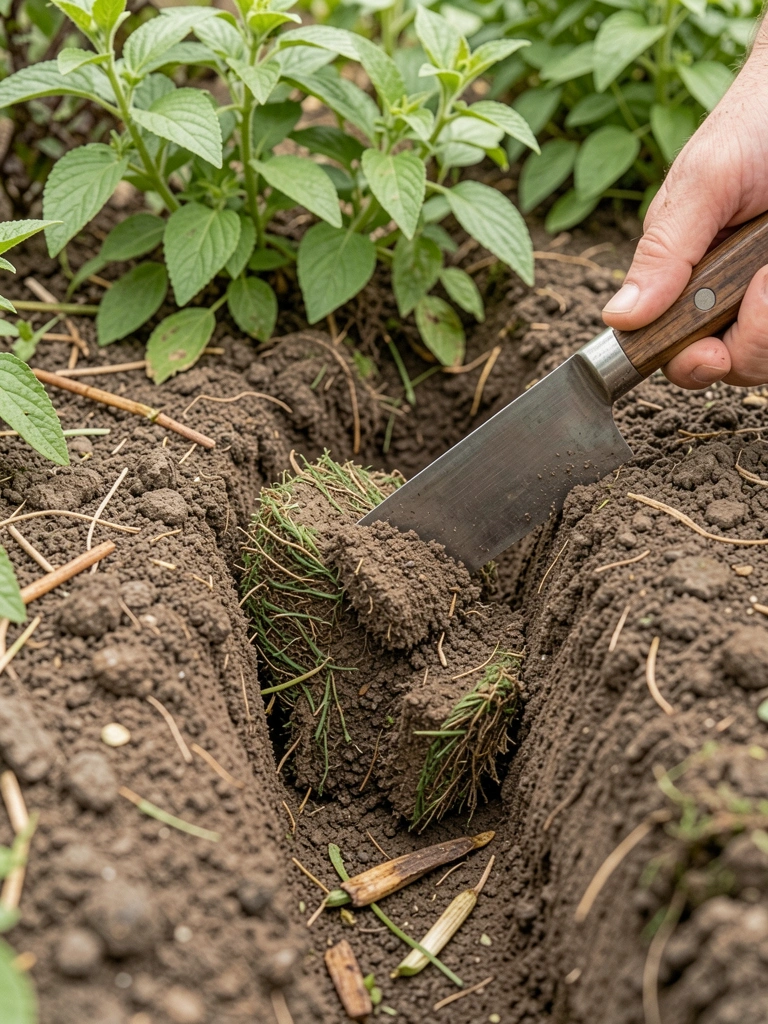
Step 3: Cut the First Pass
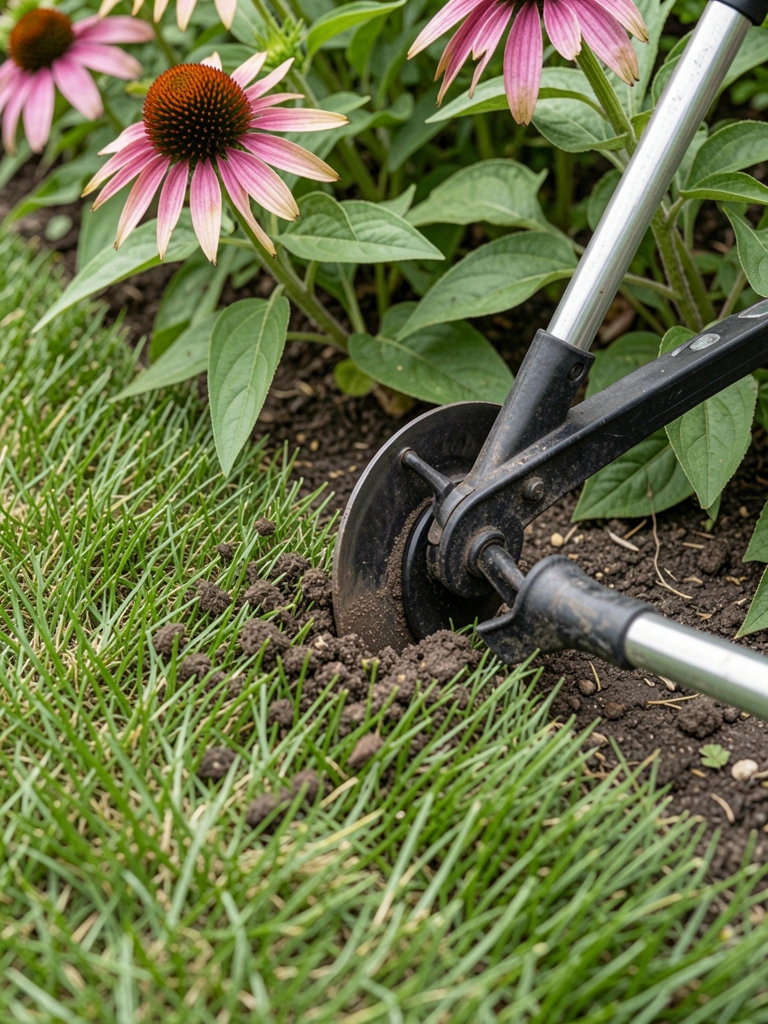
I take the half-moon edger and slice along the hose. Vertical cuts, 4 inches deep. Lean into curves; let the tool guide.
Turf lifts slightly. A clean trench forms, separating worlds. Beds pop, lawn firms.
Insight: depth holds shape through rain. Most cut shallow—edges crumble. Avoid angling the blade; straight down prevents crumbling sides.
Pause at obstacles. Plants stay safe.
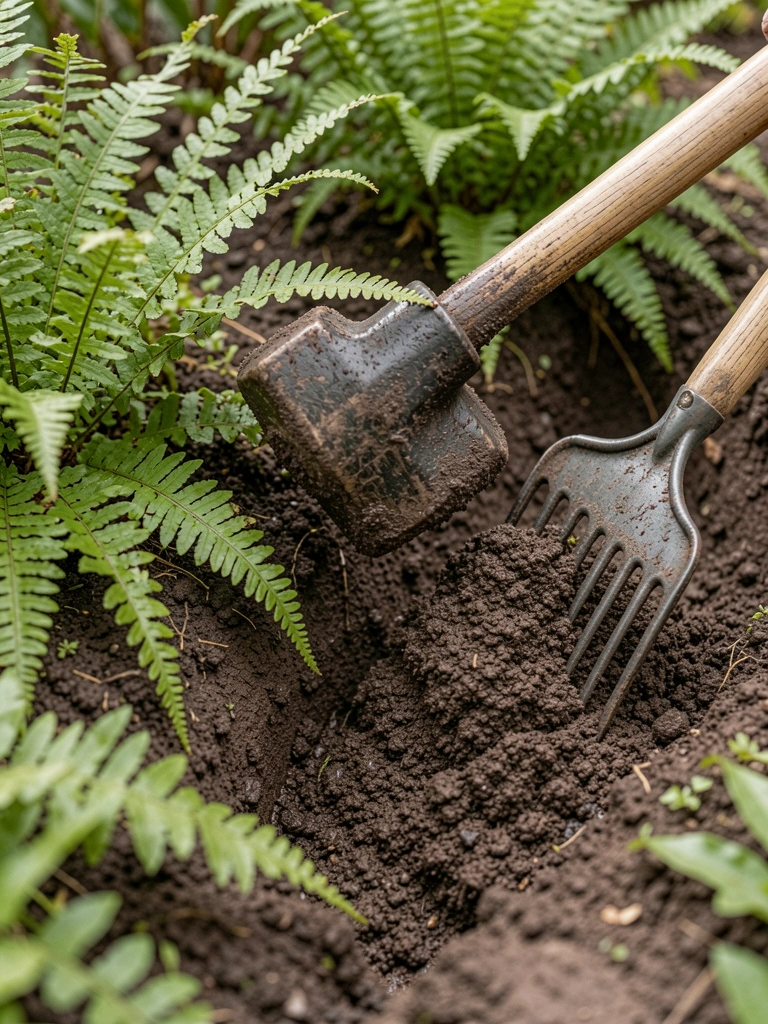
Step 4: Dig and Define the Trench
Now the edging knife widens the trench to 6 inches. Pry out grass roots fully. Wheelbarrow hauls debris.
The bed breathes deeper. Shadows define the line; plants frame it.
Missed tip: fork soil back from roots. It prevents air pockets. Don’t leave roots dangling; they regrow fast.
Smooth walls gently. Feels solid.
Step 5: Backfill and Settle
I rake soil from the bed side into the trench. Tamp with the mallet. Top with a thin mulch layer.
Edge settles firm. Line sharpens; no gaps. Whole garden flows.
People forget tamping. It locks shape. Avoid overfilling; slight dip catches clippings.
Water lightly. It bonds.
Step 6: Clean and Check Balance
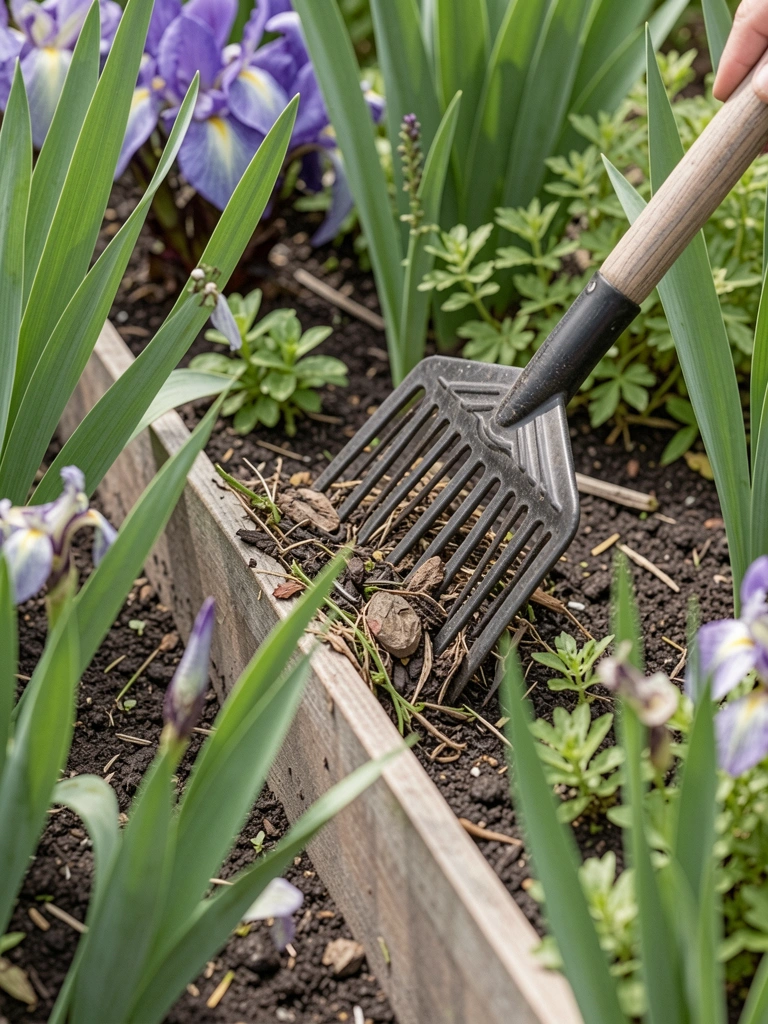
Rake clippings away. Walk the bed again. Tweak soft spots.
Everything aligns. Plants stand tall, space calm.
Insight: check from house view. Edges unify. Mistake: ignoring corners—they fray first.
It’s done. Simple hold.
Picking the Perfect Edge Shape
Curves work best in my perennial beds. They echo plant forms. Straight lines suit formal paths.
Waves add movement. But match your space:
- Soft sweeps for large beds
- Gentle repeats for repetition
- Subtle dips near focal plants
Test with hose. It reveals what fits.
Blending Edges with Plants
I let low growers hug the edge. Creeping phlox softens lines.
Taller ones pull back. This layers depth.
- Sedum for spill-over
- Lavender for contrast
- Grasses for feathery touch
Avoid overcrowding. Space lets edge shine.
Year-Round Edge Maintenance
I refresh twice yearly. Spring and fall.
Quick passes keep it crisp. Rain softens soil then.
- Mow high on lawn side
- Mulch annually
- Spot-treat invaders
Feels like minor tuning. Lasts seasons.
Final Thoughts
Start with one bed. The clean line builds confidence.
You’ll notice how it quiets the garden. Plants get room.
Edge when soil’s moist. It’s straightforward work with real payoff.
Leave a Reply