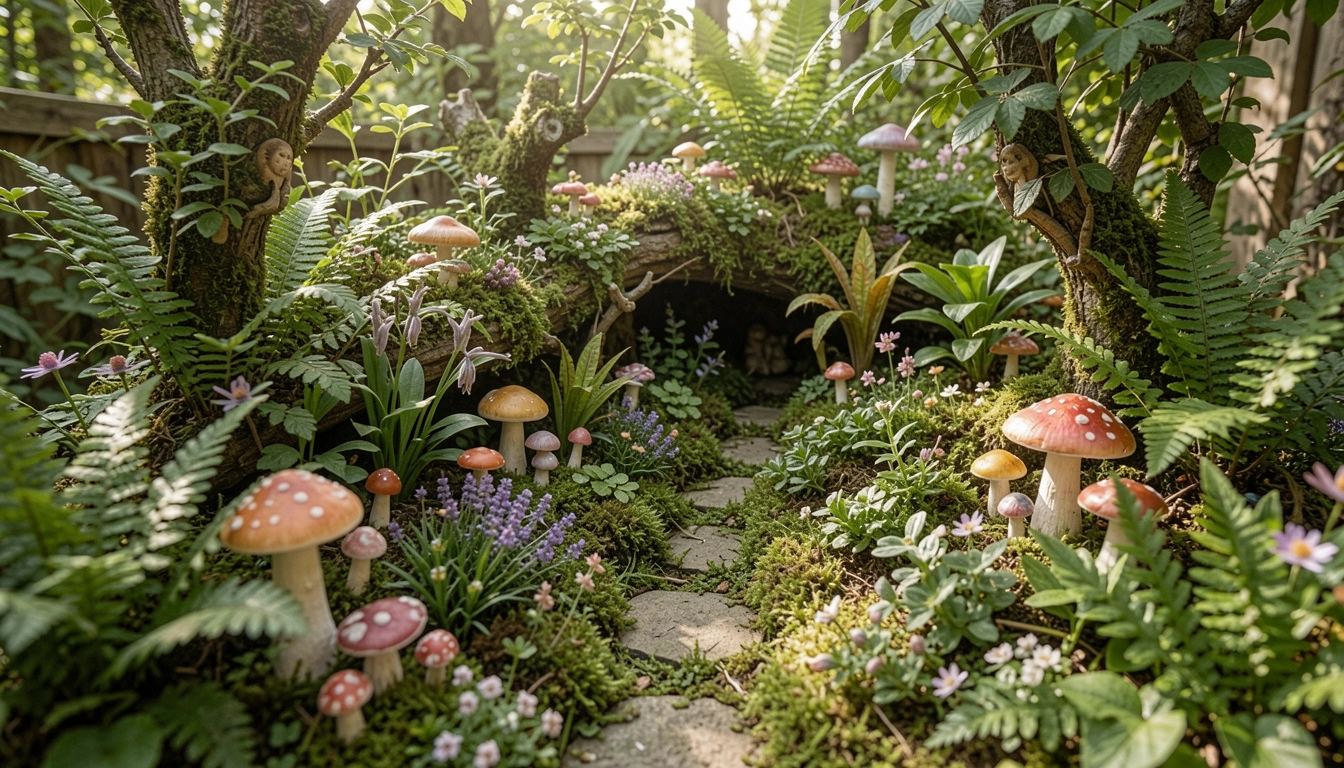
I had this shady corner by the patio steps. Bare dirt, nothing grew right. I wanted something small, inviting, but not fussy. Tried flowers once—they flopped.
Then I thought of a fairy garden. Not toys, but a quiet spot that pulls you in. It sat empty too long.
Now it feels right. Balanced. Like it belongs.
How to Make a Fairy Garden
This shows you how I build a fairy garden that settles into its spot. You'll end up with a cozy nook that looks natural, not crowded. It's simple enough for a weekend.
What You’ll Need
- Miniature fairy houses, 4-inch resin
- Fairy garden doors, wooden 2-inch set
- Preserved sheet moss, 8×10 inches
- Mini succulents, assorted 2-inch pots
- Pebble mix, 1-quart natural stones
- Tiny benches, metal 1.5-inch pair
- Birdbath miniature, ceramic 3-inch
- Twigs bundle, natural 6-inch lengths
Step 1: Pick Your Base Spot
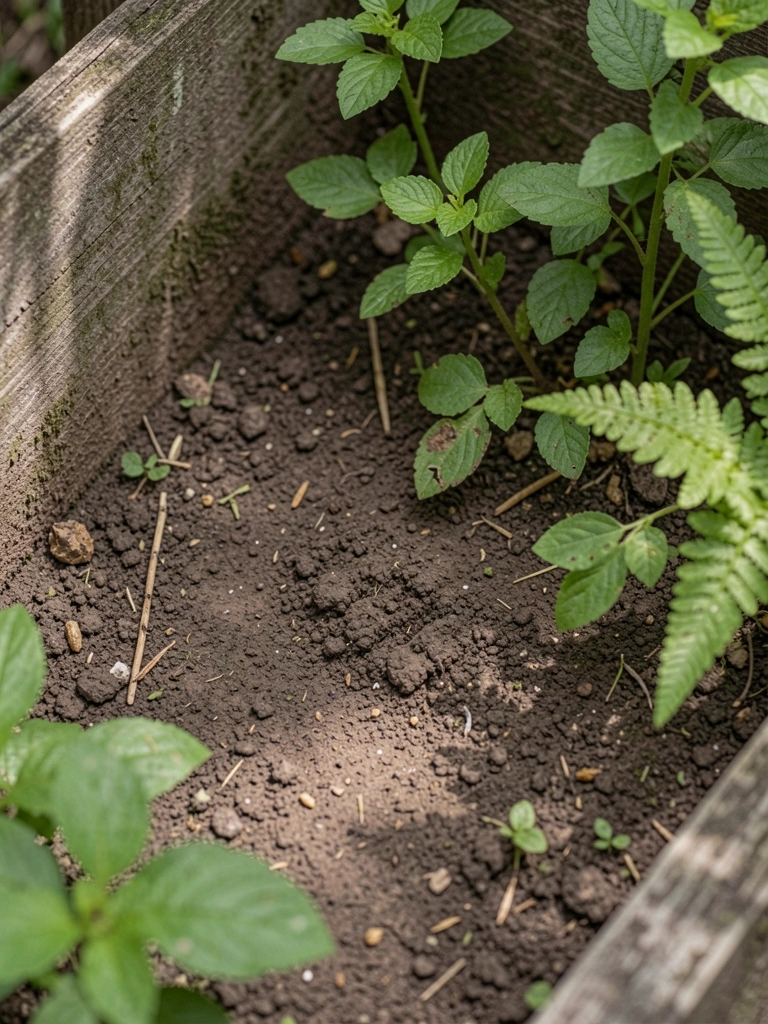
I start by walking the yard, looking for that forgotten corner. Shady under a tree works best—too much sun dries it out. I clear leaves, level the soil a bit. Why? It gives everything a steady floor.
Visually, the spot changes from empty to ready. Bare dirt turns into a clean slate. People miss how light hits here—test it at different times.
Don't cram it against a wall. Pull it forward a touch for air. That keeps it open.
Step 2: Layer the Ground Cover
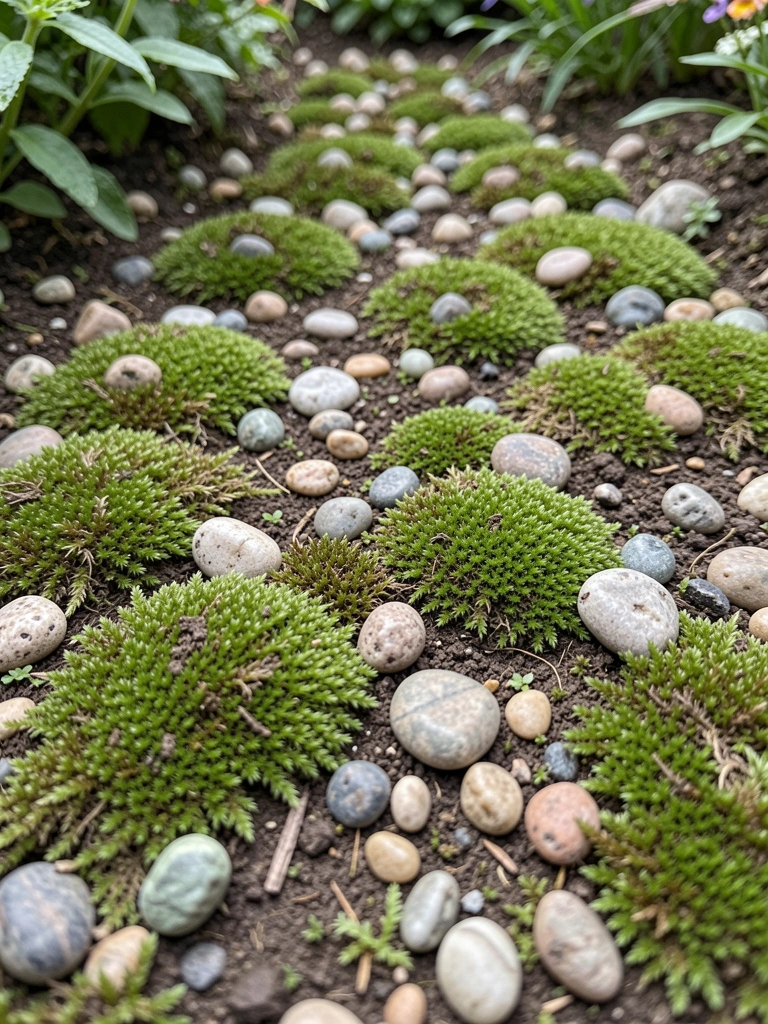
Next, I spread sheet moss thick. It softens the dirt, holds moisture. Pat it down gentle—no rips. Add pebbles around edges for definition.
Now it looks grounded, not flat. The green pulls your eye in soft. Most forget moss needs misting first; dry stuff crumbles.
Skip thick mulch. It buries details later. This way, it breathes.
Step 3: Place the Main Structures
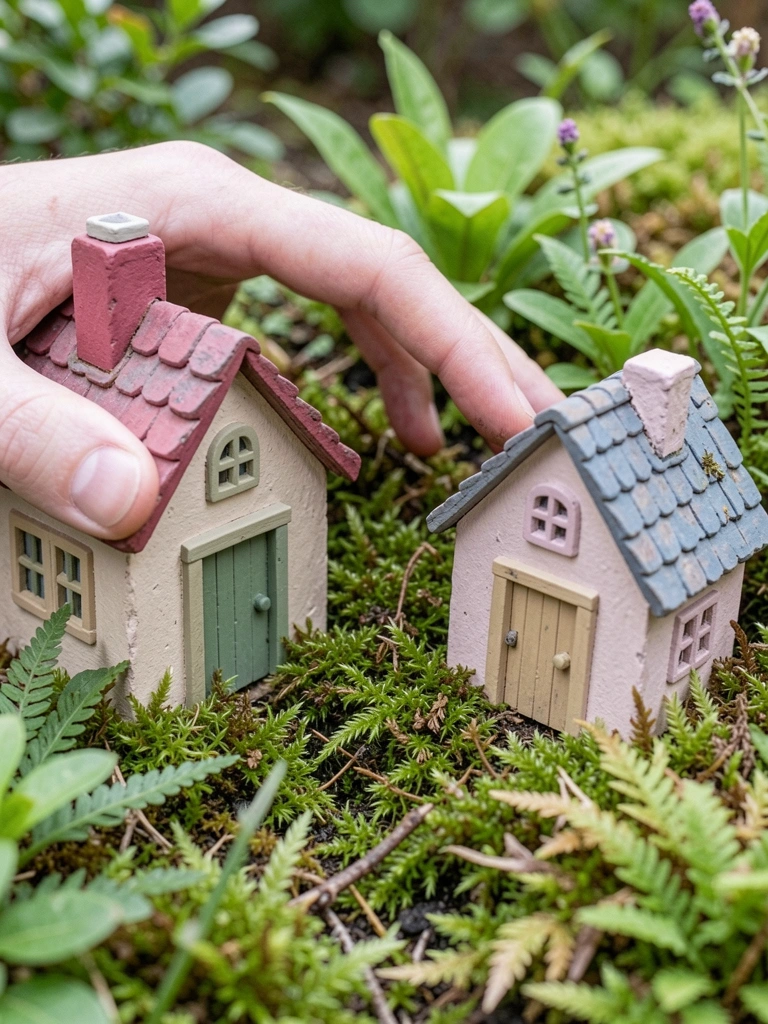
I set fairy houses first, off-center. Nestle doors at base, half-hidden. They anchor the space. Why? Creates paths your eye follows.
The area feels lived-in now—cozy pockets form. Insight: group in threes for balance, not rows.
Don't glue yet. Test views from sitting spots. Fixes wonky angles.
Step 4: Add Plants and Pathways
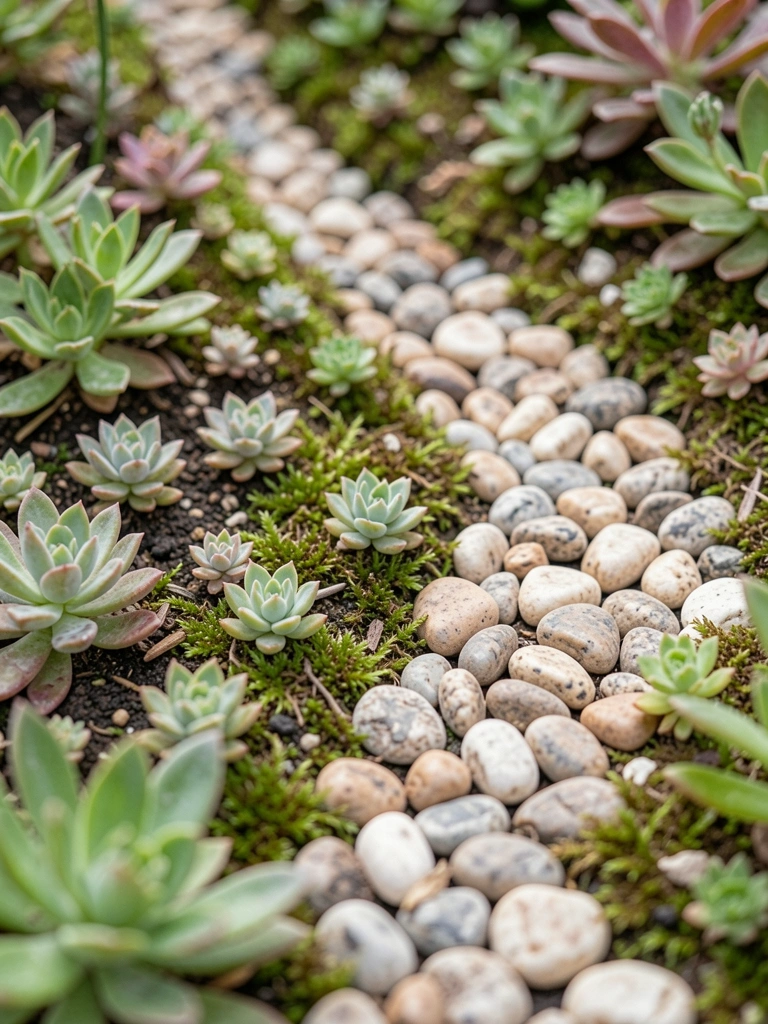
Tuck mini succulents near houses—low growers that won't overrun. Scatter twigs for fences, pebbles for paths. Curves, not straight lines.
It gains depth, layers pull you closer. People overlook plant scale; big leaves swamp minis.
Avoid overplanting. Leave bare moss spots. Lets it settle.
Step 5: Finish with Small Details
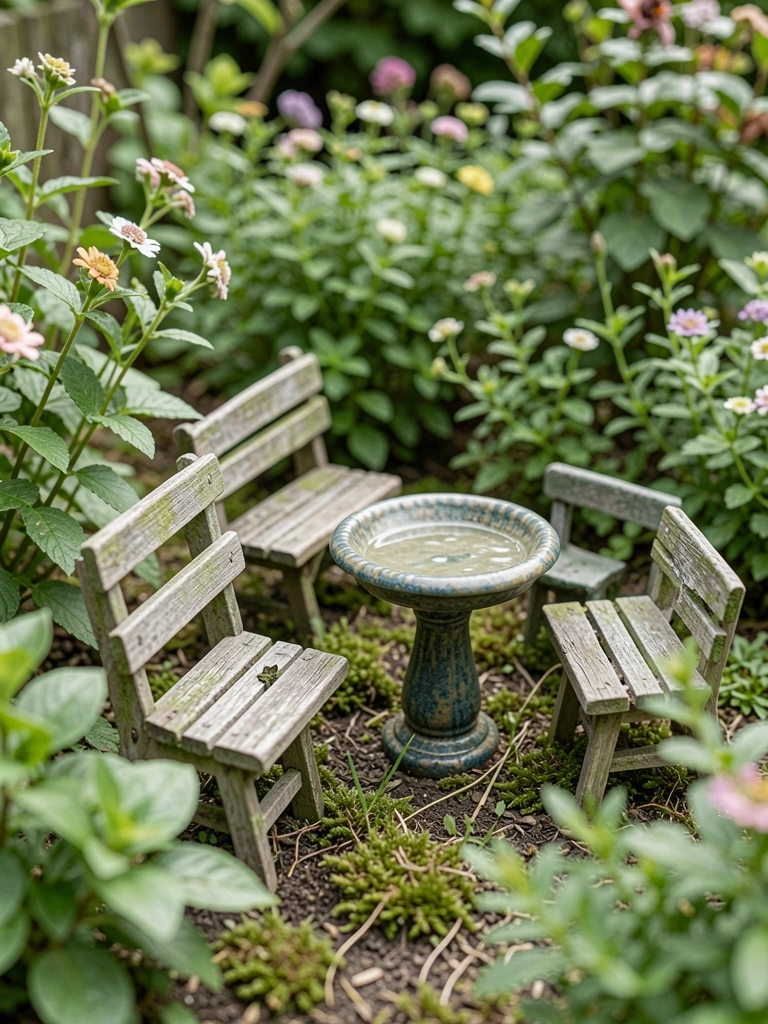
Last, drop in benches by paths, birdbath central-ish. They invite pause. Step back, adjust for flow.
Everything balances—warm, intentional. Missed tip: details catch dew, shine morning light.
Don't cluster front. Spread for depth. Feels right.
Picking Plants That Fit
I stick to low, slow-growers. They stay tidy without work.
Succulents handle shade. Ferns add frills if light's decent.
- Check pot size first—2-inch max.
- Group by height: tallest back.
- Trim yellow bits monthly.
This keeps it clean, not wild.
Handling Shade and Sun
My corner's dappled shade. Full sun scorches minis.
Watch patterns. Morning light? More plants front.
- North side: moss heavy.
- Edge sun: pebbles reflect.
- Water less in shade.
Adjusts the feel without fuss.
Keeping It Fresh Year-Round
Winter hits, I mulch light. Spring, refresh moss.
Details hold up outdoors.
- Hose gentle, no pressure.
- Repot plants yearly.
- Swap faded houses.
Stays comfortable, season to season.
Final Thoughts
Start with one corner. Yours might surprise you.
It took me a few tries to balance mine. Now I sit there evenings.
Yours will feel right too. Just place, step back, tweak. Grows on you.
Leave a Reply