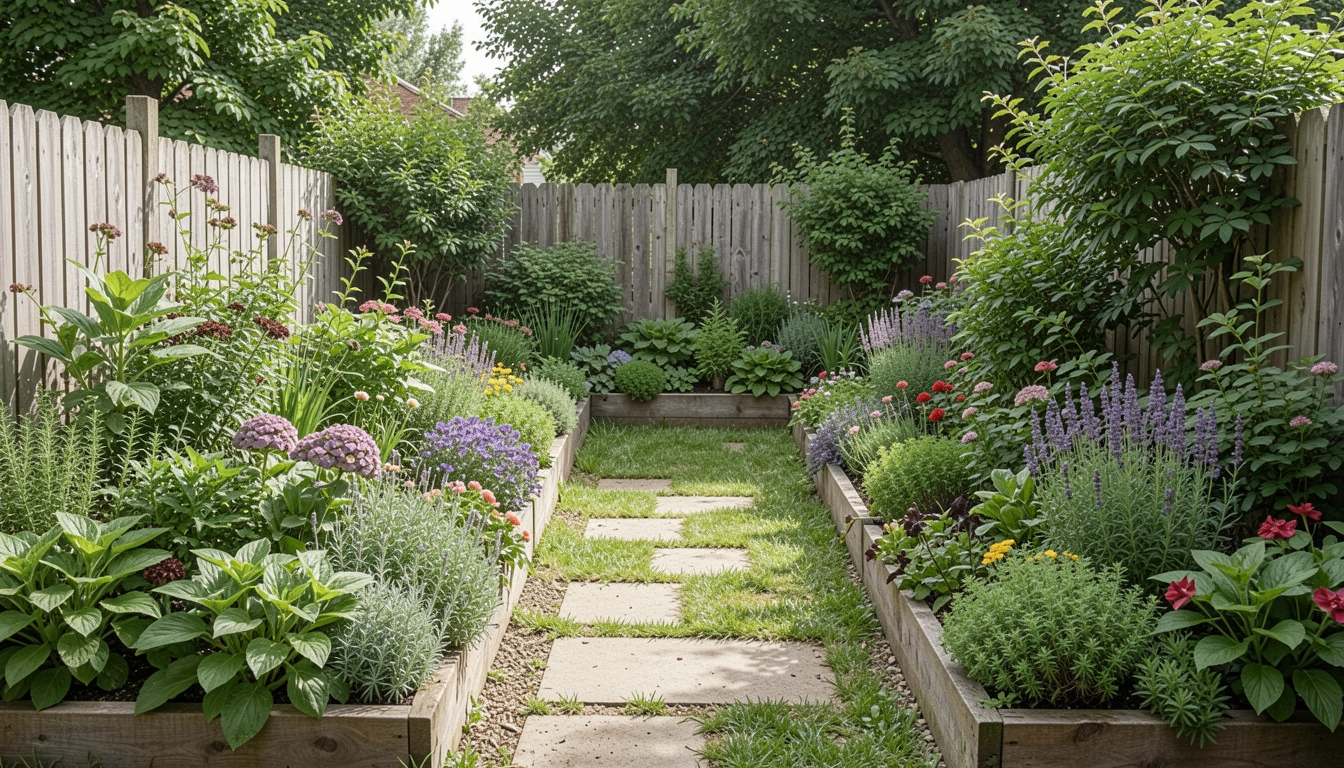
I stood in my backyard last spring, staring at the blank dirt. It felt too open, too empty. Nothing pulled my eye anywhere good.
I'd planted bits here and there before, but it always looked scattered.
One afternoon, I stepped back and saw the fix. It's about feel first.
How to Create a Backyard Garden Layout
This is the way I sort a backyard garden layout when it feels off. You'll get a space that settles right—balanced corners, natural flow from patio to fence.
What You’ll Need
- 24-inch galvanized steel garden stakes
- Natural jute garden twine (200-foot spool)
- Heavy-duty garden notebook with graph paper pages
- Hosta plant divisions (bare-root pack of 5)
- Dwarf evergreen shrubs (3-gallon potted Thuja)
- Organic hardwood mulch (2-cubic-foot bag)
- Perennial lavender plants (4-inch pots, set of 3)
- Flat river rock edging stones (12-inch size, 20-pack)
Step 1: Walk the Space and Spot the Lines
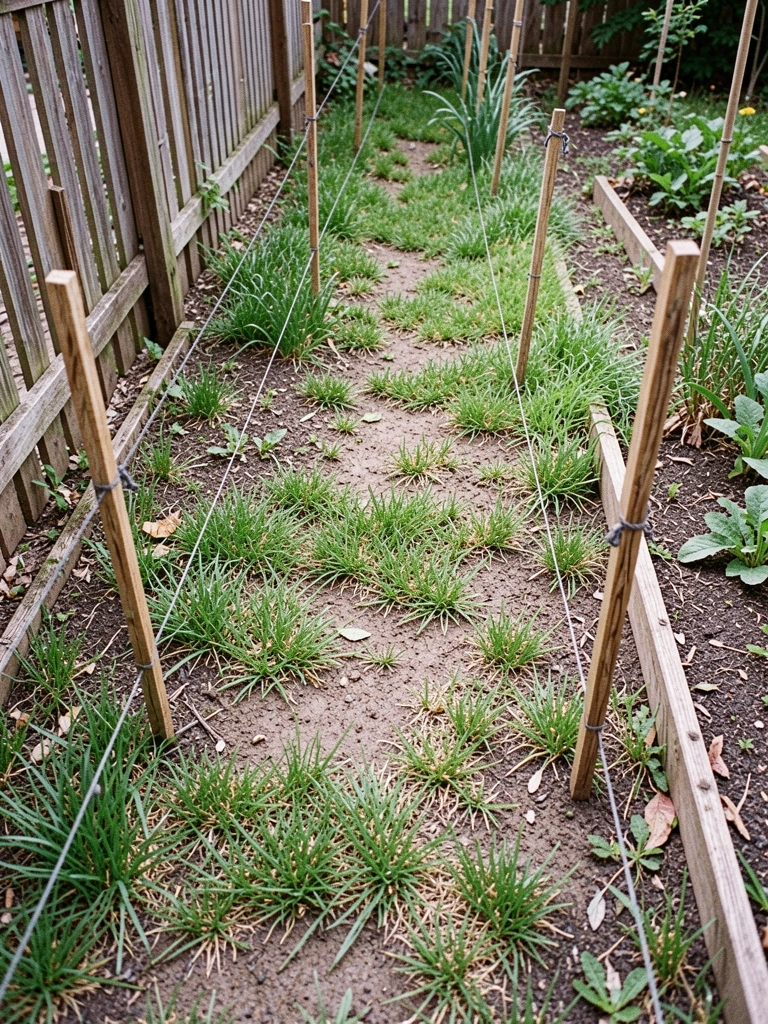
I walk my backyard slow, eyes at ground level. Stake the straight lines first—fence to patio, tree to shed. Why? It shows where eyes naturally go.
Visually, the space tightens up. Empty yard turns into sections that make sense.
Most miss how sun shifts these lines by noon—check that. Don't stake too rigid; leave room to curve.
I learned this after my first layout washed out in shade. Now it holds.
Step 2: Mark Anchor Points with Stakes
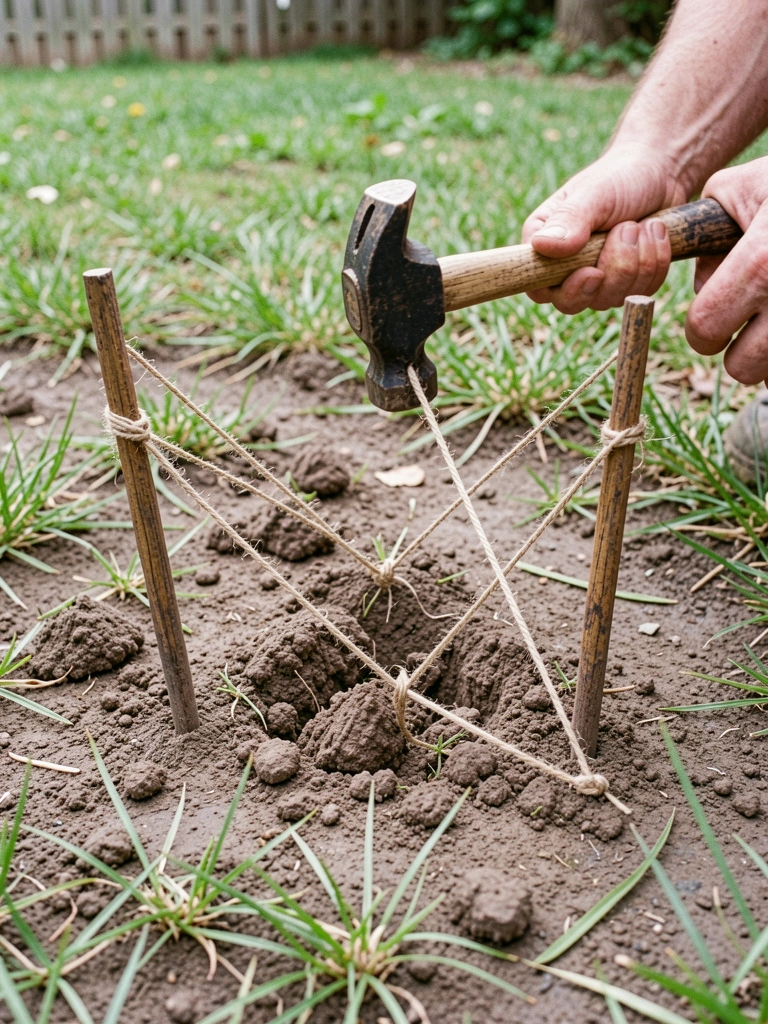
I pick three anchors—tall spot by fence, low near path, middle filler. Hammer stakes, tie twine loose. This sets balance without crowding.
The yard starts breathing. Corners feel held, center opens.
People forget anchors pull the whole layout; skip one and it drifts. Avoid planting tall everywhere—mix heights early.
My back bed clicked here. No more floppy edges.
Step 3: Layer in Heights for Flow
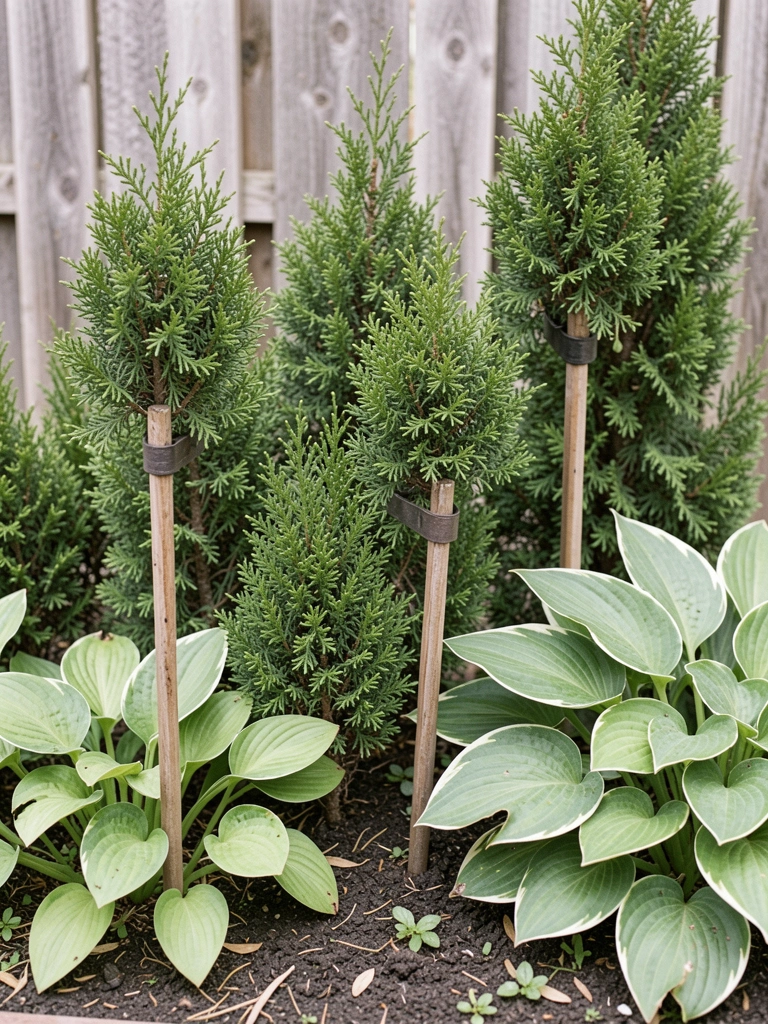
I drop in tallest first—evergreens at back. Then mid-height lavender, low hostas front. Why? It guides the eye smooth, no blocks.
Now it flows: back anchors, front spills soft. Space feels deeper.
Insight: low plants hug paths most miss. Mistake—cramming equals; space chokes fast.
Patio view settled right after.
Step 4: Test Paths and Openings
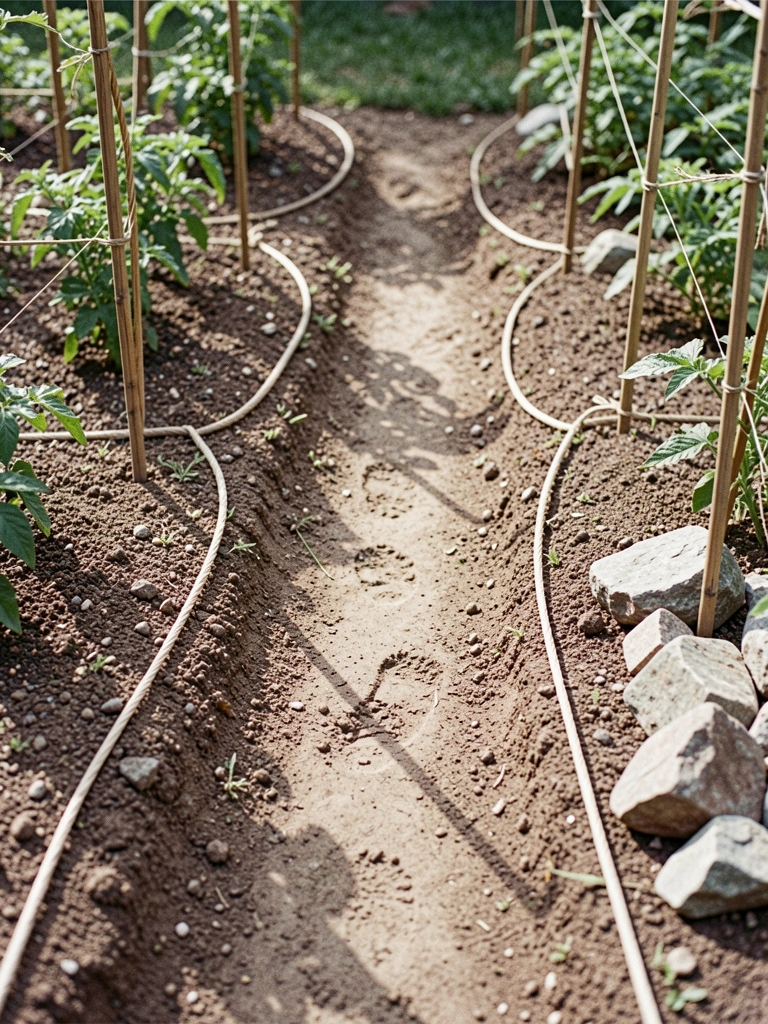
I walk pretend paths, adjust twine for easy steps. Edge with rocks loose. This keeps it open, invites sitting.
Visual shift: yard connects, not chopped. Balance shows in stride.
Missed bit: paths widen at sits. Don't narrow to single file—feels trapped.
Mine walks better than before.
Step 5: Mulch and Tweak for Settle
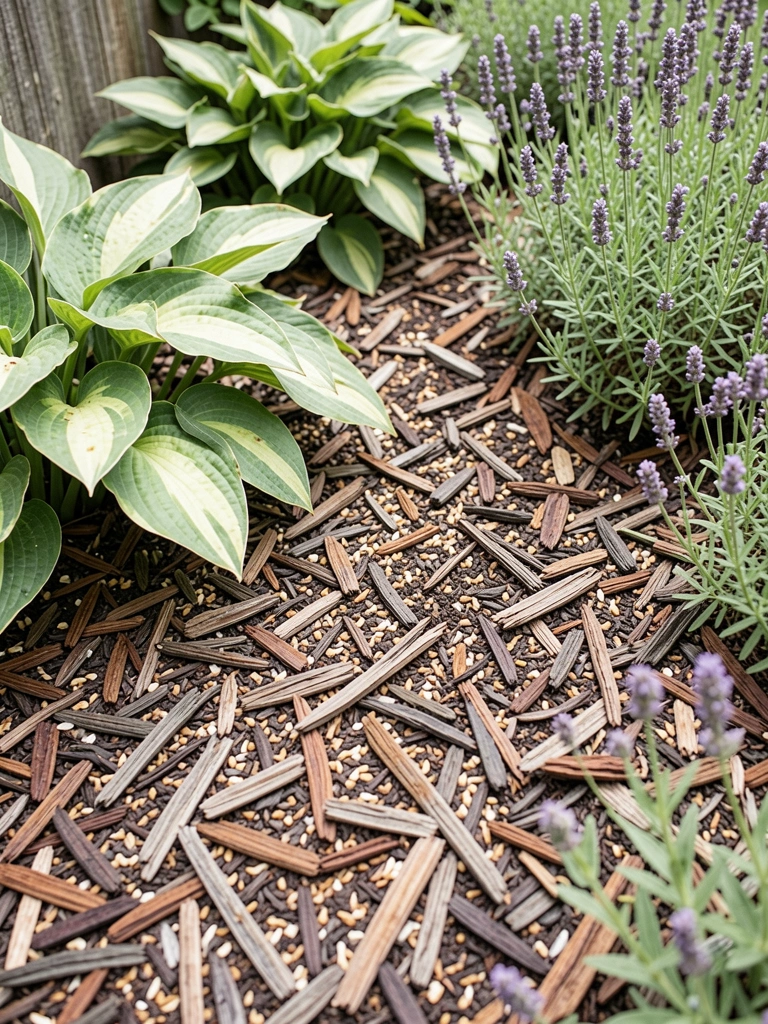
I mulch thin, rake smooth. Step back, shift one plant if off. Why? It grounds everything, quiets chaos.
Final look: clean but lived-in, colors pop balanced.
Folks overlook mulch fade—pick dark. Avoid thick piles; roots drown.
Sits perfect now.
Choosing Plants That Fit Your Layout
I pick plants by spot, not wish list. Back anchors need evergreens for year-round hold. Front edges get spillers like hostas—they soften hard lines.
- Tall backs: dwarf Thuja, stays neat.
- Mids: lavender, scent pulls you close.
- Lows: hostas, fill shade gaps.
Test one season. Swap what fights sun.
Handling Uneven Backyard Slopes
Slopes trip me up first. I terrace gentle with rocks, stake to follow contour. Plants hug levels—no slide.
My side hill worked after. Mulch holds soil, paths zig natural.
- Stake downhill first.
- Low plants uphill.
- Check rain flow.
Year-Round Layout Tweaks
Winter bares bones, so I prune back, add bulbs under. Spring, fill gaps same heights.
It cycles easy. No big redo.
- Fall: cut mids.
- Bulbs in fall.
- Watch bare spots.
Final Thoughts
Start with one corner. My first layout was just fence line.
It grew from there, felt right quick.
Yours will too. Walk it daily. Balance comes with use.
Leave a Reply