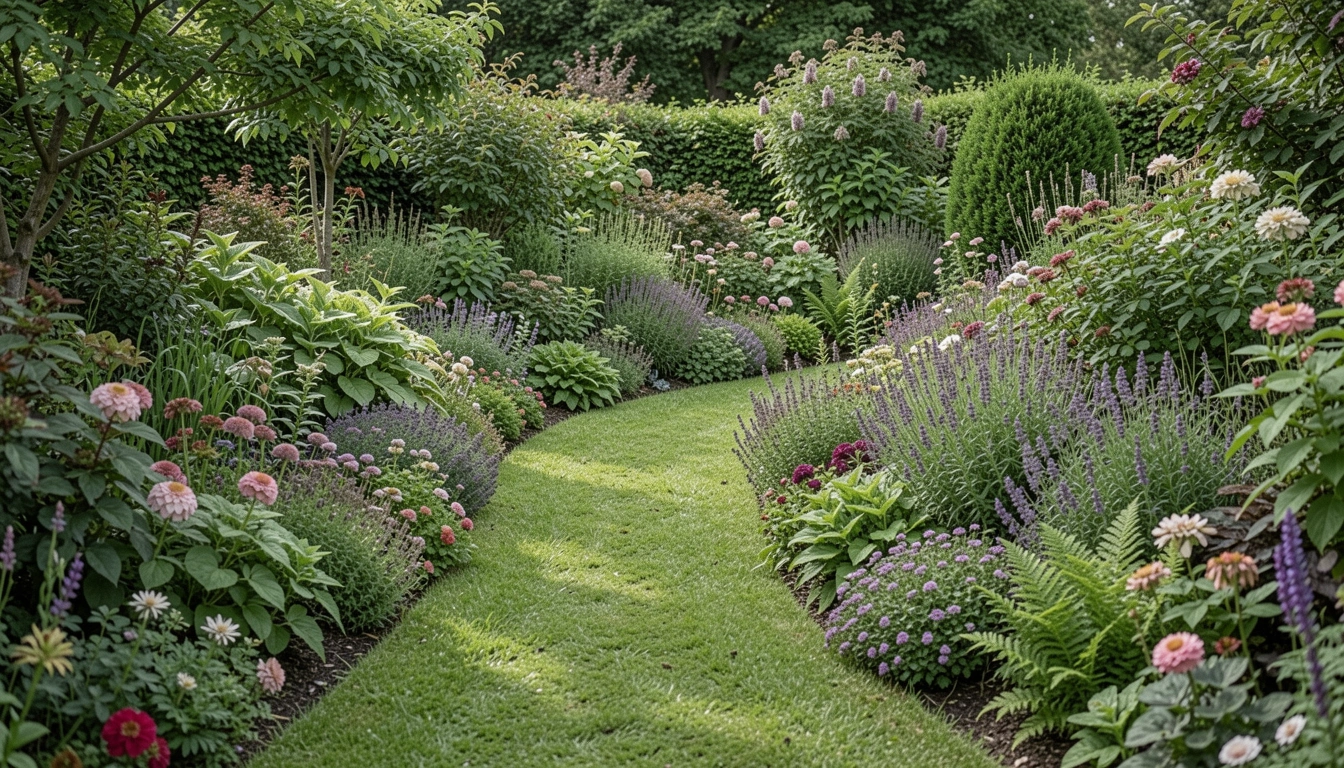
I stared at my straight-line bed. It boxed in the plants, made the whole yard feel stiff. No flow. I wanted curves that pulled the eye around, softened the edges. But my first try looked forced.
I've redone edges in three gardens now. Straight lines shout "planned too hard." Curves invite you closer. They make space breathe.
You know that feeling when a bed just sits there? This fixes it.
How to Create a Curved Garden Edge
This shows you how I shape a gentle curve along a bed. It settles the border into the yard. The result is quiet balance that lasts.
What You’ll Need
- 50-foot flexible rubber garden hose
- 12-inch steel garden edging stakes
- Natural rubber mulch edging strips, 4-inch wide
- Coarse sand for garden beds, 50-pound bag
- Hardwood bark mulch, 2 cubic feet
- Coreopsis perennial plants, pack of 6
- Lavender border plants, 1-gallon size
- Hand trowel with ergonomic handle
Step 1: Lay Out the Curve with the Hose
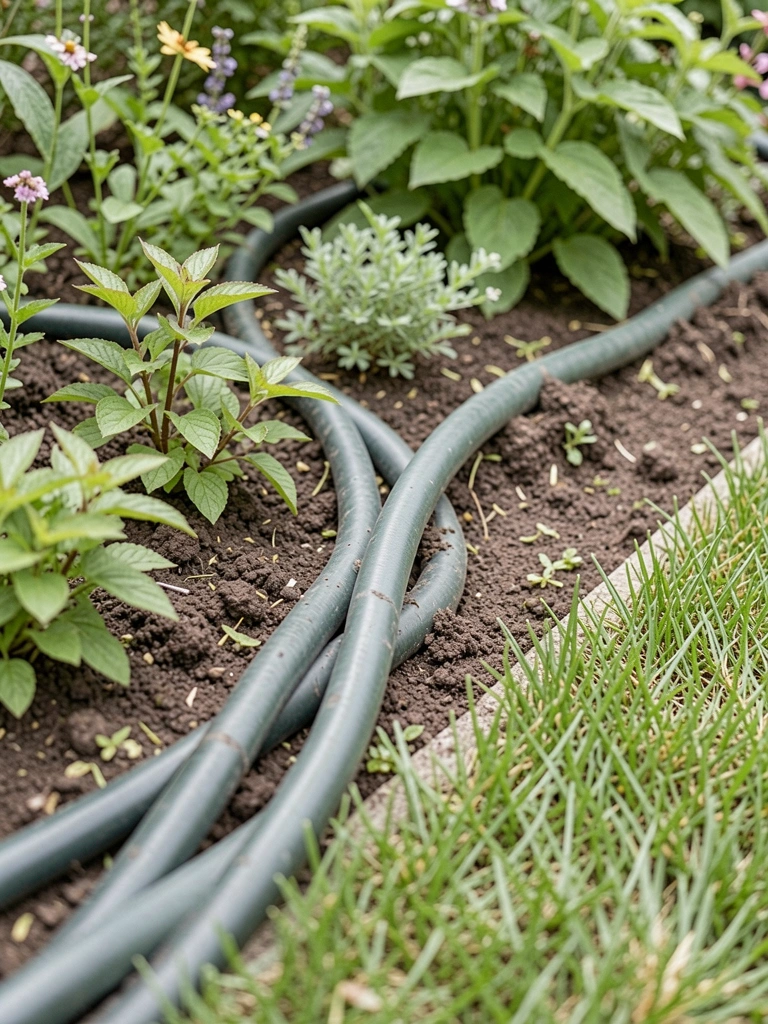
I grab the hose and walk it along the bed. No straight lines. I let it dip and rise like a river bend. This sets the feel right from the start.
The yard changes. That harsh edge softens. Plants nearby look settled.
People miss how curves echo the land's own lines. Avoid pulling the hose too tight—it fights the ground.
I step back. Does it pull my eye smoothly? Yes. That's the why.
Step 2: Mark and Clear the Path
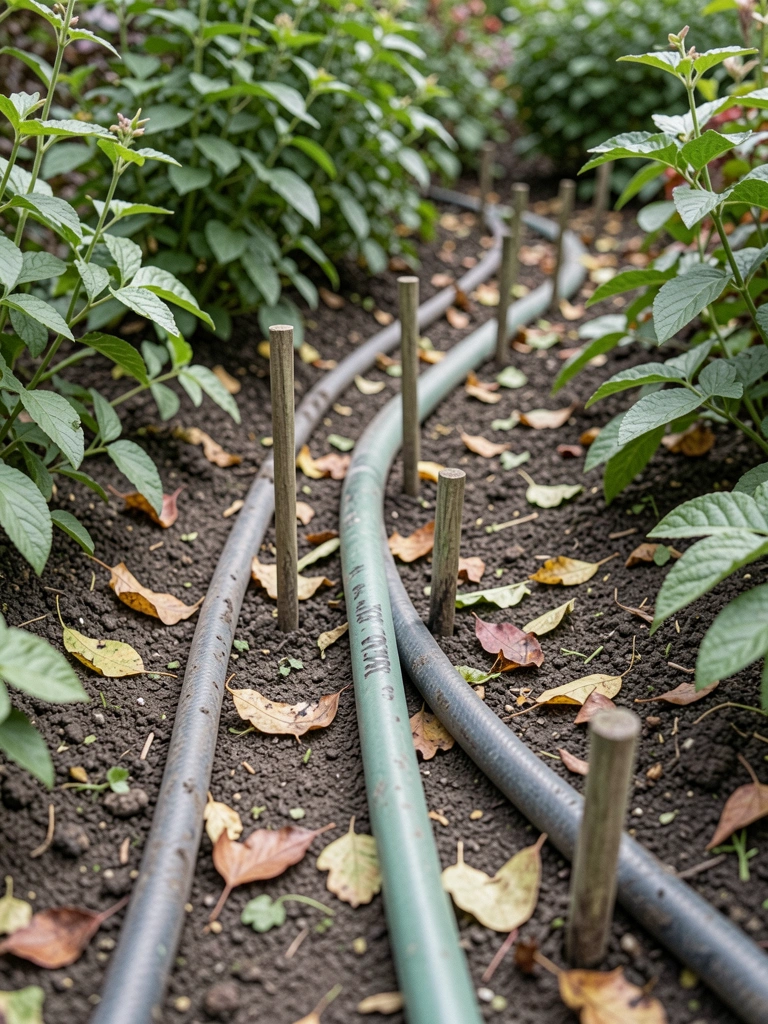
With hose in place, I push stakes every two feet. They hold the shape. Then I shift rocks and roots aside.
Now the line stands out. Bare soil shows the curve's promise.
Most overlook testing the scale. Walk it—too wide feels lost. Don't yank stakes unevenly; it warps the flow.
I pause here. The curve feels alive against the grass.
Step 3: Dig a Shallow Trench
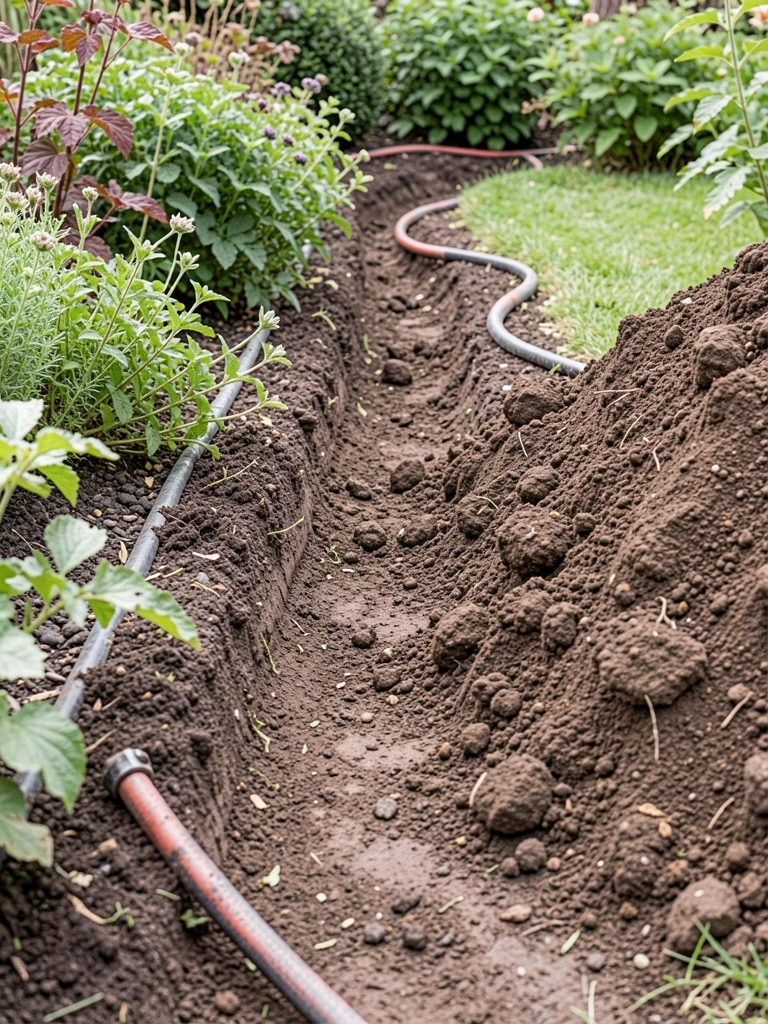
I work the trowel along the stakes. Shallow, just four inches deep. Smooth the bottom by feel.
The ground opens up. The curve gains depth, ready to hold.
Folks dig too deep—edges sink later. Insight: curves need even depth for balance.
It's simple. The bed now has direction.
Step 4: Set the Edging in Place
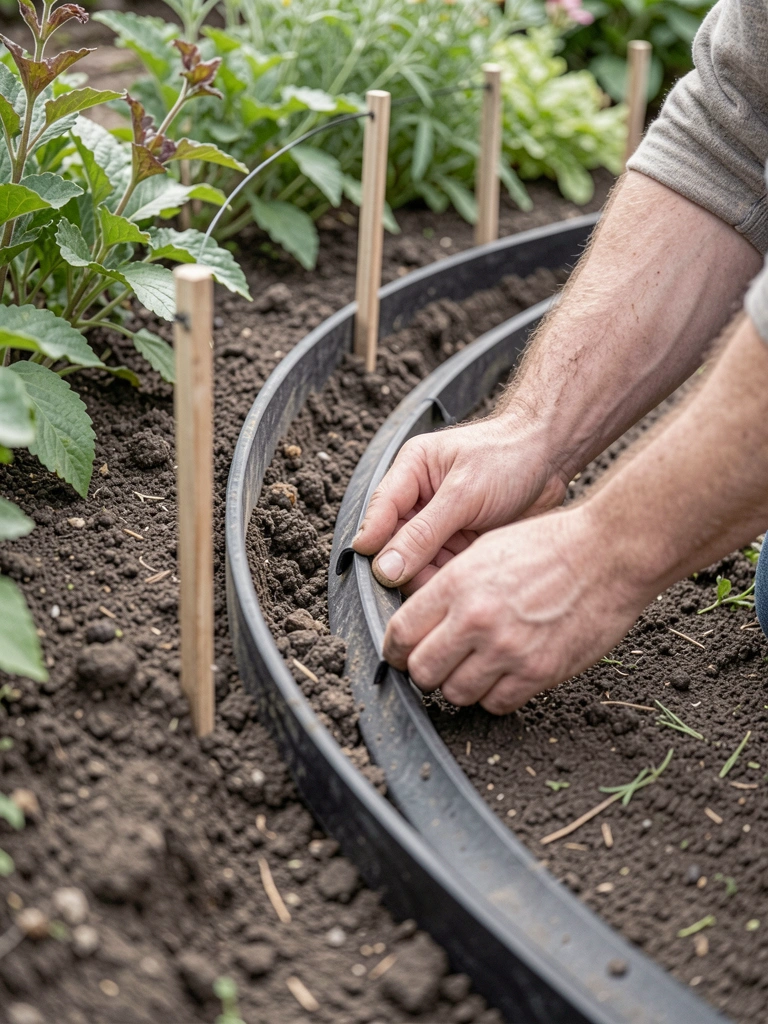
I unroll the edging strips. Flex them into the trench. Tap stakes through. They hug the soil.
Visual shift: a clean line emerges. Plants frame it naturally.
Missed tip: overlap strips slightly for seamless flow. Avoid gaps—they let weeds creep.
Stand back. The border feels anchored.
Step 5: Backfill and Mulch
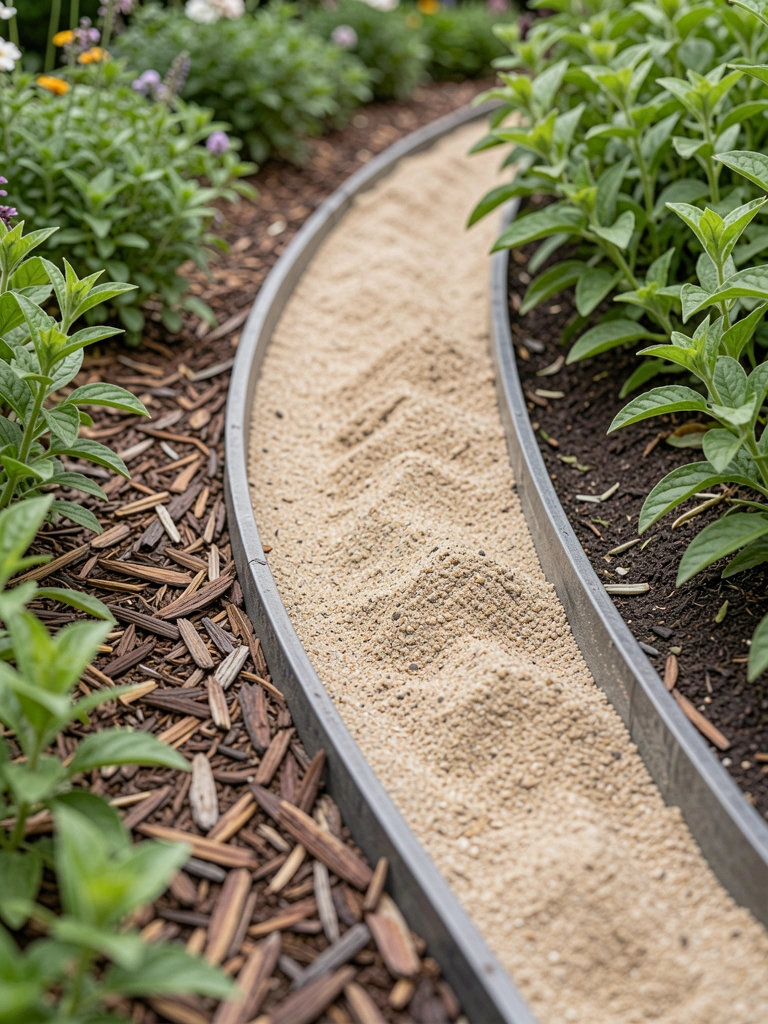
Sprinkle sand first, then mulch. Pat it down. It locks everything.
The edge blends. Soft browns tie to the bed.
People forget to feather the mulch—it looks dumped otherwise. The curve now breathes with the plants.
It's done. Quiet satisfaction.
Step 6: Plant Along the New Edge
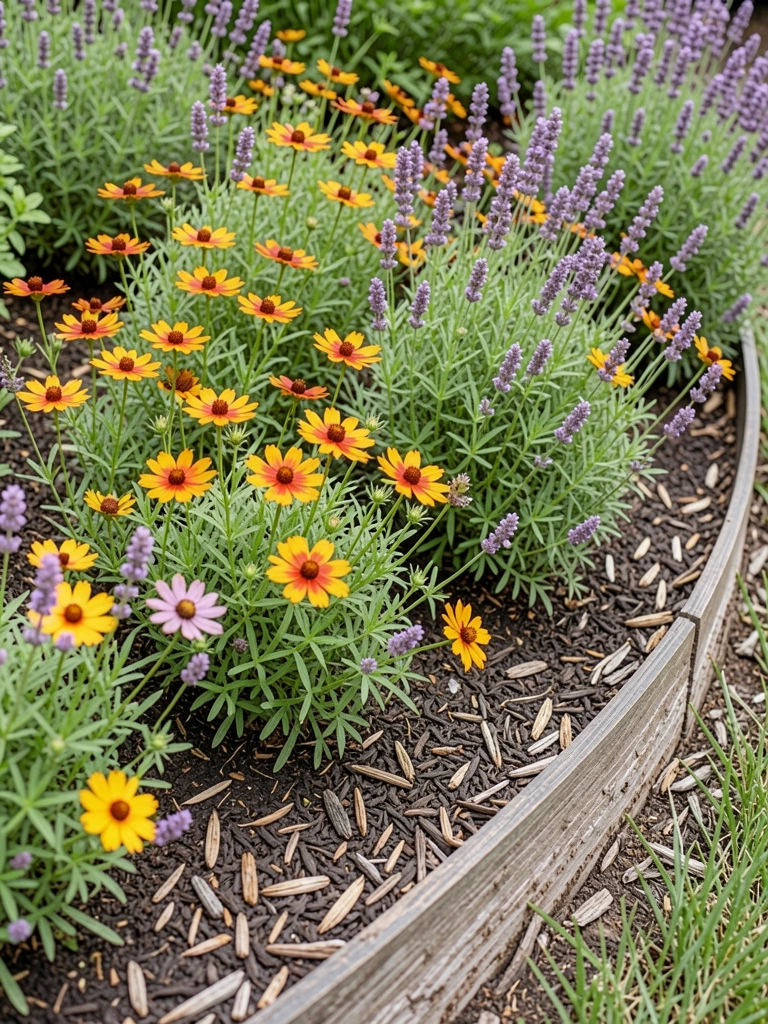
I tuck in coreopsis and lavender. Spaced for drift. Water gently.
Plants soften the line. Layers build balance.
Overplanting crowds it fast. Insight: let the curve lead the spacing.
Now it flows. The yard feels whole.
Plant Choices That Work with Curves
Curves call for low, mounding plants. They follow without fighting.
Coreopsis spills yellow. Lavender holds steady with gray leaves. Both repeat well.
- Start with three types max.
- Mix heights: 12 inches front, 24 back.
- Choose evergreens for winter bones.
This keeps the edge clean year-round.
Keeping the Curve Sharp Over Time
Edges shift with rain. I check twice a year.
Rake mulch back in place. Tug plants that wander.
- Trim overgrowth monthly.
- Top up mulch in spring.
- Re-stake if it drifts.
It stays balanced with little work.
Ideas for Curves in Tight Spots
Narrow beds? Shorten the sweep.
Use the hose to hug walls or paths.
- Soften corners first.
- Mirror curves on both sides.
- Add one focal plant.
Feels intentional, not squeezed.
Final Thoughts
Start with one bed. The curve will pull you to the next.
You've got this. It changes how the yard sits.
A good edge quiets the space. Mine still draws me out each morning.
Leave a Reply