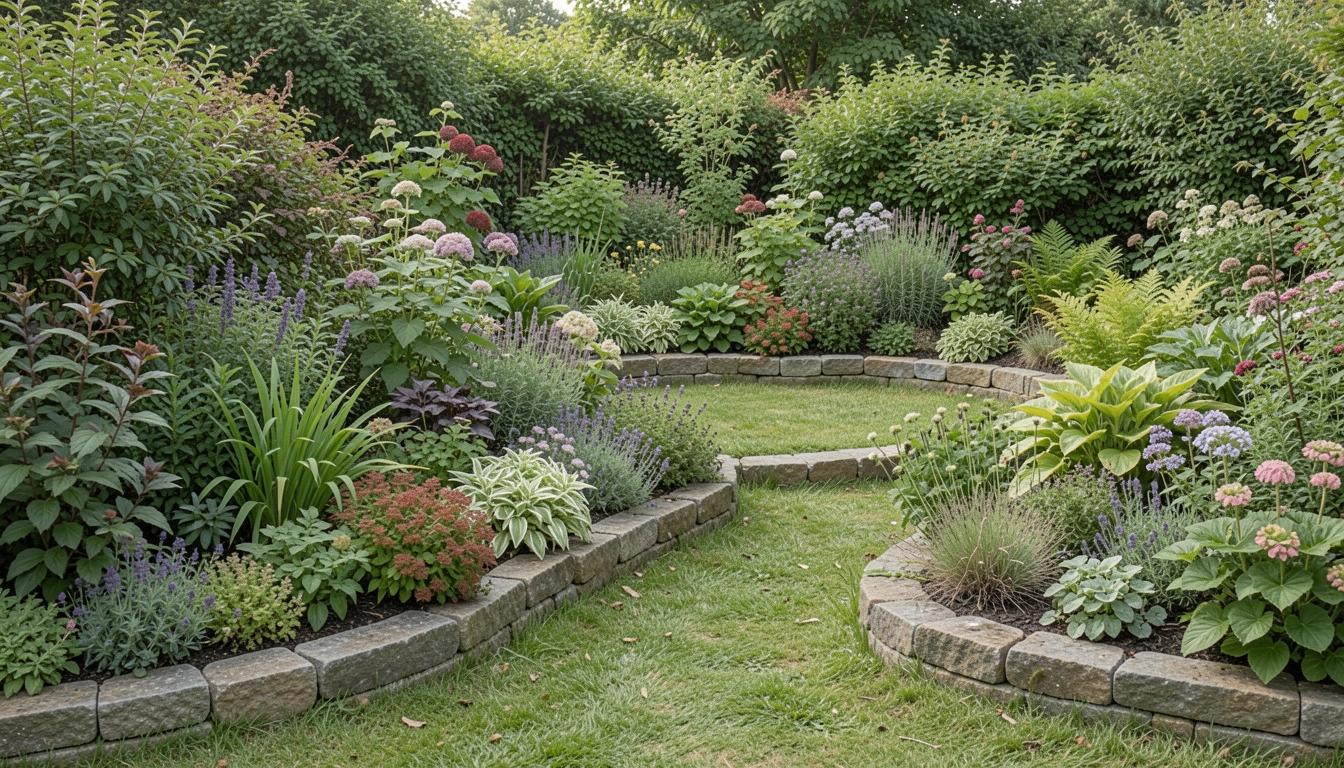
I remember staring at my front bed. Grass kept invading the soil. The edge was soft, undefined. Plants spilled over onto the lawn. It felt messy, like the garden couldn't decide where to stop.
One afternoon, I grabbed some stones. Set them along the curve. Suddenly, everything settled. The bed held its shape. The whole yard looked quieter.
If your borders blur like that, stone edging fixes it. Simple stones, right placement. Your garden gains clean lines without effort.
How to Install Stone Garden Edging
This guide shows you how I edge a bed for lasting balance. You'll end up with borders that hold soil in place and frame plants neatly. It's straightforward work that pays off for years.
What You’ll Need
- 12-inch natural gray landscape edging stones
- 4-foot heavy-duty landscape fabric
- Coarse builder’s sand 50-pound bag
- Weed barrier landscape pins 6-inch
- 18-inch garden edging shovel
- 24-inch aluminum garden level
- Fine gravel pea stone 20-pound bag
- Topsoil amendment mix 40-pound bag
Step 1: Mark the Edge Line
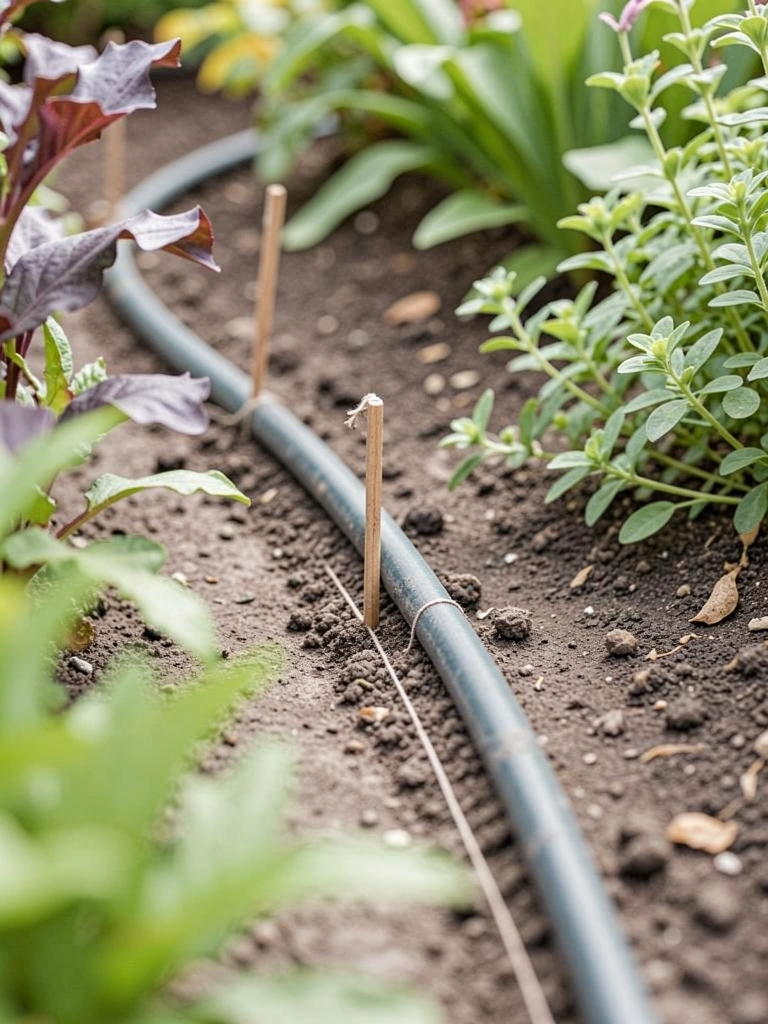
I walk the bed's edge first. Eye the natural curve where plants meet lawn. Lay a garden hose along it. Step back. Adjust until it feels right—smooth, not forced.
This sets the flow. The line hugs the bed without cutting corners sharp. Visually, the garden starts breathing easier.
Most miss how a slight bend softens the look. Straight lines feel rigid. And skip marking deep—your stones will wander later.
I stake the hose ends. Sprinkle flour or sand along it. Now I see the path clear.
Step 2: Dig the Trench Base
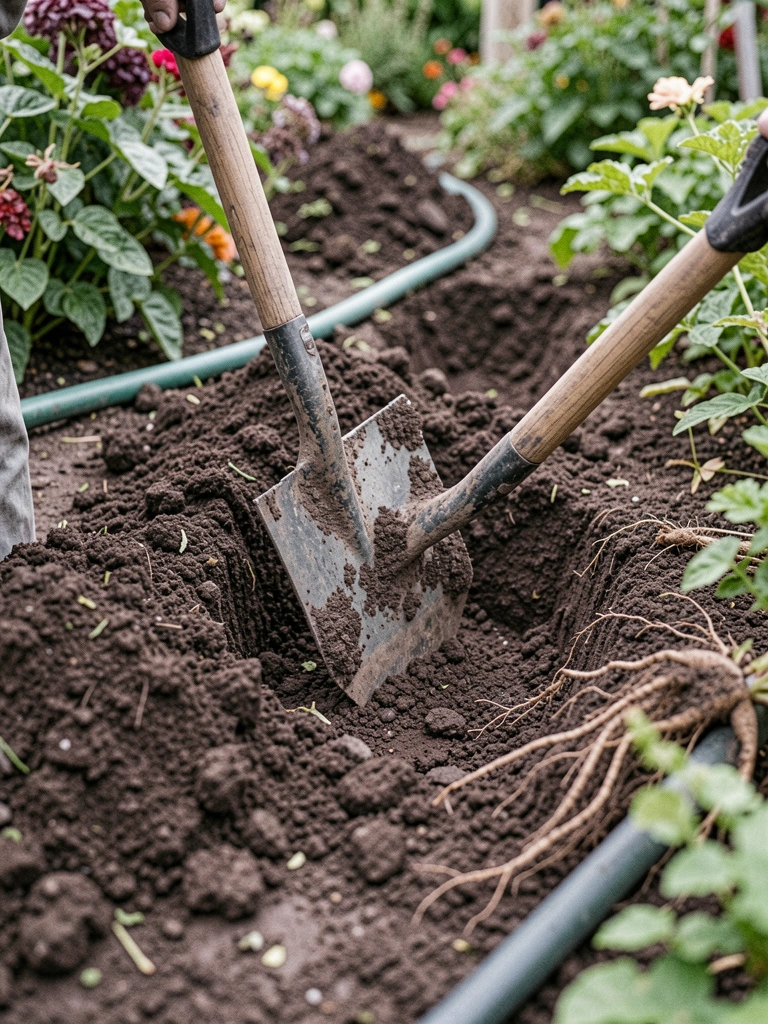
I dig just wide enough for one stone plus a fist of sand. Depth matches stone height plus an inch. Follow that hose line slow.
The trench drops the stones level with soil. Beds look grounded, not floating. Everything balances.
People forget to angle the trench bottom slightly outward. It sheds water away from plants. Dig too shallow, and frost heaves them up.
I check depth every few feet with my hand. Smooth the sides. It's ready when it feels like a quiet groove.
Step 3: Add the Sand Base Layer
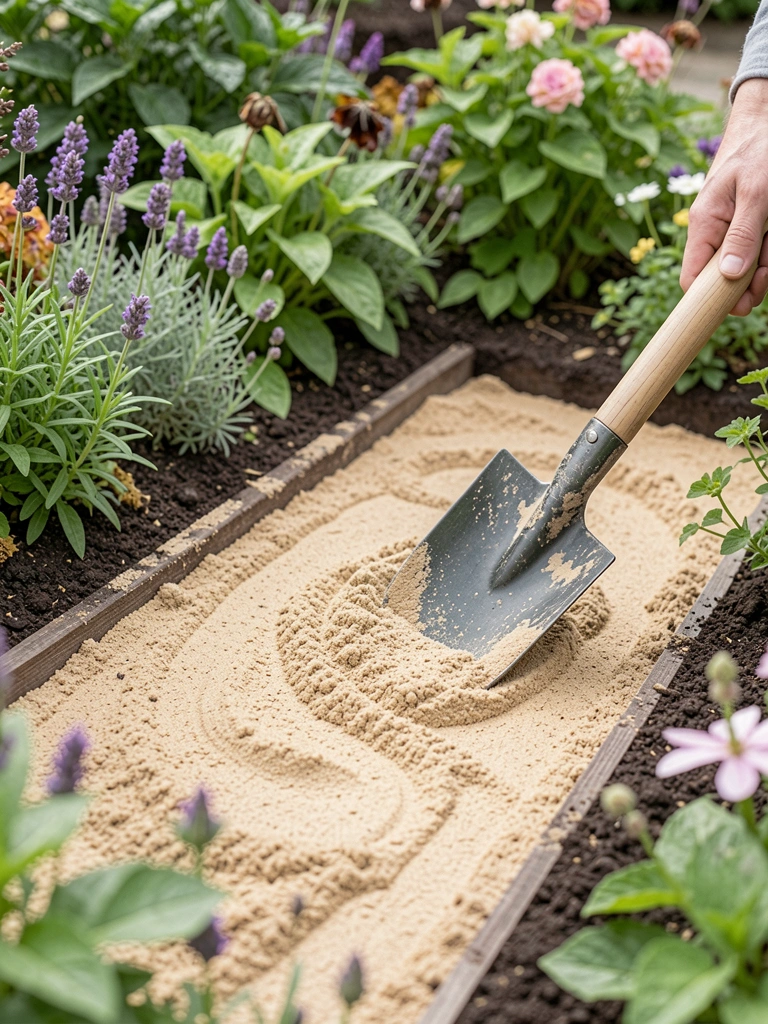
I pour coarse sand into the trench. About two inches deep. Rake it even. Wet it lightly. Let it settle firm.
Sand levels the stones easy. They shift less over time. The edge stays straight, plants stay put.
Insight: Dry sand first, then tamp. It packs without air pockets. Avoid fine play sand—it washes away.
I run my level across. Tap down high spots. Now it cradles the stones just right.
Step 4: Lay and Level the Stones
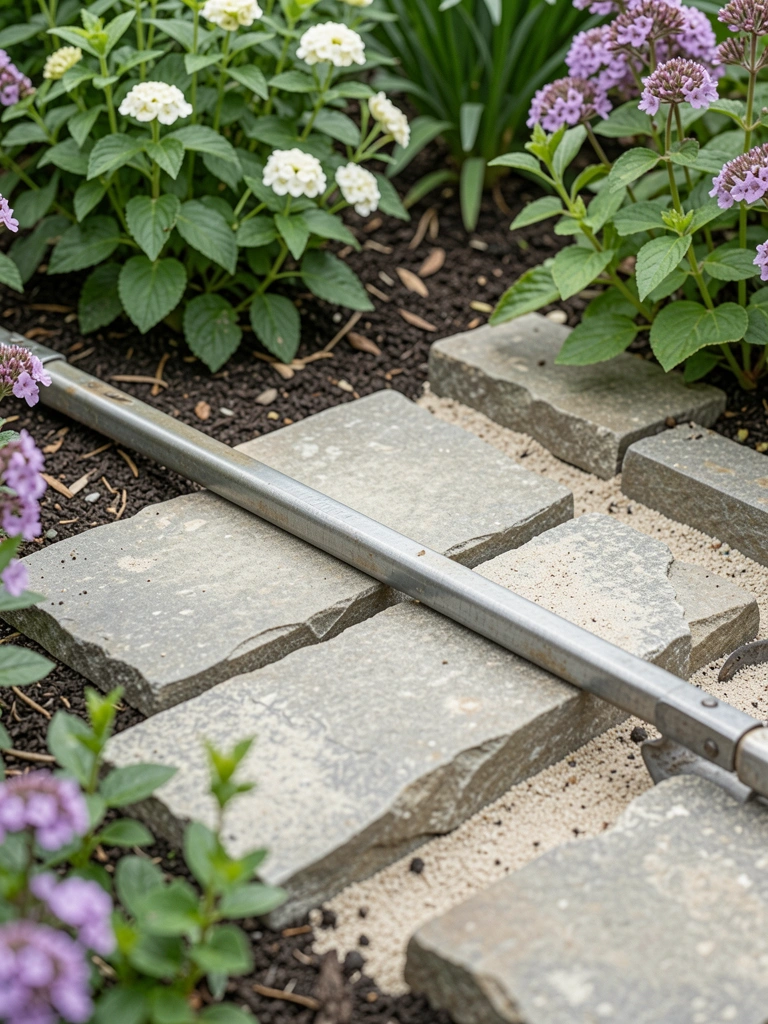
I drop stones in one by one. Butt them close, no gaps. Check level side to side, front to back.
They lock together snug. The border feels solid, like it grew there. Plants gain a frame that draws the eye.
Missed tip: Vary heights slightly for a natural rhythm. All same size looks off. Don't force them—let gravity seat them.
I nudge with my foot. Pin landscape fabric behind if weeds worry me. It's holding shape already.
Step 5: Backfill and Settle
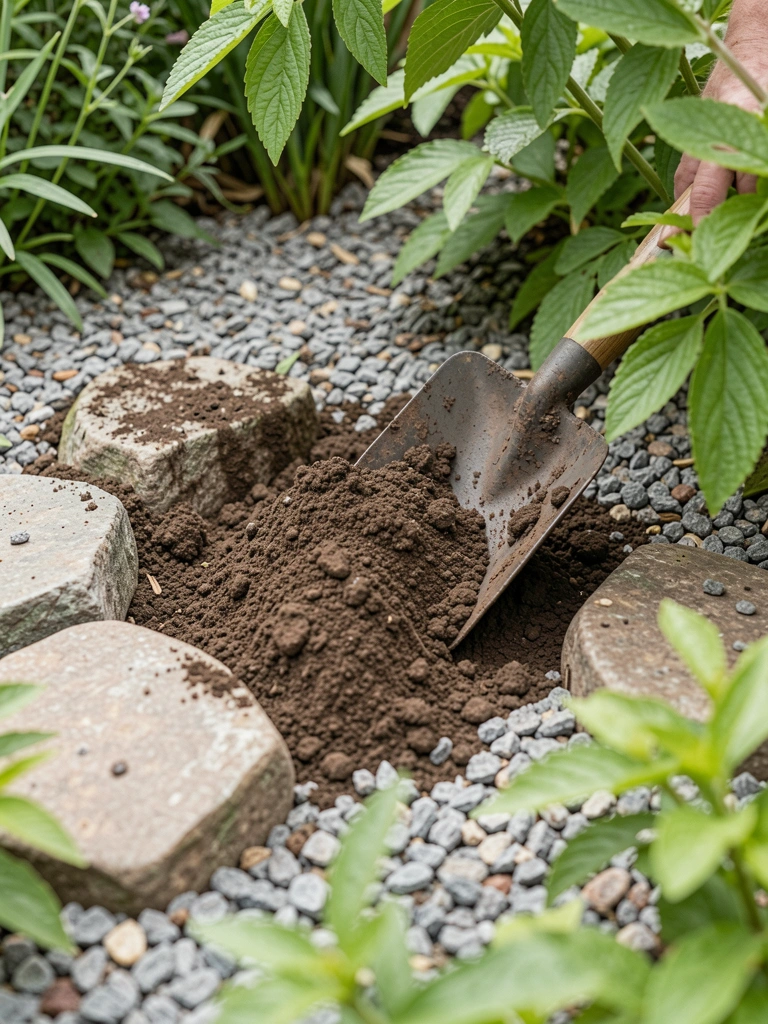
I shovel soil against the front, gravel behind. Firm it down. Water gently to settle.
Soil locks the stones tight. No wobble. The bed looks finished, balanced front to back.
Common slip: Overpack soil—it pushes stones out. Light tamp only. And add mulch soon—weeds hate it.
Stand back. The edge blends plants and path. Quiet, clean lines.
Choosing Stones That Last
I pick stones by feel in my hand. Rough texture grips soil better. Gray or beige blends with most gardens.
Size matters for scale. 12-inch fits small beds without overwhelming.
- Flat bottoms seat level easy.
- Weathered edges look lived-in from day one.
- Local stone matches your soil tones.
Mix sizes for subtle curve. It holds better than uniform rows.
Filling Behind for Clean Lines
After stones set, I layer landscape fabric. Pin it down. Top with gravel or mulch.
This keeps weeds out. Soil stays put.
- 2 inches gravel drains well.
- Mulch warms the bed look.
- Skip fabric if you plant thick.
The backfill makes the edge pop. Plants lean without spilling.
Handling Curves and Corners
Curves need flexible planning. Hose marks them best.
At corners, overlap stones slight. No sharp cuts.
- Miter edges gently.
- Smaller stones fill bends.
- Check flow from the path.
It keeps the garden moving smooth. No awkward stops.
Final Thoughts
Start with one short bed. See how it settles your space.
Stones shift little once placed right. You'll add more beds next season.
Your garden feels held together. Simple lines, real balance. Just dig in.
Leave a Reply