I stood on my rooftop last spring. Wind whipped through empty corners. Pots tipped over. The view felt wasted, like a blank page.
I'd planted before. But nothing settled. It looked crowded in spots, bare in others. I needed a way to make it hold together.
You know that feeling. Space up high, full of promise. But layouts that fight the wind and sun.
How to Design Layout of a Rooftop Garden
This is the method I use to shape a rooftop that flows. You'll end up with zones that feel right—balanced against wind, sun, and that wide sky view. It's straightforward, from my own trials.
What You’ll Need
- Lightweight fiberglass planters, 24-inch
- Bamboo privacy screens, 6-foot roll
- Drought-tolerant lavender plants, 1-gallon
- Gravel mulch, 0.5 cubic foot bag
- Metal trellis panels, 4×8 foot
- Low-profile benches, teak wood
- Wind-resistant ornamental grasses, 2-gallon
- Solar path lights, stainless steel
Step 1: Map Your Wind Patterns and Sun Paths

I walk the rooftop at different times. Note where wind pushes hardest—usually edges. Mark sun shadows too. This sets your anchors.
Visually, it shifts from chaos to a frame. Empty space starts to breathe.
People miss how wind funnels corners. Test with string tied to stakes. Avoid cramming tall plants there first—they topple.
I keep it simple. One pass morning, one evening. Now the layout hugs the site.
Step 2: Anchor with Low Structures First
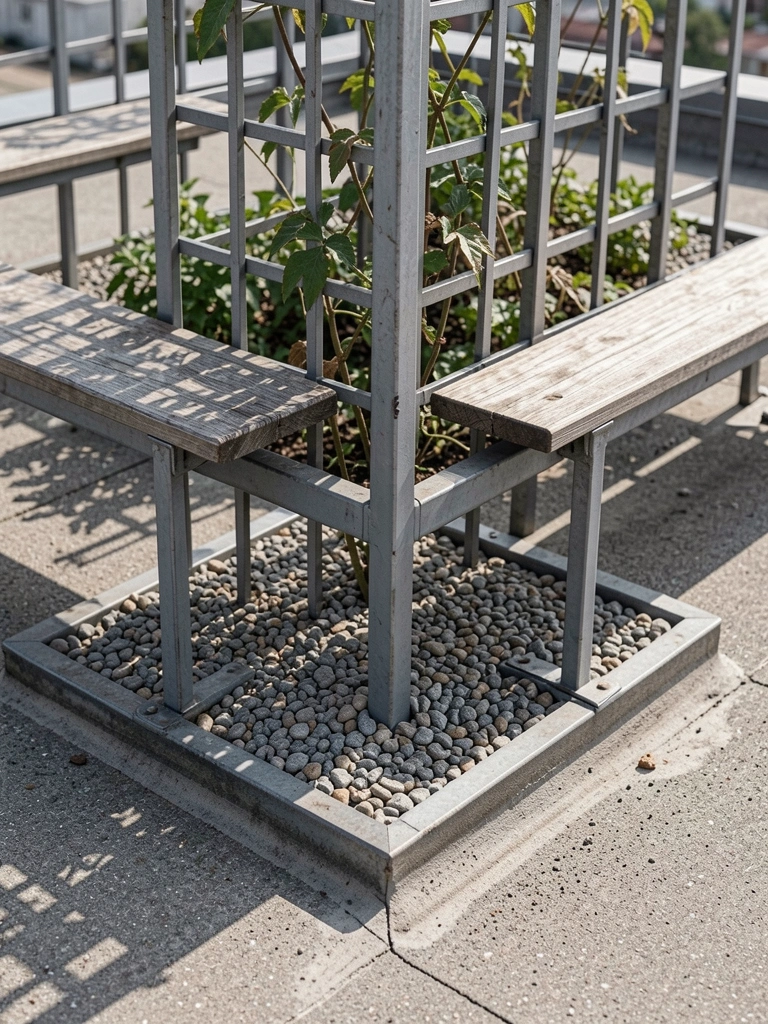
Place benches and screens low. They ground the space, cut wind without blocking views. I position them to frame the skyline.
The rooftop feels steadier. Edges soften, center opens up.
Most skip weighting bases—pots shift in gusts. Use gravel inside planters. Don't overload one side; balance pulls it apart.
From here, it holds. I sit, see the flow starting.
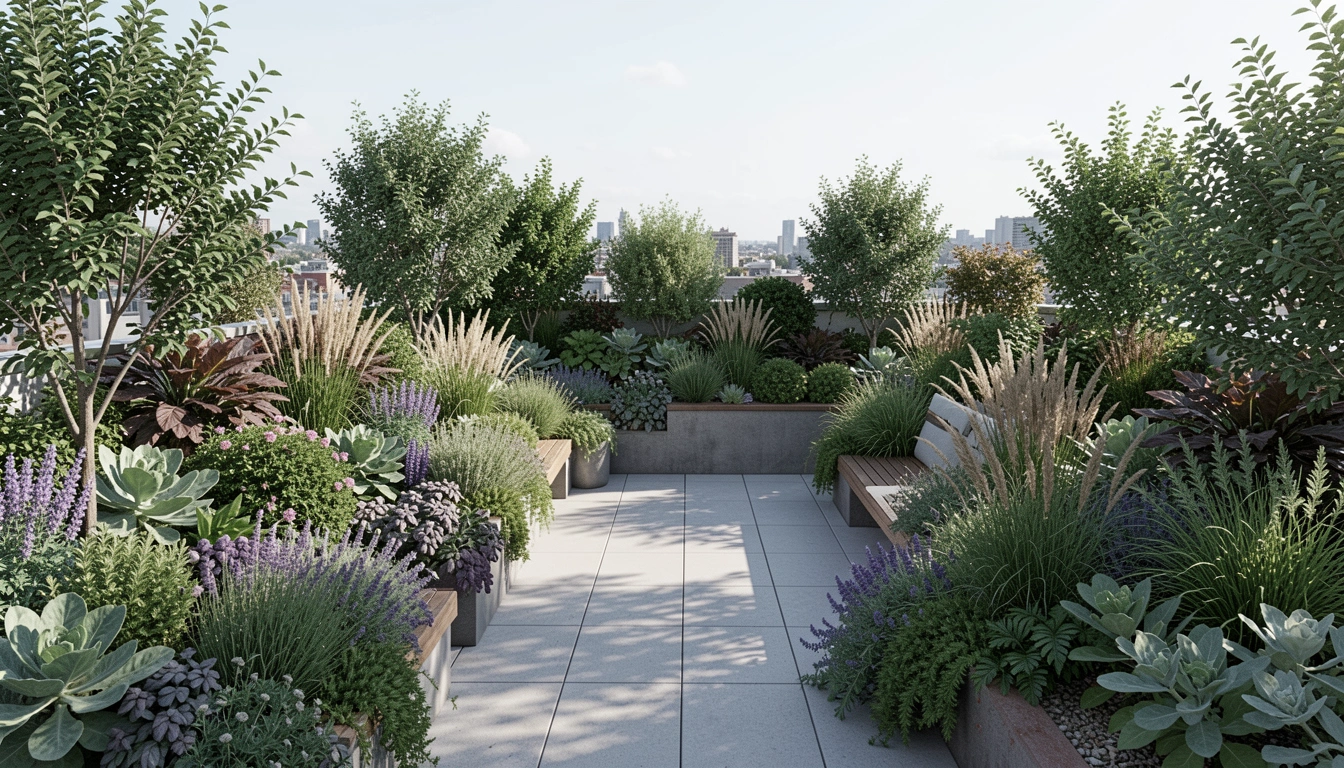
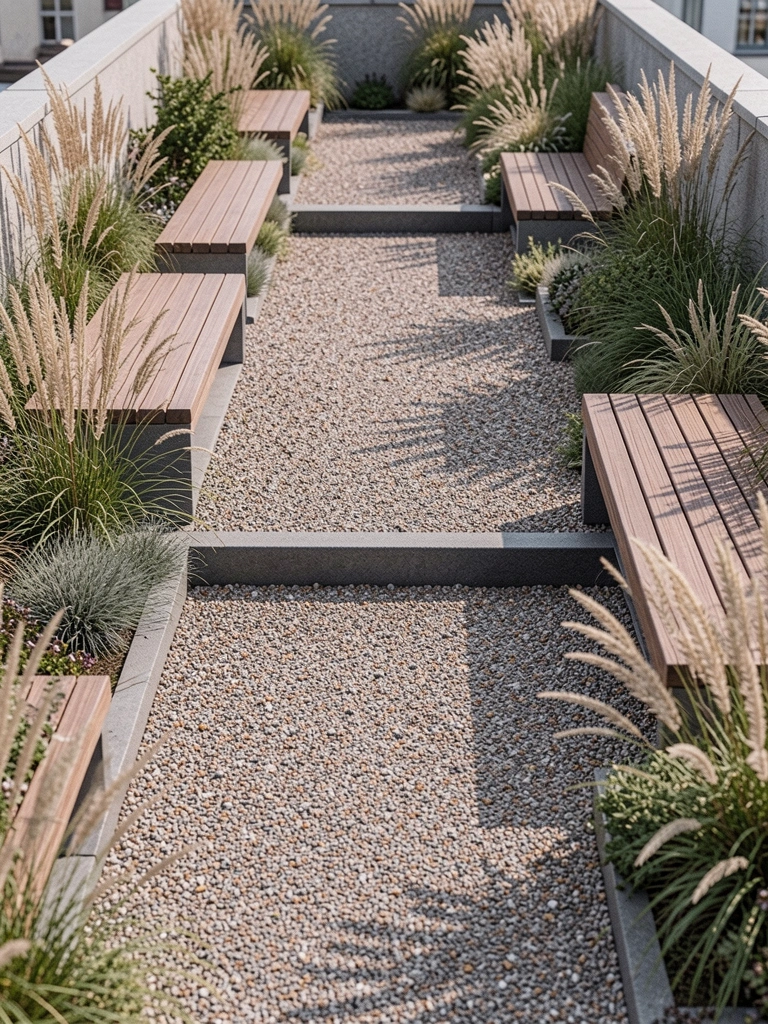
Step 3: Define Zones for Sit, Grow, Walk
I sketch three zones: sit by the rail, grow in middle, walk between. Pots cluster loosely in grow spots. Paths link them wide.
Colors settle—grays, greens against sky. It invites movement without crowding.
Folks overlook walk space; narrow paths trap wind. Leave 3 feet clear. Avoid straight lines—they feel rigid up high.
Now it pulls you through. Balanced, lived-in.
Step 4: Layer Plants by Height and Drift
Tall grasses edge outward, lavenders fill low. I drift them, not in rows—mimics natural drift.
Heights balance views; low plants hug benches. Wind softens the sway.
People plant uniform heights—flattens the space. Vary for depth. Don't overplant edges; they dry fast.
It greens up gentle. Feels right from below too.
Step 5: Check Balance from All Angles
Walk around, sit low, stand tall. Adjust one pot at a time. Lights mark paths at dusk.
Full circle, it holds—no heavy side. Flow connects zones.
Missed insight: views from street matter. Thin tops. Avoid symmetry; rooftops curve in wind.
Steady now. Ready for seasons.
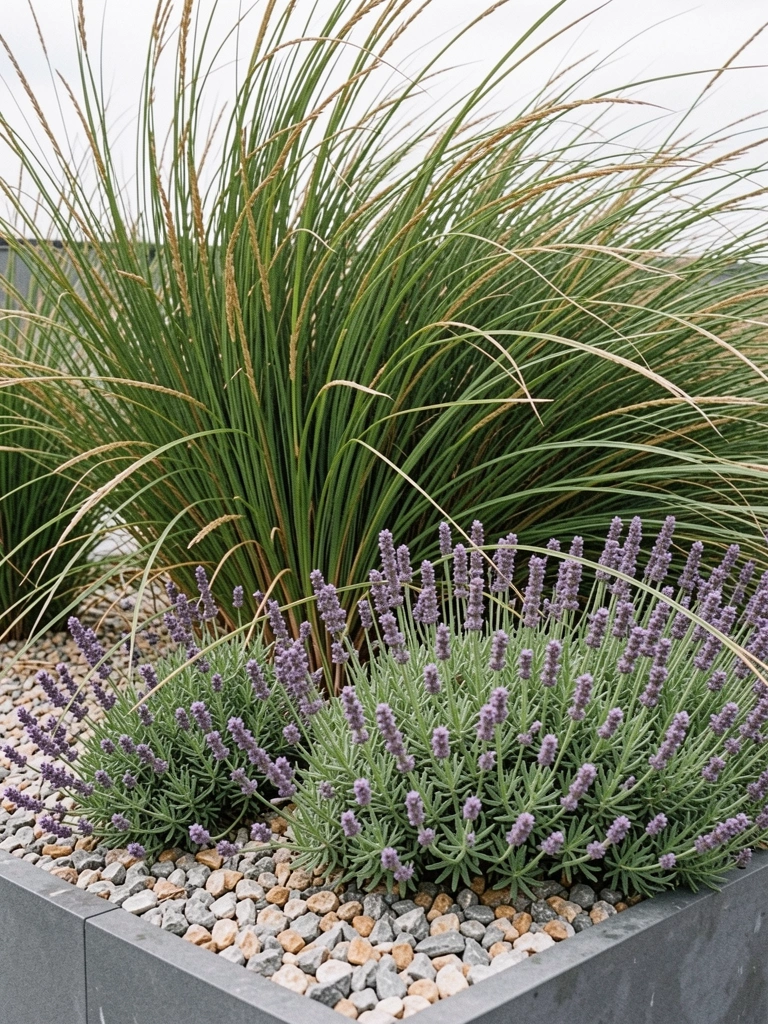
Choosing Wind-Tough Plants
Wind strips leaves fast up high. I pick grasses and lavenders that sway, not snap.
- Grasses root deep, move with gusts.
- Succulents hold water—no daily checks.
- Cluster for protection.
They settle in, add motion without mess.
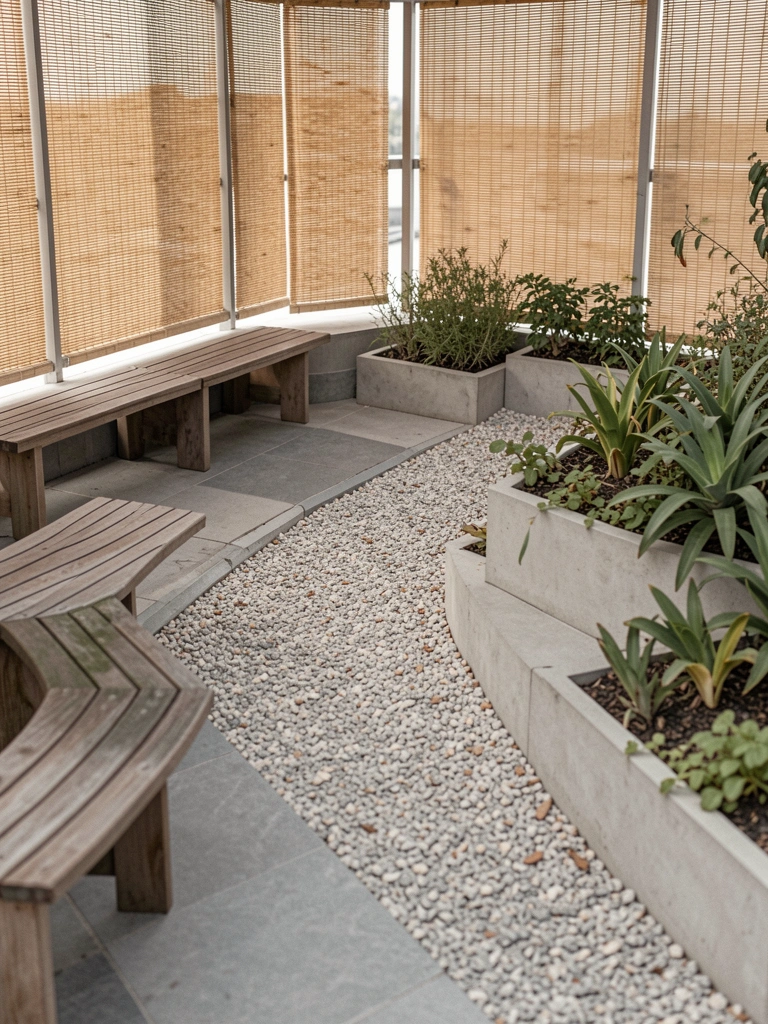
Building Privacy Without Walls
Screens cut glare and peeks. Bamboo rolls flex in wind.
Place them hip-high. Let sky show above.
Paths weave through. Feels open, not boxed.
Adding Year-Round Layers
Evergreens anchor winter. Grasses seed in fall.
- Low perennials for spring fill.
- Mulch evens soil dry spots.
Change feels slow, natural.
Final Thoughts
Start with one zone. Your rooftop will guide you.
You've fixed the fight—wind, sun, empty spots.
It grows into place. Just keep checking from your chair.
Leave a Reply