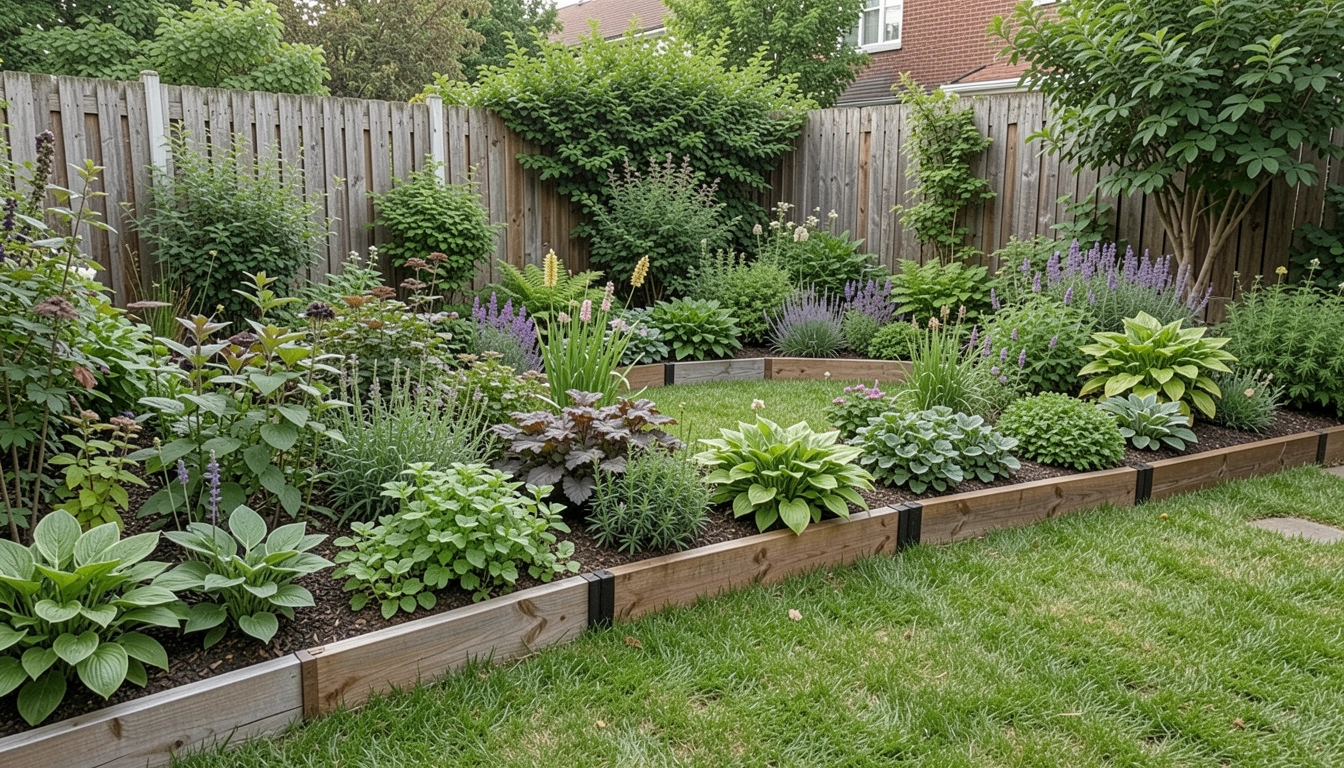
I stared at the uneven edge of my front bed last spring. Weeds crept in, and the soil spilled onto the lawn. It bugged me every time I walked by.
I'd tried plastic strips before. They buckled and looked cheap in the wrong way.
Then I found a simple fix using bricks and gravel. It settled everything into place.
How to Make Cheap Garden Edging
This shows you my go-to way to edge beds with bricks and gravel. It costs under $2 a foot. The border feels clean and holds soil back for years.
What You’ll Need
- 8×4 inch red clay bricks
- 3 cubic foot landscape gravel bag
- 4×50 foot landscape fabric roll
- 2 cubic foot dark mulch bag
- Heavy duty garden gloves
- 12-inch garden stakes
- Pointed garden trowel
Step 1: Walk the Line and Feel the Curve
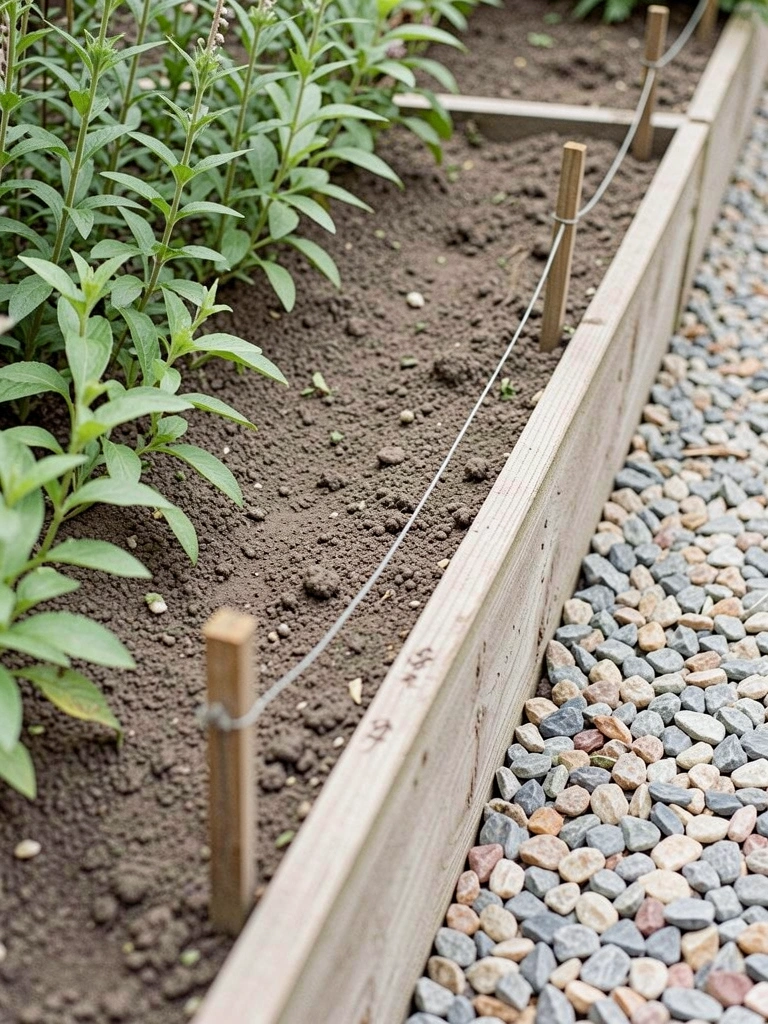
I walk the bed's edge first. I let my eye follow the natural flow. Straight lines work near paths, but curves soften corners.
I tie string between stakes to mark it. Step back. Does it balance the bed's shape? This sets a calm rhythm.
People miss how a slight curve makes beds feel wider. Don't force straight—avoid that tense look. It pulls the garden together right away.
Now the edge has purpose. Soil looks contained already.
Step 2: Dig a Shallow Trench
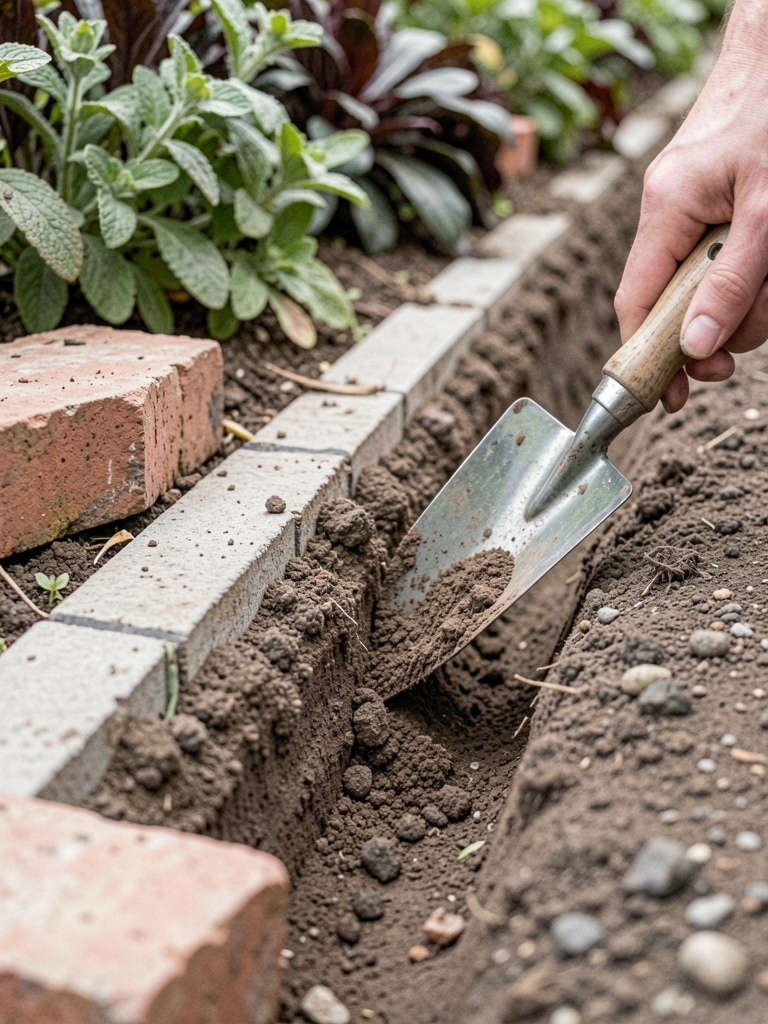
I dig a trench 4 inches deep, just wider than one brick. Follow the string. It doesn't need to be perfect—soil's forgiving.
This depth lets bricks sit level without tipping. Visually, the bed lifts, edges sharpen.
Most overlook loose soil at the base—it shifts later. Pack it firm. Skip that, and bricks lean. Now the line feels solid.
The bed breathes easier. Lawn stops blurring in.
Step 3: Line with Landscape Fabric
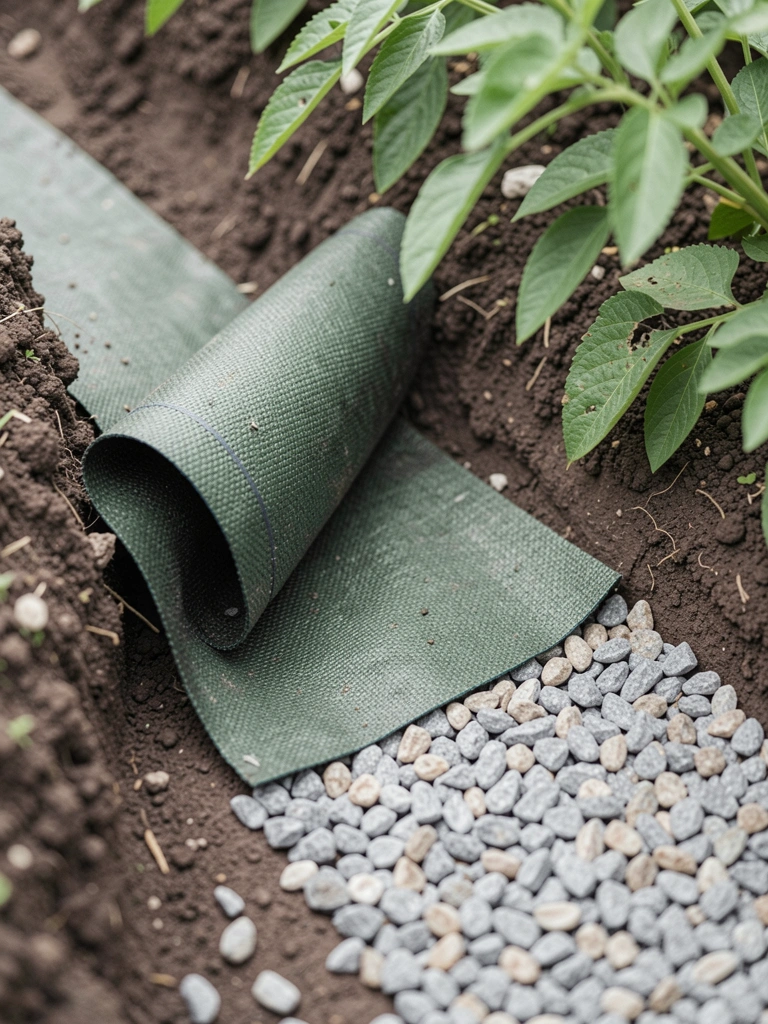
I unroll fabric along the trench bottom. Cut overlaps short. Pin it down. It blocks weeds without choking drainage.
The fabric fades back fast. Beds stay neat longer. Insight: it evens small dips people ignore.
Don't overlap too much—avoids bulges. The edge gains quiet strength. Gravel will peek through nicely.
Soil holds steady. The border hints at finish.
Step 4: Set Bricks in Place
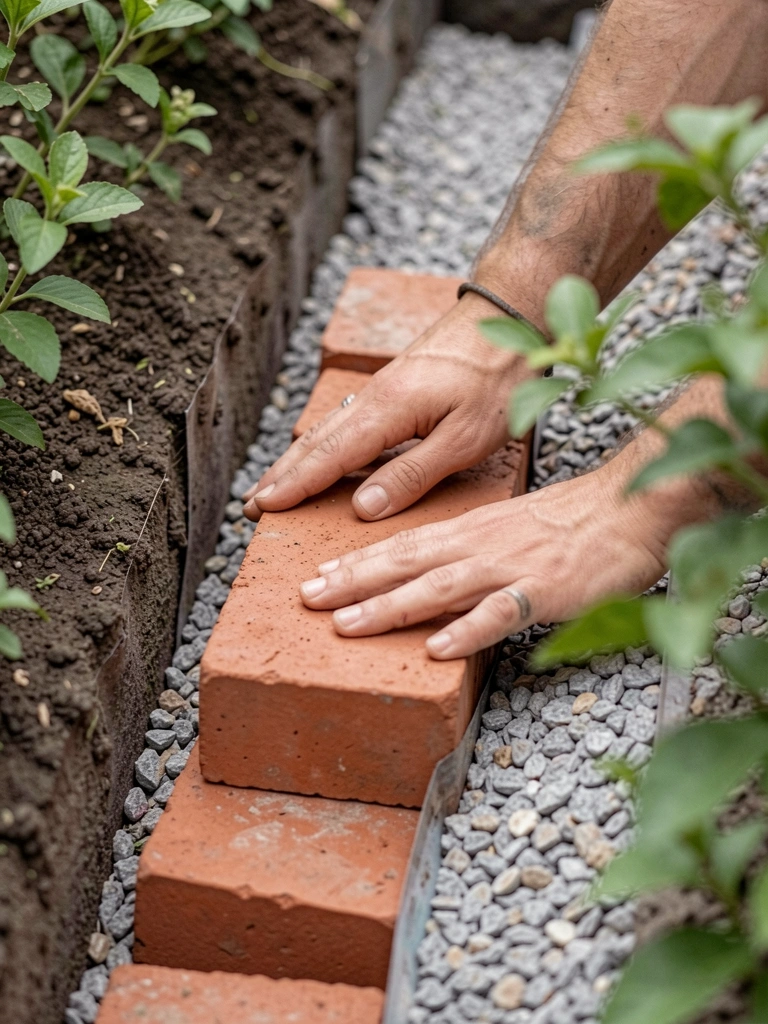
I lay bricks end to end, tapping level. Butt them tight—no gaps. Add gravel behind for backfill.
They nestle in, creating a low wall. The bed feels framed, balanced.
Folks miss tapping for contact—it prevents wobbles. Avoid stacking high; low keeps it cheap and stable.
Curves hug plants now. The line flows.
Step 5: Backfill and Mulch Top
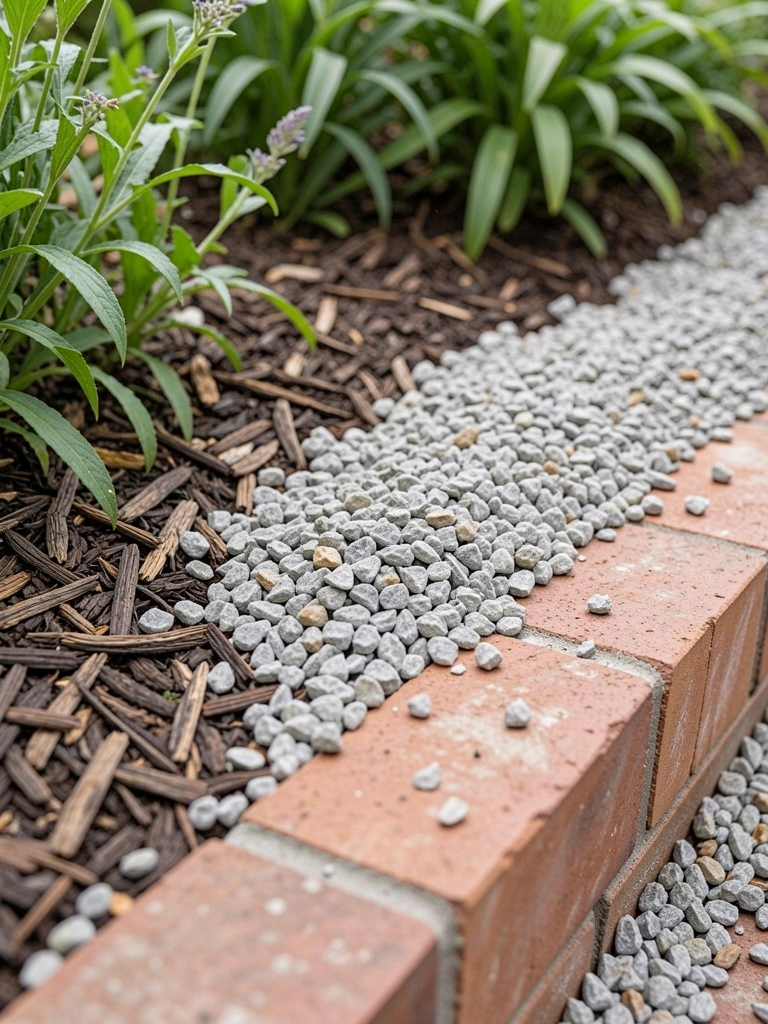
I shovel gravel behind bricks, firm it down. Top the bed side with mulch. It locks everything.
Gravel drains, mulch warms soil. The edge recedes, letting plants lead.
People forget to slope backfill—it sheds water. Don't over-mulch; thin layer blends best.
Now it's done. Beds look tended, costs stay low.
Step 6: Settle and Check Balance
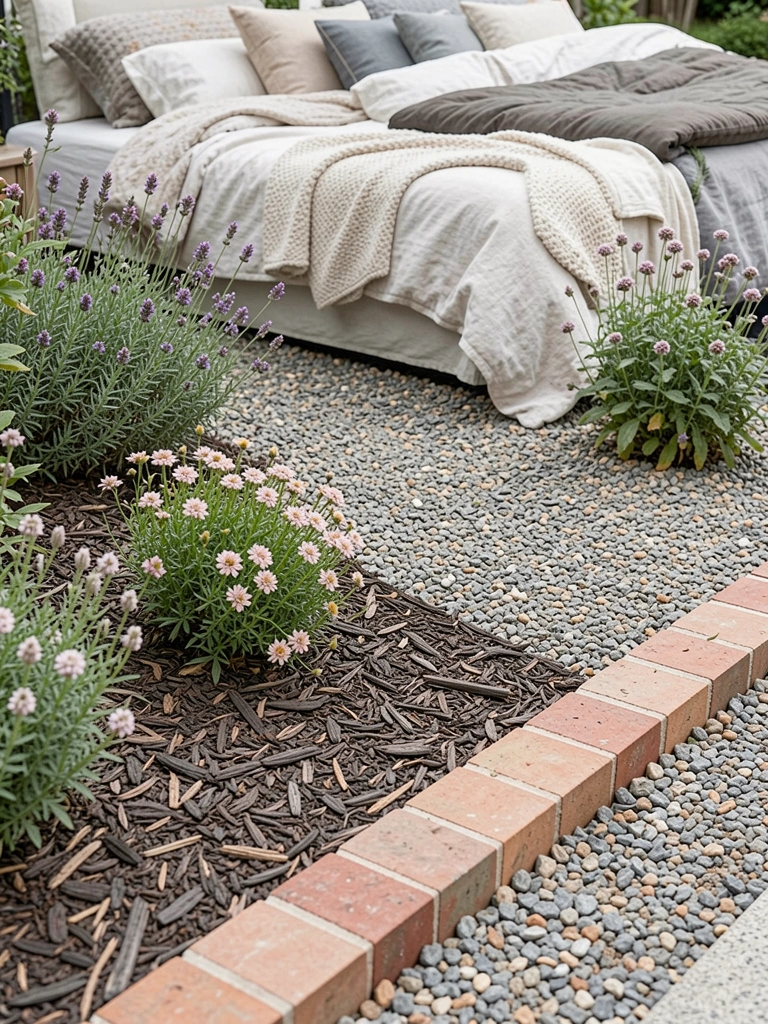
I water it in, walk around at different times. Tweak any high spots. Let it settle a week.
Light shifts reveal balance. It feels right from the path.
Missed insight: edges unify mismatched beds. Avoid rushing—wait for dirt to compact.
The garden holds its shape. Simple as that.
Why This Edging Fits Everyday Gardens
I've used this on herb beds and veggie patches. It doesn't shout. Just holds things in.
Curves follow house lines. Straight for lawns.
- Costs $1.50 per foot.
- Lasts 5+ years.
- Hides bare soil.
No fancy installs. It works where life happens.
Variations for Your Space
Swap bricks for flat stones if you have them. Gravel stays key.
Sunny spots? Light gravel shows weeds less.
- Shade: Darker mulch.
- Slopes: Taller bricks.
- Paths: Mirror the edge.
Keeps it cheap. Matches your feel.
Keeping It Looking Good
Check after rain. Rake gravel smooth.
Weeds poke rarely thanks to fabric.
- Refresh mulch yearly.
- Lift and reset shifted bricks.
- Add low plants along top.
Stays balanced with little work.
Final Thoughts
Start with one short bed. See how it settles your eye.
You'll notice the difference right away. Gardens feel less scattered.
It's not about perfection. Just edges that do their job.
Leave a Reply