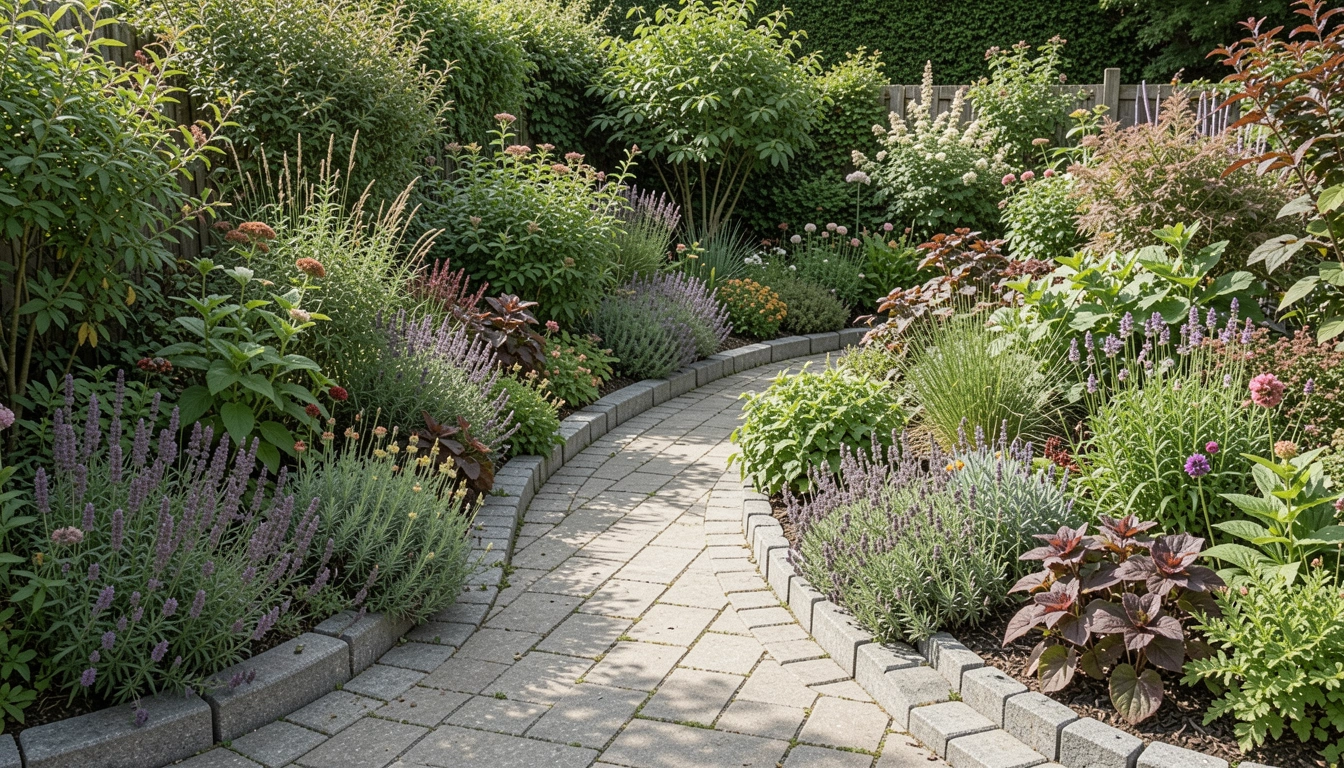
I stared at my flower bed last spring. The grass kept creeping in, blurring every line. It looked messy, unfinished. I wanted a clean edge that held the plants in place without feeling rigid.
I'd tried plastic strips before. They warped and showed. Pavers changed that. They sit low, let soil breathe, and ground the whole bed.
You know that spot where the garden feels off? This fixes it.
How to Use Pavers for Garden Edging
This shows you how I edge beds with pavers. It creates a quiet border that settles into the ground. Your garden will feel balanced and held together.
What You’ll Need
- 12×12-inch gray concrete pavers
- Polymeric sand for joints
- Coarse sand base layer
- Landscape fabric roll
- 1/4-inch minus gravel
- Trowel for soil work
- Rubber mallet 16 oz
Step 1: Mark Your Edge Line
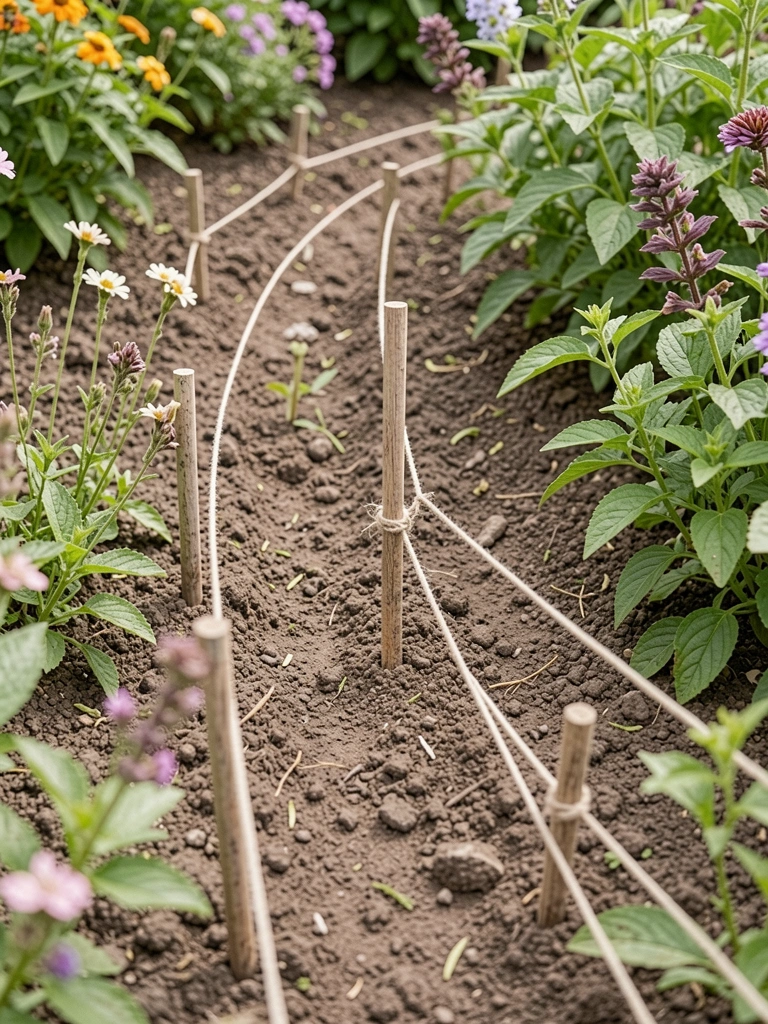
I walk the bed's edge first. I kneel and run my hand along the soil. Where does the grass push in? That's my line. I use string and stakes to outline it, keeping it soft—straight for veggies, curved for flowers.
Visually, the string pulls the bed into focus. It shows the shape before anything changes. One insight: curves feel natural but need a steady hand to avoid wobbles.
Don't pull the string too tight. It straightens everything. I step back often to check balance from the path.
This sets a quiet frame. The bed starts to breathe.
Step 2: Dig the Trench
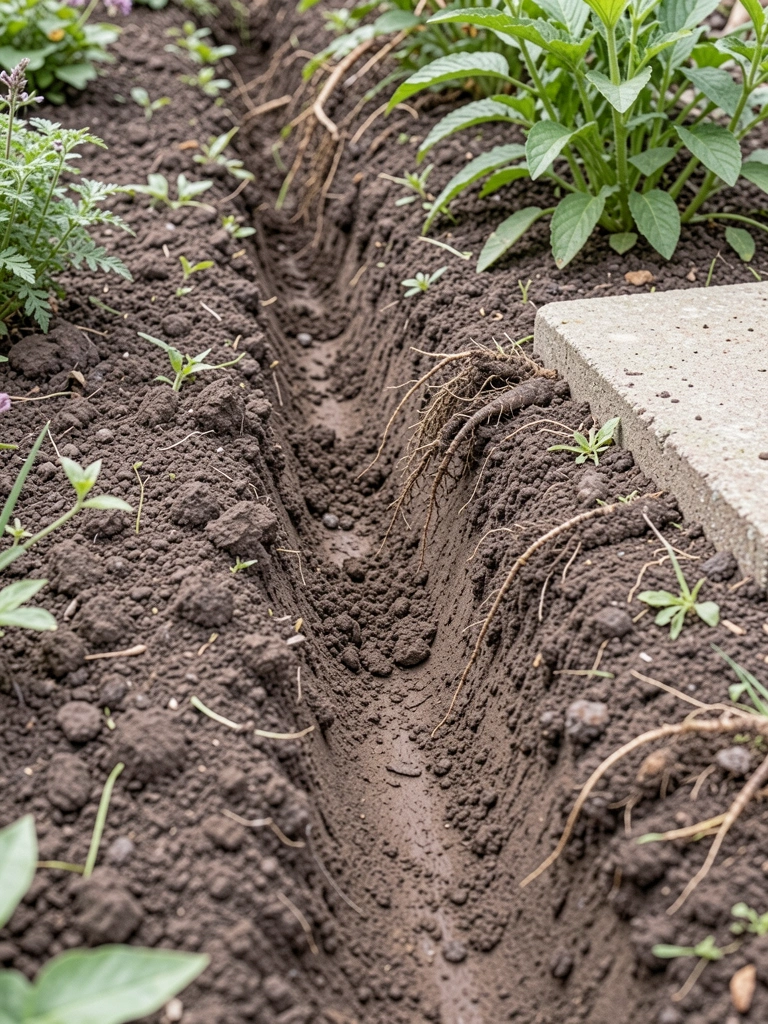
I dig a trench just wider than one paver. Depth matches the paver height plus an inch for sand. I go slow, feeling the soil give. This keeps roots safe and drainage open.
Now the line sinks in. Soil piles beside it, ready for backfill. People miss how a shallow trench lets water flow away—no puddles.
Avoid digging too deep. Pavers sink unevenly. I test with one paver early.
The bed looks contained already, even empty.
Step 3: Level and Base It
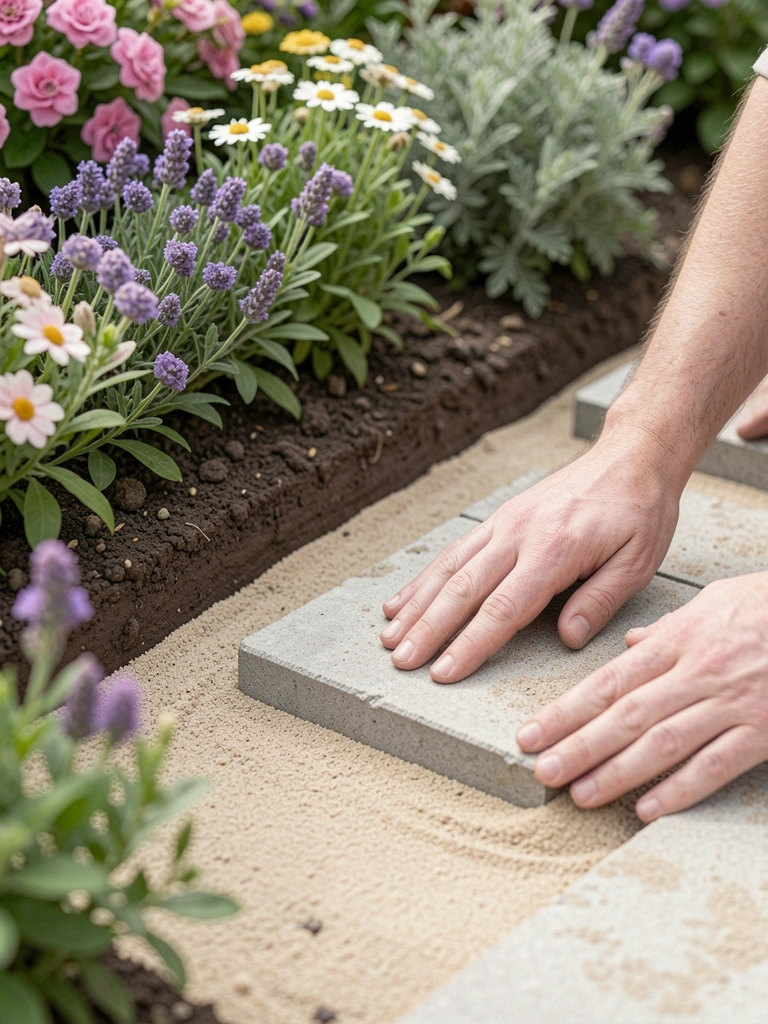
I lay landscape fabric first, then coarse sand and gravel. I tamp it firm but not packed. A level checks from side to side. Why? It holds pavers steady through freezes.
The base vanishes under pavers, but the surface evens out. Insight: slight slope away from plants prevents rot.
Skip fabric and weeds punch through. I wet the sand lightly—it settles true.
Feels solid now, like the garden's foundation.
Step 4: Set the Pavers
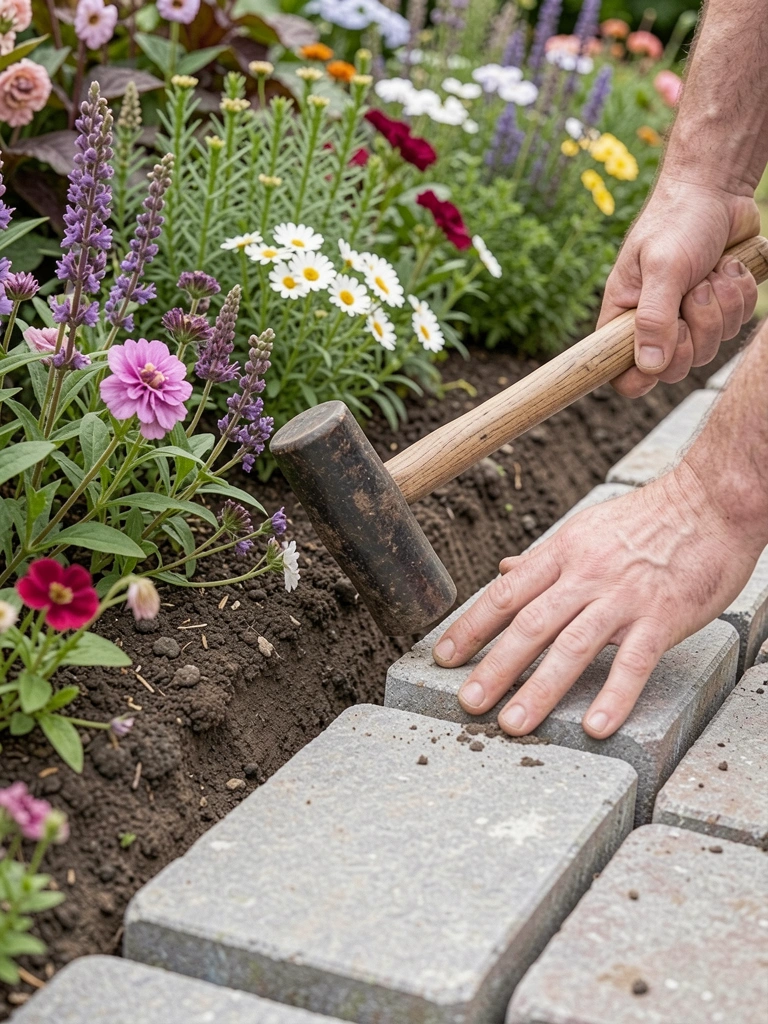
I drop pavers in one by one. Butt them close, tap with a mallet. Eyes on the line—adjust for flow. They hug the soil, low profile.
The edge appears crisp against plants. Balance shifts; beds look deeper. Most miss checking every third paver with level—gaps form otherwise.
Don't force curves tight. Let them ease. Step back.
It grounds the whole space.
Step 5: Backfill and Settle
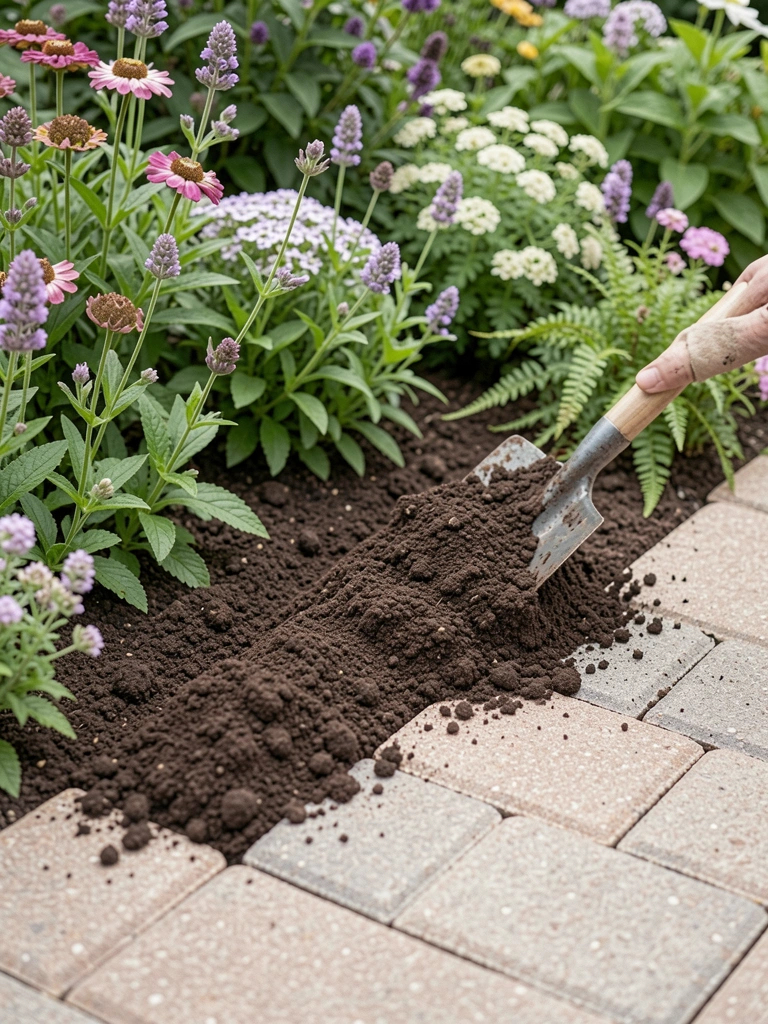
I backfill soil tight against pavers, then sweep polymeric sand into joints. Mist it light—it sets. Why? Locks them without grout lines.
Joints disappear, edge blends. One missed bit: overwatering sand makes it runny.
Avoid loose soil backfill. It shifts. Water the bed gently after.
Now it feels finished, lived-in.
Choosing Pavers for Your Soil and Style
I pick pavers by my dirt. Clay holds heavy concrete ones. Sandy soil needs lighter. Gray suits most plants—doesn't fight greens.
Size matters for flow. 12-inch works beds; smaller for paths.
- Gray concrete: clean, fades back.
- Tumbled stone: softer curve.
- Check thickness: 2-inch for foot traffic.
Test one in your bed first. It shows fit.
Planting Alongside Paver Edges
Pavers frame plants best when low. I tuck hostas tight, let sedum spill over.
Balance heights: tall behind, trailers forward.
- Low growers: creeping phlox.
- Mid: daylilies.
- Avoid invasives—they overrun.
Mulch inside, gravel outside. It stays neat.
Keeping Edges Sharp Over Time
Edges shift yearly. I check after rain. Re-tamp low spots.
Weeds pull easy from sand joints.
- Sweep sand yearly.
- Hose off dirt.
- Lift and reset every two years.
Simple care keeps balance.
Final Thoughts
Start with one short bed. See how it settles your space.
Pavers aren't forever fixes, but they hold steady.
Yours will feel right after a season. Just walk it daily at first.
Leave a Reply