Category: Backyard

  • 15 Lawn Edging Ideas for Tidy Yards

    15 Lawn Edging Ideas for Tidy Yards

    I remember staring at my lawn last spring, grass spilling everywhere like it had a mind of its own. Edges fuzzy, mower fights every time. Frustrating.

    Then I edged one section with bricks. Instant crisp line. The yard breathed easier.

    That small fix pulled me in. Now my place looks kept without daily work. You can get there too.

    15 Lawn Edging Ideas for Tidy Yards

    These 15 lawn edging ideas come from yards I've worked on, fixes that stick. Simple setups, real results. Pick one, start small, see your yard sharpen up.

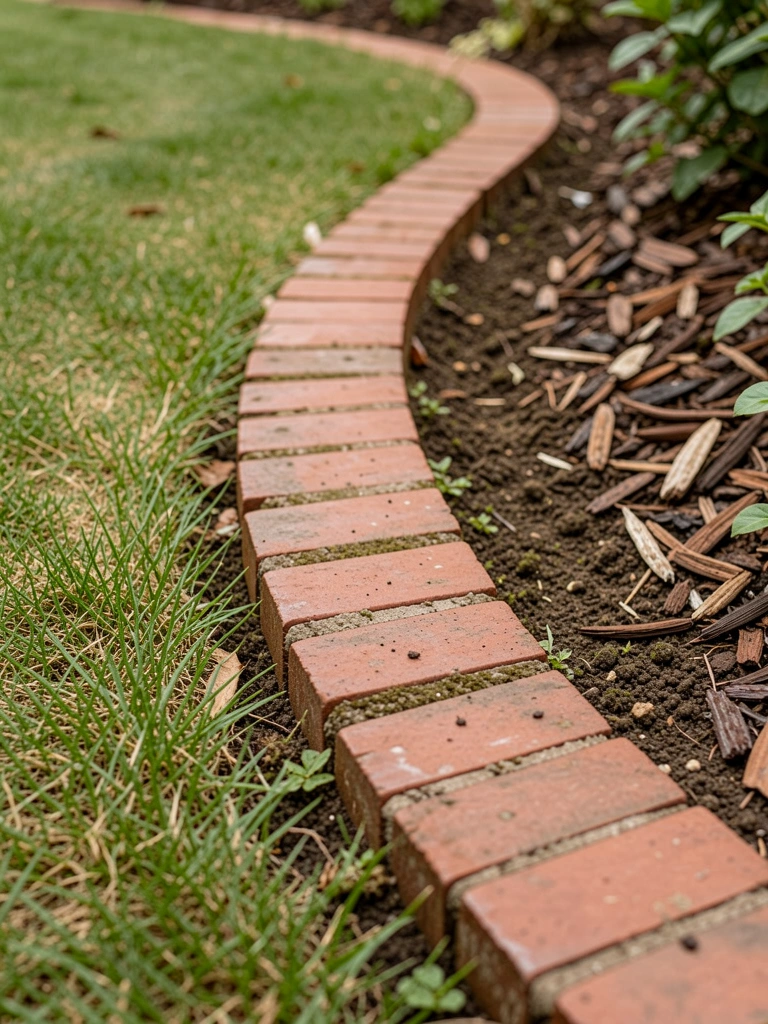
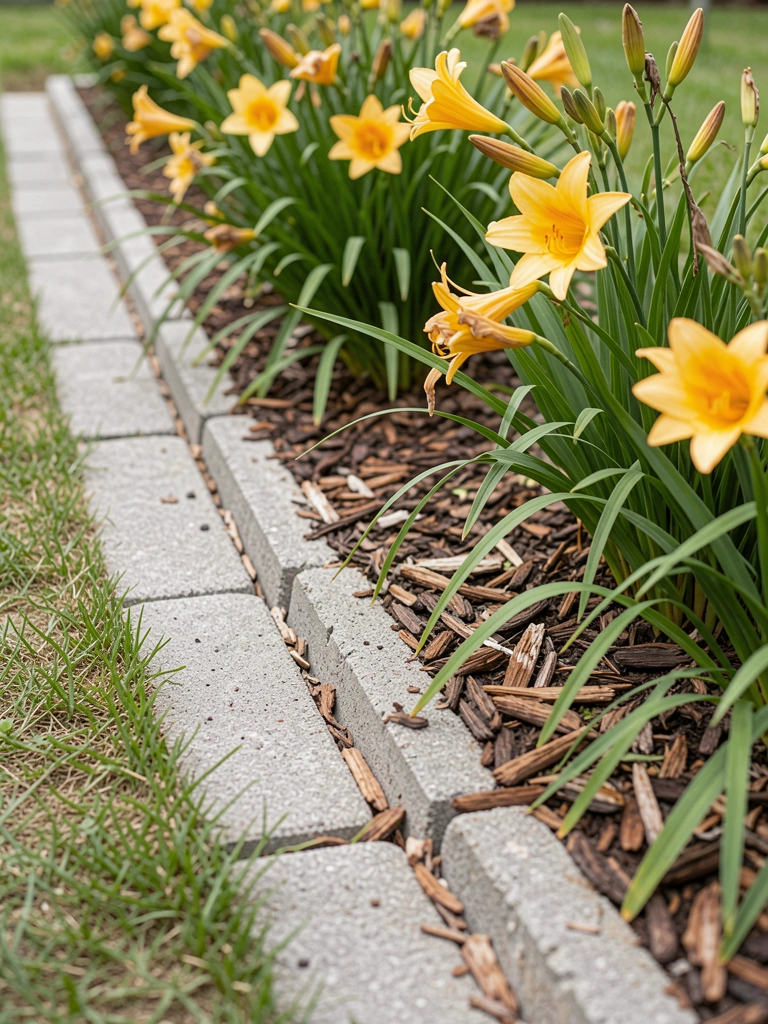
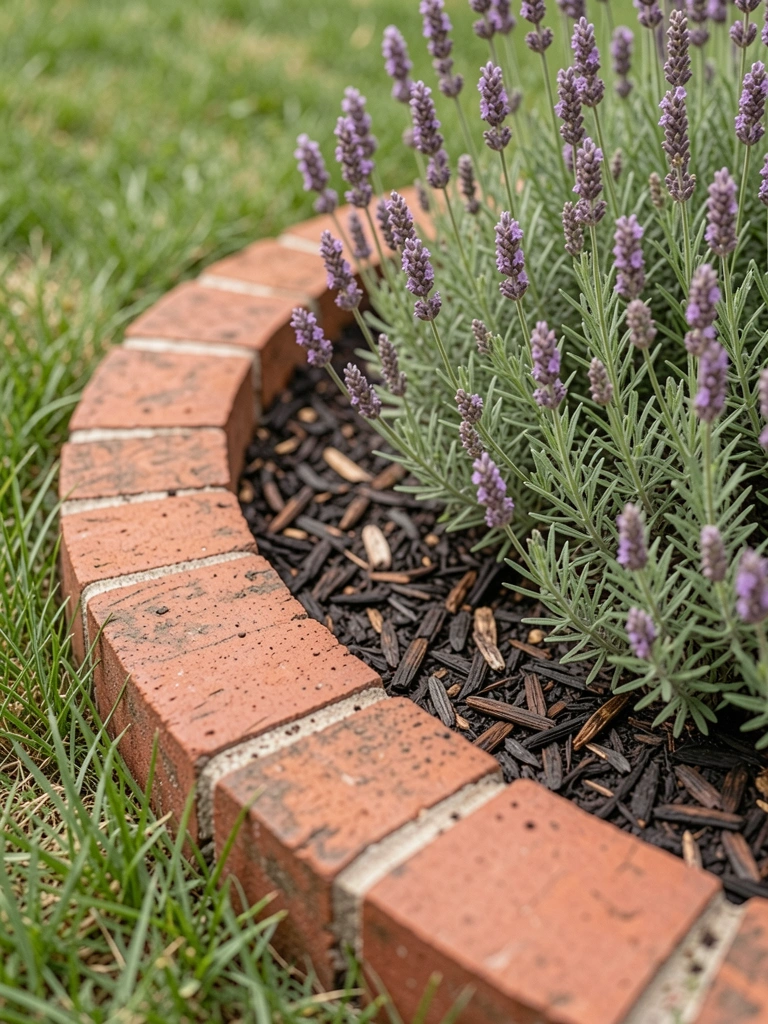
    1. Curved Brick Border That Holds Grass Back

    I laid bricks along my front walk last year. Grass used to creep over, but these hold it tight. The curve softens the look, makes the path pop without screaming formal.

    At first, I spaced them wrong—too far apart. Grass snuck in. Now I butt them close, dig a shallow trench first. Feels solid, mower glides right over.

    Your yard gets that clean frame. Walk by, it welcomes you.

    What You’ll Need for This Look

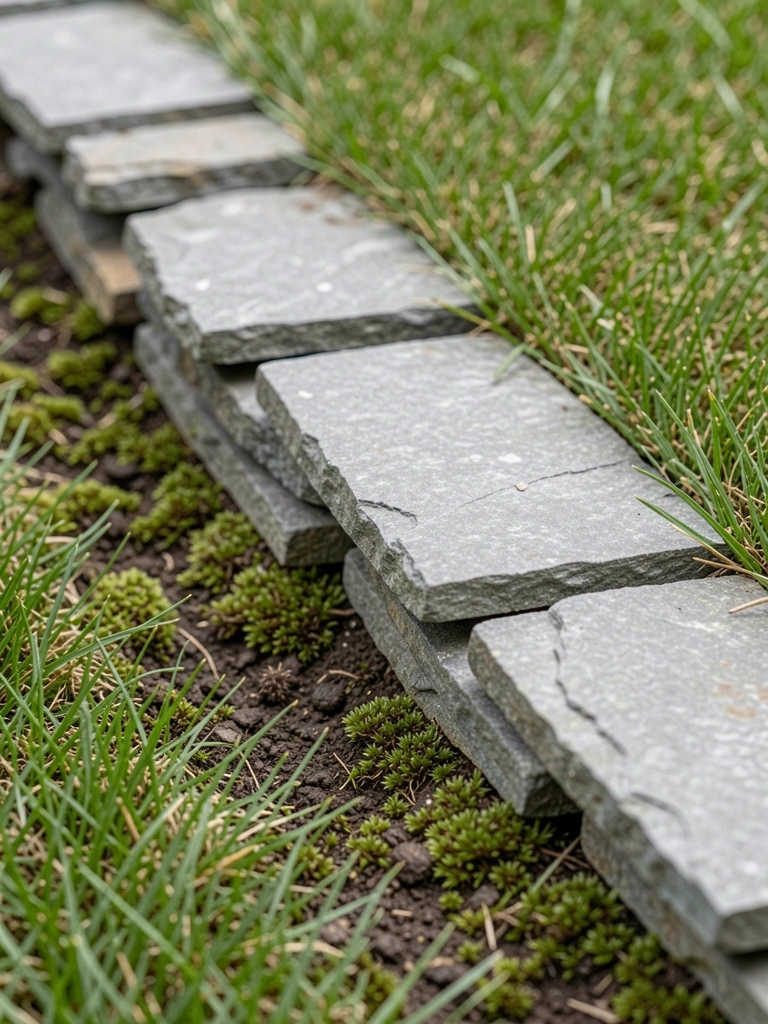
    2. Stacked Flat Stones for a Natural Lawn Line

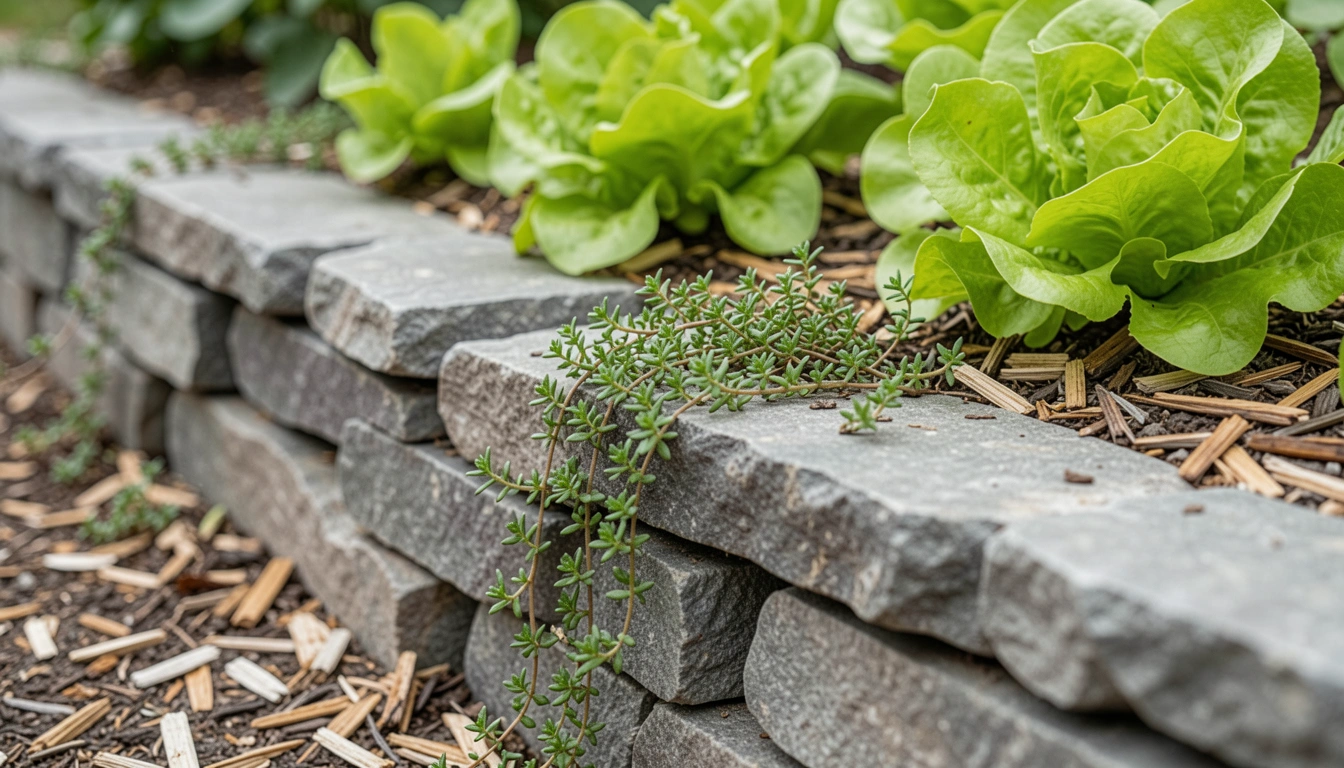
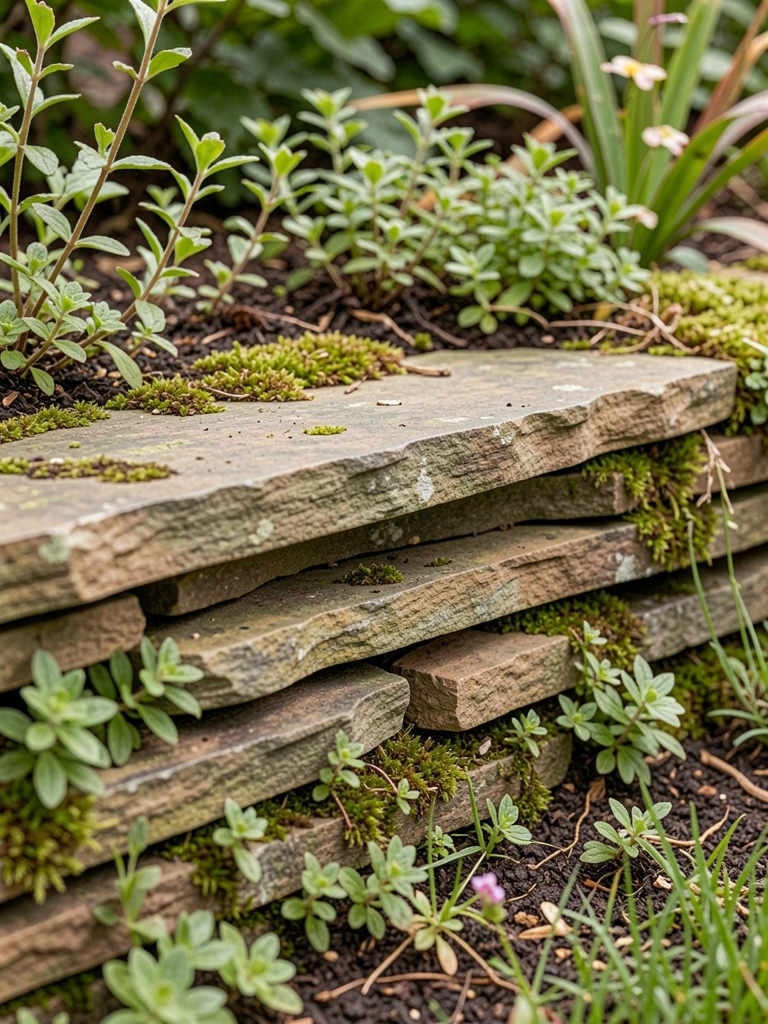
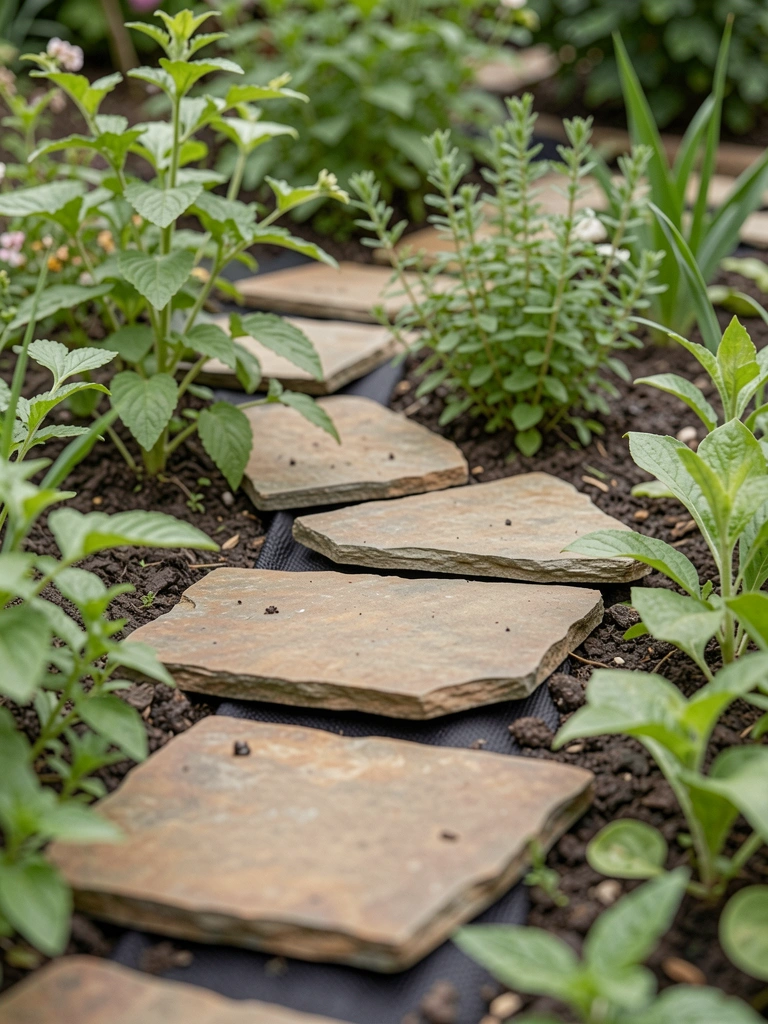
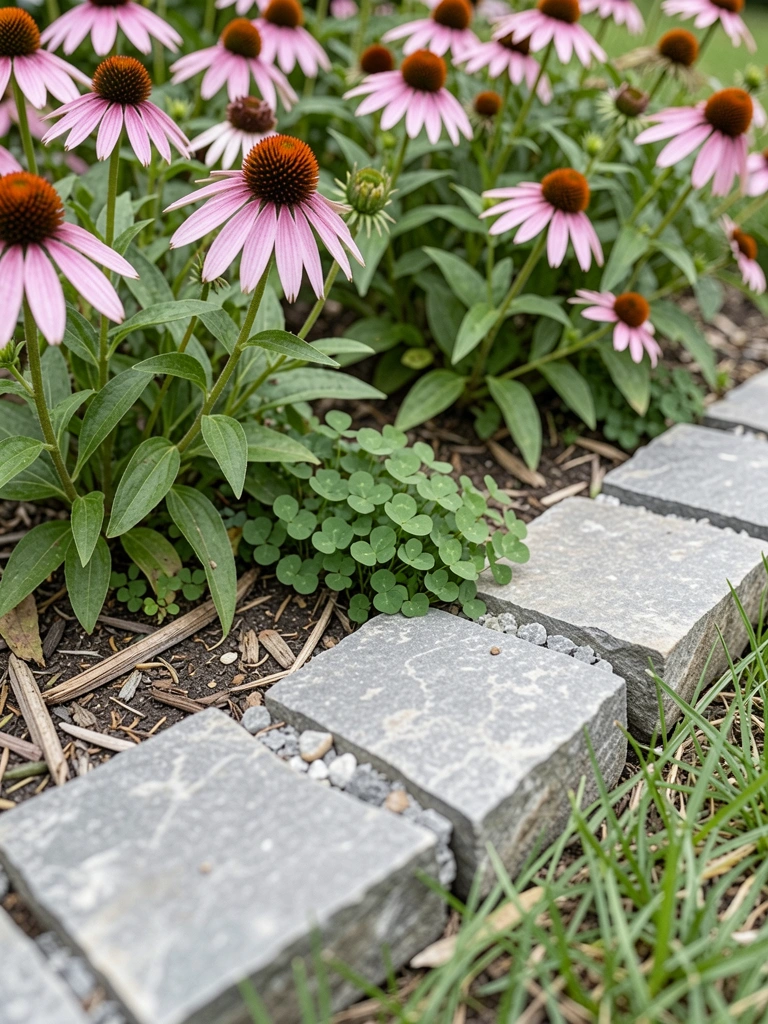
    In my side yard, I stacked flat fieldstones. No mortar, just gravity. Grass stops clean, stones blend like they grew there.

    I grabbed stones from a local pile—uneven sizes. One side tipped at first. Buried the base deeper, added sand underneath. Stays put through rain.

    Now it feels rugged, cozy. Mowing's a breeze, edges stay sharp.

    What You’ll Need for This Look

    3. Thin Steel Strips for Modern Straight Edges

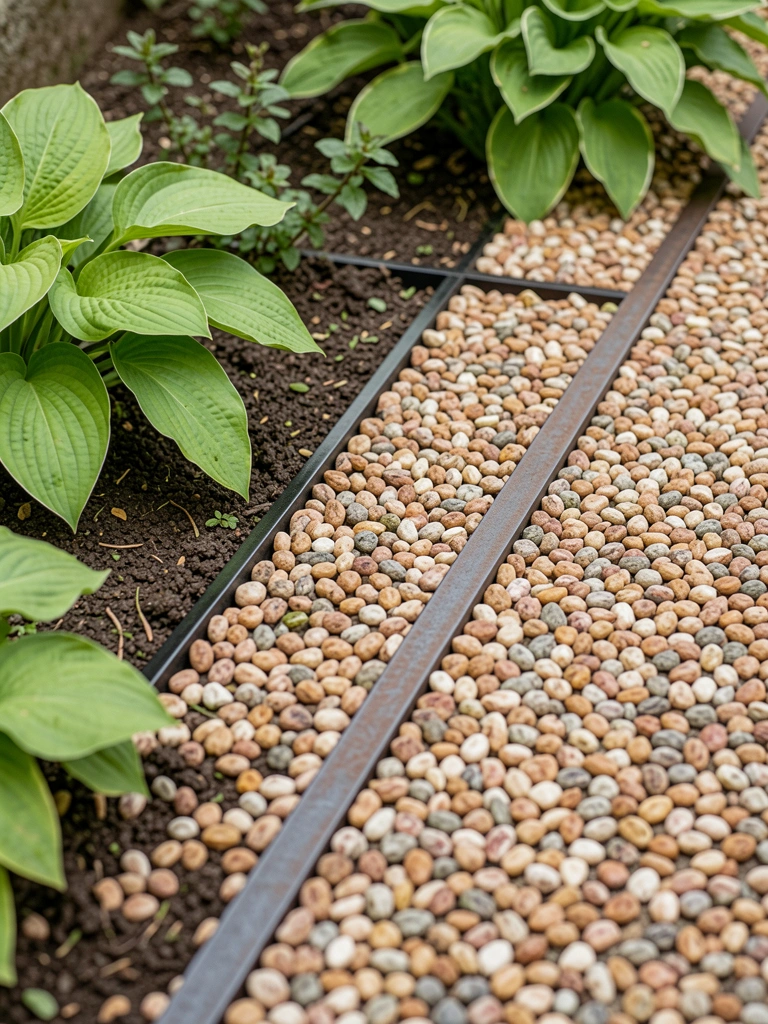
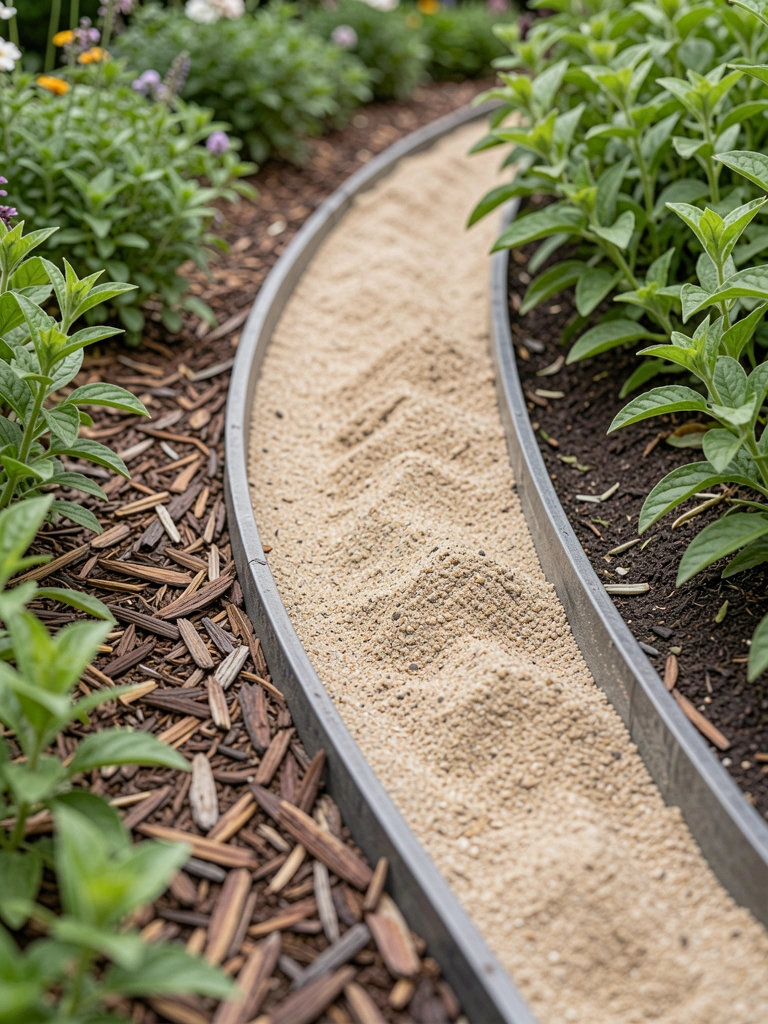
    My neighbor's modern yard inspired this. Hammered steel strips into my back lawn. Razor lines, grass can't invade.

    I cut them too short once—gaps formed. Buy longer rolls now, overlap ends. Rusts a bit, adds character.

    Looks sleek, low fuss. Edges like a pro without the pro price.

    What You’ll Need for This Look

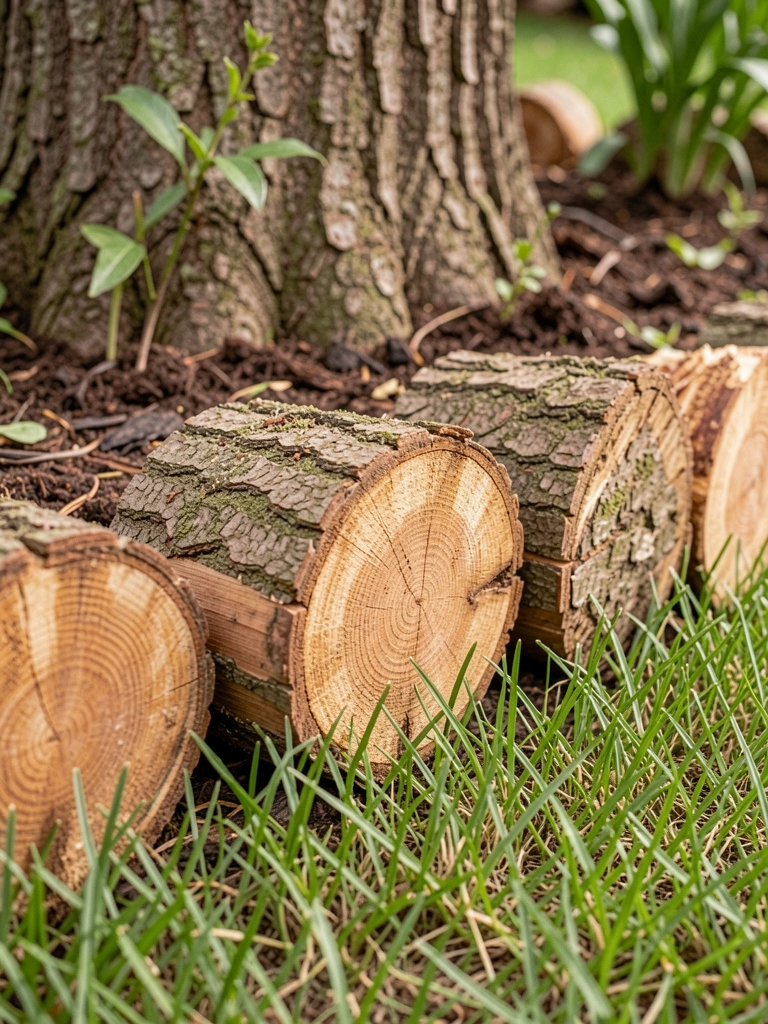
    4. Log Rolls for Rustic Wood Lawn Frames

    Around my oak tree, log rolls work magic. Half-buried, they circle neat, wood warms the green.

    Bought green wood first—warped in wet soil. Go treated now, stake heavy. Lasts seasons.

    Yard feels cottage-like, grounded. Kids play without tripping.

    What You’ll Need for This Look

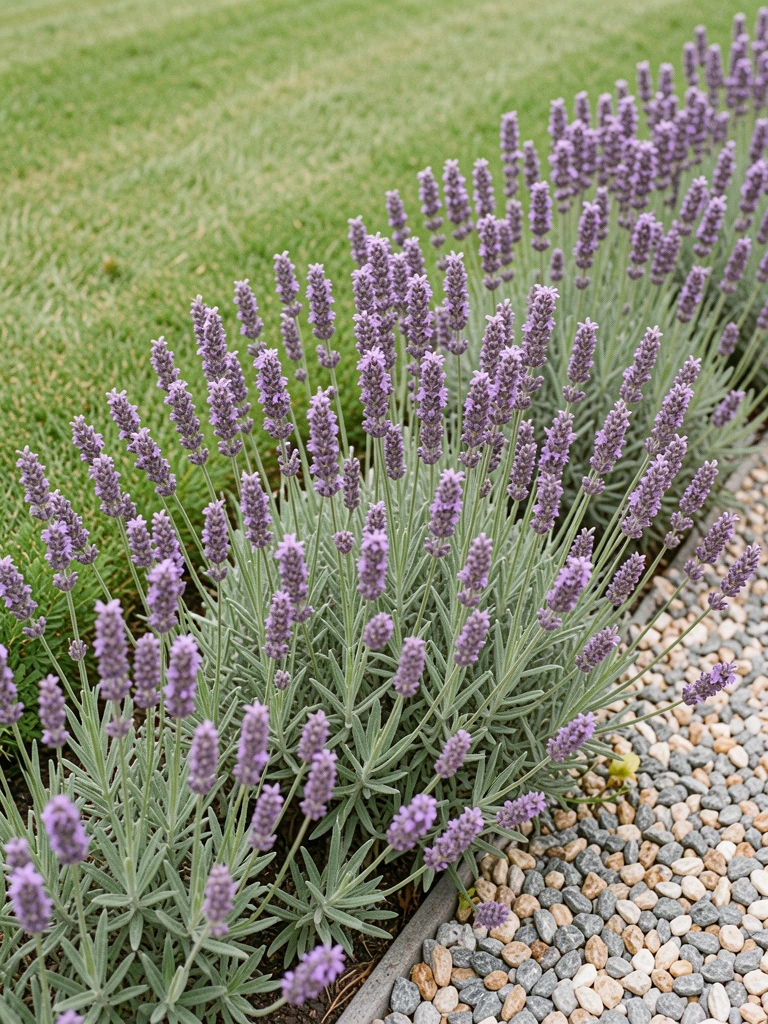
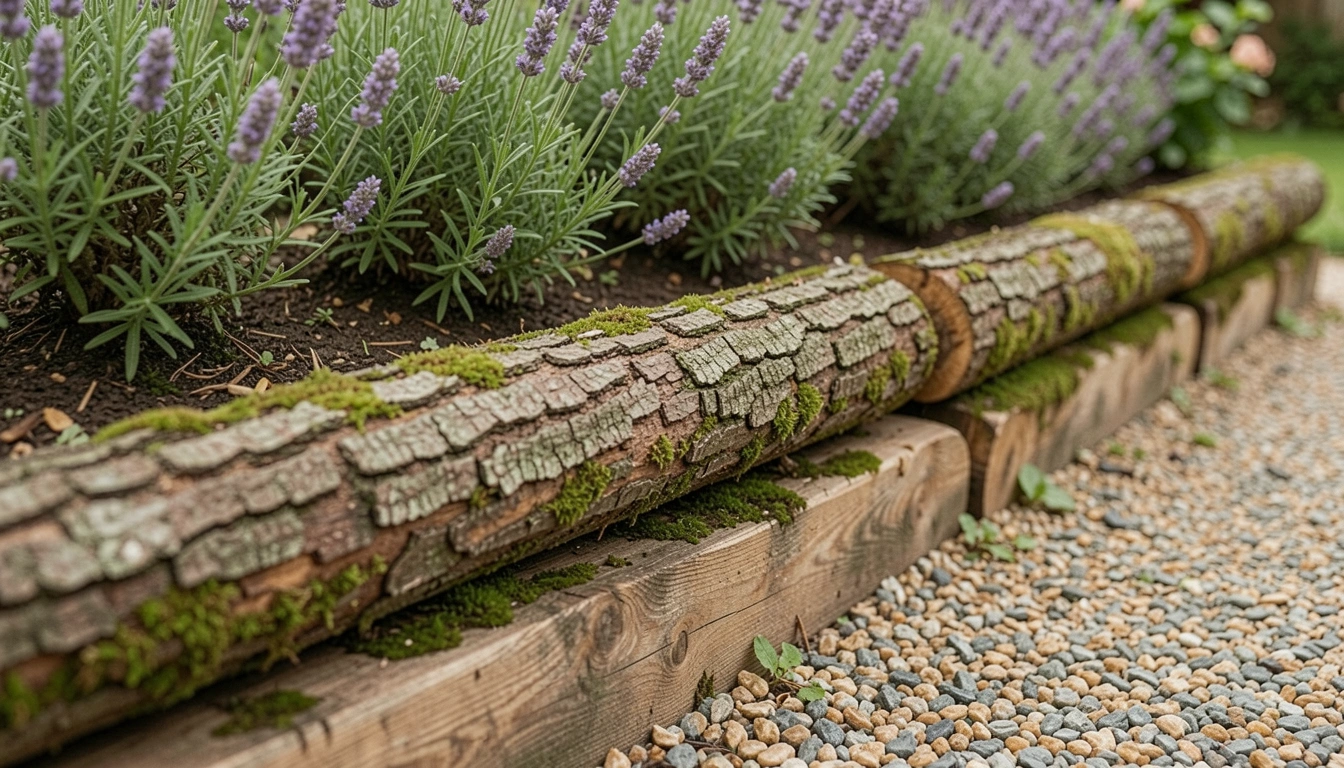
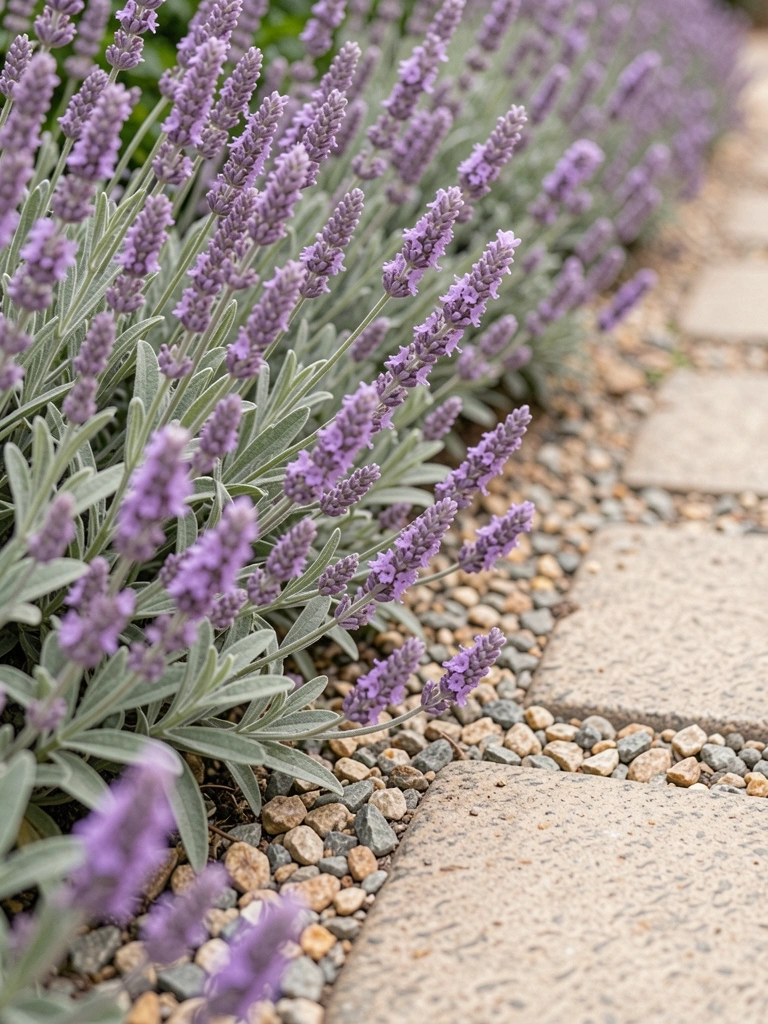
    5. Lavender Plants as a Scented Soft Edge

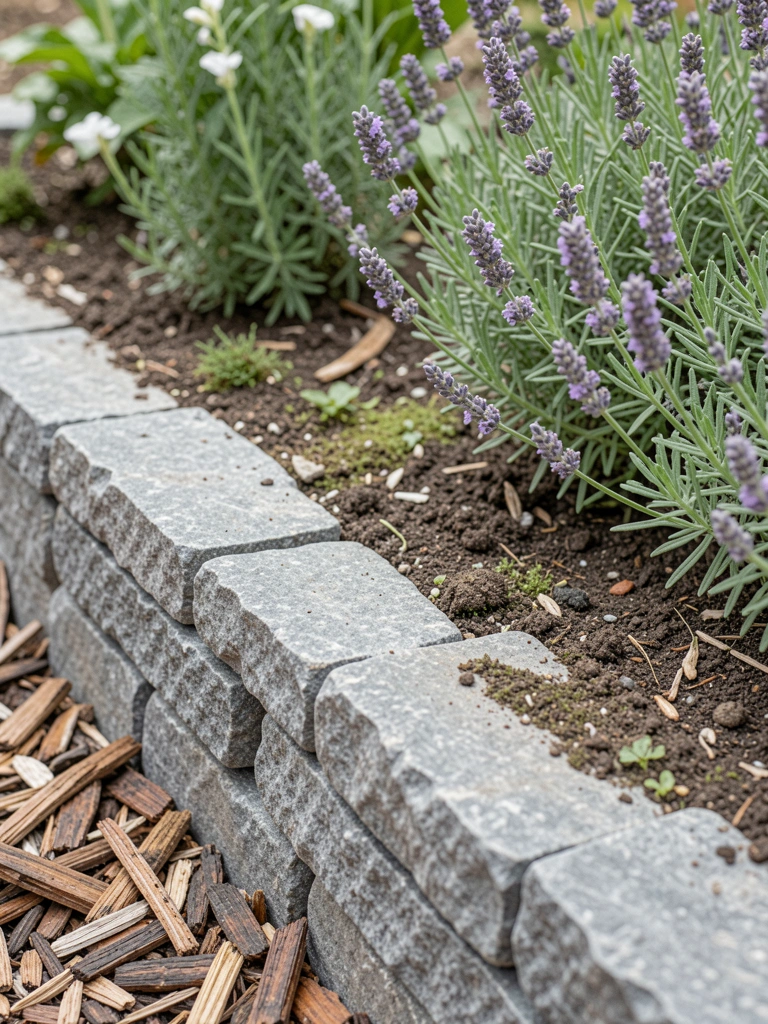
    Planted lavender along my patio grass. Blooms scent the air, soft line where hard fails.

    Overplanted at first—crowded out. Space 12 inches now, trim after bloom. Spreads just right.

    Walks smell summer, bees hum. Tidy without tools.

    What You’ll Need for This Look

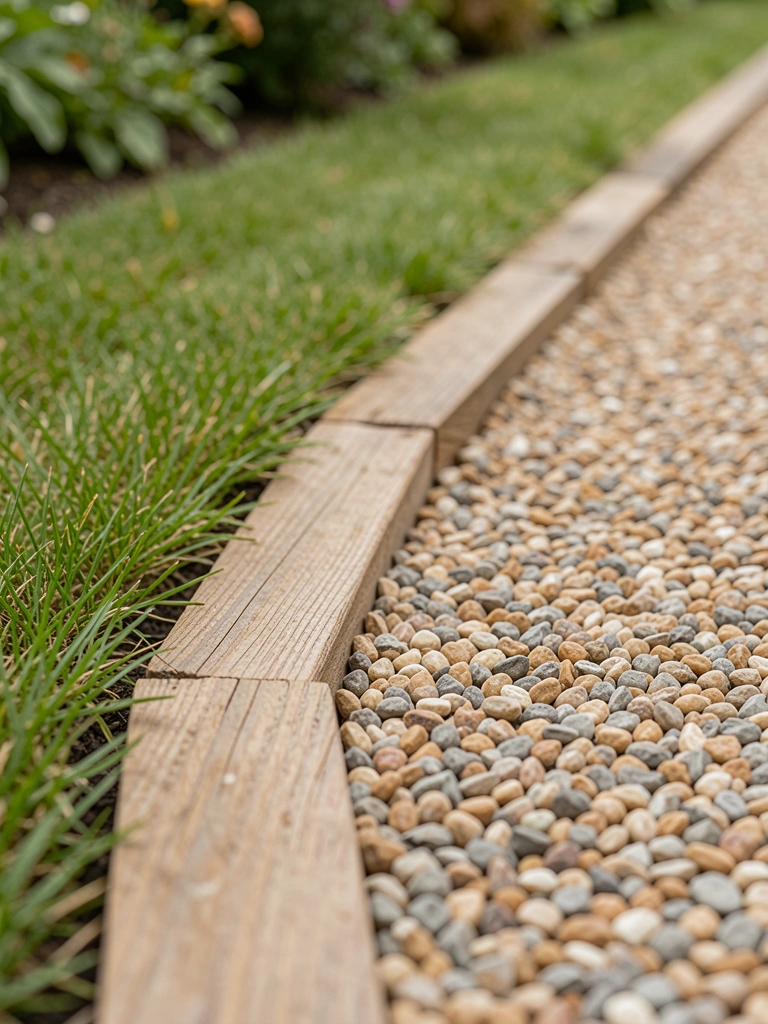
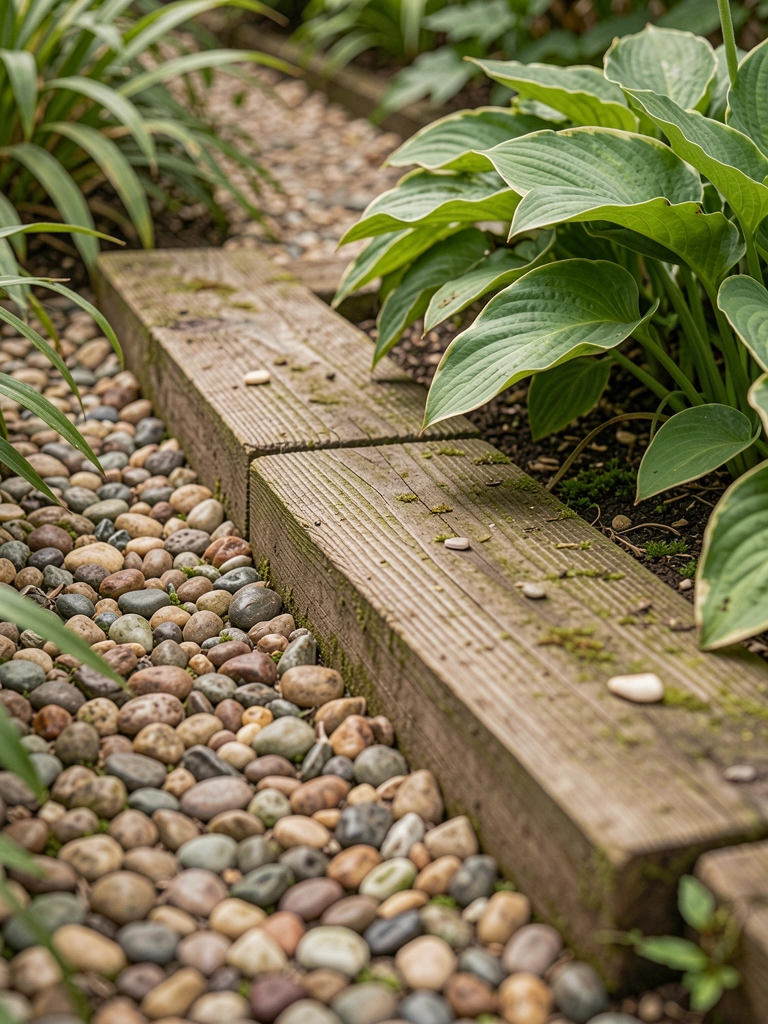
    6. Gravel Path with Timber Side Boards

    My driveway path uses timber boards holding gravel. Lawn stays put, path crunches nice.

    Timber rotted once untreated. Seal ends now, elevate slight. Dry stays.

    Feels intentional, walks easy. No mud mess.

    What You’ll Need for This Look

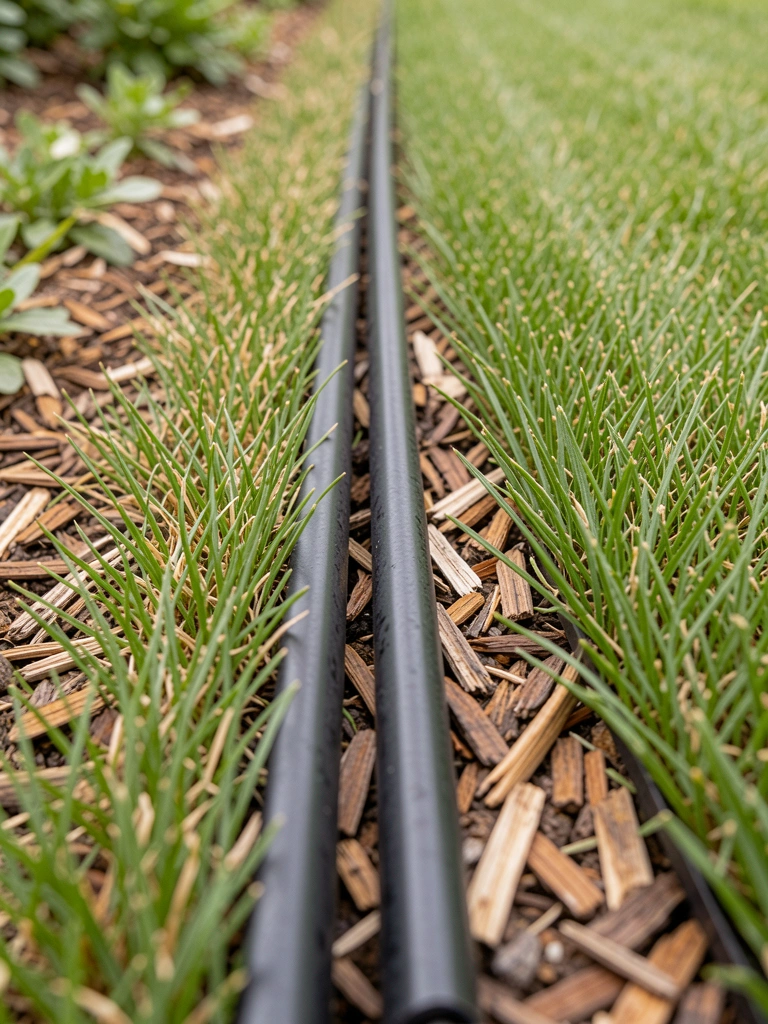
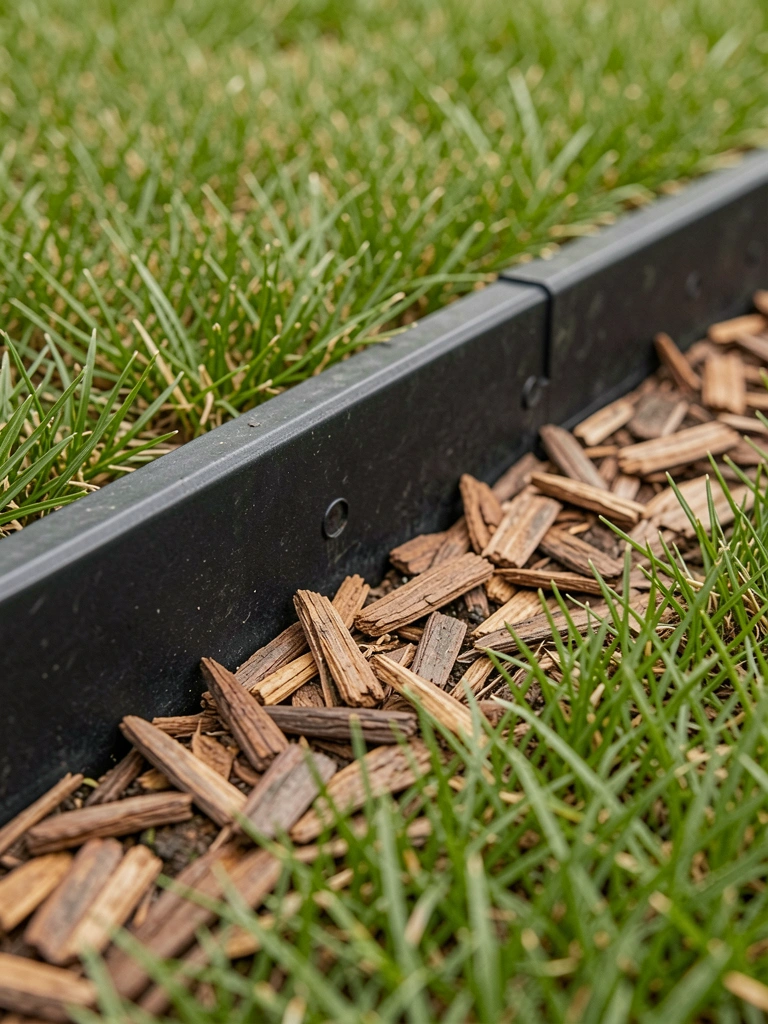
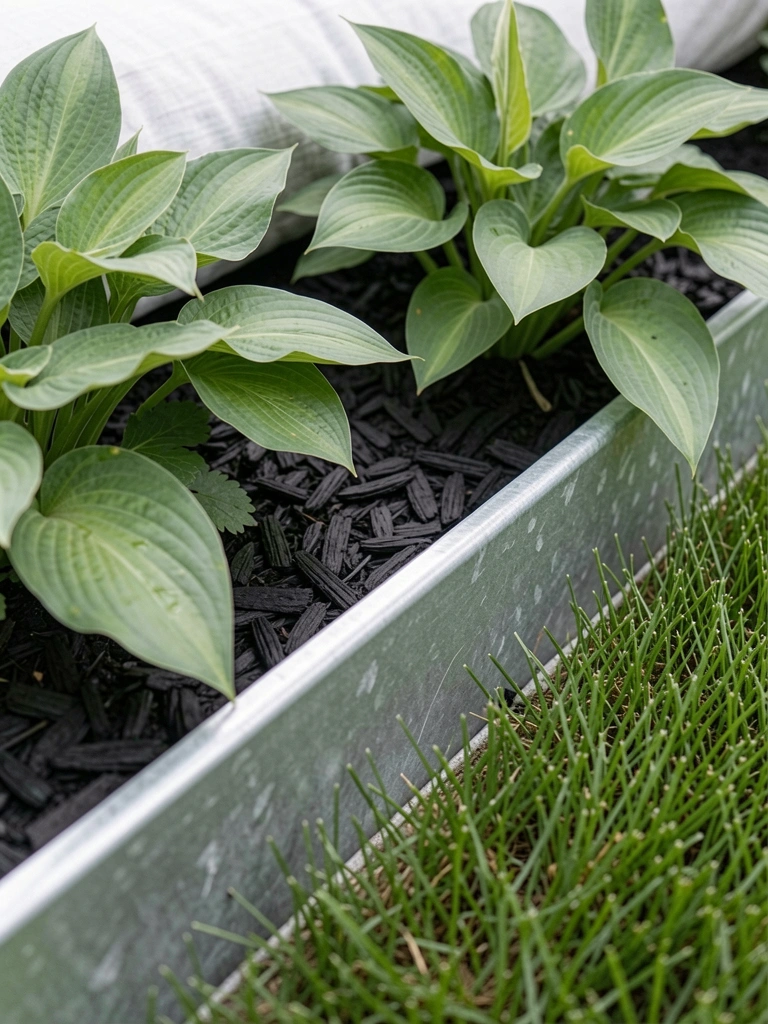
    7. Mulch Beds Framed by Black Plastic Strips

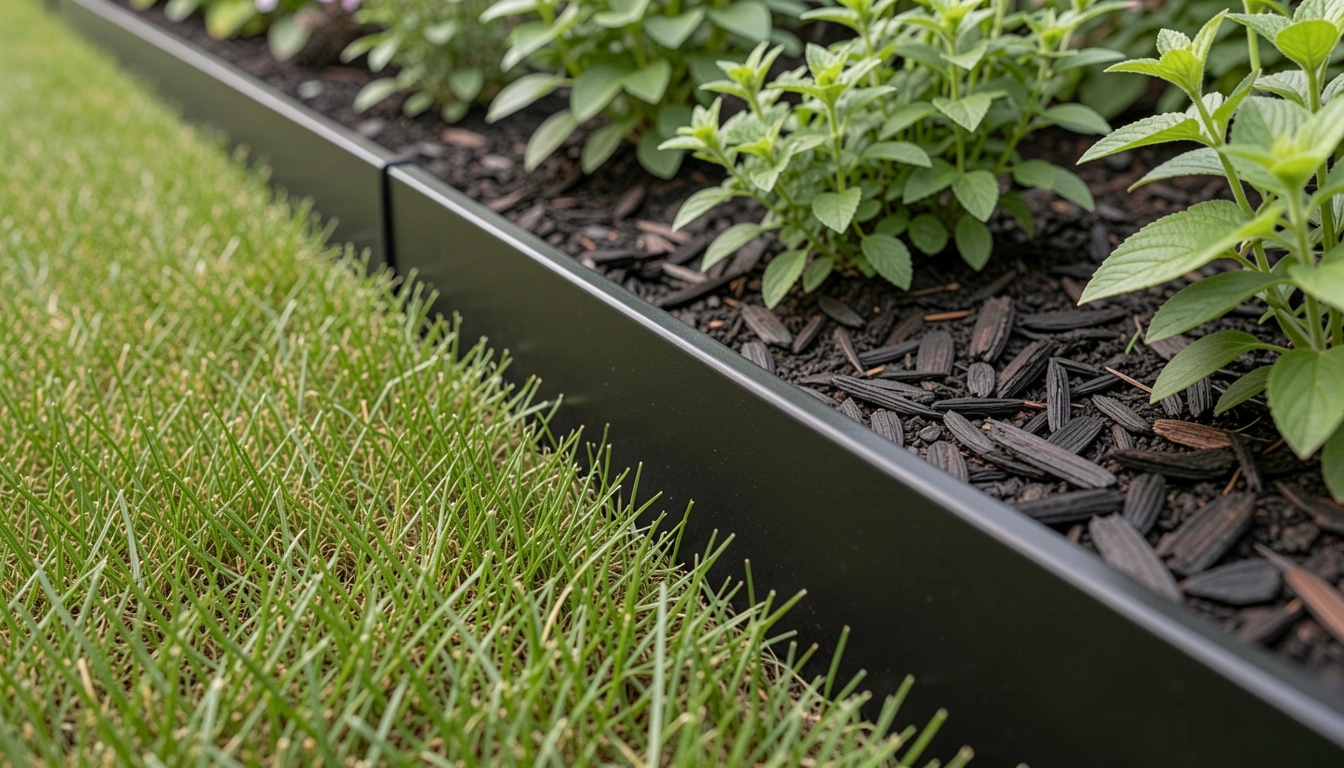
    Back bed mulch with plastic strips. Invisible hold, mulch neat against grass.

    Bent it wrong first—kinked. Heat in sun now, stake down. Flexible fix.

    Clean look, weeds fight less. Simple win.

    What You’ll Need for This Look

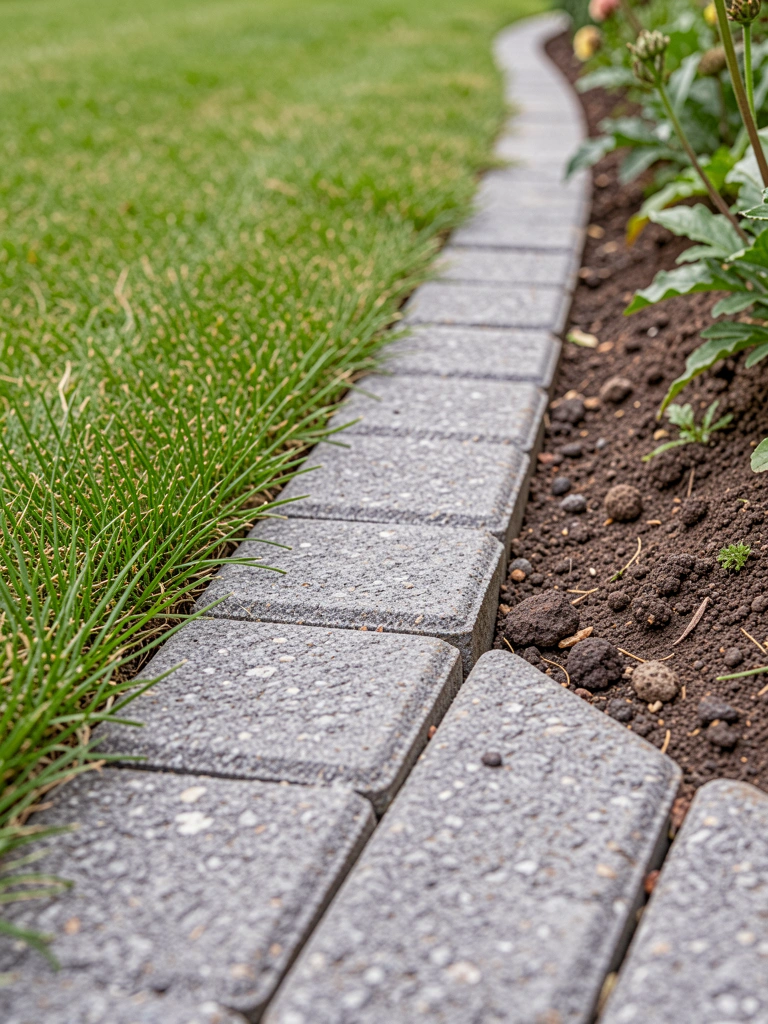
    8. Interlocking Concrete Pavers for Bold Curves

    Curved my flower bed with pavers. Lock tight, grass bows out.

    Laid flat first—shifted. Sand base now, tap level. Rock steady.

    Yard lines strong, feels put-together.

    What You’ll Need for This Look

    9. Recycled Glass Bottles Buried Neck-Down

    Old bottles from parties edge my veggie patch. Necks sparkle, free edge.

    Packed loose once—wiggled. Dig deeper now, fill gaps. Stays fun.

    Quirky tidy, catches light nice.

    What You’ll Need for This Look

    10. Railroad Ties for Heavy-Duty Long Runs

    Long side lawn got ties. Heavy hold, no creep.

    Slipped in rain first—new. Pin down now, lasts years.

    Rugged frame, yard feels big.

    What You’ll Need for This Look

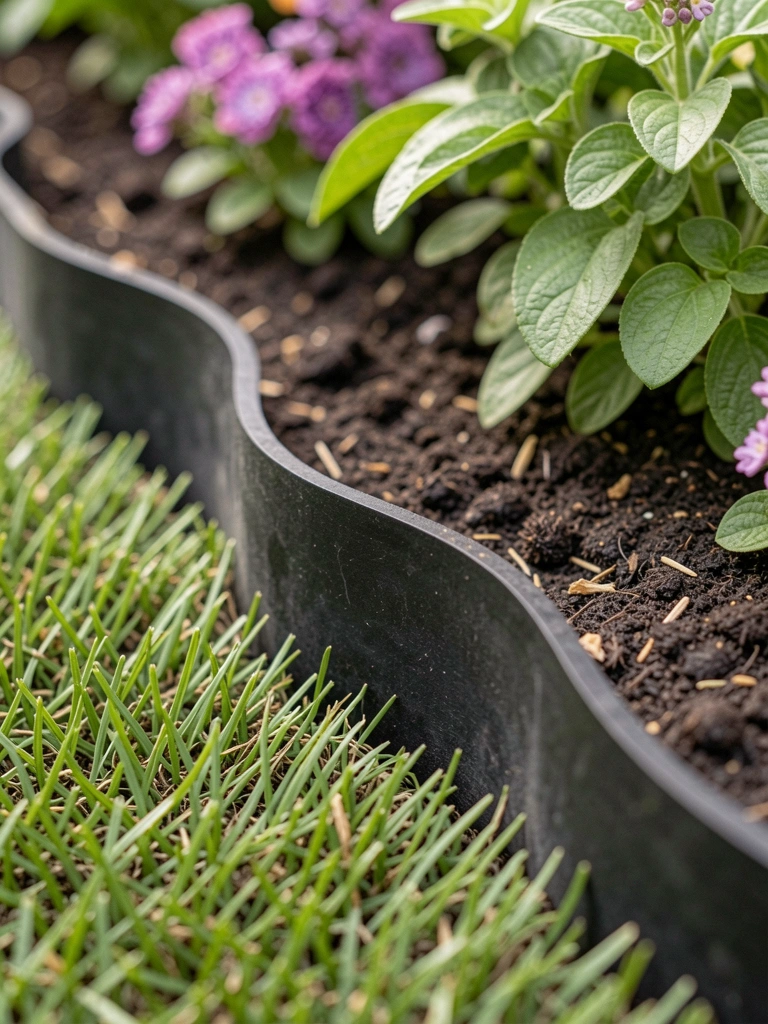
    11. Flexible Rubber Edging for Wavy Lines

    Wavy herb bed uses rubber. Bends easy, grips soil.

    Over bent—cracked. Soften in hot water first. Flows smooth.

    Soft modern, plants hug close.

    What You’ll Need for This Look

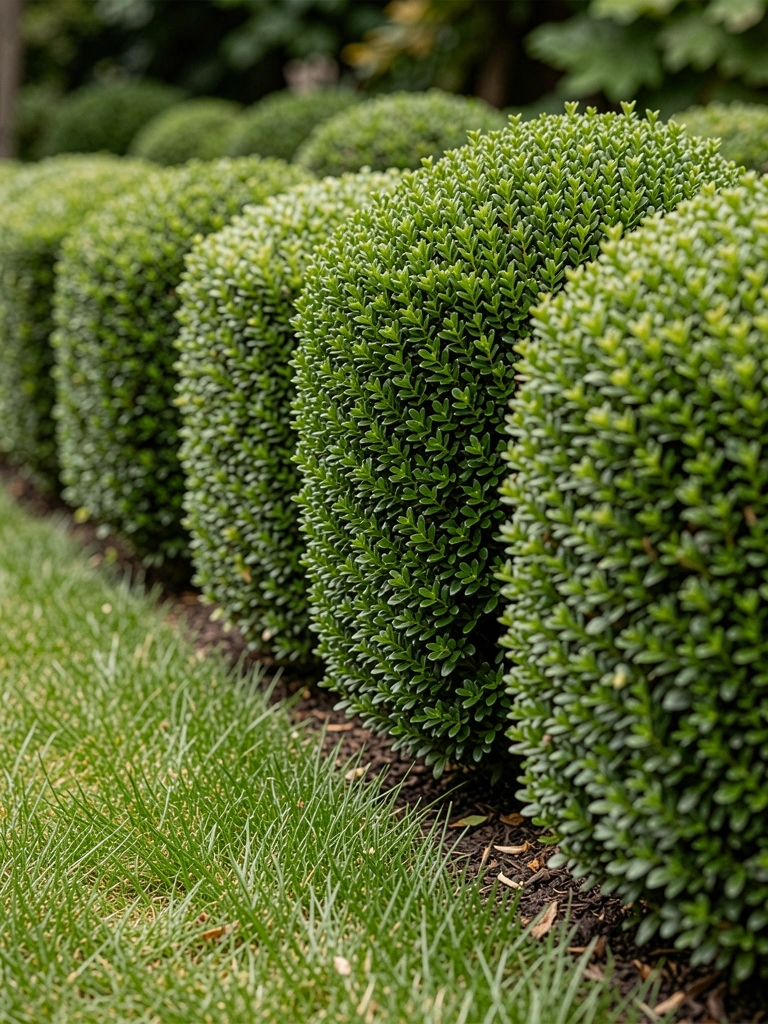
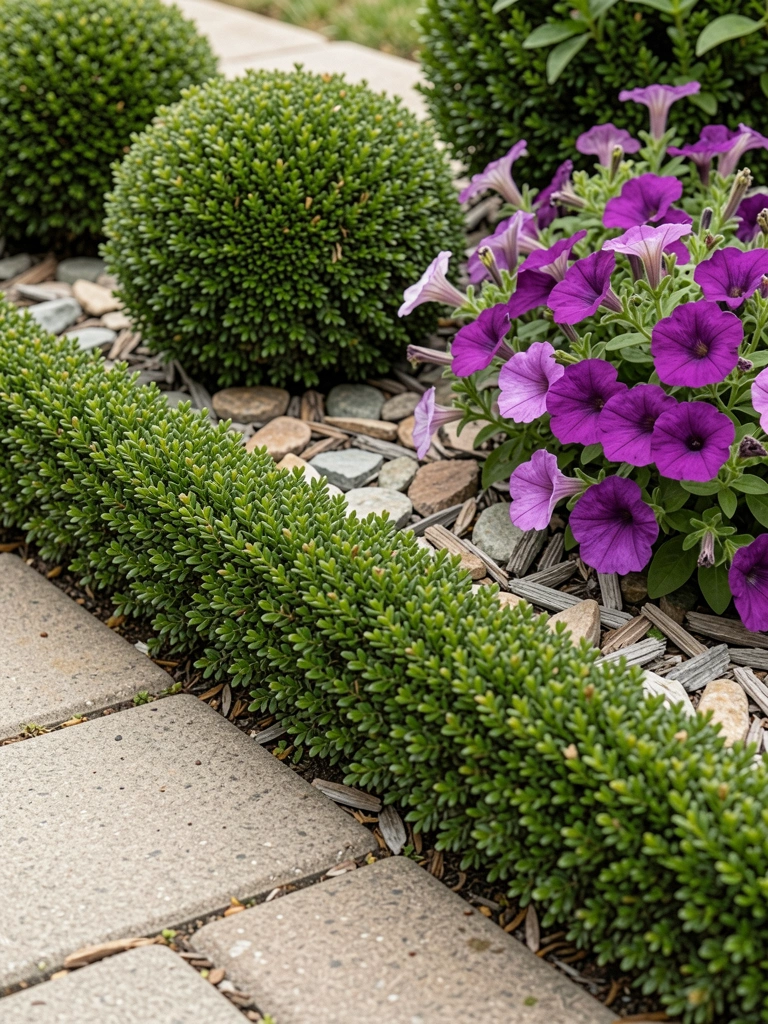
    12. Low Boxwood Trim for Living Green Edge

    Boxwoods line my walkway grass. Trim twice yearly, living wall.

    Grew wild first—mess. Prune early, feed light. Neat frame.

    Softens yard, smells fresh.

    What You’ll Need for This Look

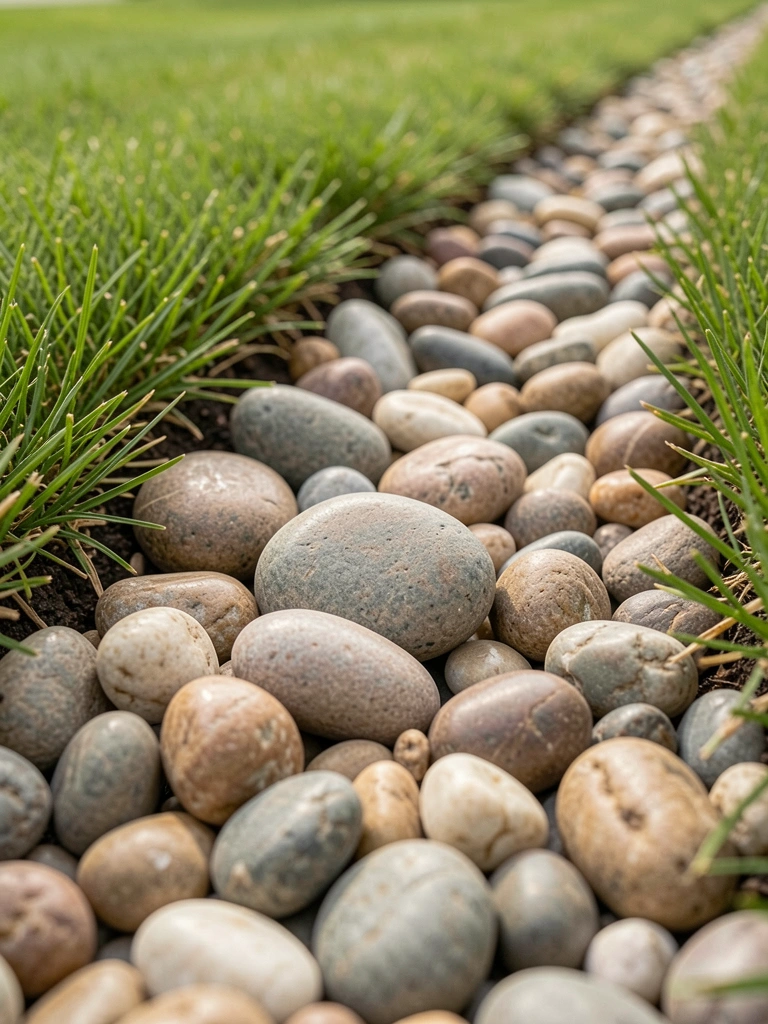
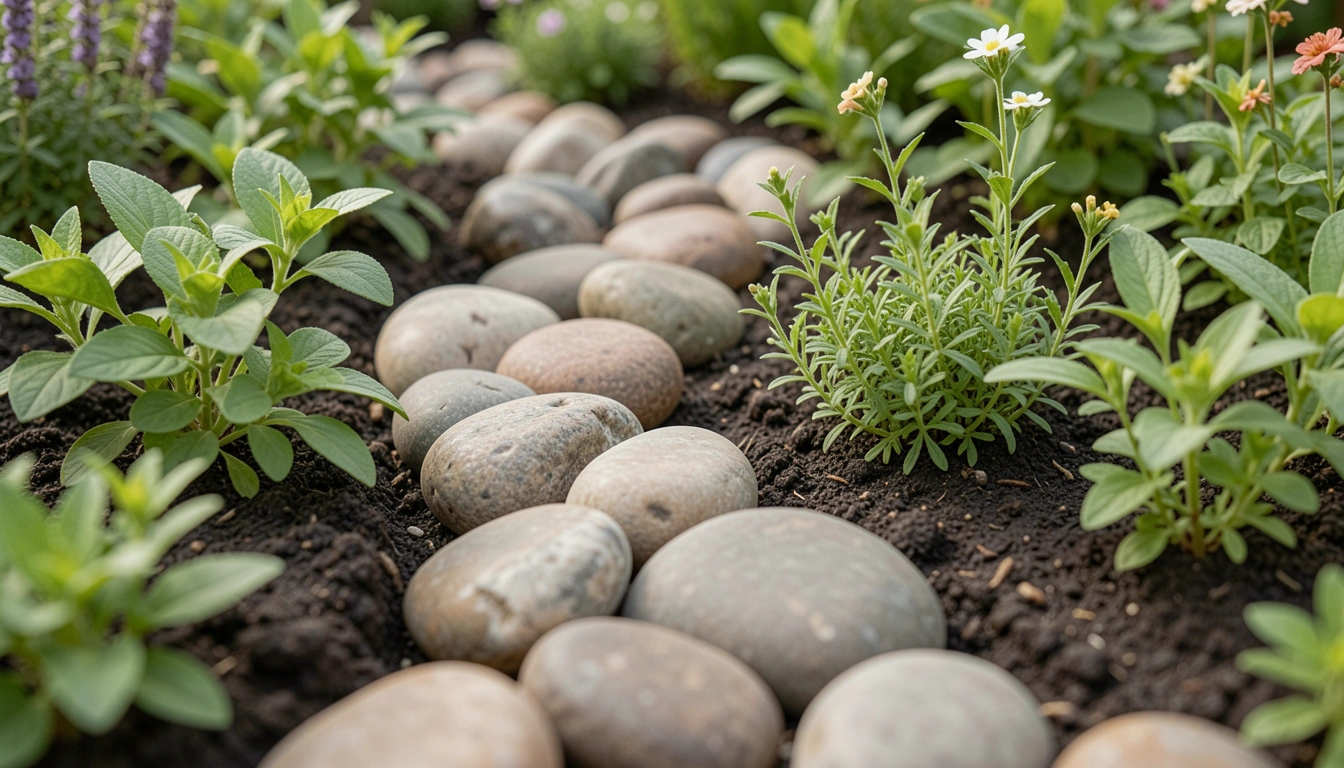
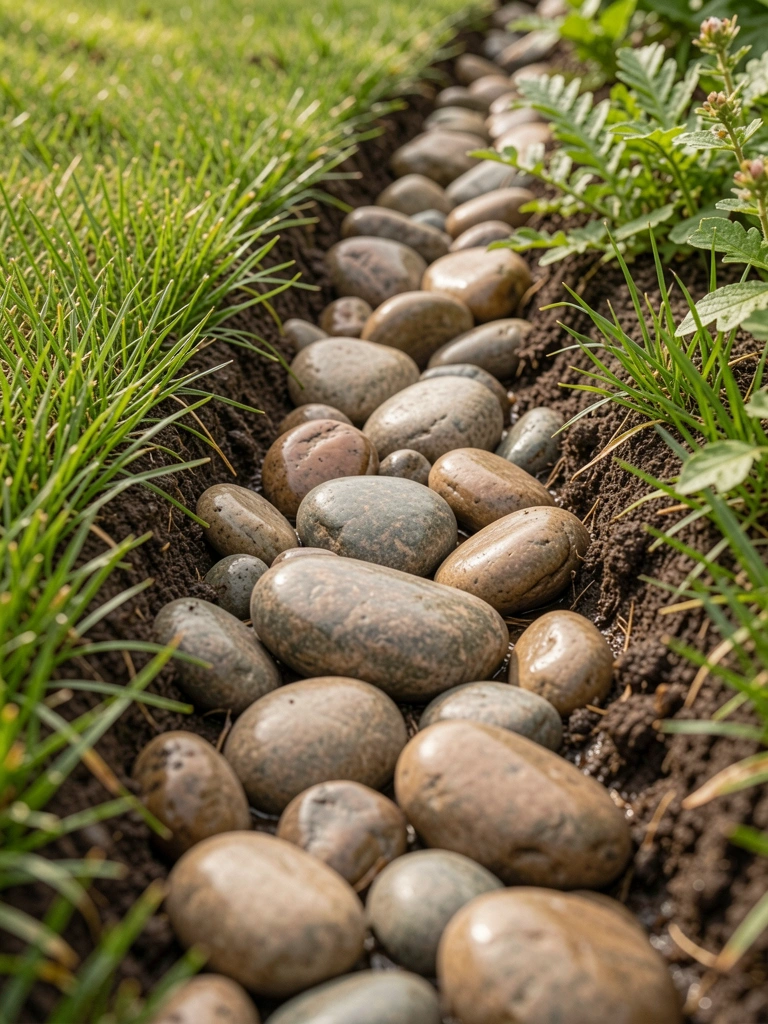
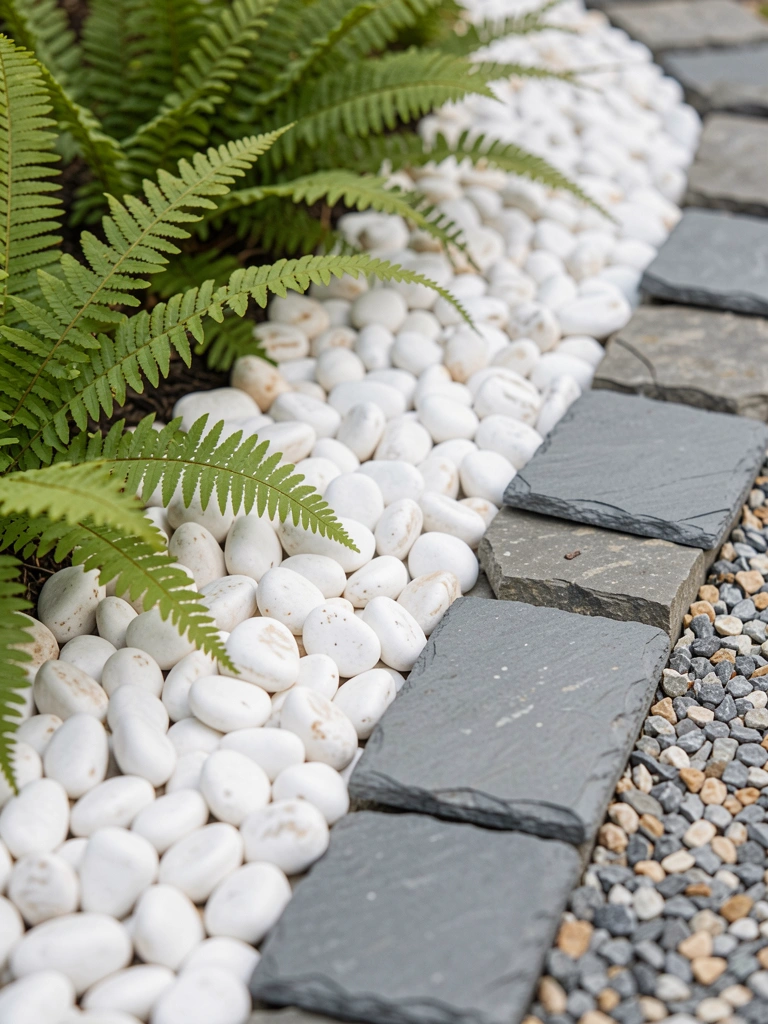
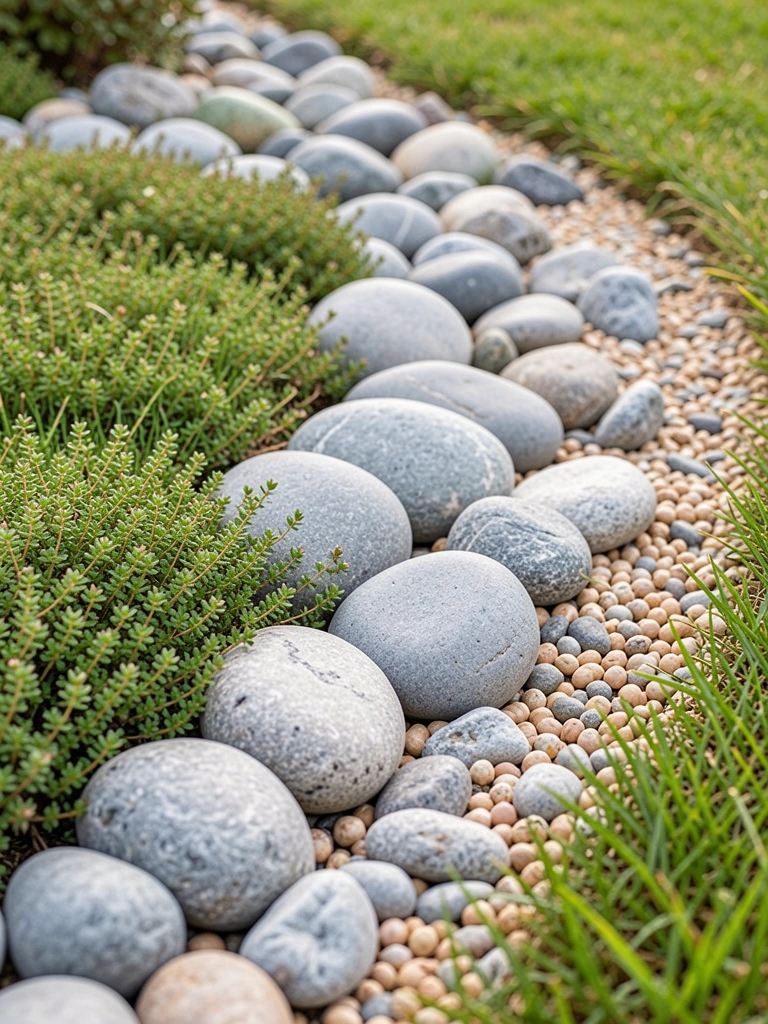
    13. River Rocks in a Dug Trench Line

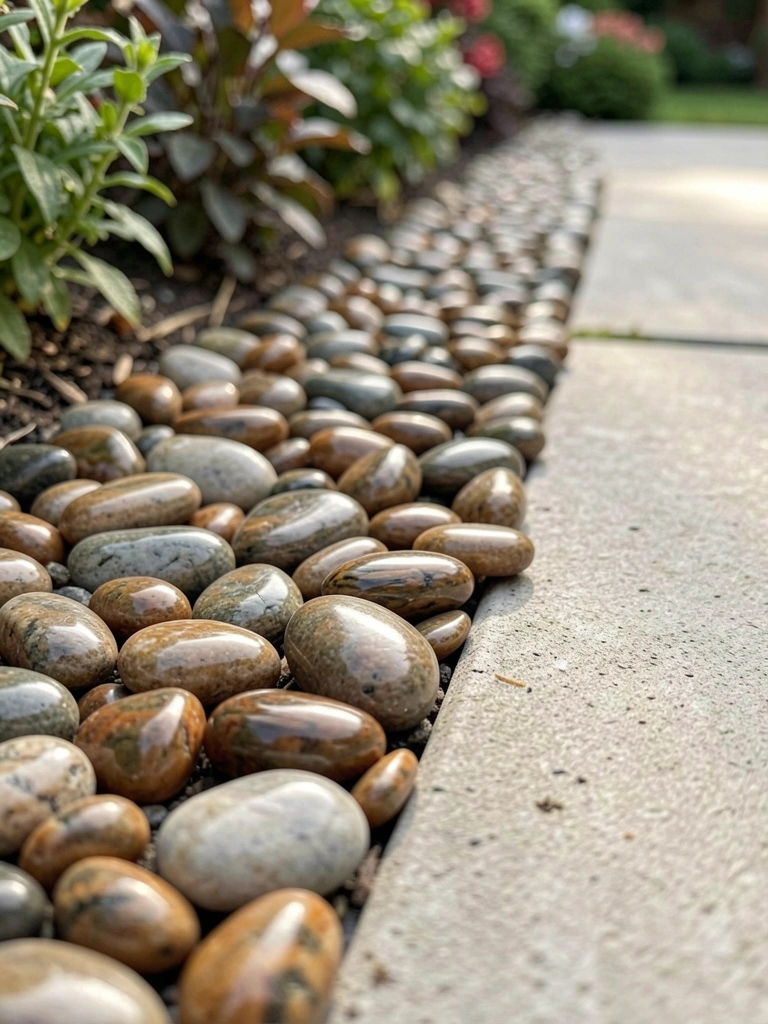
    Trench rocks edge my play area. Smooth underfoot, holds firm.

    Mixed sizes—uneven. Sort small now, tamp down. Flows nice.

    Natural tidy, barefoot safe.

    What You’ll Need for This Look

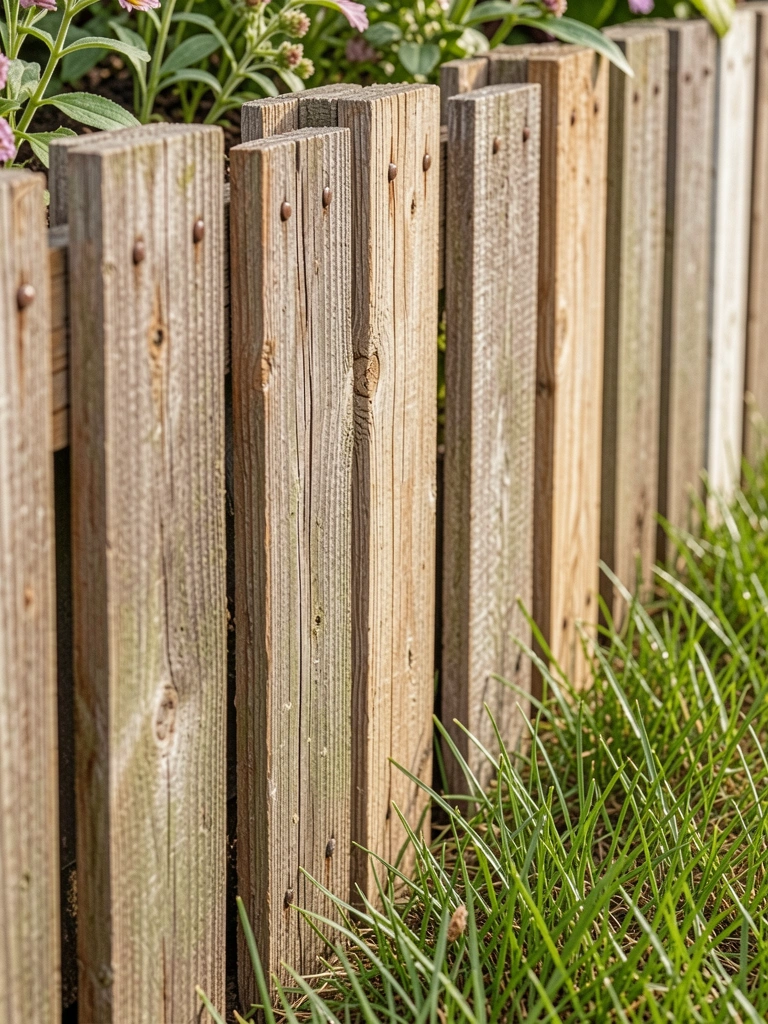
    14. Pallet Wood Slats for Budget Wood Look

    Pallet slats vertical along fence lawn. Cheap rustic hold.

    Splintered first—sand now. Nail stout, bury base. Weathers cozy.

    Yard feels homemade, saved cash.

    What You’ll Need for This Look

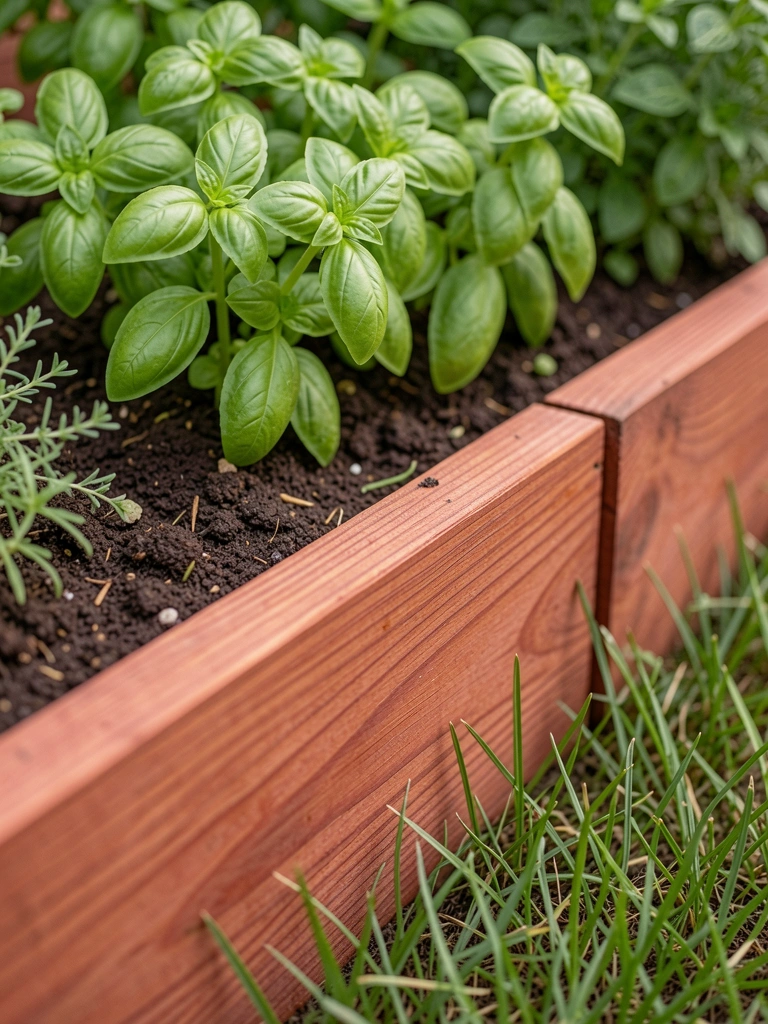
    15. Herb Mix Border for Edible Tidy Line

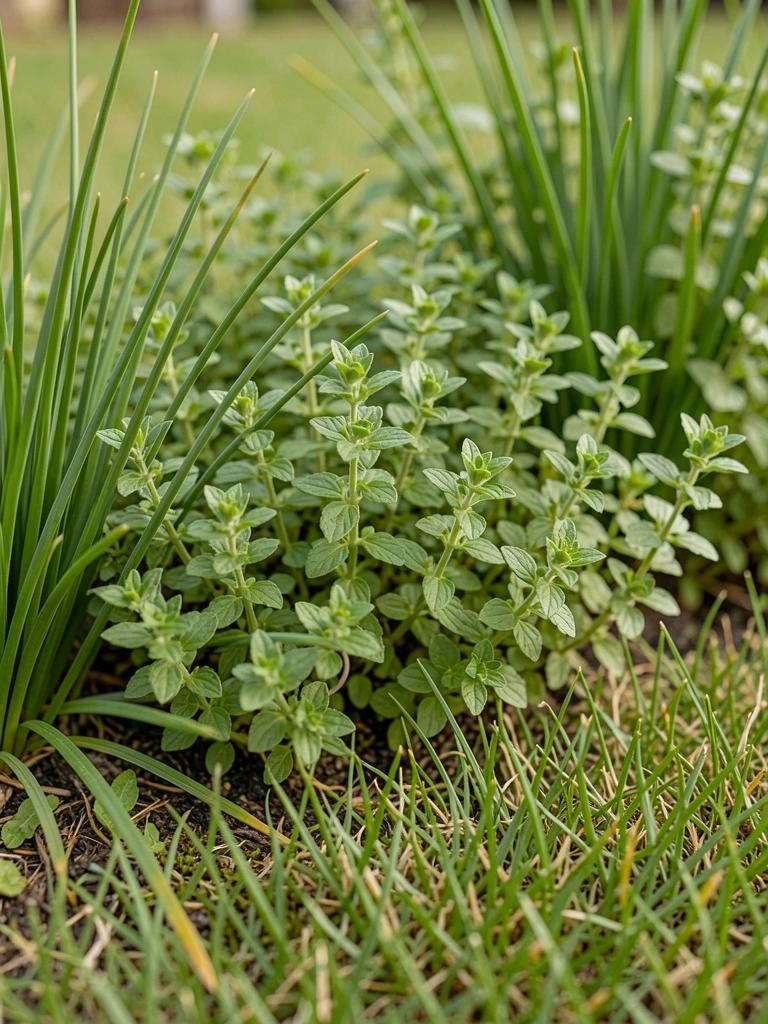
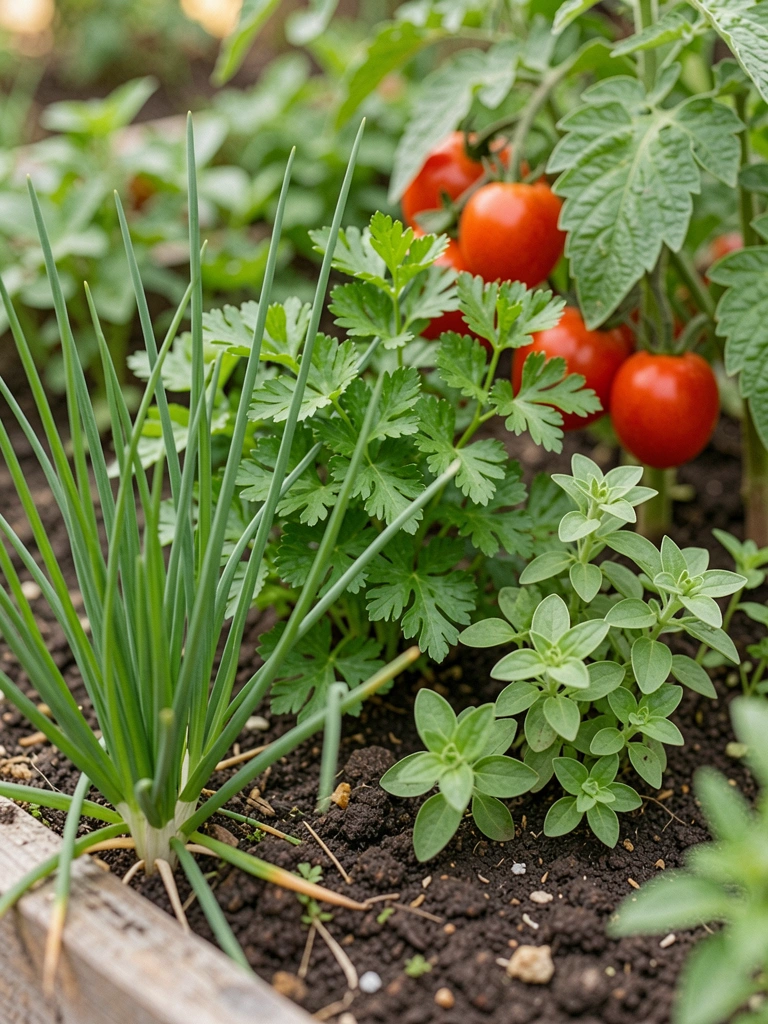
    Thyme and chives edge my grill area grass. Pick as you go, fills gaps.

    Bolted in heat once—shade cloth. Plant tough ones, shear back. Eats well.

    Functional frame, yard works for you.

    What You’ll Need for This Look

    Final Thoughts

    One edge at a time changes everything. My yard tidied slow, no rush.

    Yours can too. Grab what fits your spot, dig in. It'll hold, feel right.

    You've got this.

  • 7 Raised Bed Edging Ideas That Work

    7 Raised Bed Edging Ideas That Work

    I still remember the first summer my raised beds turned into a weed jungle at the edges. Dirt everywhere, grass creeping in. It felt chaotic.

    One weekend, I grabbed some stones from the yard and lined them up. The beds finally breathed. Edges sharp, but soft with plants.

    That simple fix changed how I garden. No more fighting the mess. Just calm rows of veggies.

    7 Raised Bed Edging Ideas That Work

    These 7 raised bed edging ideas come from my own yard trials. They hold up to real weather and foot traffic. Pick one that fits your space.

    1. Stacked Fieldstone That Stays Put

    I hauled fieldstones from behind the shed to edge my herb bed. No mortar, just stacked tight. They sank a bit first year—lesson learned: dig a shallow trench first.

    Now, the stones frame thyme and oregano perfectly. Rain hits, but nothing shifts. Visually, it grounds the bed, makes veggies pop against the rough texture.

    Pay attention to stone size—fist-sized ones interlock best. In my garden, it cut weeding by half.

    Tuck creeping thyme in the gaps. It softens everything, smells great when you brush by.

    What You’ll Need for This Look

    Fieldstone border stones (medium size)

    Creeping thyme plants (4 inch pots)

    Landscape fabric pins (6 inch galvanized)

    2. Cedar Log Rounds for a Woodsy Frame

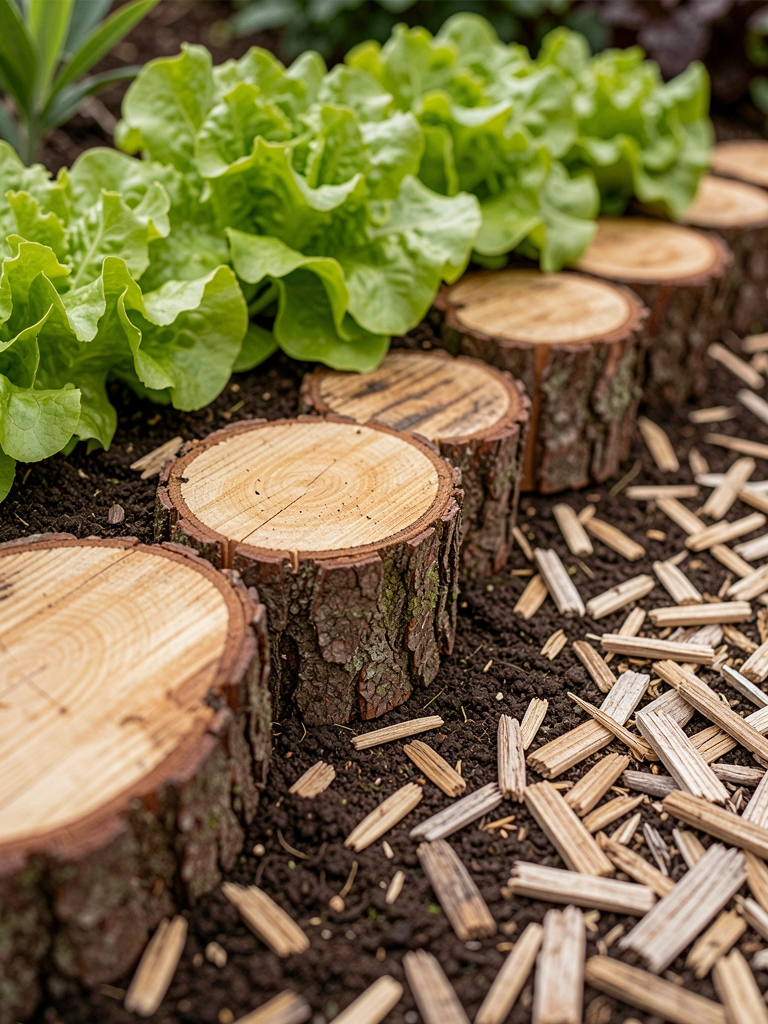
    Cedar logs from a neighbor's tree became my go-to for the flower bed edge. I cut them into rounds, buried half deep. They rotted faster than expected at first—too shallow.

    Now, three years in, they hold firm, warm cedar scent lingers. The rounds give a cozy, forest feel. Flowers spill over without mess.

    Bury them level with soil. Watch for termites in damp spots; mine stayed dry.

    It makes the bed feel intentional, not fussy.

    What You’ll Need for This Look

    Cedar landscape timbers (4x4x8 foot)

    Hand saw for logs (14 inch blade)

    Bark mulch bag (2 cubic feet)

    3. Corten Steel Strips for Straight Clean Edges

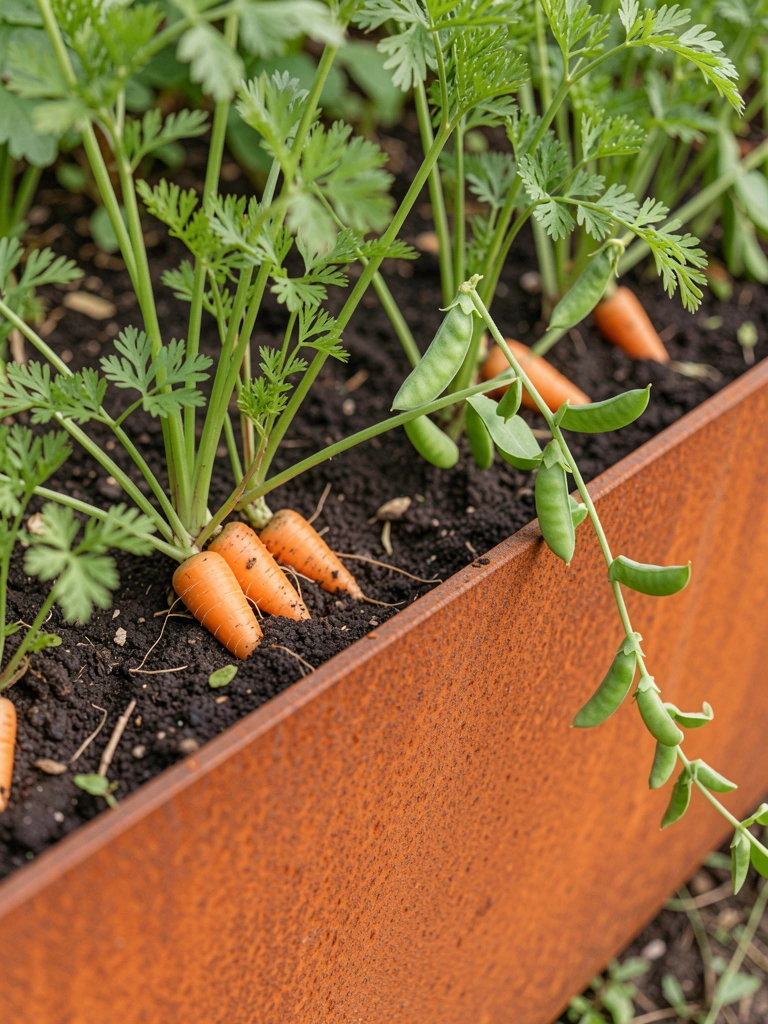
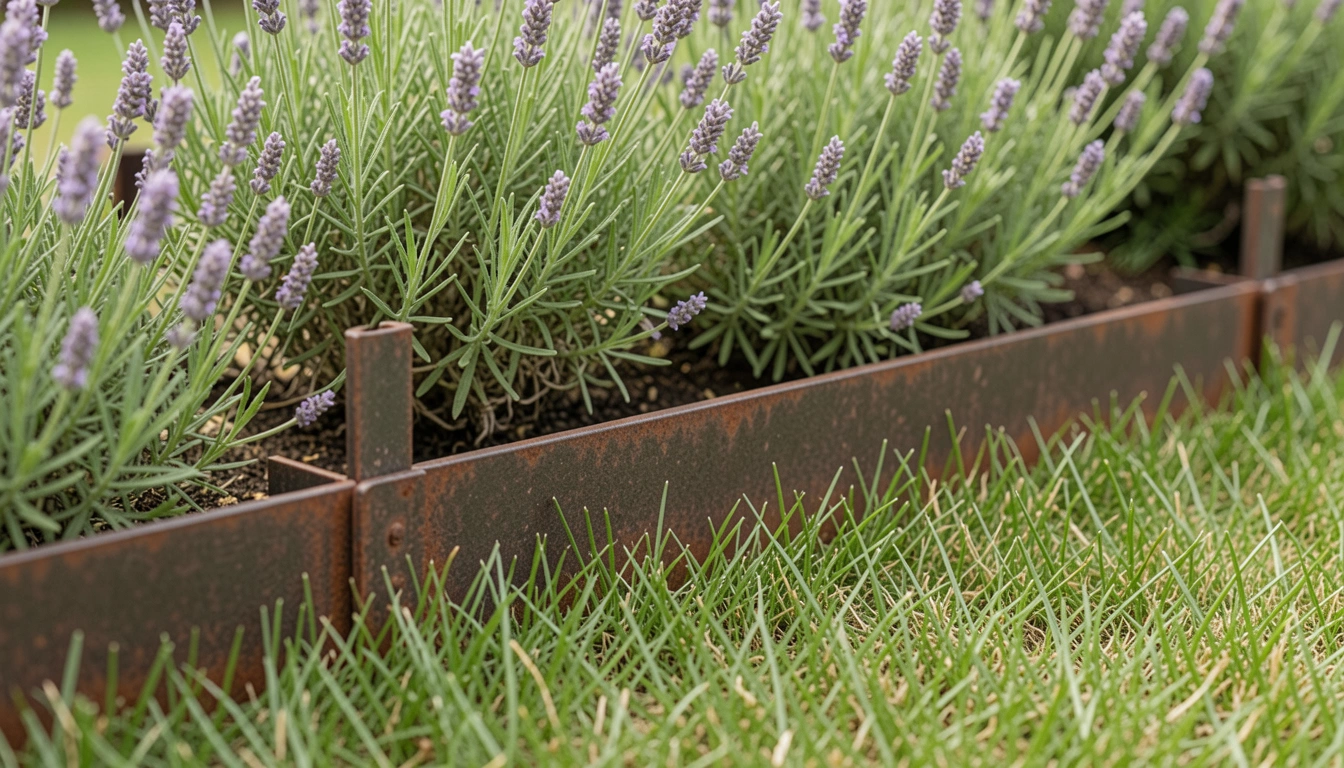
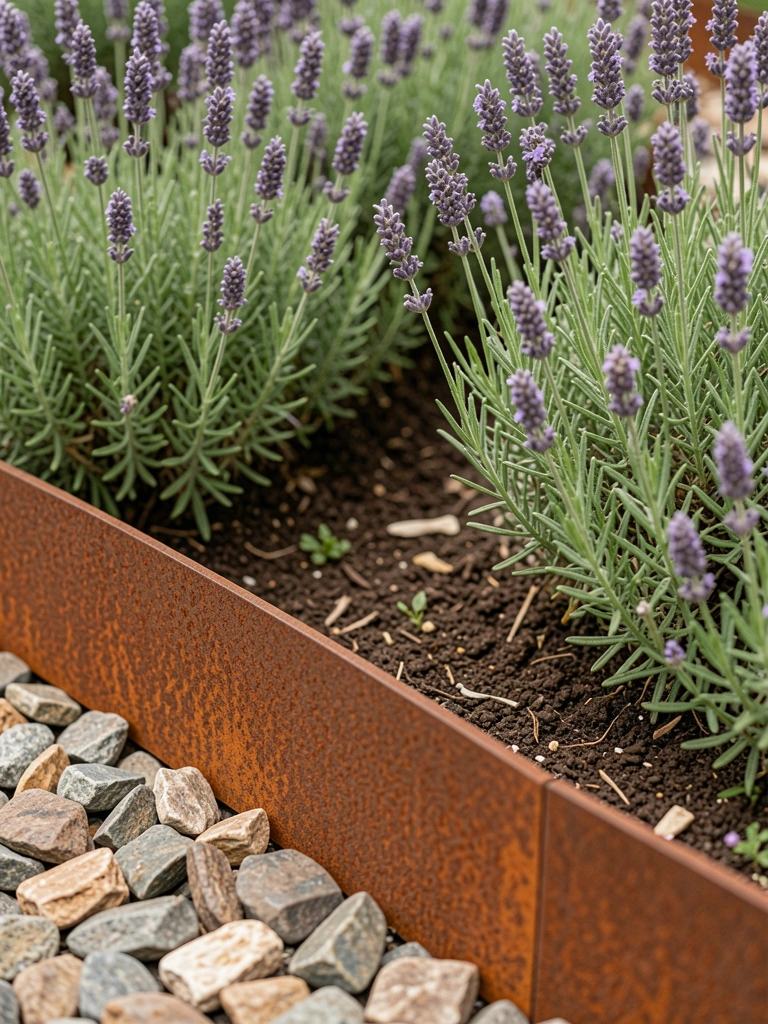
    Corten steel strips gave my veggie beds sharp lines. Hammered them in along the sides. First winter, frost heaved one spot—stake deeper next time.

    The rust patina blends with soil now, modern but not cold. Carrots and peas grow right up to it, no grass invasion.

    Level the ground first. It lasts forever, cuts maintenance.

    Feels clean, lets plants shine.

    What You’ll Need for This Look

    Corten steel landscape edging (12 inch height)

    Rubber mallet (16 oz head)

    Steel edging stakes (12 inch galvanized)

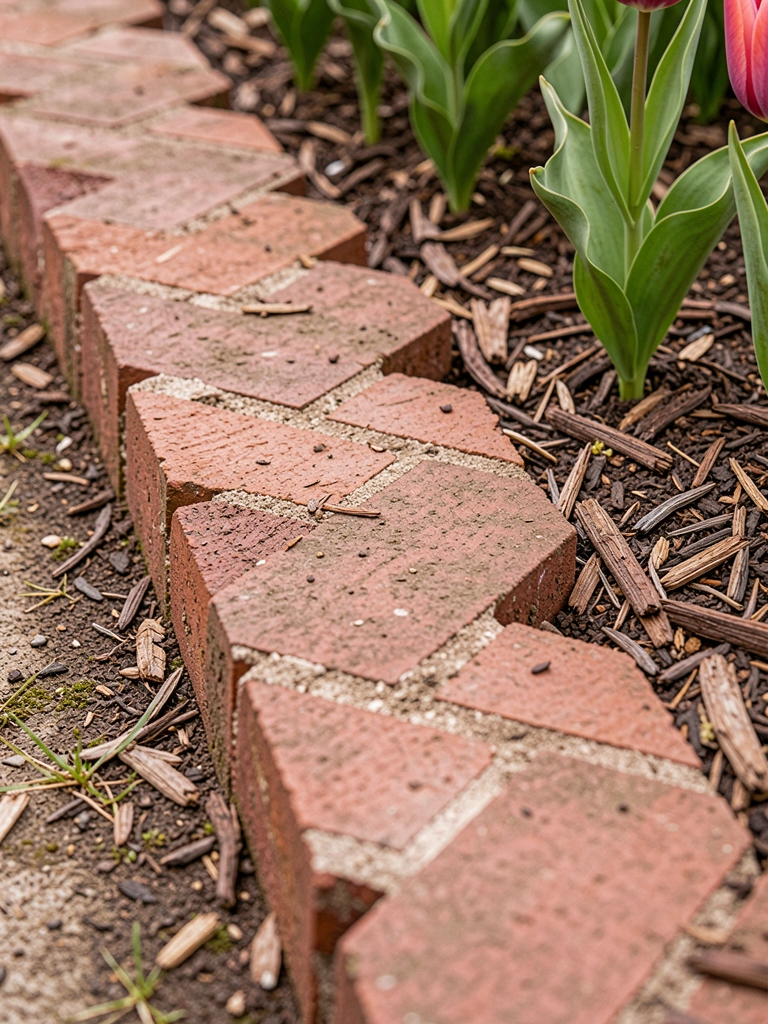
    4. Brick Pavers in a Zigzag Pattern

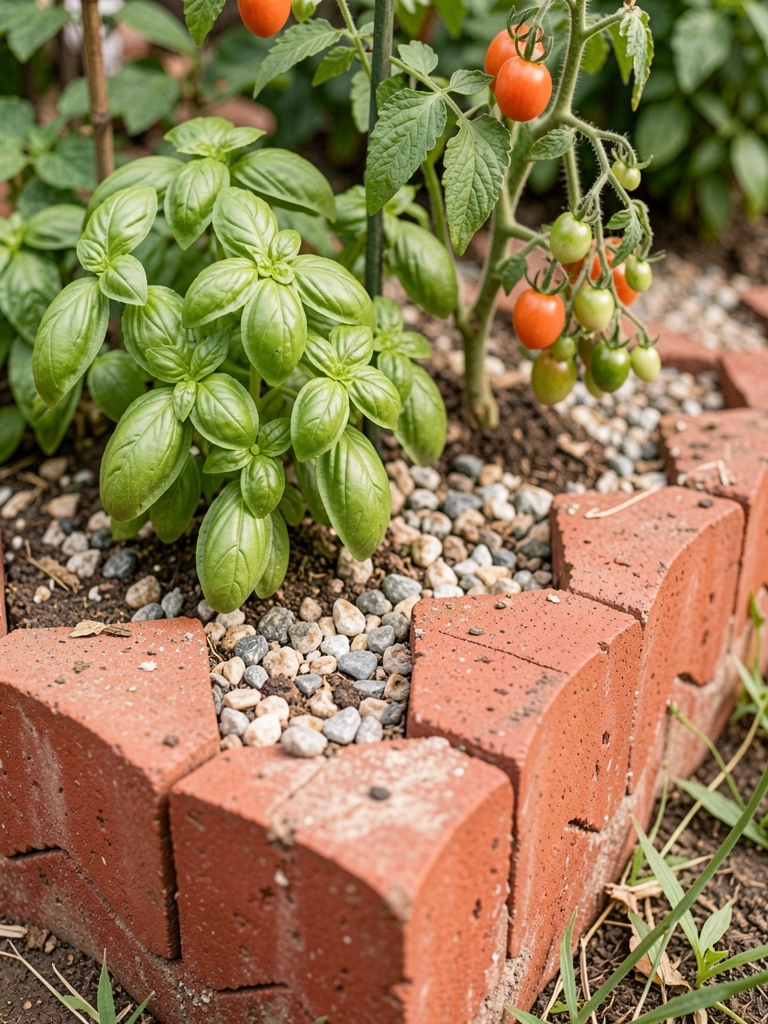
    Old bricks from a torn-up path edged my tomato bed in zigzags. Set them on sand base. Weeds pushed through gaps year one—add gravel topper.

    Now, it curves nicely, bricks warm in sun. Herbs tuck between, cozy feel.

    Sand base keeps them stable. Follow your bed's shape.

    Zigzags add movement without effort.

    What You’ll Need for This Look

    Reclaimed brick pavers (4×8 inch)

    All-purpose sand bag (50 lb)

    Pea gravel bag (0.5 cubic feet)

    5. Low-Growing Lavender as Living Edge

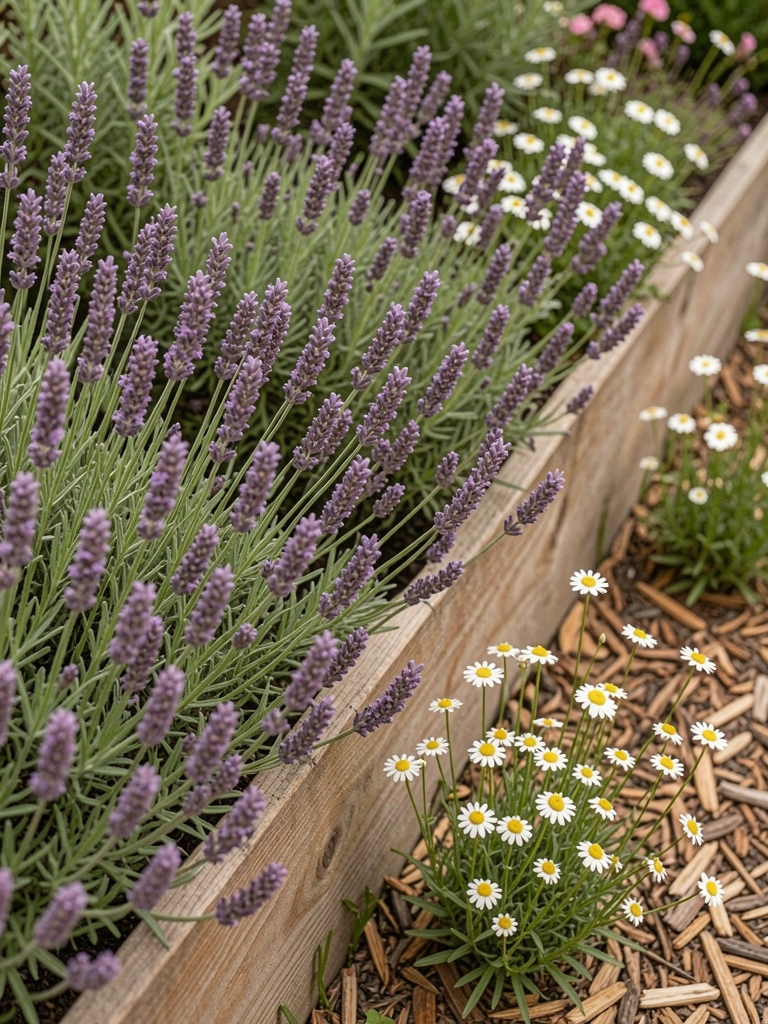
    Lavender plants line my salad bed edge now. Planted tight, 12 inches apart. They sprawled too wide first season—trim yearly.

    Blooms draw bees, scent the air. Soft purple against greens, no hard lines.

    Choose compact varieties. Mulch between to keep tidy.

    Living edge that works, smells alive.

    What You’ll Need for This Look

    English lavender plants (1 gallon pots)

    Organic mulch (cedar fines)

    Garden trimmer shears (8 inch)

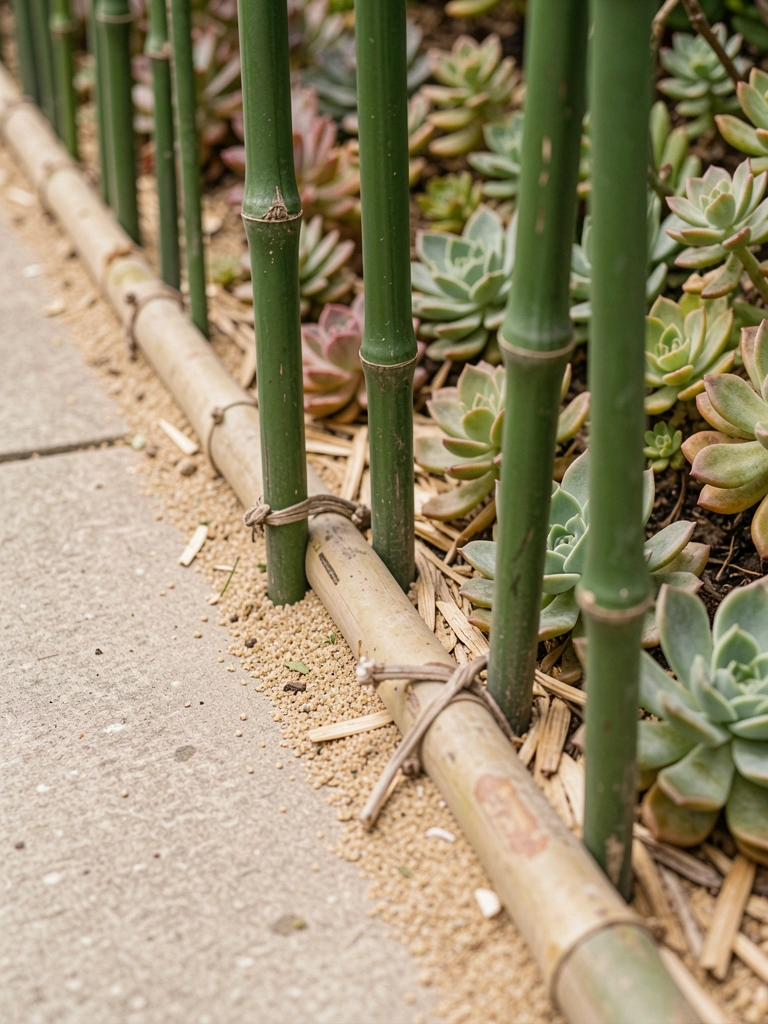
    6. Bamboo Stakes Woven Simple

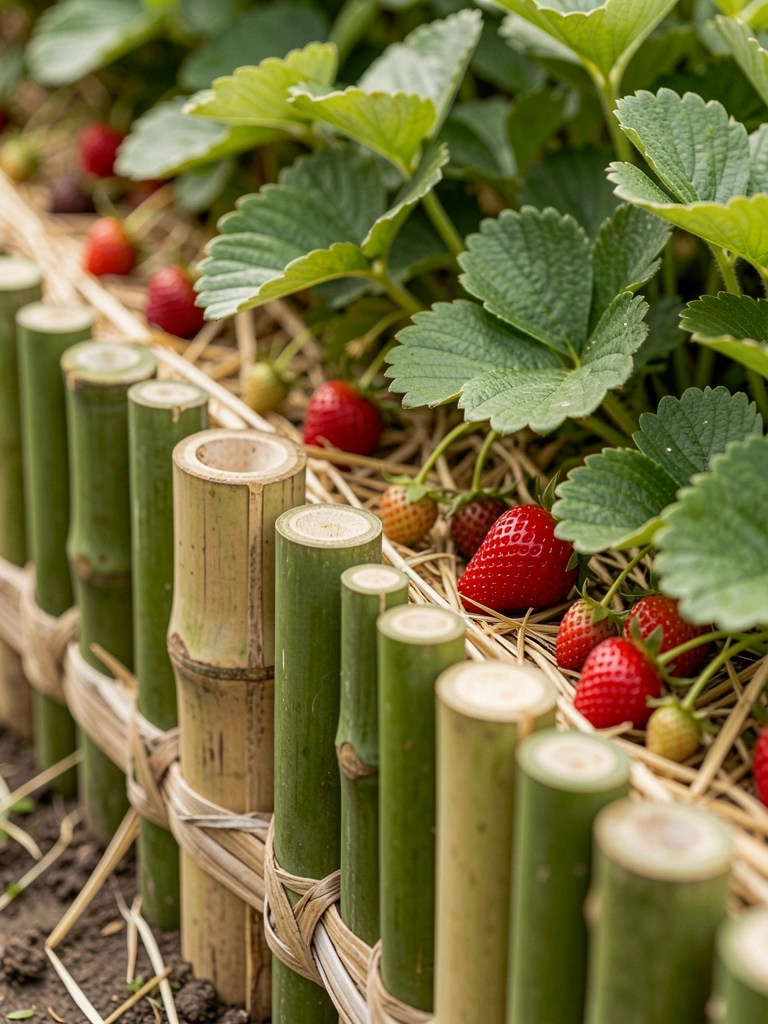
    Bamboo stakes woven into my berry bed edge. Soaked them first to bend easy. Wind knocked a few loose—tie tighter.

    Light and airy, lets berries peek through. Natural fade over time.

    Weave loose for drainage. Cheap, quick fix.

    Feels light, not heavy.

    What You’ll Need for This Look

    Bamboo garden stakes (3 foot length)

    Natural jute twine (100 foot spool)

    Straw mulch bales (mini size)

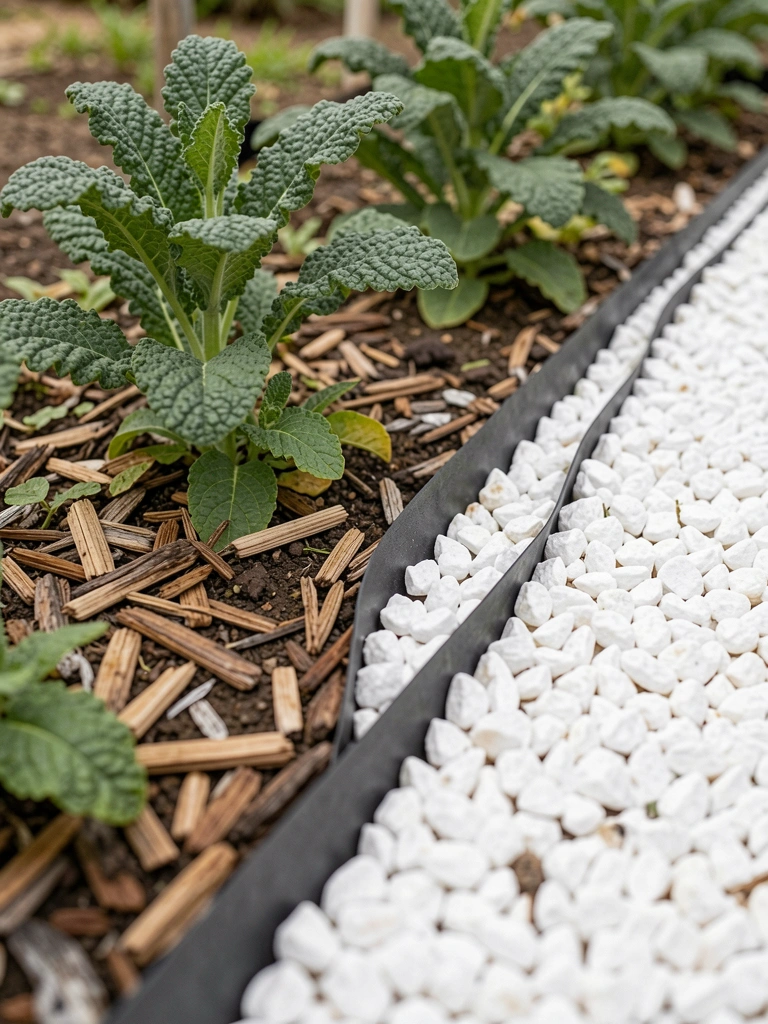
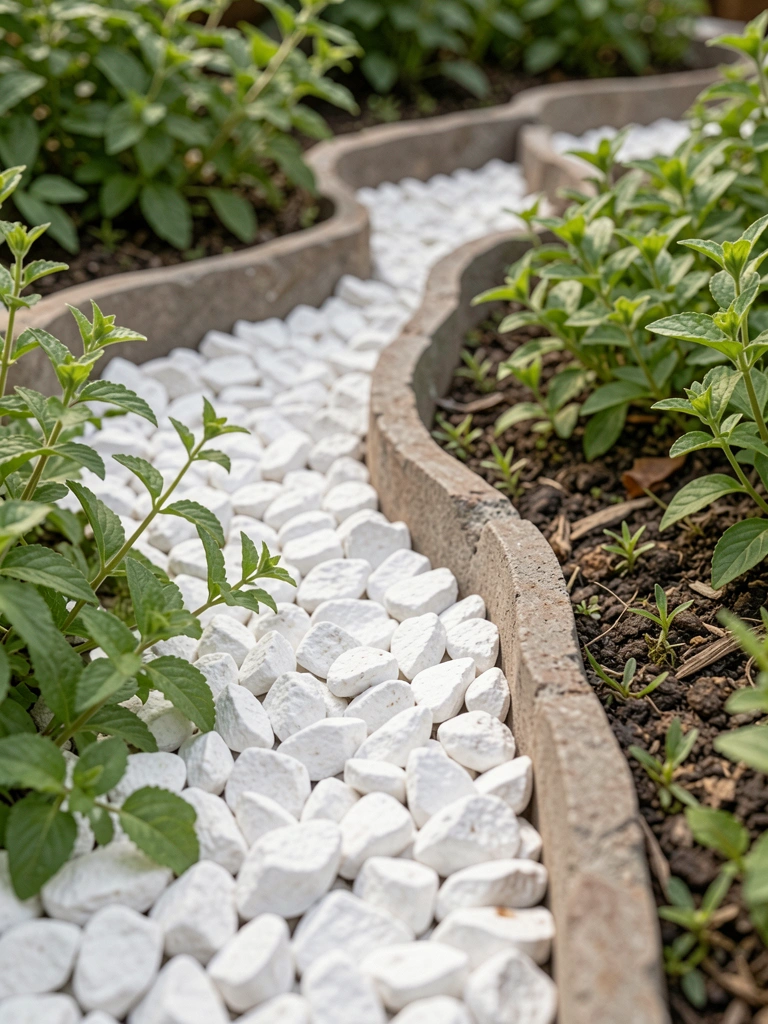
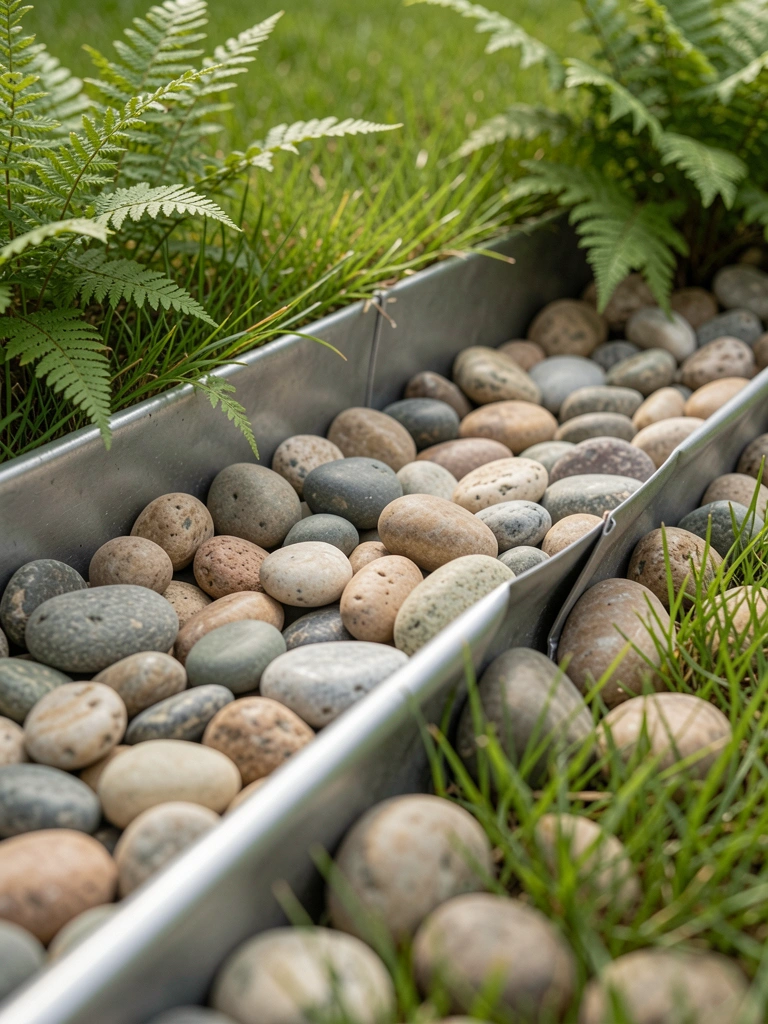
    7. Gravel Trench with Metal Liner

    Gravel trench with metal liner edges my kale bed. Dug 6 inches deep, lined bottom. Gravel shifted without liner first try.

    Crisp white gravel contrasts greens, easy to rake clean. Low profile.

    Line fully, fill level. Weeds hate it.

    Simple, always neat.

    What You’ll Need for This Look

    Galvanized metal edging (6 inch depth)

    Decorative gravel (white pea, 50 lb bag)

    Garden rake (14 tines)

    Final Thoughts

    Start with one idea that matches your yard. Mine evolved over years, not overnight.

    These edges saved my back from weeding fights. Yours will too.

    Grab what you need, dig in. You'll see the difference by next season.

  • 21 Wooden Garden Edging Ideas with Rustic Charm

    21 Wooden Garden Edging Ideas with Rustic Charm

    I remember the first time I edged my veggie patch with scrap wood. It looked neat at first, but weeds crept over the top. That's when I started hunting for wooden edges that hold up—ones that blend into the dirt like they grew there.

    Over years of trial and error, I've settled on simple wood setups that keep soil in place and make beds feel contained, cozy.

    These rustic touches turned my messy yard into something I actually enjoy walking through every morning.

    21 Wooden Garden Edging Ideas with Rustic Charm

    Here are 21 wooden garden edging ideas with rustic charm that I've gathered from my own gardens and neighbor swaps. They're practical, not fussy. You'll find exactly 21 to pick from—no overwhelm, just real options that work.

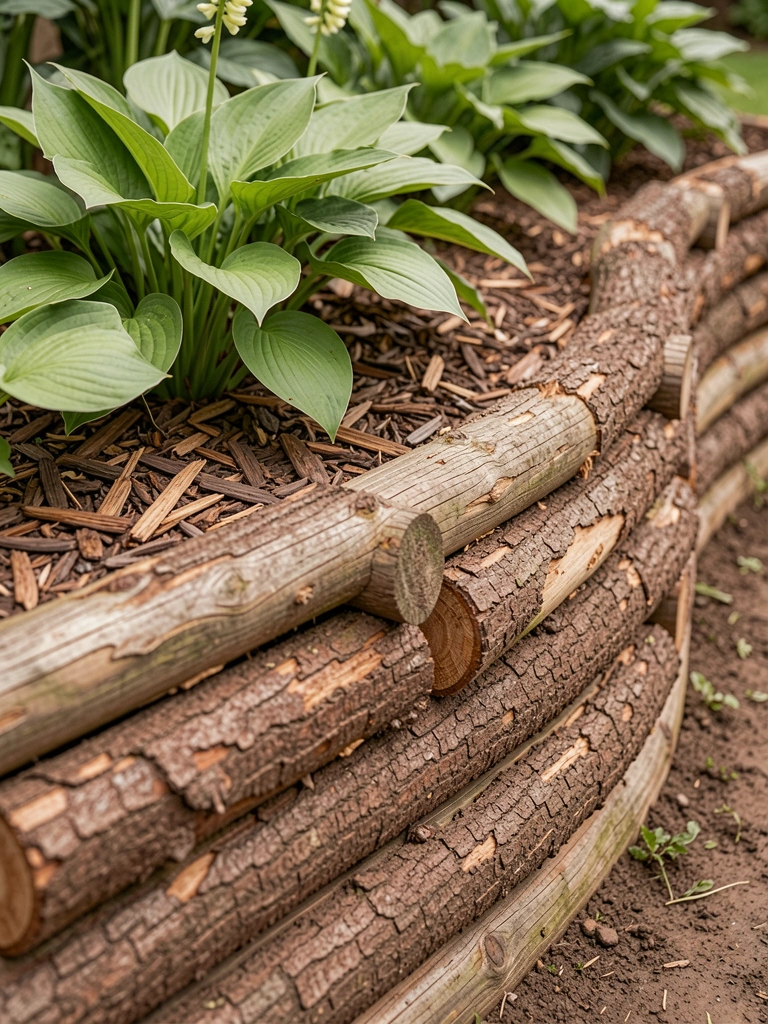
    1. Stacked Log Borders for Curvy Flower Beds

    I started with logs from a felled tree in my backyard. Stacked them low along my front flower bed to follow its natural curve. It kept the soil from spilling onto the lawn, and the bark added this earthy texture that makes the whole bed feel grounded.

    What I love is how the logs settle into the dirt over time, sprouting moss that matches the shade plants inside. No more straight lines fighting the bed's shape.

    Pay attention to log diameter—thicker ones (4-6 inches) stay put better than skinny branches. I buried the bottom layer halfway for stability.

    One tip: Seal ends with linseed oil if rain rots them fast in your spot.

    What You’ll Need for This Look

    [a href="https://www.amazon.com/s?k=landscape+timber+logs+4×4+natural&tag={{flowpinsystem-20}}">Landscape timber logs (4×4 inch, natural cedar)
    [a href="https://www.amazon.com/s?k=linseed+oil+for+wood+outdoor&tag={{flowpinsystem-20}}">Boiled linseed oil (quart size)
    [a href="https://www.amazon.com/s?k=garden+hosta+plants&tag={{flowpinsystem-20}}">Hosta plants (bare root pack)

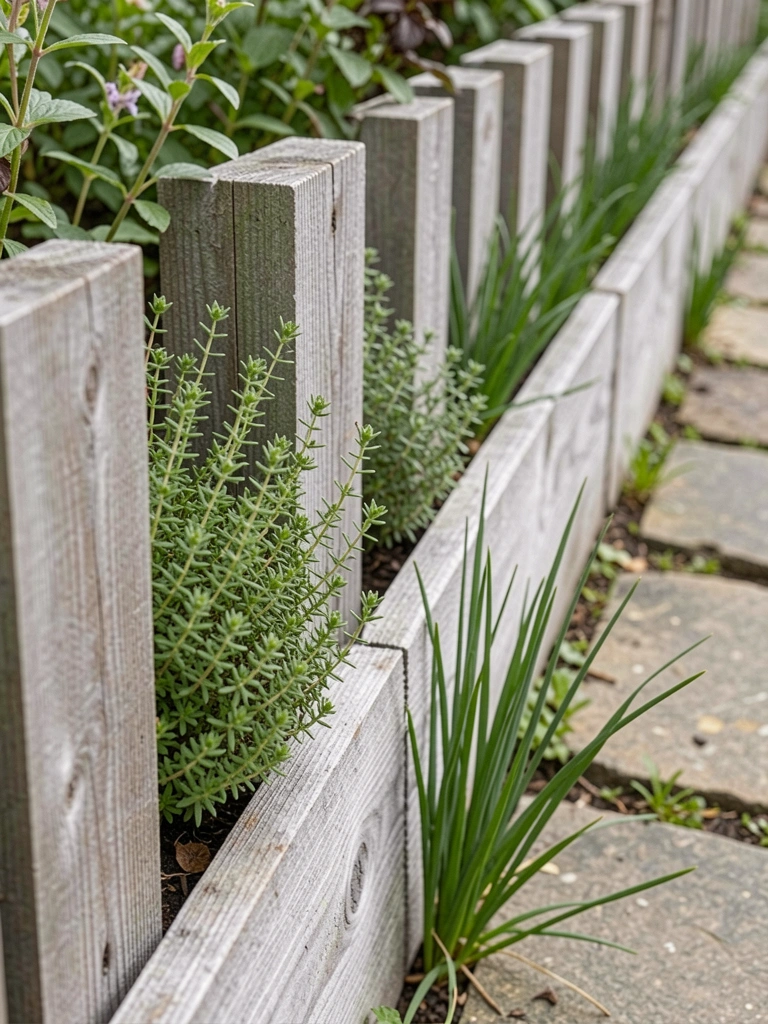
    2. Vertical Pallet Slats for Narrow Herb Strips

    Pallet wood was free from a neighbor's discard pile, so I cut slats and pounded them vertically into my herb strip. It boxed in the chives and thyme perfectly, stopping them from wandering into the grass.

    The slats weathered to a soft gray that picks up the stone path nearby. Feels like an old farm edge now.

    Drive them 12 inches deep or they'll lean. I forgot once, and a wheelbarrow nudged them over.

    Space them 6 inches apart for easy weeding between.

    What You’ll Need for This Look

    [a href="https://www.amazon.com/s?k=wooden+pallet+slats+outdoor&tag={{flowpinsystem-20}}">Reclaimed pallet wood slats (8 foot lengths)
    [a href="https://www.amazon.com/s?k=thyme+herb+plants&tag={{flowpinsystem-20}}">Thyme plant starters (4 pack)
    [a href="https://www.amazon.com/s?k=garden+sledgehammer&tag={{flowpinsystem-20}}">Small sledgehammer (2 lb head)

    3. Cedar Plank Layers for Raised Veggie Beds

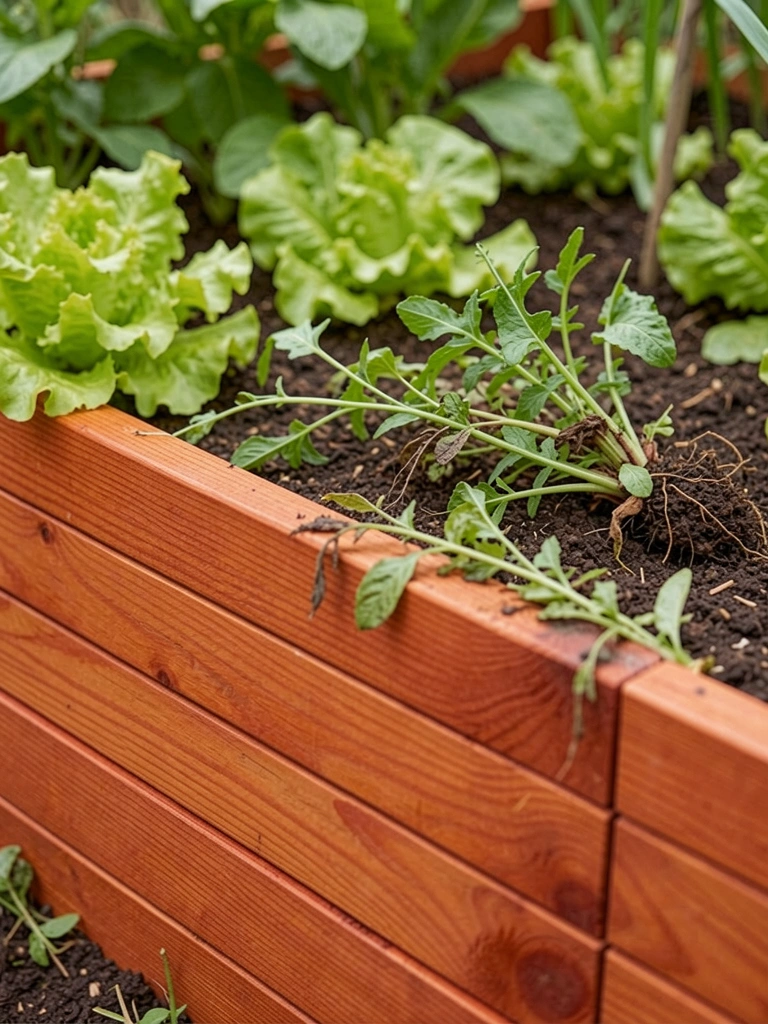
    I layered 1×6 cedar planks for my tomato bed after cheap plastic edging cracked. Two layers high kept dirt contained and made harvesting easier—no bending low.

    The cedar's warm red fades nicely, warming up the green veggies. Beds feel more intentional this way.

    Overlap ends and screw into stakes behind. I skipped stakes first time; it sagged.

    Great for slopes—holds back washouts.

    What You’ll Need for This Look

    Untreated cedar planks (1x6x8 feet)
    Galvanized wood stakes (24 inch)
    Exterior deck screws (3 inch, galvanized)

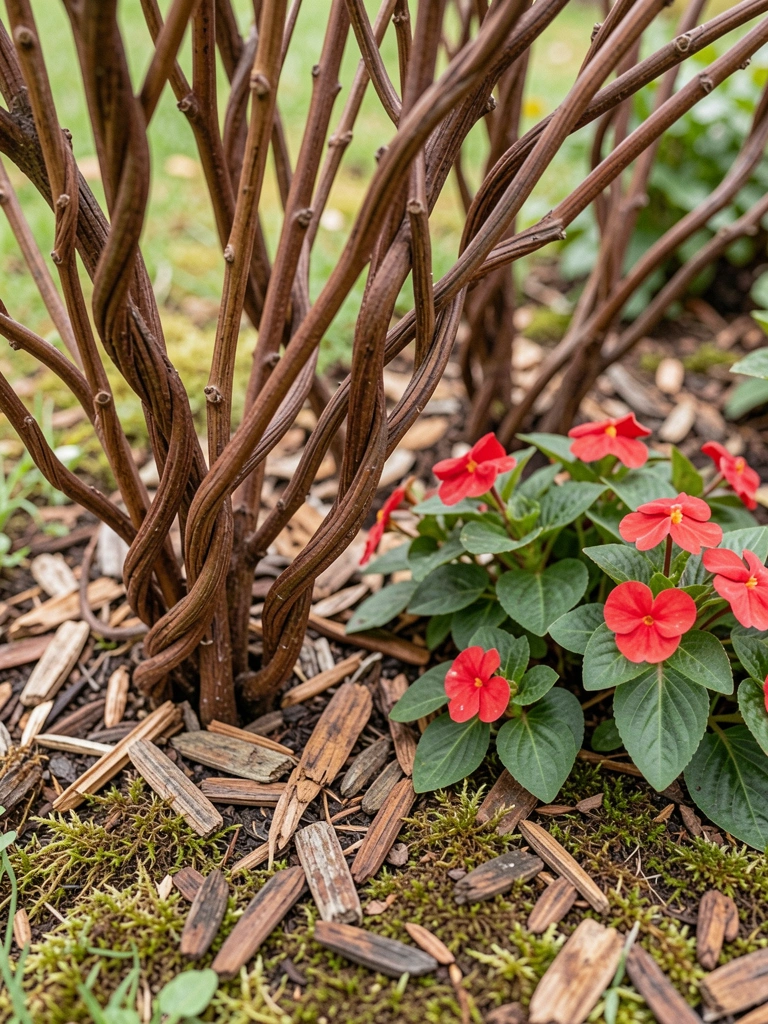
    4. Willow Woven Edges for Soft Meadow Borders

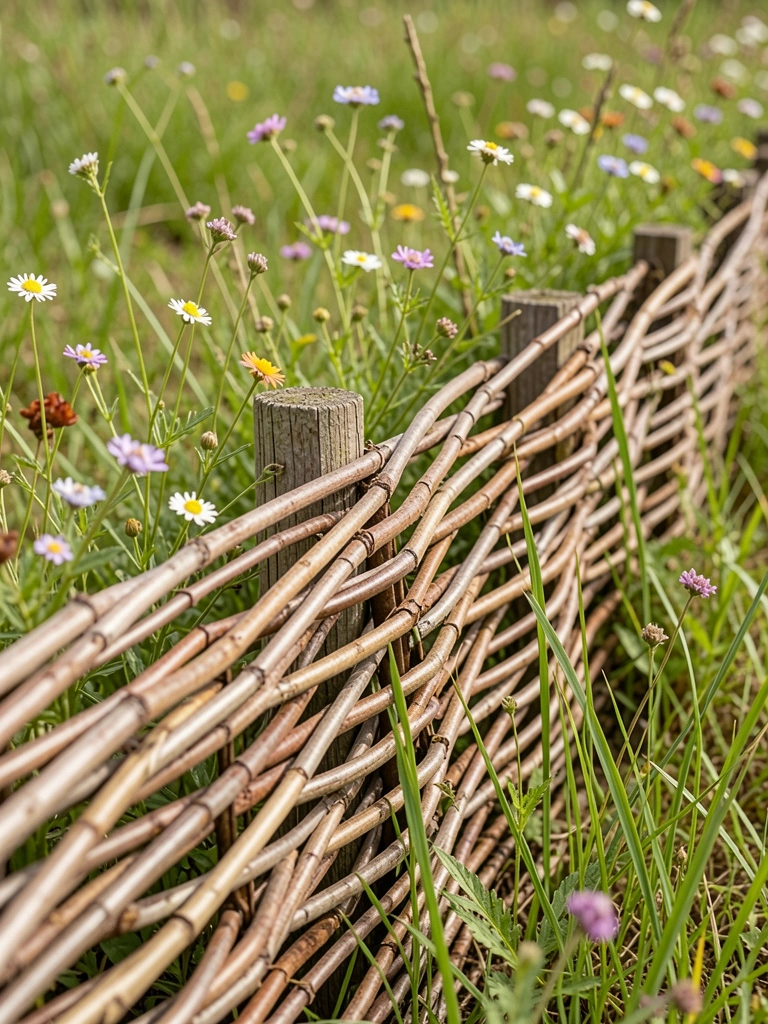
    Fresh willow whips from the riverbank—I wove them horizontally between upright stakes for my wildflower edge. It's flexible, hugging the meadow's irregular line.

    Gave a cottage feel without stiffness. Flowers spill over just right.

    Soak whips overnight first or they snap. Mine did on a dry day.

    Harvest local if you can; lasts longer.

    What You’ll Need for This Look

    Fresh willow branches (bundle of 10)
    Pointed wooden stakes (18 inch pack)
    Wildflower seed mix (perennial blend)

    5. Log Slice Circles for Tree Ring Planters

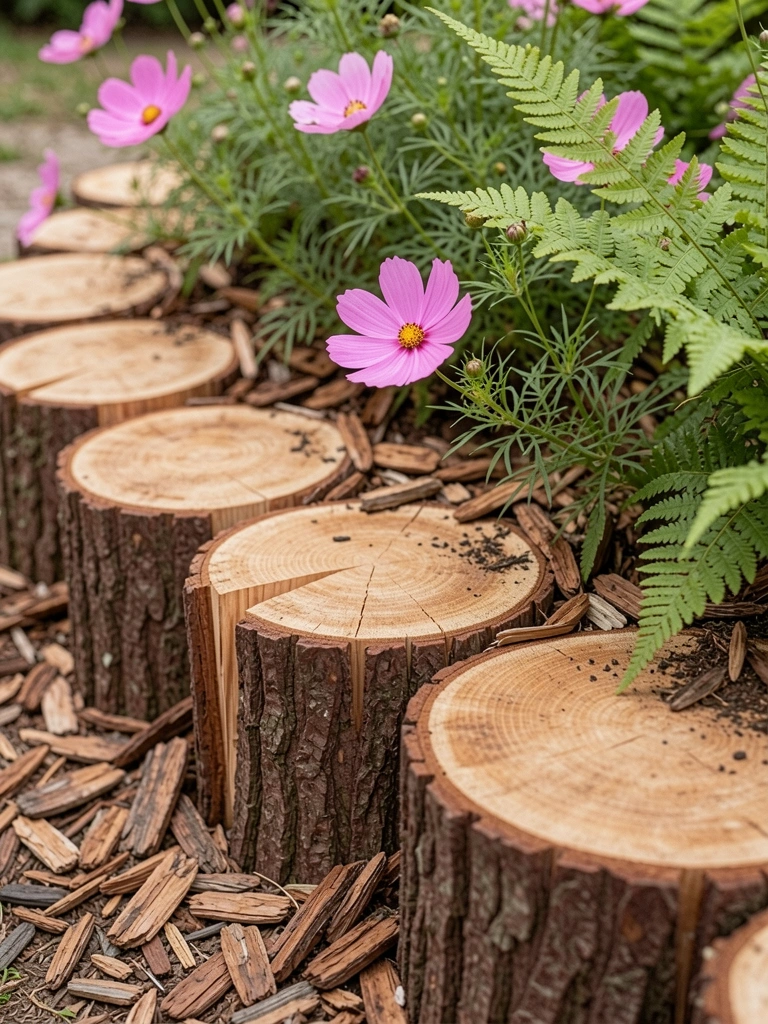
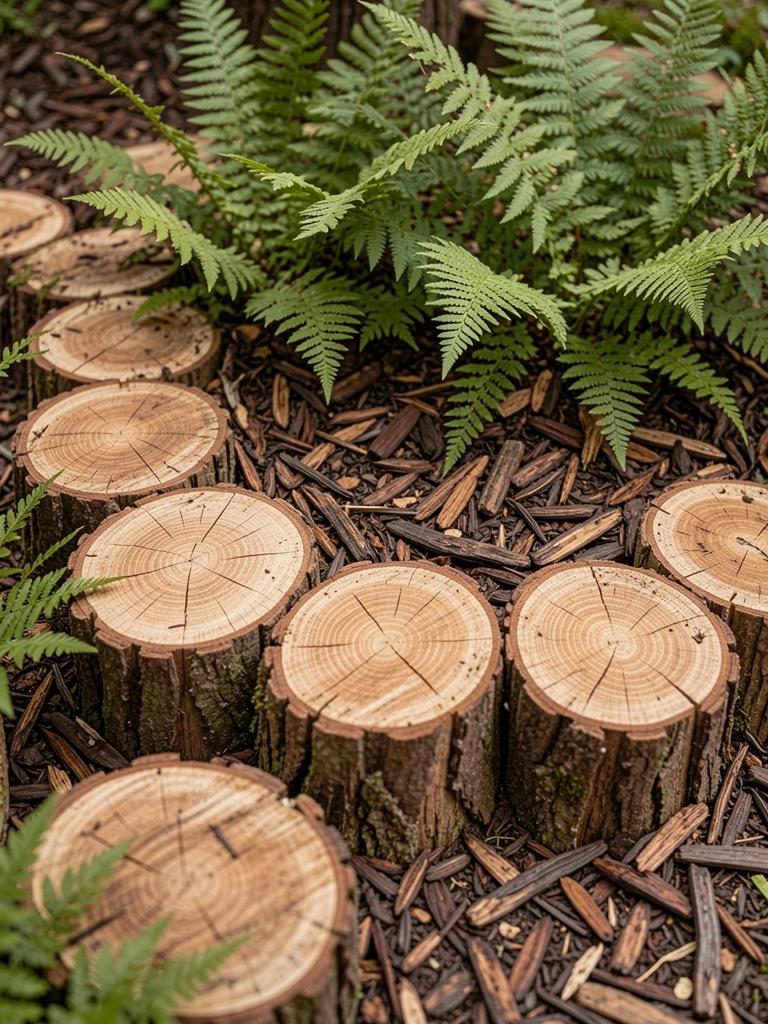
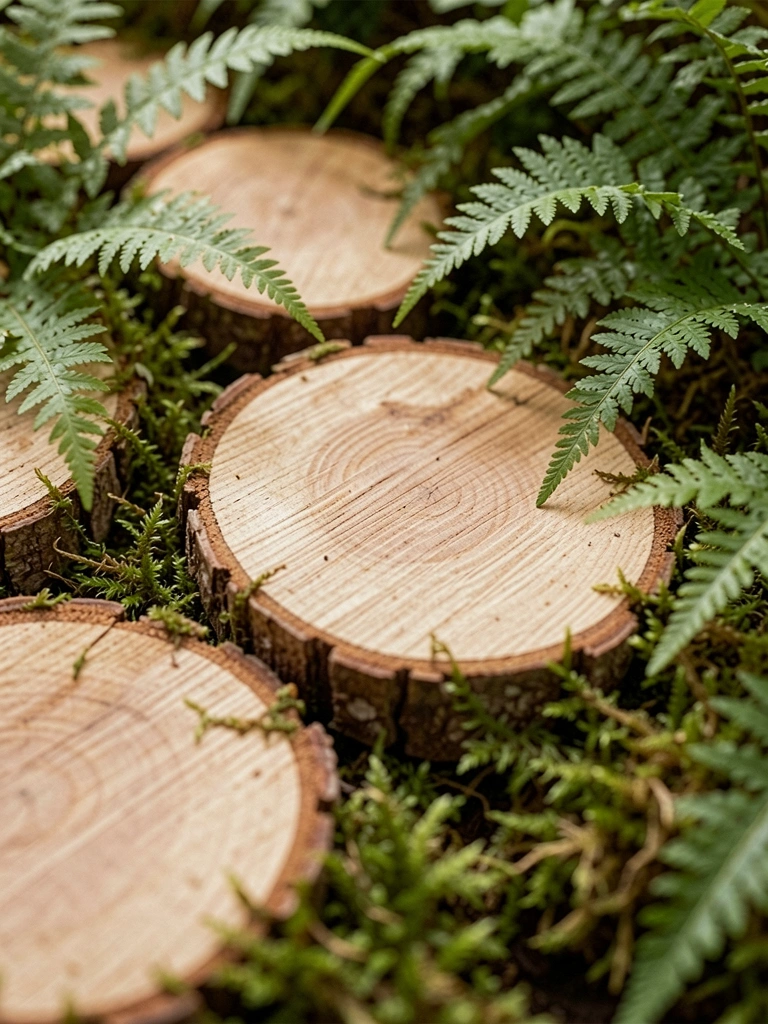
    Sliced old oak logs into 2-inch thick rounds and laid them flat around my birch tree. Perfect ring for ferns—no more grass invading the roots.

    The grain shows through rain, adding pattern. Feels forest-like right in my yard.

    Use a chainsaw for even slices; mine wobbled without.

    Level the ground first or gaps form.

    What You’ll Need for This Look

    14-inch chainsaw bar (for slicing logs)
    Fern plants (pack of 6)
    Landscape fabric pins (galvanized)

    6. Reclaimed Railway Sleeper Stacks

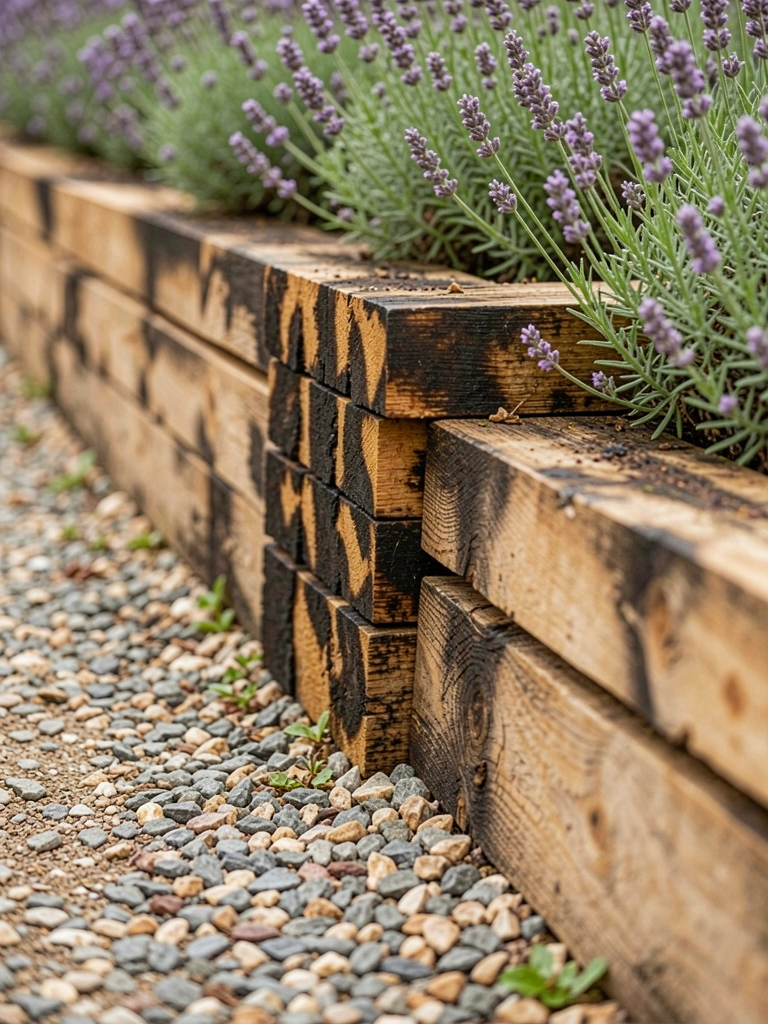
    Scored old railway sleepers cheap—they stack solid for my path edges. Heavy, but hold gravel perfectly.

    Dark stain weathers to blackish-brown, framing plants like a frame.

    Wear gloves; creosote rubs off. I learned that.

    Bolt layers if over two high.

    What You’ll Need for This Look

    Railway sleeper timbers (8x6x8 foot)
    Nitrile work gloves (large)
    Lavender plants (4 inch pots)

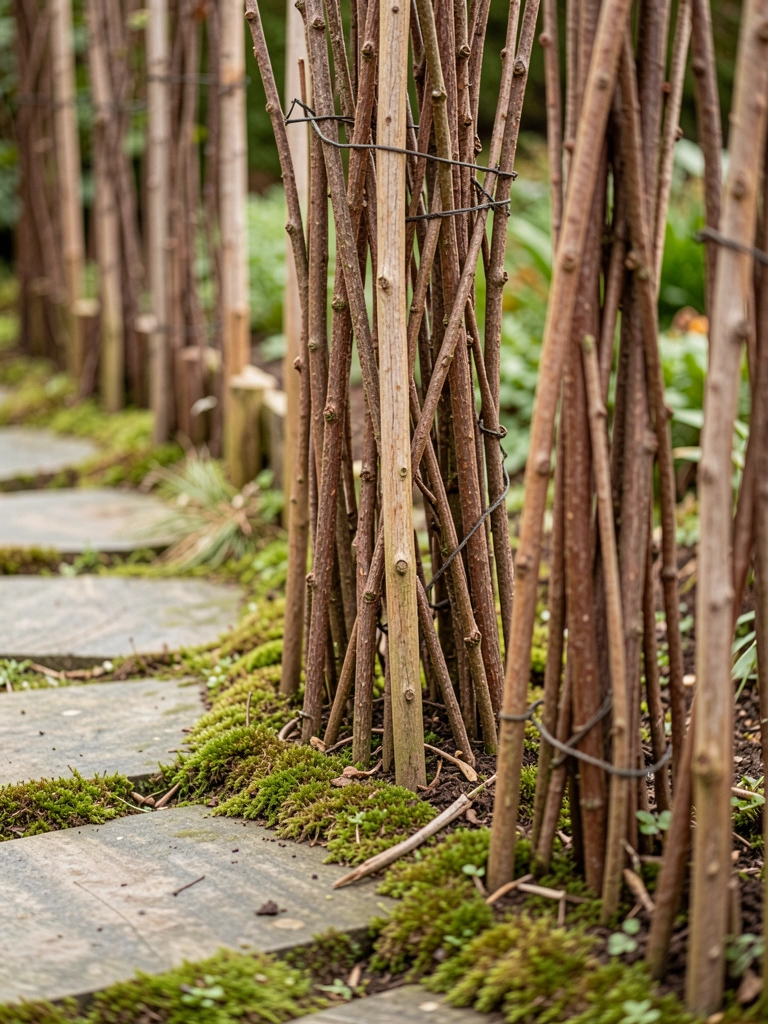
    7. Branch Bundle Stakes for Informal Paths

    Bundled straight branches from prunings, tied with twine, and hammered along my back path. Keeps edges soft, not rigid.

    Branches twist naturally, blending with overhanging limbs. Paths feel wandered, not planned.

    Trim ends pointed. Blunt ones slip.

    Replace yearly if damp.

    What You’ll Need for This Look

    Natural jute garden twine (200 foot)
    Irregular stepping stones (12 pack)
    Curved pruning saw

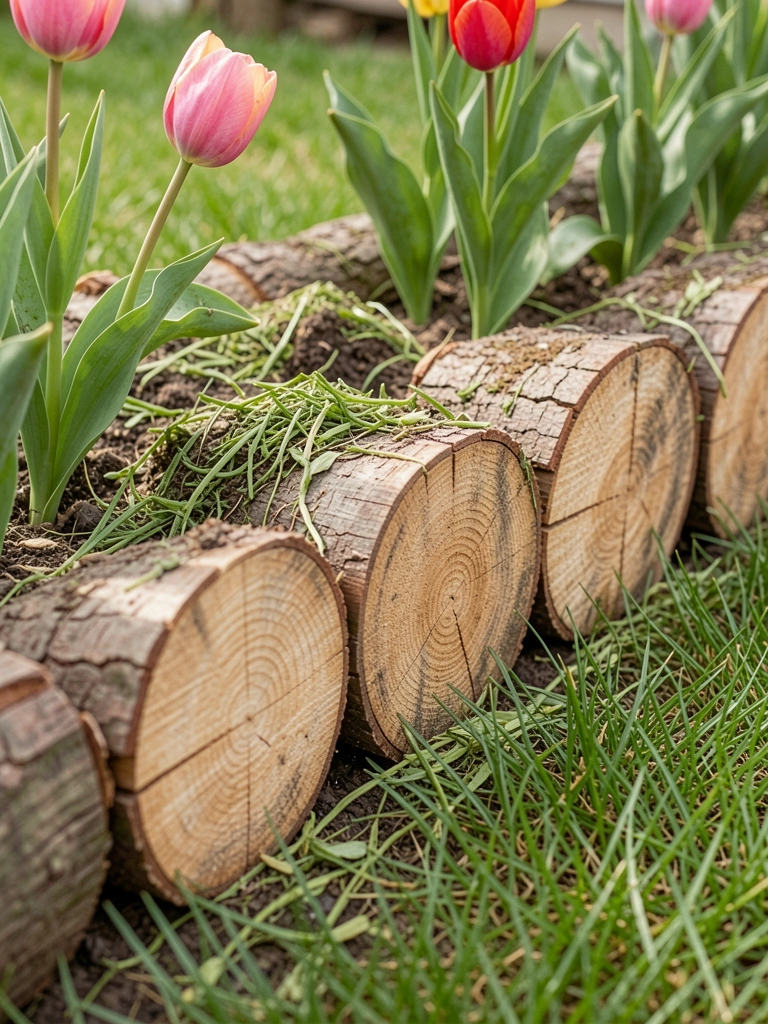
    8. Half-Log Trenches for Straight Lawn Edges

    Split logs lengthwise, buried half-deep along my lawn. Clean line for mowing, tulips tucked behind.

    Flat top makes a low seat too. Wood darkens evenly.

    Chainsaw split carefully—uneven halves tip.

    Fill gaps with soil.

    What You’ll Need for This Look

    Fiberglass log splitting axe
    Tulip bulbs (mixed colors, 50 pack)
    Round point garden shovel

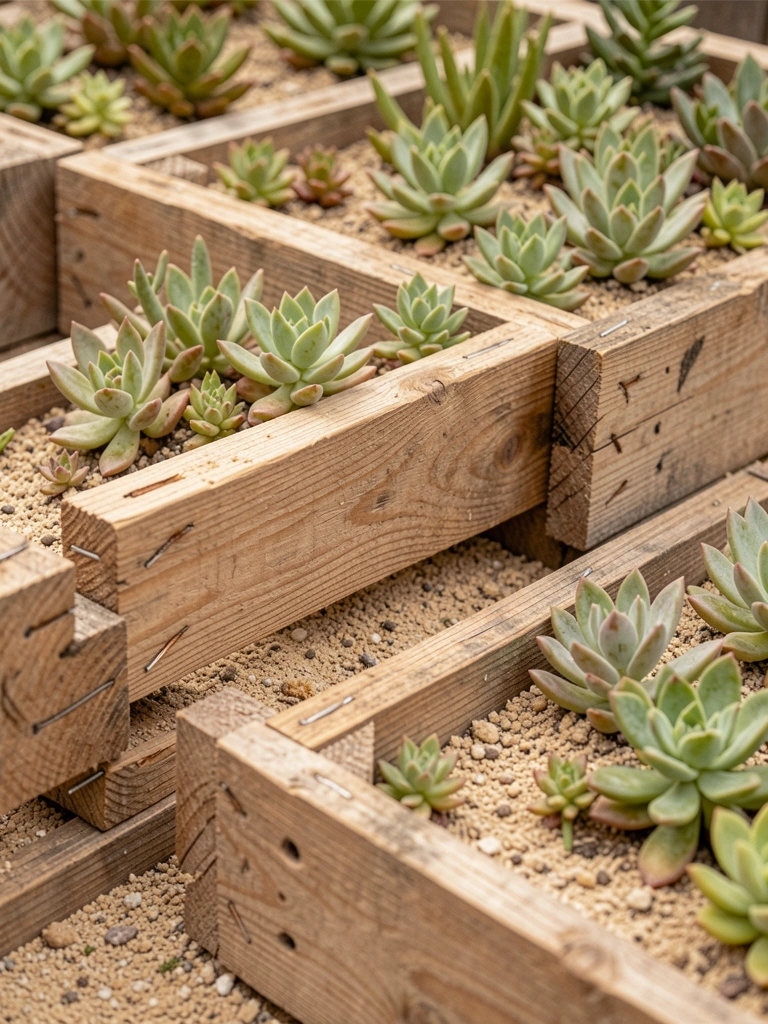
    9. Pallet Crate Sides for Modular Borders

    Broke down old crates, reused sides flat for my succulent strip. Movable if I rearrange.

    Rough texture suits dry plants. Low profile.

    Nails stick out—hammer flat. Hurt my hand once.

    Stack two for height.

    What You’ll Need for This Look

    Reclaimed wooden crate sides
    Assorted succulent plants (6 pack)
    16 oz claw hammer

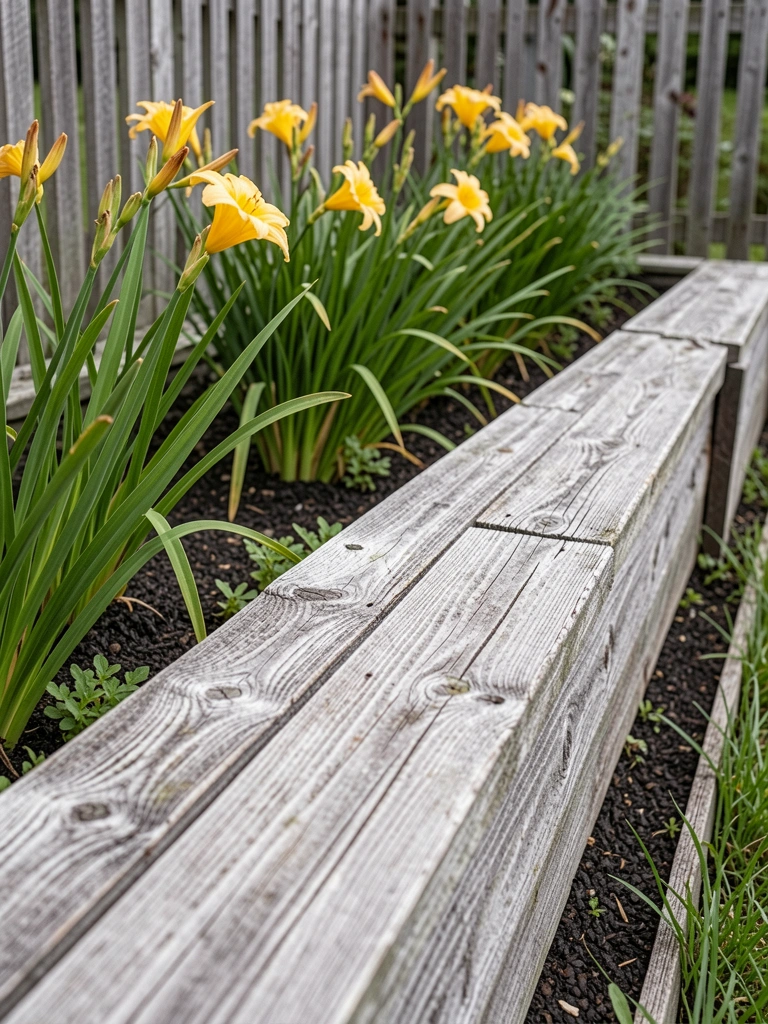
    10. Barn Board Overlaps for Long Runs

    Weathered barn boards overlapped like shingles for my 30-foot daylily run. Seamless look, no gaps.

    Gray tone warms the yellow blooms. Feels historic.

    Source local barns. Weighs a ton—use truck.

    Screw to stakes every 4 feet.

    What You’ll Need for This Look

    Weathered barn wood boards (1x8x8 foot)
    Daylily bare root plants (10 pack)
    2.5 inch deck screws (box)

    11. Driftwood Jumbles for Coastal Vibes

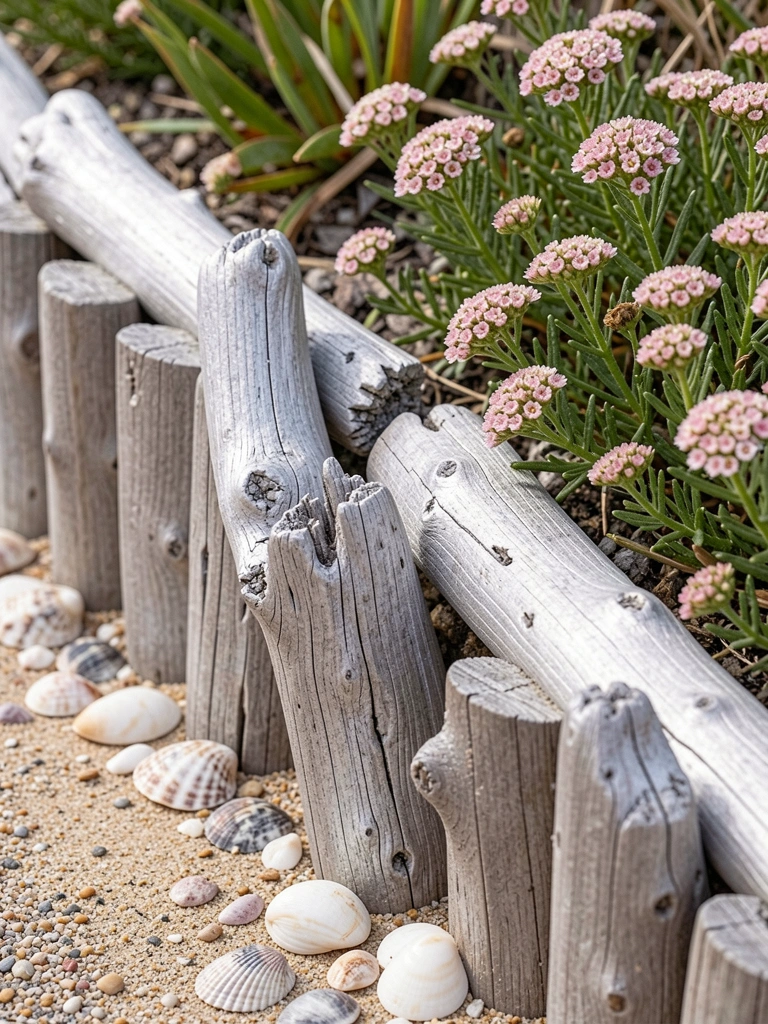
    Collected driftwood on walks, tumbled it loose along my seaside bed. Holds back sand, looks gathered by waves.

    Silver gray shines in sun. Pairs with pink thrift.

    Rinse salt first or it rots quick. Mine pitted.

    No digging needed.

    What You’ll Need for This Look

    Natural driftwood pieces (bulk bag)
    Sea thrift Armeria plants
    Adjustable hose nozzle

    12. Timber Stake Rows for Berry Patches

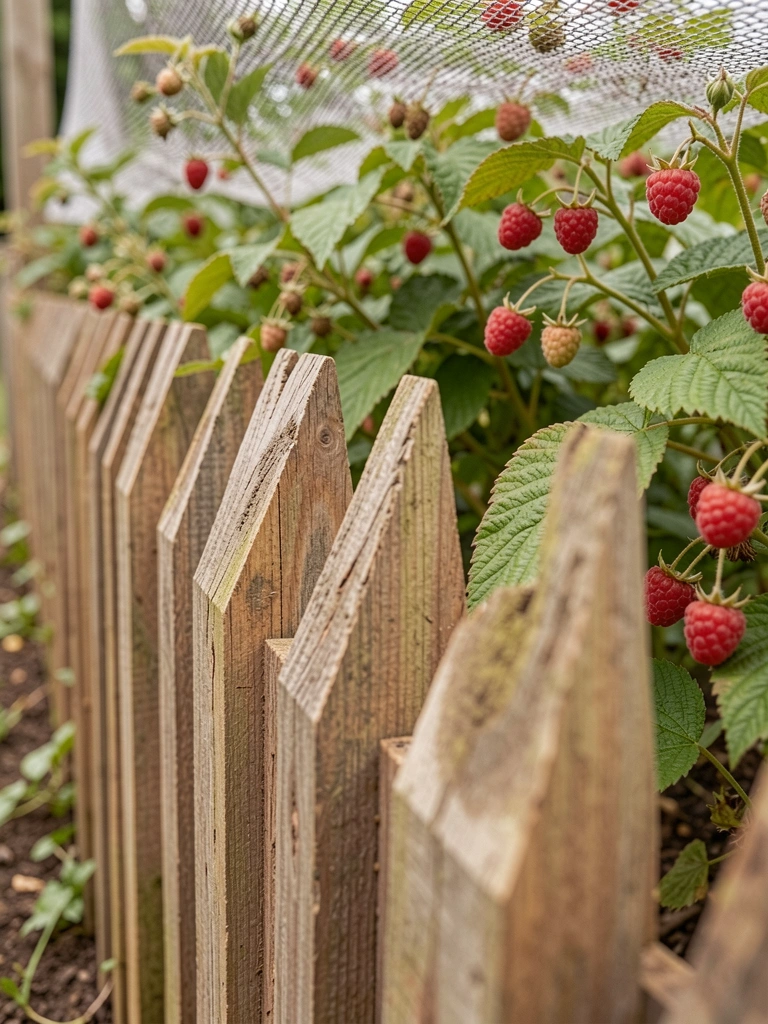
    Pointed 2×2 timbers angled in for my raspberries. Supports canes too.

    Simple lines let berries show. Sturdy against birds.

    Sharpen ends well. Dull ones bend.

    Lean outward 10 degrees.

    What You’ll Need for This Look

    2×2 pressure treated timbers (8 foot)
    Raspberry bare root canes (5 pack)
    Draw knife for pointing wood

    13. Spool End Slices for Round Ponds

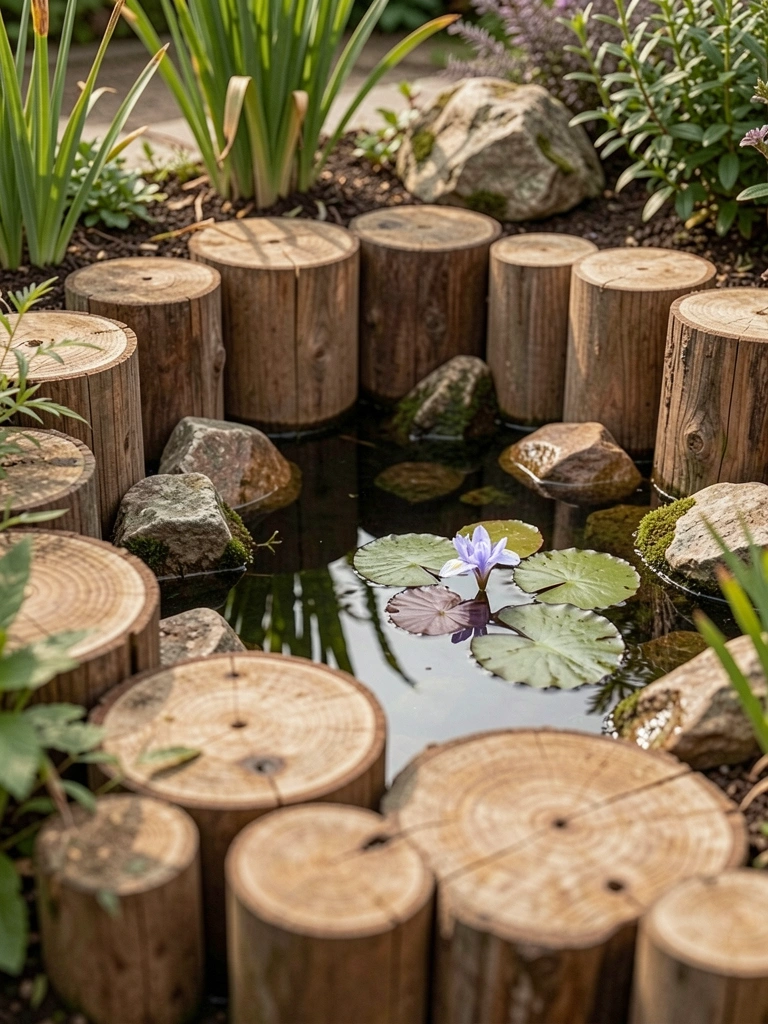
    Sliced old cable spools into rounds for my pond edge. Circles echo the water.

    Grain circles add interest. Iris poke through.

    Source free spools. Heavy saw needed.

    Sand edges smooth.

    What You’ll Need for This Look

    Large wooden cable spools
    Water iris rhizomes (pack)
    7.25 inch wood cutting blade

    14. Woven Fence Pickets for Flower Walks

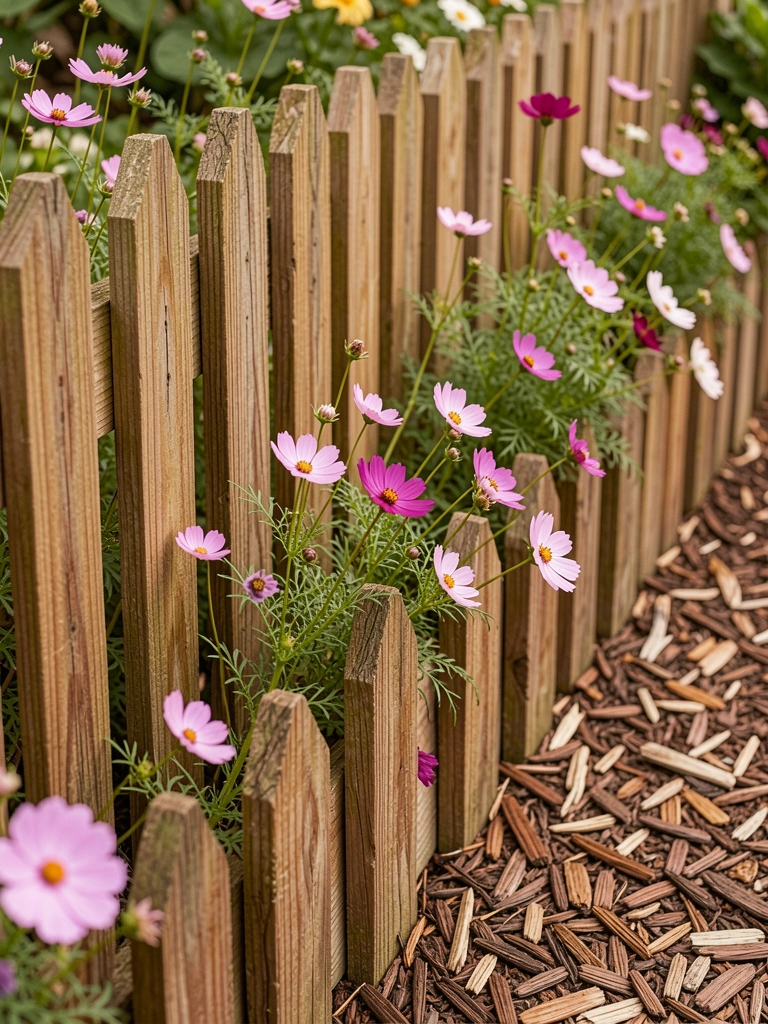
    Old picket fence pieces woven tight for my cosmos walk. Low weave sways gentle.

    White pickets glow against pink flowers. Charming without cute.

    Soak pickets to bend. Dry ones crack.

    Weave loose for drainage.

    What You’ll Need for This Look

    Dog-ear fence pickets (4 foot, pack of 10)
    Cosmos flower seeds (mixed)
    5 gallon soaking bucket

    15. Ladder Rung Reuses for Tiered Edges

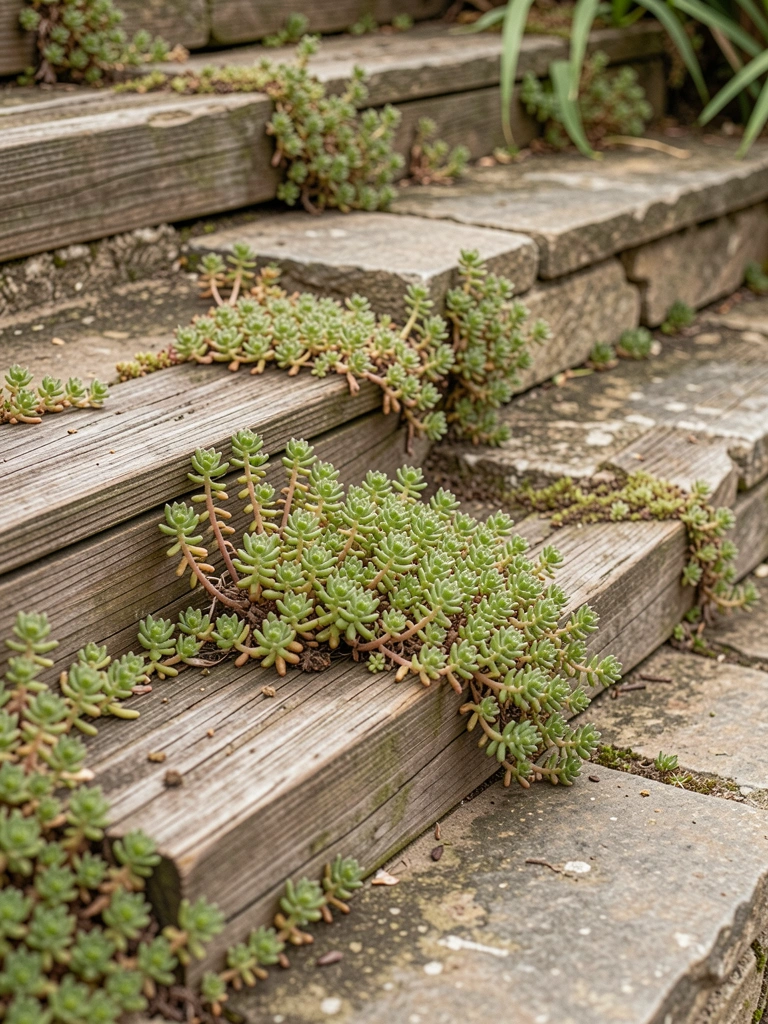
    Dismantled a junk ladder, used rungs flat on my tiered slope. Perfect width for sedum tiers.

    Rungs' slots catch water for roots. Sloped beds feel stepped natural.

    Check for splinters. Sand rough.

    Nail ends down.

    What You’ll Need for This Look

    Salvaged wooden ladder rungs
    Sedum groundcover plants
    Medium grit sanding block

    16. Twig Mat Rolls for Meandering Streams

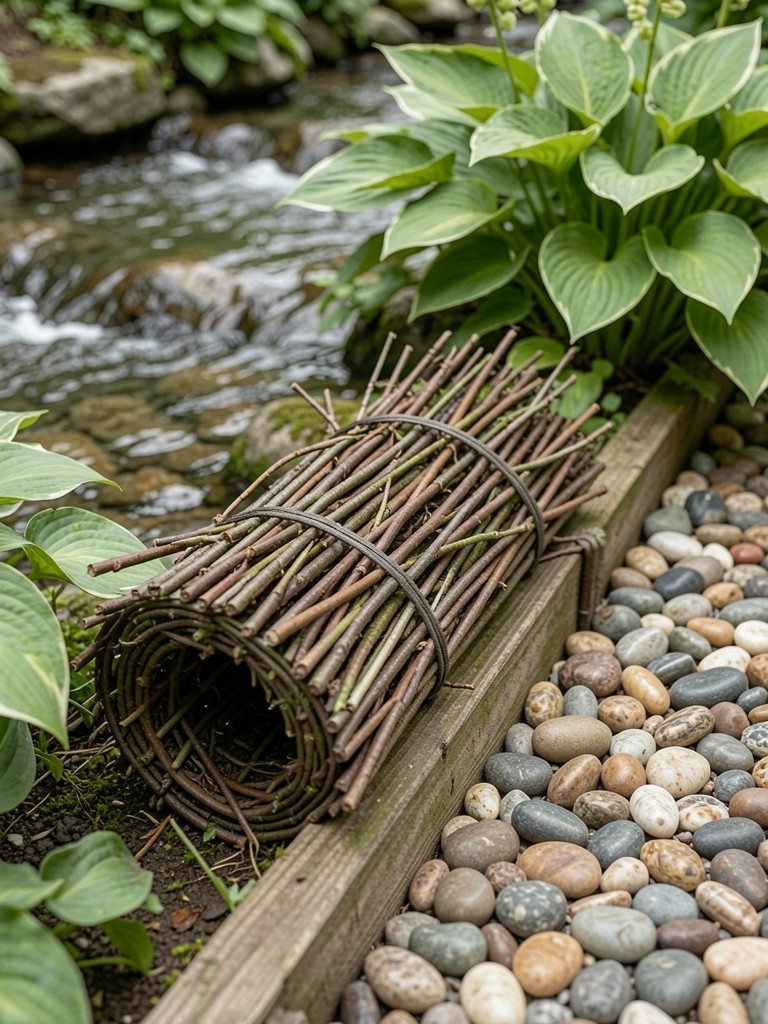
    Unrolled twig matting from a roll along my dry stream. Flexible for curves, pins easy.

    Twigs soften pebbles. Stream feels alive.

    Pin every foot. Wind lifts loose ends.

    Trim overhangs.

    What You’ll Need for This Look

    Natural twig mat roll (3×10 foot)
    6 inch landscape staples (pack)
    River pebbles (40 lb bag)

    17. Board-on-Edge Frames for Square Plots

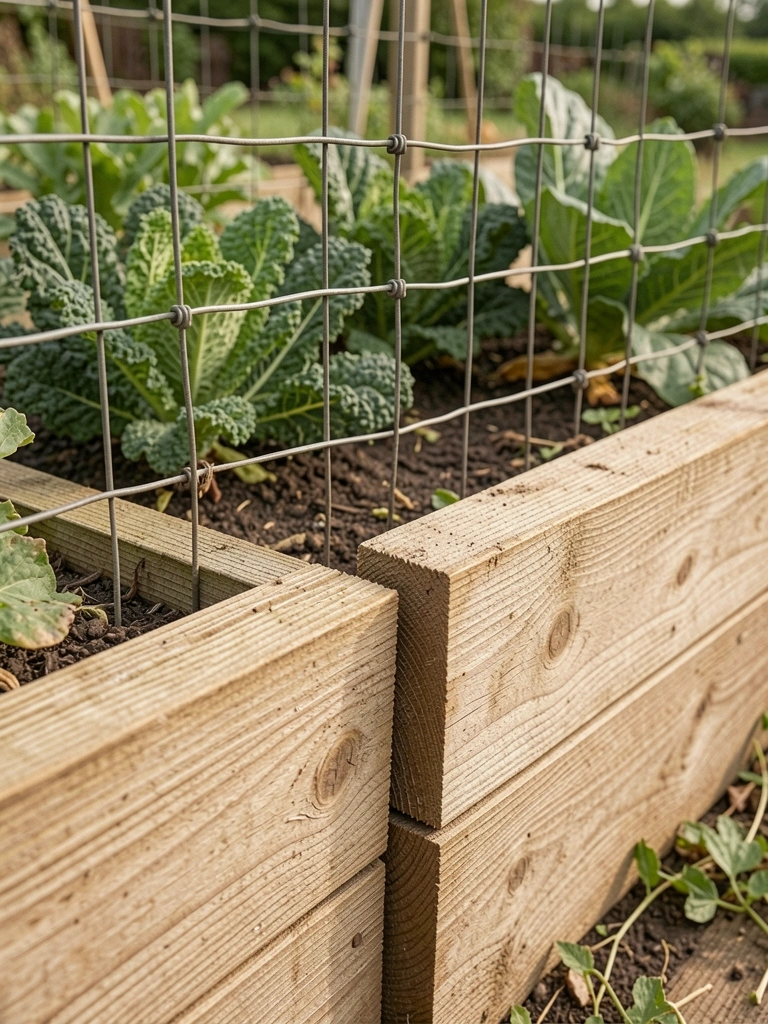
    Set 2x4s on edge for my kale squares. Clean frames for crop rotation.

    Boards stand tall enough for bunnies. Veggies pop crisp.

    Treat ends against wet. Rot starts there.

    Miter corners neat.

    What You’ll Need for This Look

    Untreated 2×4 boards (8 foot lengths)
    Kale vegetable seeds (organic pack)
    Clear wood preservative (gallon)

    18. Rebar-Threaded Planks for Wavy Lines

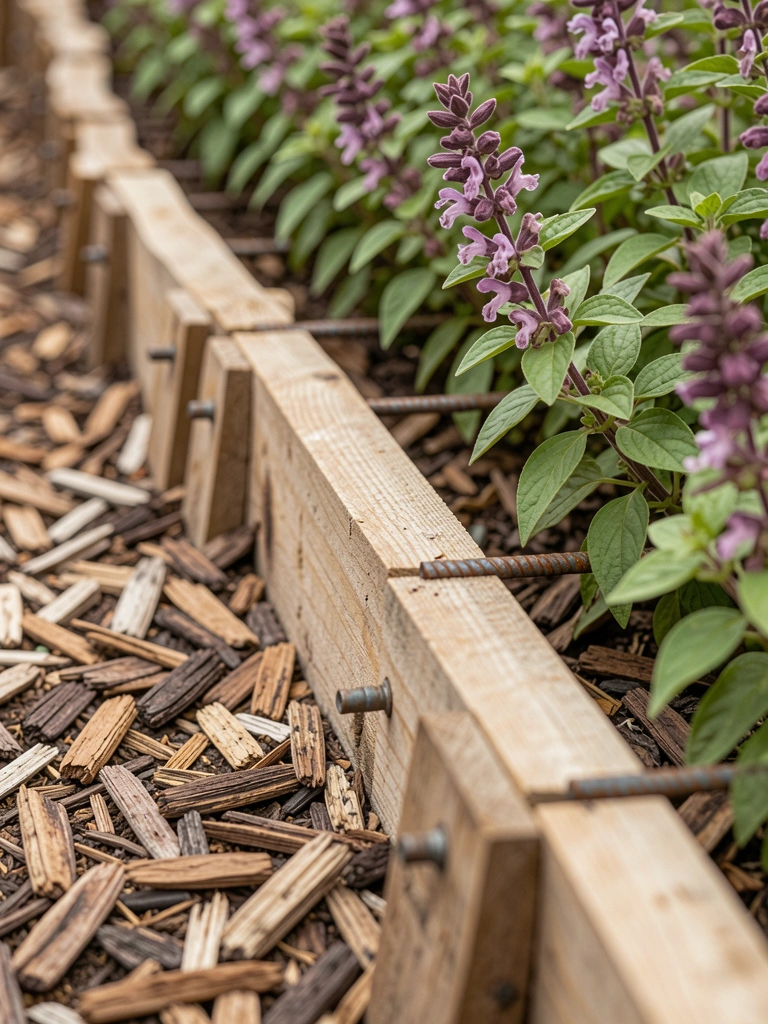
    Drilled holes in planks, slid on rebar stakes for wavy salvia edge. Bendable to shape.

    Waves add movement. Mulch stays put.

    Pre-drill straight. Wandering holes gap.

    Short rebar for shallow soil.

    What You’ll Need for This Look

    1/2 inch rebar stakes (24 inch)
    Perennial salvia plants
    Cordless drill with 1/2 inch bit

    19. Crisscross Branch Grids for Groundcovers

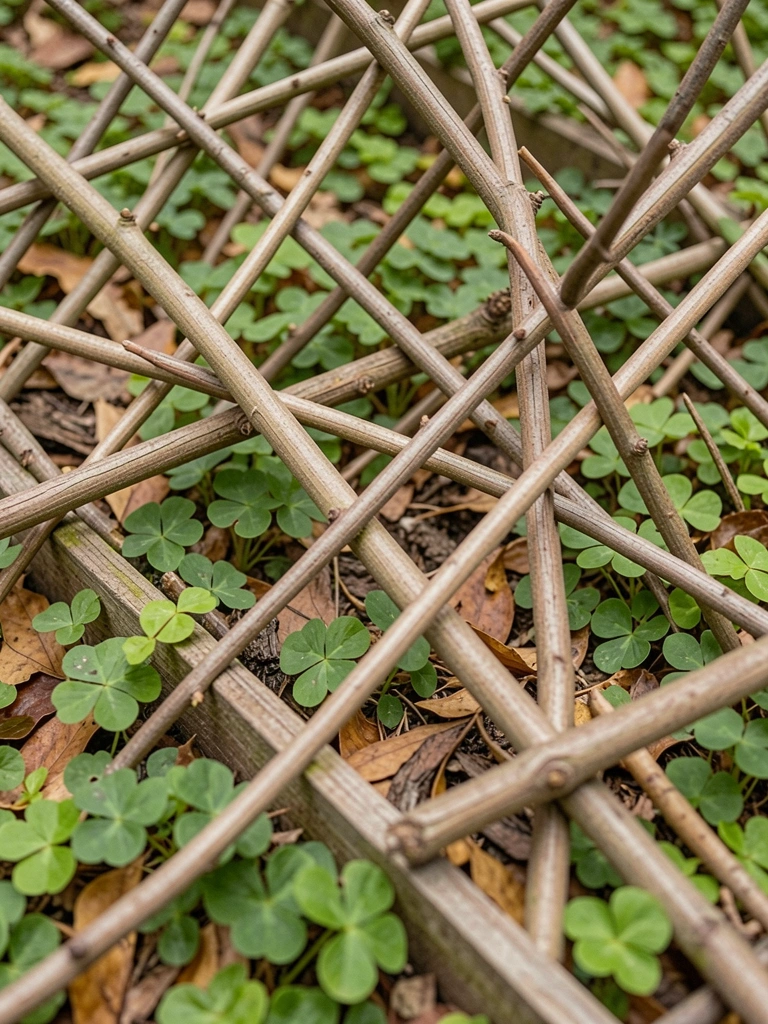
    Crisscrossed prunings over vinca to edge lightly. Grid holds without digging.

    Branches arch natural. Vinca climbs through.

    Use green wood—dries tight.

    Rake leaves off.

    What You’ll Need for This Look

    Vinca minor groundcover plants
    Bypass garden pruners
    Adjustable leaf rake

    20. Notched Timber Curves for Shrubberies

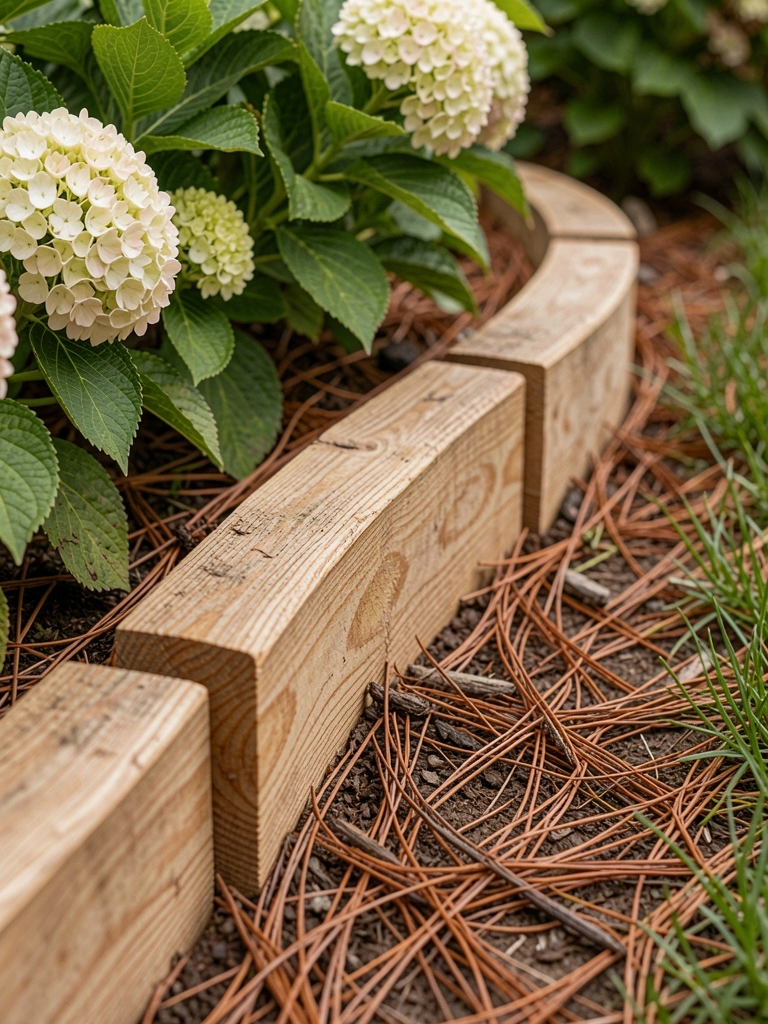
    Notched 4×4 timbers to bend around hydrangeas. Smooth curves hug bushes.

    Notches hidden by needles. Shrubs feel sheltered.

    Chainsaw kerfs shallow. Deep cuts weaken.

    Bend slow.

    What You’ll Need for This Look

    4×4 landscape timbers (8 foot)
    Hydrangea shrubs (1 gallon pots)
    Chainsaw file sharpening kit

    21. Layered Shingle Stacks for Sloped Banks

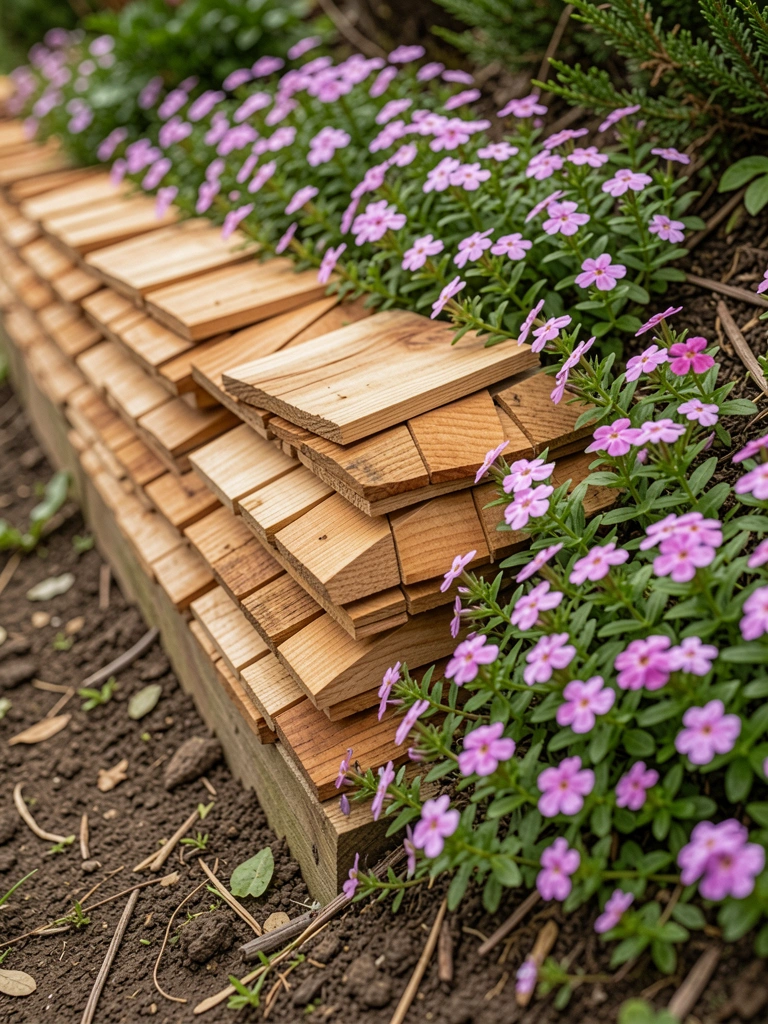
    Layered old shingles on my bank slope. Steps soil, stops wash.

    Shingles' taper fits tight. Phlox cascades pretty.

    Overlap generous. Rain gaps erode.

    I overstacked once—toppled. Start low.

    What You’ll Need for This Look

    Cedar roofing shingles (bundle)
    Creeping phlox groundcover
    Hand garden tamper

    Final Thoughts

    Pick one or two ideas that match your yard's quirks—start small. Wood weathers into place over time, forgiving beginner cuts.

    Mine have lasted years with minimal fuss. You'll get that cozy border feel soon enough.

    Your garden's ready for it.
  • 11 Metal Garden Edging Ideas for Clean Lines

    11 Metal Garden Edging Ideas for Clean Lines

    I remember staring at my front bed one spring morning. The mulch had spilled everywhere, grass creeping in like it owned the place. I was tired of re-digging lines every season.

    Metal edging changed that. It holds the shape, lets roots breathe, and just sits there looking sharp year after year.

    These ideas come from my yards—the ones with kids running through, dogs digging, real life happening.

    11 Metal Garden Edging Ideas for Clean Lines

    Here are 11 metal garden edging ideas I've tried in my own gardens. They create clean lines that last, no constant upkeep. Pick one that fits your space.

    1. Straight Steel Strips Along Walkways

    I laid these thin steel strips along my side path last year. The walkway used to blur into the lawn—now it's crisp, like it was always meant to be there. Gravel stays put, and weeds can't sneak over.

    What surprised me? They flex just enough for slight curves without kinking. I hammered them in after a rain, when soil was soft. No bending tools needed.

    Watch the depth—sink them 4 inches so roots don't lift them. In my clay soil, they hold better than plastic ever did.

    One tip: Overlap ends a bit for seamless runs.

    What You’ll Need for This Look

    2. Corrugated Panels for Raised Veggie Beds

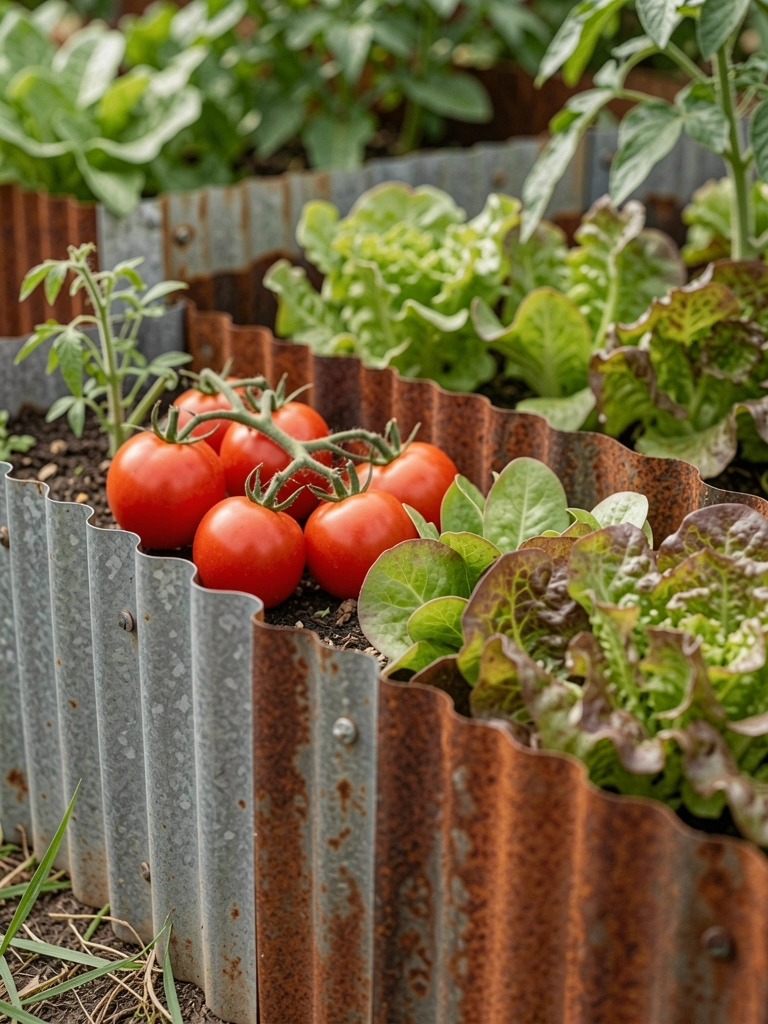
    My backyard veggie patch was a mud pit until I bolted corrugated panels upright. They give height without wood rot, and the waves add grip for soil. Harvests feel contained, easy to reach.

    I bought panels too short once—wasted a day returning them. Now I measure twice. The rust starts quick, blending with dirt like it grew there.

    Emotionally, it makes gardening feel purposeful. No slumping edges after rain.

    Pair with deep mulch inside. Keeps things tidy.

    What You’ll Need for This Look

    3. Powder-Coated Black Edges for Modern Flower Borders

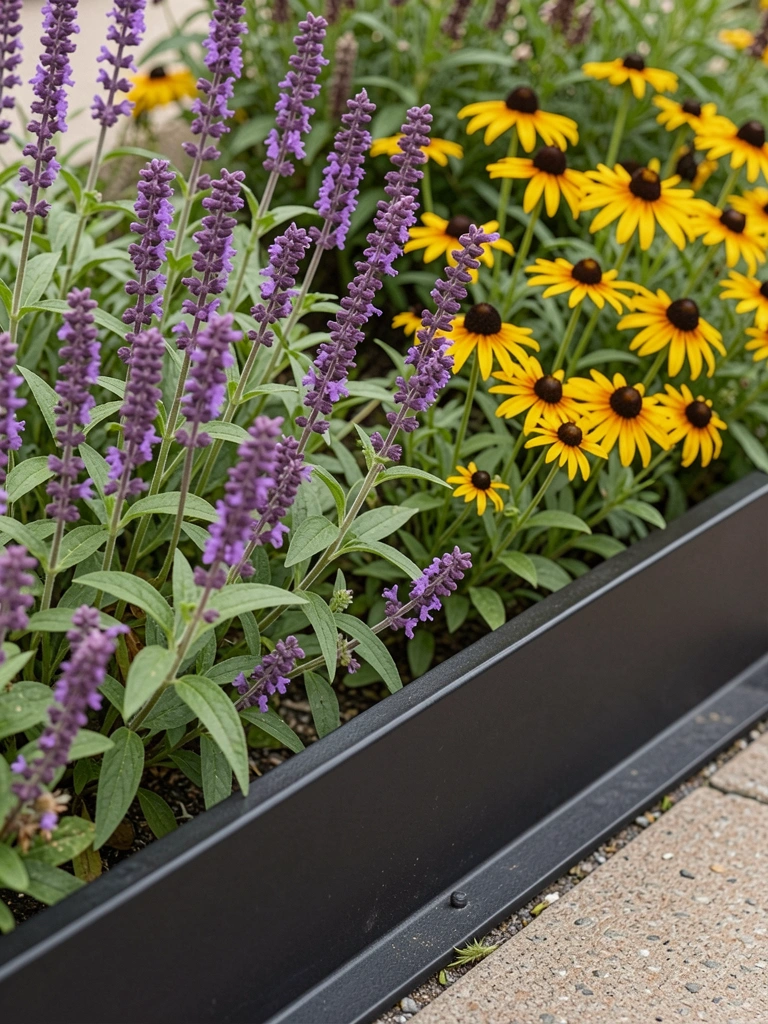
    I edged my front perennial bed with black powder-coated steel. It vanishes against dark soil, letting flowers pop. Clean lines make the whole yard feel pulled together.

    The coating stopped rust in my wet climate—lasted three years shiny. I spaced stakes wrong first time; now I mark with string.

    It changes how you walk the bed—invites you closer without distraction.

    Level the trench first, or it wobbles.

    What You’ll Need for This Look

    4. Corten Steel for Rust Patina Tree Rings

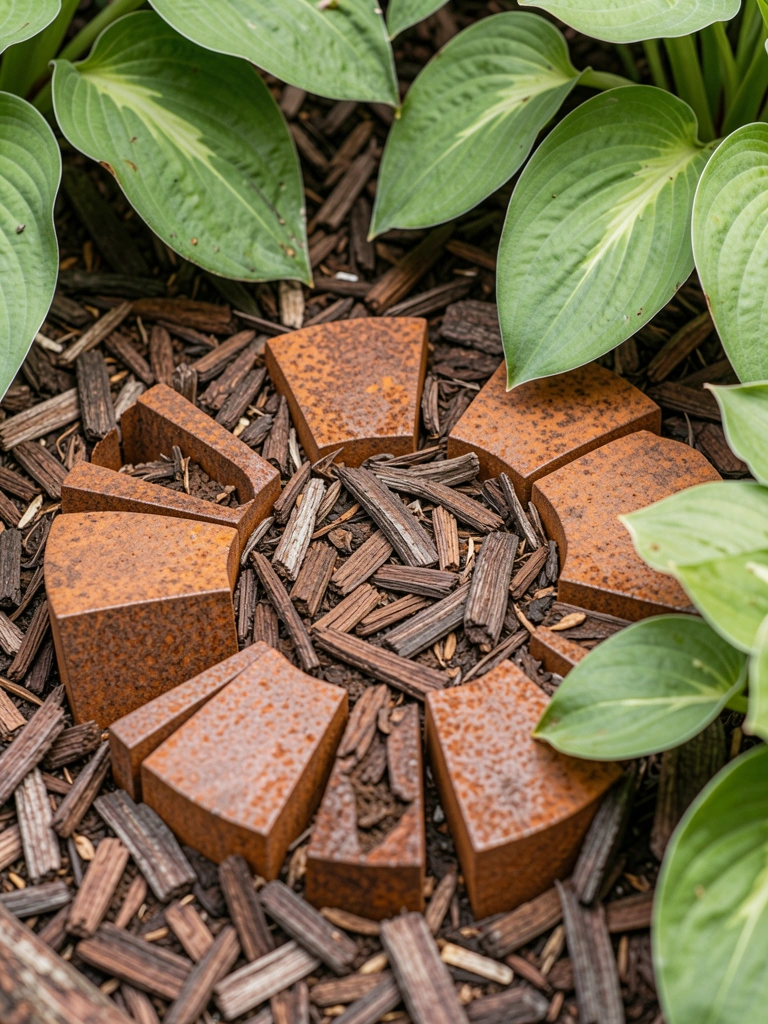
    Around my maple, corten steel circles make a perfect ring. The rust patina weathers to earthy orange—matches fall leaves. Mulch stays in, roots protected.

    I cut panels with a cheap sawzall; sparks flew everywhere. Lesson learned: wear gloves.

    Feels cozy now, like the tree's always had its own space.

    Drainage holes punched in bottom prevent rot.

    What You’ll Need for This Look

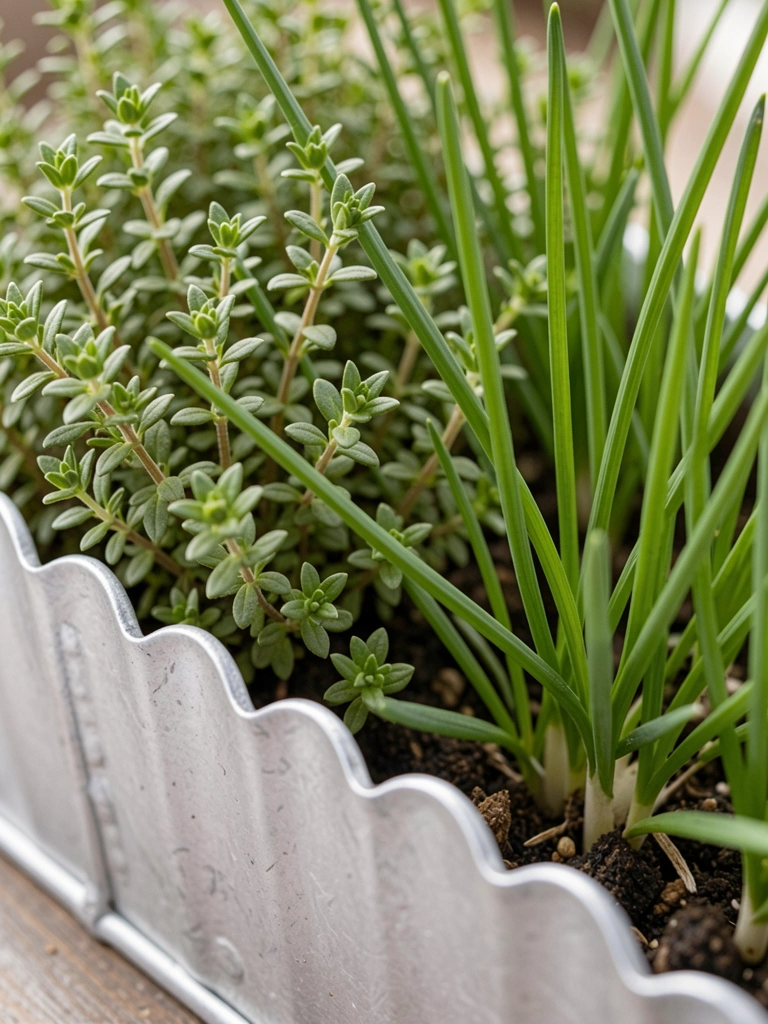
    5. Scalloped Metal for Cottage Herb Strips

    Scalloped galvanized edging lines my herb walk. The waves echo picket fences but hold tougher. Herbs spill soft over hard lines—inviting to snip.

    I overlapped too much at first; looked bunchy. Trim with tin snips now.

    Kitchen feels closer with fresh smells right outside.

    Softens straight paths visually.

    What You’ll Need for This Look

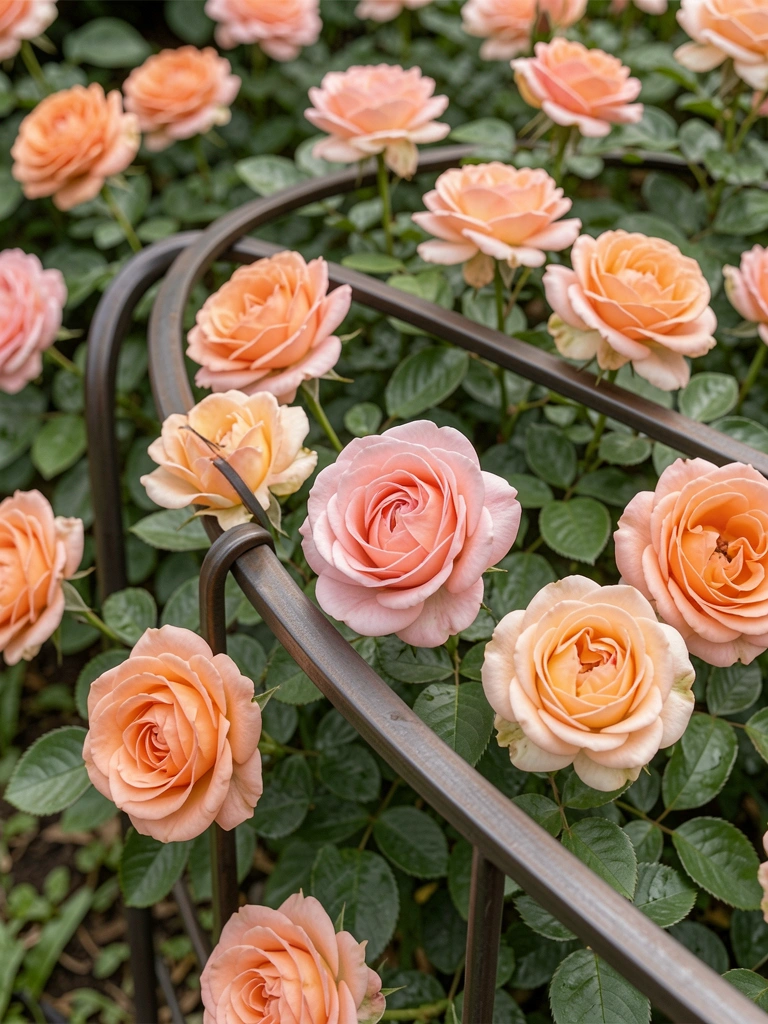
    6. Flat Bar Steel Bent for Curved Rose Beds

    I heated and bent flat steel bars for my rose bed curves. They hug the shape perfectly—no gaps for grass. Blooms stand out against the shine.

    Mistake: bent too sharp; weakened it. Gentle heat now.

    Yard feels romantic, intentional.

    Stake every 2 feet for stability.

    What You’ll Need for This Look

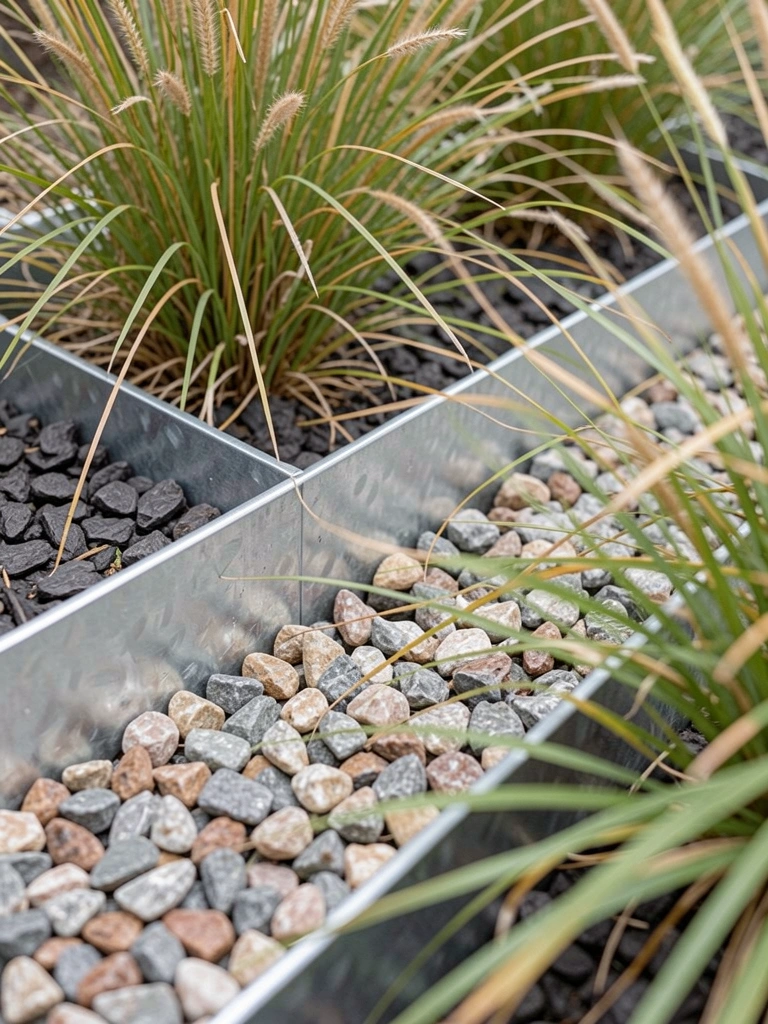
    7. Galvanized Sheets Mixed with Gravel Paths

    Galvanized sheets separate my gravel path from beds. Gravel crunches clean, no mud tracks. Silver shines against green.

    I forgot anchors; wind shifted them. Landscape staples fixed it.

    Path invites slow walks now.

    Keeps gravel from scattering.

    What You’ll Need for This Look

    8. Laser-Cut Patterns for Front Yard Accents

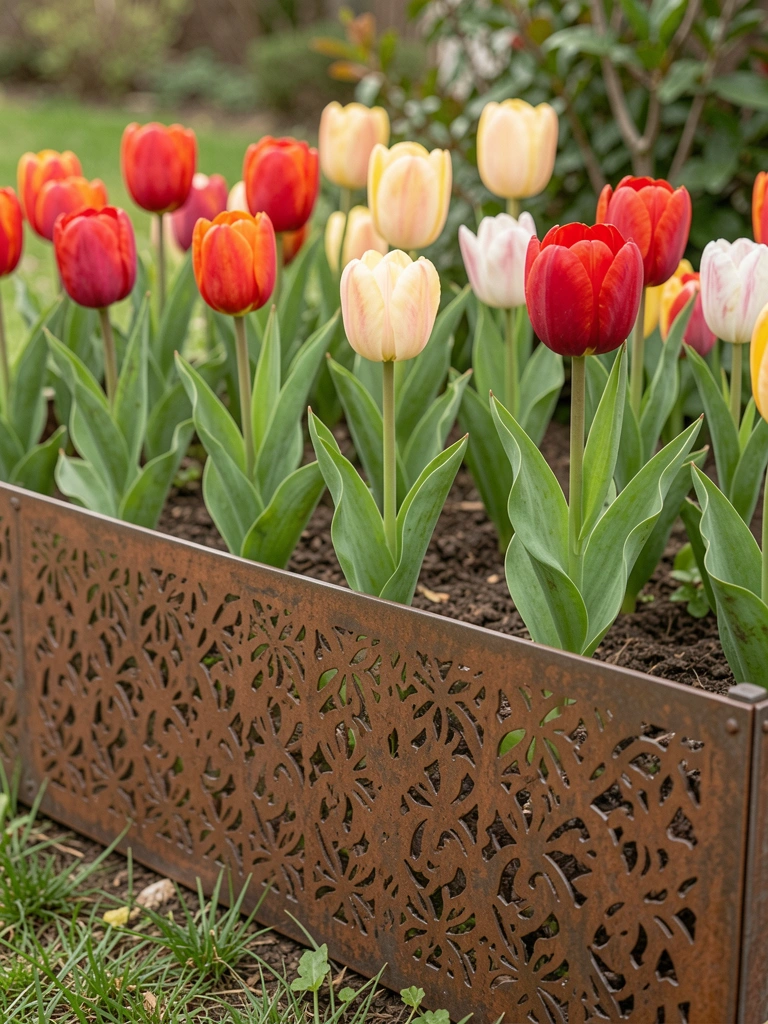
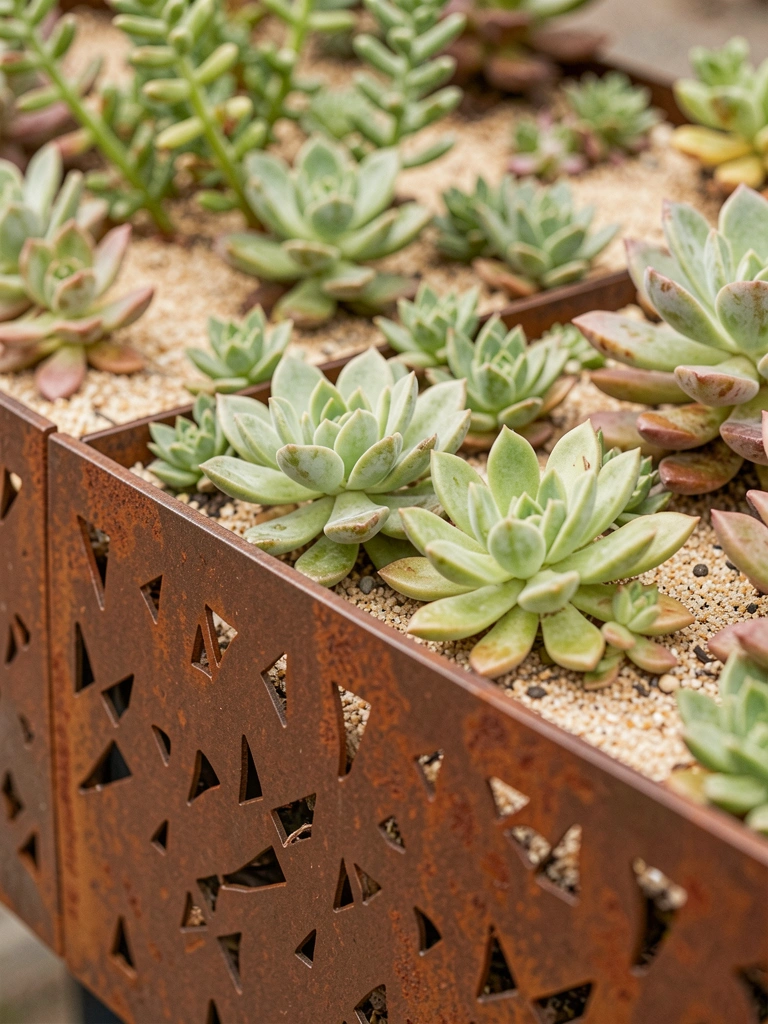
    Laser-cut steel with leaf patterns edges my tulip bed. Light filters through cutouts, shadows dance. Adds subtle art without fuss.

    Custom cut cost more; stock patterns work fine.

    Front yard welcomes neighbors warmly.

    Bolt to stakes for wind.

    What You’ll Need for This Look

    9. Vertical Steel Panels for Patio Borders

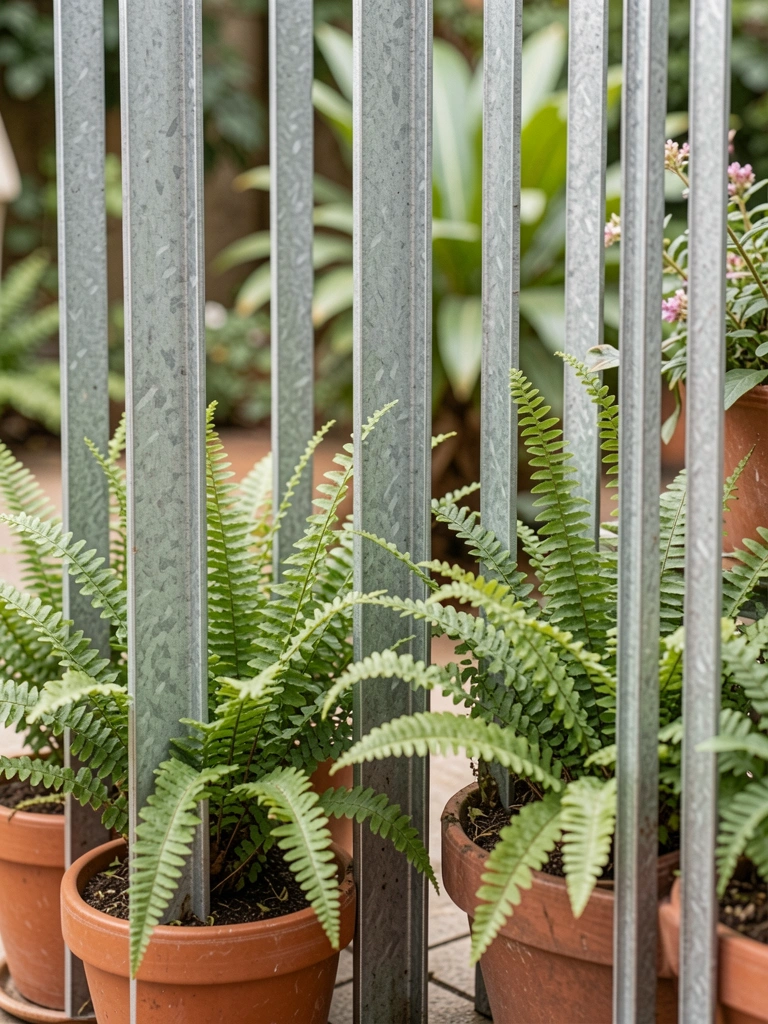
    Vertical panels screen my patio pots from lawn. Tall lines frame seating cozy. Pots nestle neat.

    I painted wrong side; faded fast. Raw steel ages better.

    Sipping coffee feels private now.

    Embed 6 inches deep.

    What You’ll Need for This Look

    10. Hammered Copper Accents for Shrub Lines

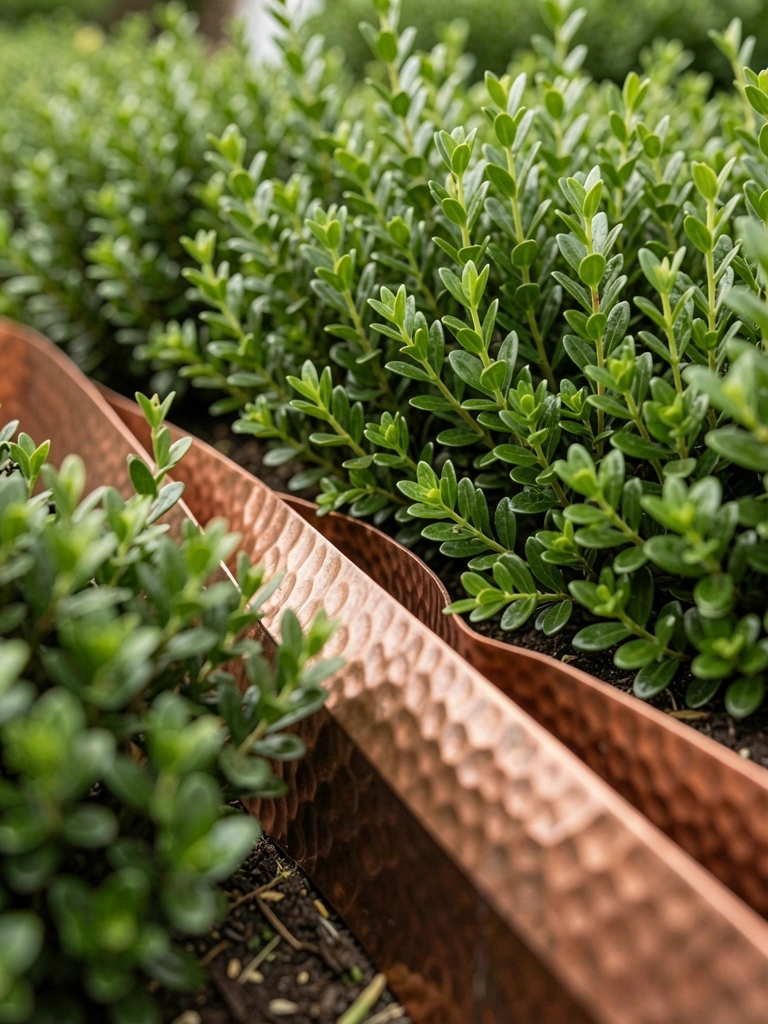
    Hammered copper edges my boxwoods. Texture catches light, greens glow. Patina greens over time.

    Too thin first buy; dented easy. Thicker gauge holds.

    Shrubs look groomed effortlessly.

    Polish yearly if shiny wanted.

    What You’ll Need for This Look

    11. Recycled Metal Bands for Low-Mulch Borders

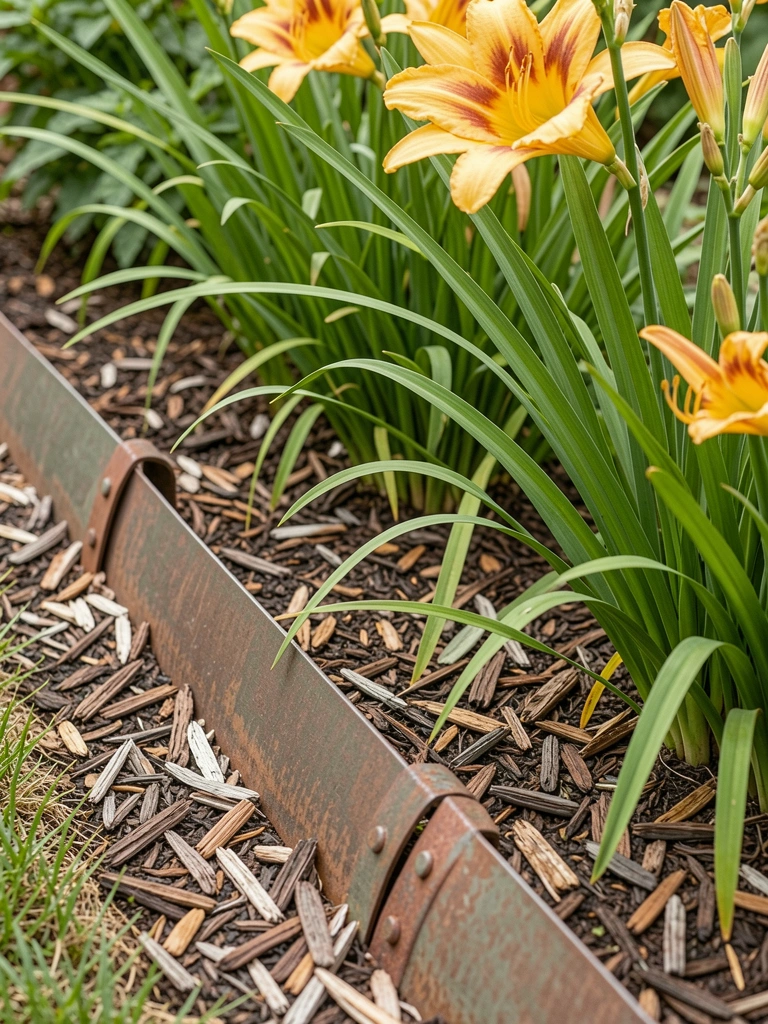
    Old barrel bands circle my daylilies. Rusted charm, zero waste. Low profile keeps mulch minimal.

    Sourced free; cleaned with wire brush. Rust powder everywhere—wear mask.

    Feels resourceful, garden's story shows.

    Wire together overlaps.

    What You’ll Need for This Look

    Final Thoughts

    Metal edging isn't about perfection—it's quiet work that pays off seasons later. Start with one bed, see how it settles.

    You'll mess up a stake or two, but that's gardening. These lines will hold.

    Your garden's ready for it. Go dig.
  • How to Create a Curved Garden Edge

    How to Create a Curved Garden Edge

    I stared at my straight-line bed. It boxed in the plants, made the whole yard feel stiff. No flow. I wanted curves that pulled the eye around, softened the edges. But my first try looked forced.

    I've redone edges in three gardens now. Straight lines shout "planned too hard." Curves invite you closer. They make space breathe.

    You know that feeling when a bed just sits there? This fixes it.
    How to Create a Curved Garden Edge

    This shows you how I shape a gentle curve along a bed. It settles the border into the yard. The result is quiet balance that lasts.

    What You’ll Need

    Step 1: Lay Out the Curve with the Hose

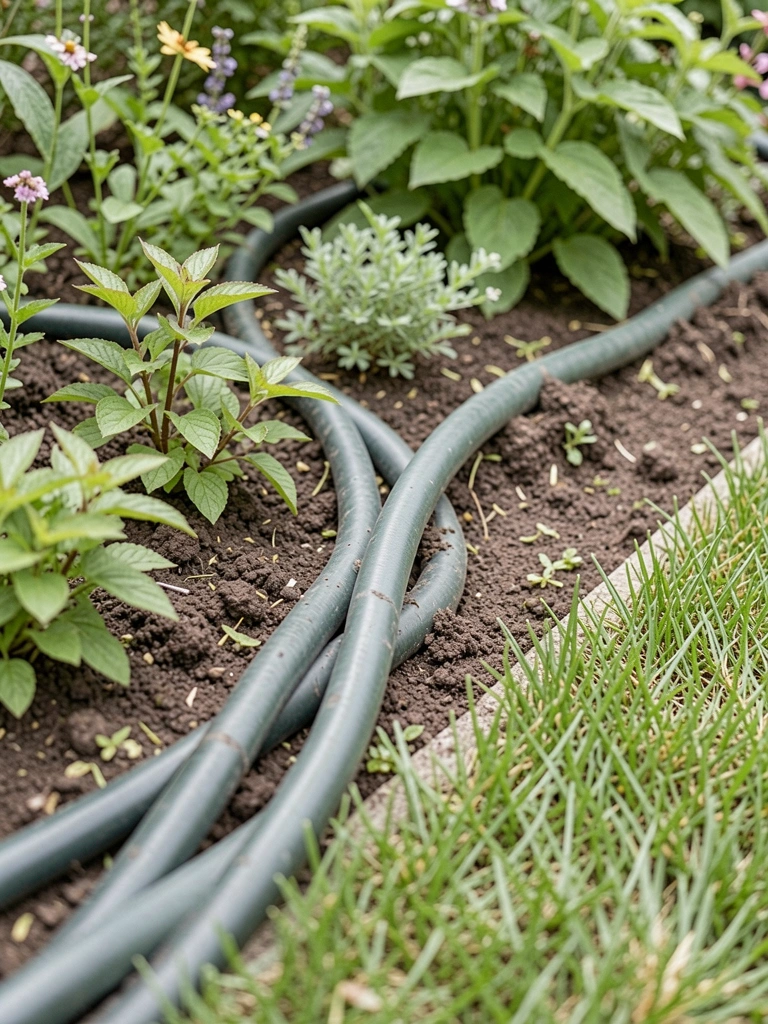
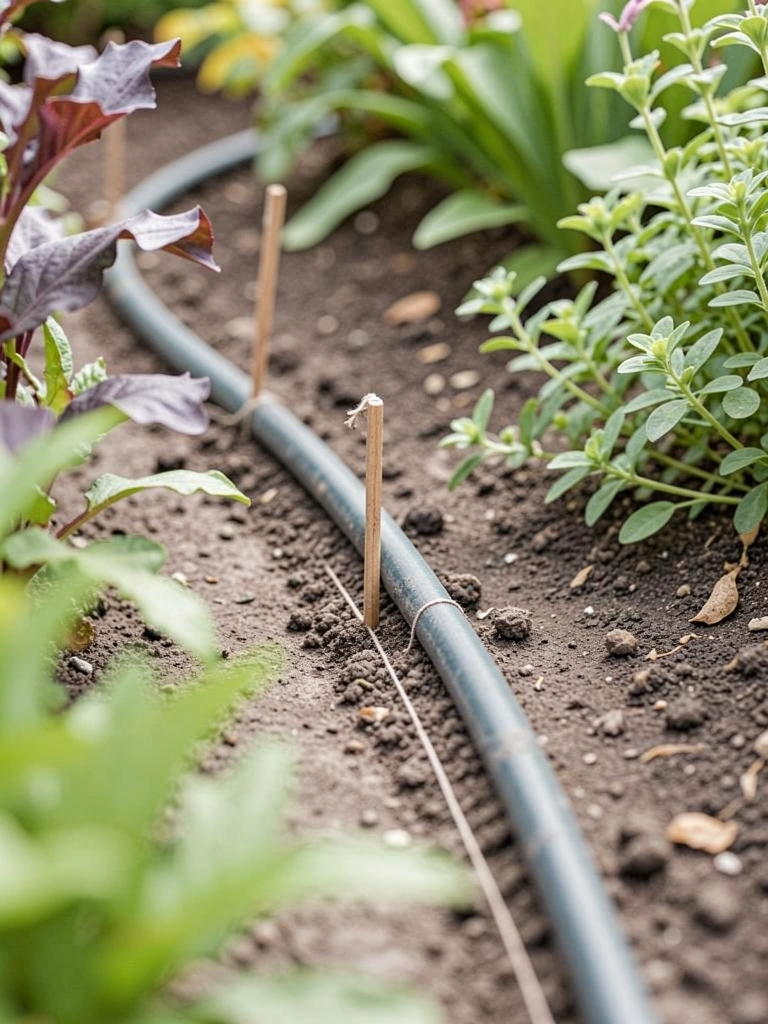
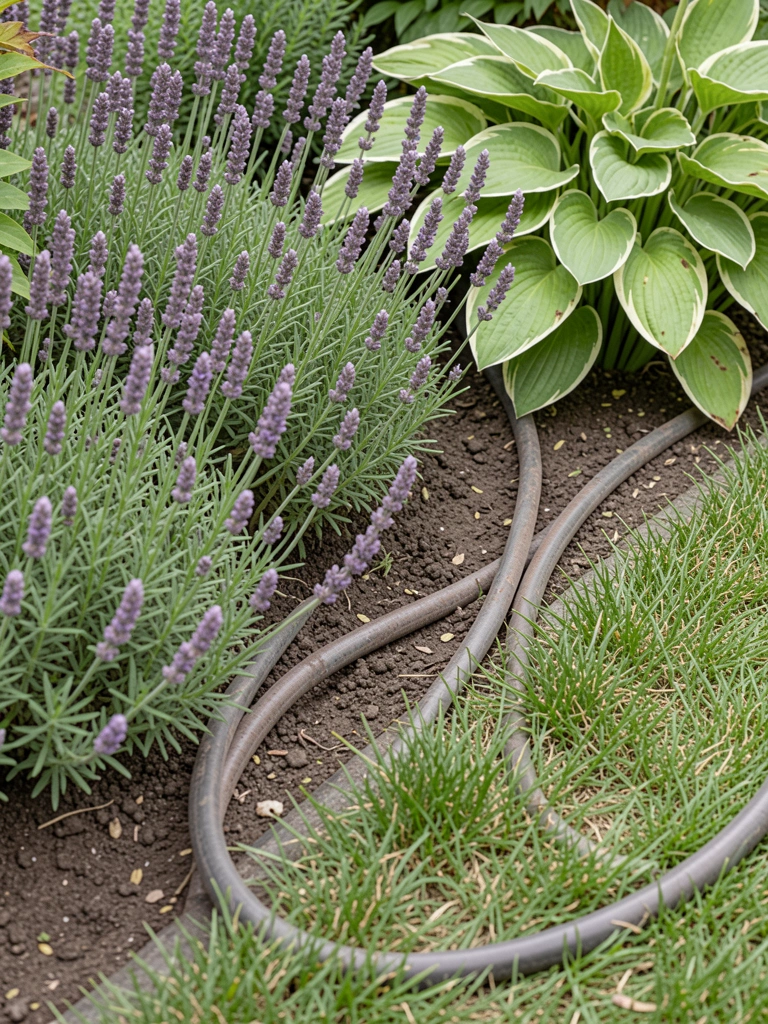
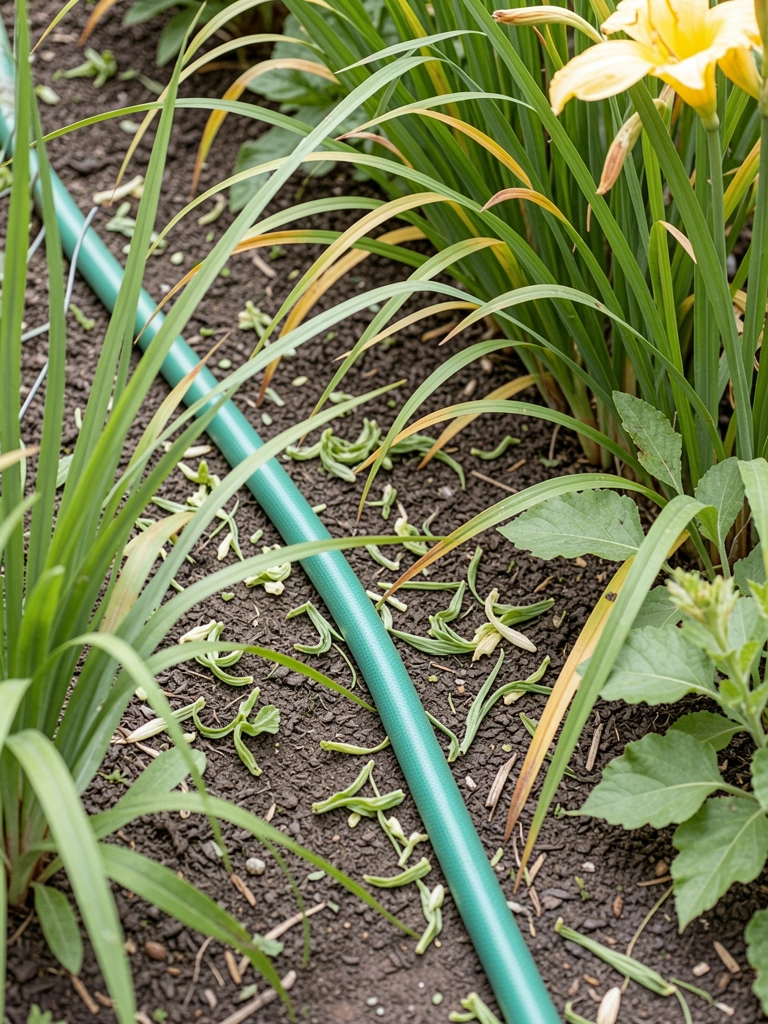
    I grab the hose and walk it along the bed. No straight lines. I let it dip and rise like a river bend. This sets the feel right from the start.

    The yard changes. That harsh edge softens. Plants nearby look settled.

    People miss how curves echo the land's own lines. Avoid pulling the hose too tight—it fights the ground.

    I step back. Does it pull my eye smoothly? Yes. That's the why.

    Step 2: Mark and Clear the Path

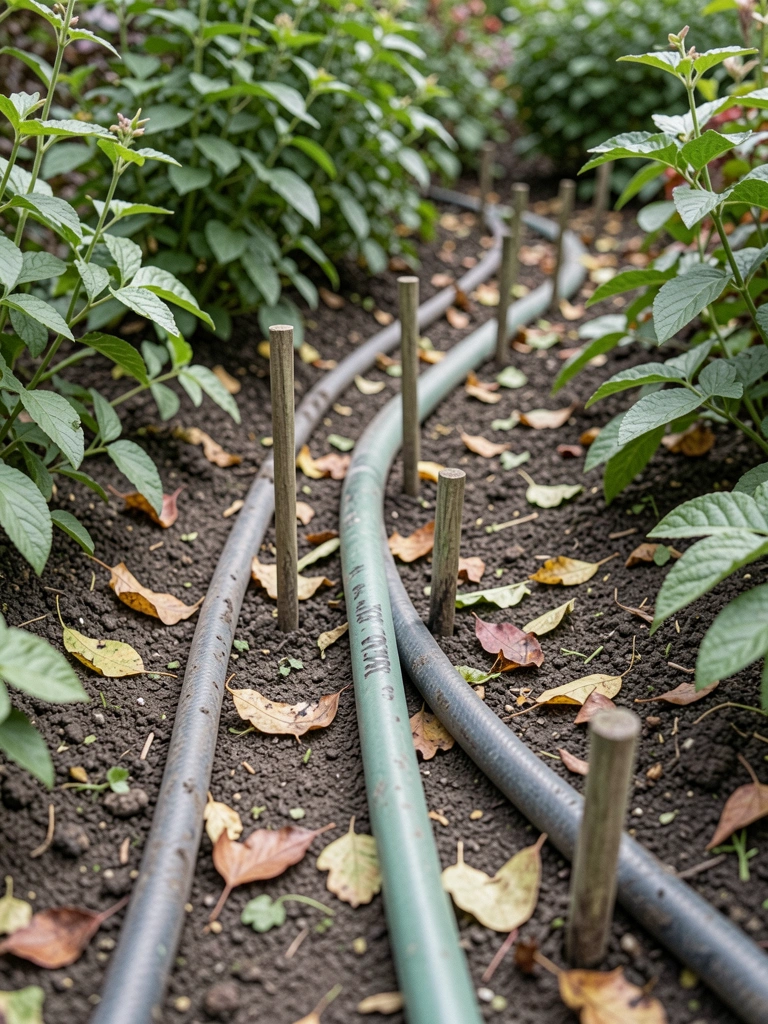
    With hose in place, I push stakes every two feet. They hold the shape. Then I shift rocks and roots aside.

    Now the line stands out. Bare soil shows the curve's promise.

    Most overlook testing the scale. Walk it—too wide feels lost. Don't yank stakes unevenly; it warps the flow.

    I pause here. The curve feels alive against the grass.

    Step 3: Dig a Shallow Trench

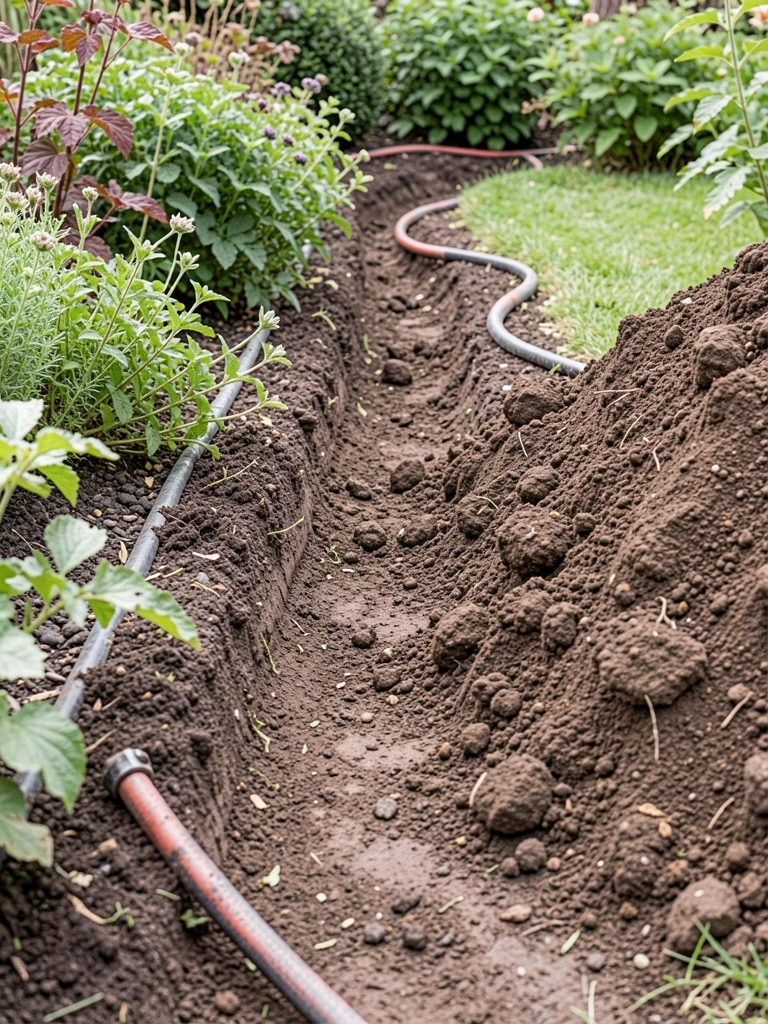
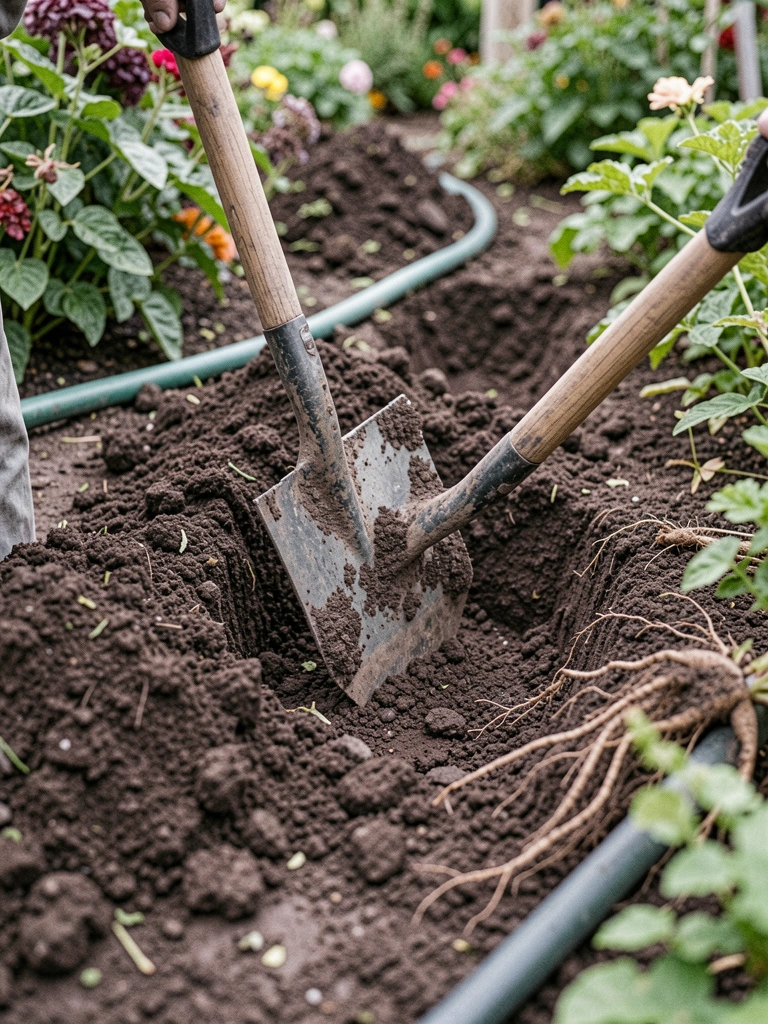
    I work the trowel along the stakes. Shallow, just four inches deep. Smooth the bottom by feel.

    The ground opens up. The curve gains depth, ready to hold.

    Folks dig too deep—edges sink later. Insight: curves need even depth for balance.

    It's simple. The bed now has direction.

    Step 4: Set the Edging in Place

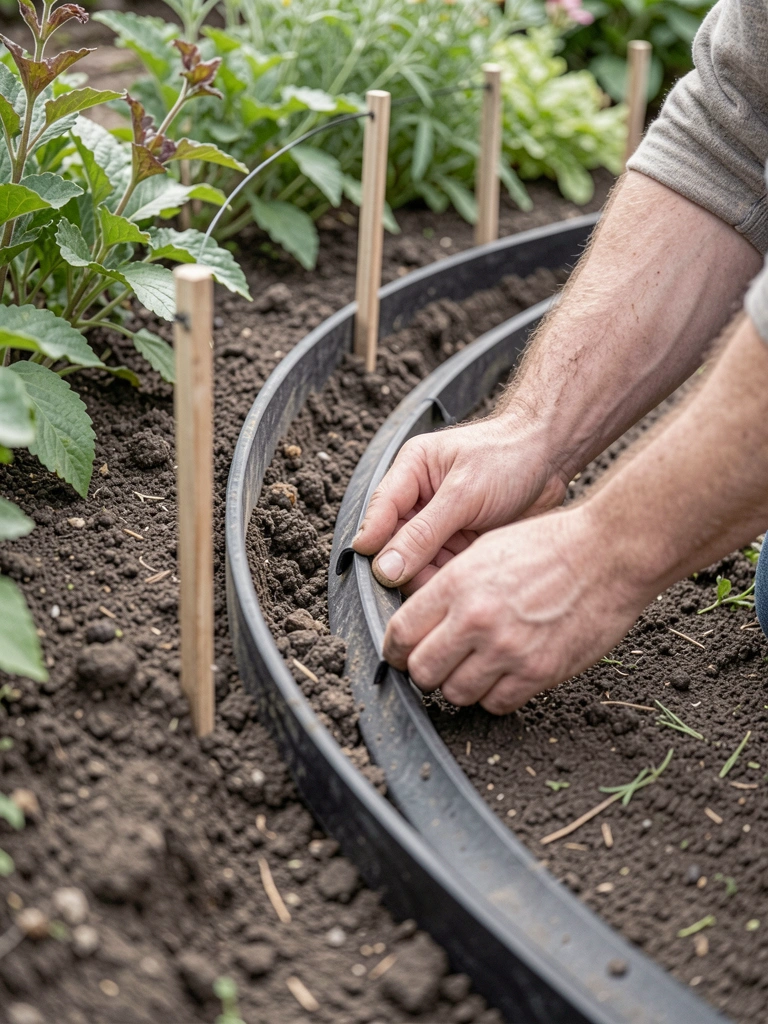
    I unroll the edging strips. Flex them into the trench. Tap stakes through. They hug the soil.

    Visual shift: a clean line emerges. Plants frame it naturally.

    Missed tip: overlap strips slightly for seamless flow. Avoid gaps—they let weeds creep.

    Stand back. The border feels anchored.

    Step 5: Backfill and Mulch

    Sprinkle sand first, then mulch. Pat it down. It locks everything.

    The edge blends. Soft browns tie to the bed.

    People forget to feather the mulch—it looks dumped otherwise. The curve now breathes with the plants.

    It's done. Quiet satisfaction.

    Step 6: Plant Along the New Edge

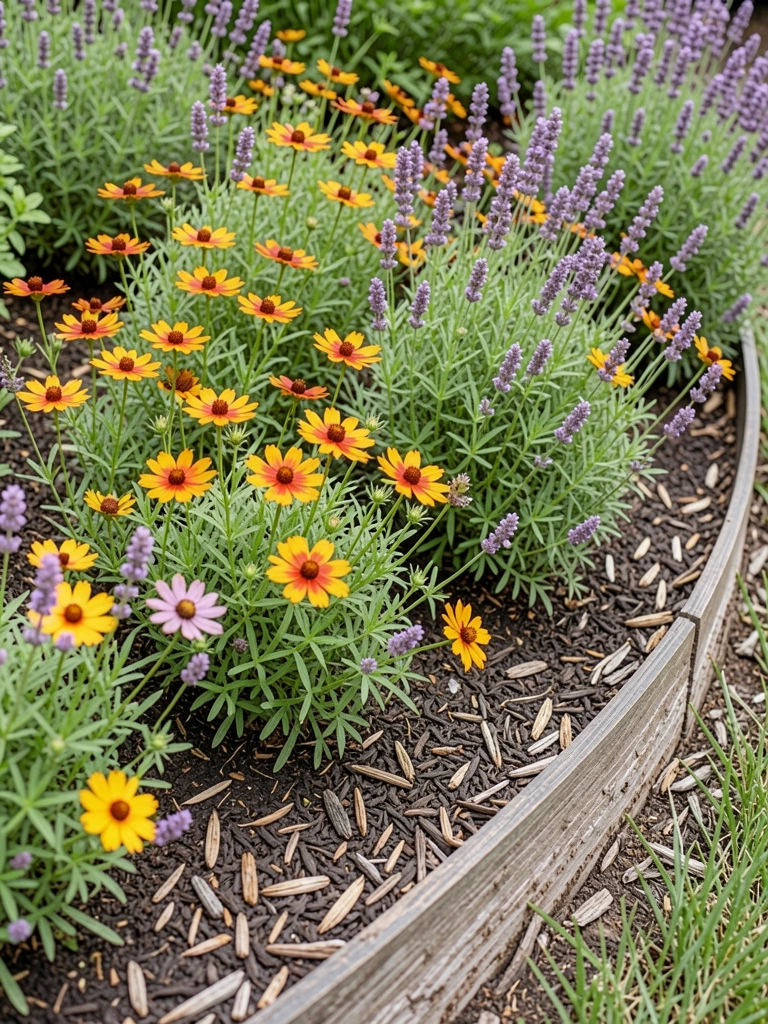
    I tuck in coreopsis and lavender. Spaced for drift. Water gently.

    Plants soften the line. Layers build balance.

    Overplanting crowds it fast. Insight: let the curve lead the spacing.

    Now it flows. The yard feels whole.

    Plant Choices That Work with Curves

    Curves call for low, mounding plants. They follow without fighting.

    Coreopsis spills yellow. Lavender holds steady with gray leaves. Both repeat well.

    • Start with three types max.
    • Mix heights: 12 inches front, 24 back.
    • Choose evergreens for winter bones.

    This keeps the edge clean year-round.

    Keeping the Curve Sharp Over Time

    Edges shift with rain. I check twice a year.

    Rake mulch back in place. Tug plants that wander.

    • Trim overgrowth monthly.
    • Top up mulch in spring.
    • Re-stake if it drifts.

    It stays balanced with little work.

    Ideas for Curves in Tight Spots

    Narrow beds? Shorten the sweep.

    Use the hose to hug walls or paths.

    • Soften corners first.
    • Mirror curves on both sides.
    • Add one focal plant.

    Feels intentional, not squeezed.

    Final Thoughts

    Start with one bed. The curve will pull you to the next.

    You've got this. It changes how the yard sits.

    A good edge quiets the space. Mine still draws me out each morning.

  • How to Install Stone Garden Edging

    How to Install Stone Garden Edging

    I remember staring at my front bed. Grass kept invading the soil. The edge was soft, undefined. Plants spilled over onto the lawn. It felt messy, like the garden couldn't decide where to stop.

    One afternoon, I grabbed some stones. Set them along the curve. Suddenly, everything settled. The bed held its shape. The whole yard looked quieter.

    If your borders blur like that, stone edging fixes it. Simple stones, right placement. Your garden gains clean lines without effort.
    How to Install Stone Garden Edging

    This guide shows you how I edge a bed for lasting balance. You'll end up with borders that hold soil in place and frame plants neatly. It's straightforward work that pays off for years.

    What You’ll Need

    Step 1: Mark the Edge Line

    I walk the bed's edge first. Eye the natural curve where plants meet lawn. Lay a garden hose along it. Step back. Adjust until it feels right—smooth, not forced.
    This sets the flow. The line hugs the bed without cutting corners sharp. Visually, the garden starts breathing easier.

    Most miss how a slight bend softens the look. Straight lines feel rigid. And skip marking deep—your stones will wander later.

    I stake the hose ends. Sprinkle flour or sand along it. Now I see the path clear.
    Step 2: Dig the Trench Base

    I dig just wide enough for one stone plus a fist of sand. Depth matches stone height plus an inch. Follow that hose line slow.

    The trench drops the stones level with soil. Beds look grounded, not floating. Everything balances.

    People forget to angle the trench bottom slightly outward. It sheds water away from plants. Dig too shallow, and frost heaves them up.

    I check depth every few feet with my hand. Smooth the sides. It's ready when it feels like a quiet groove.

    Step 3: Add the Sand Base Layer

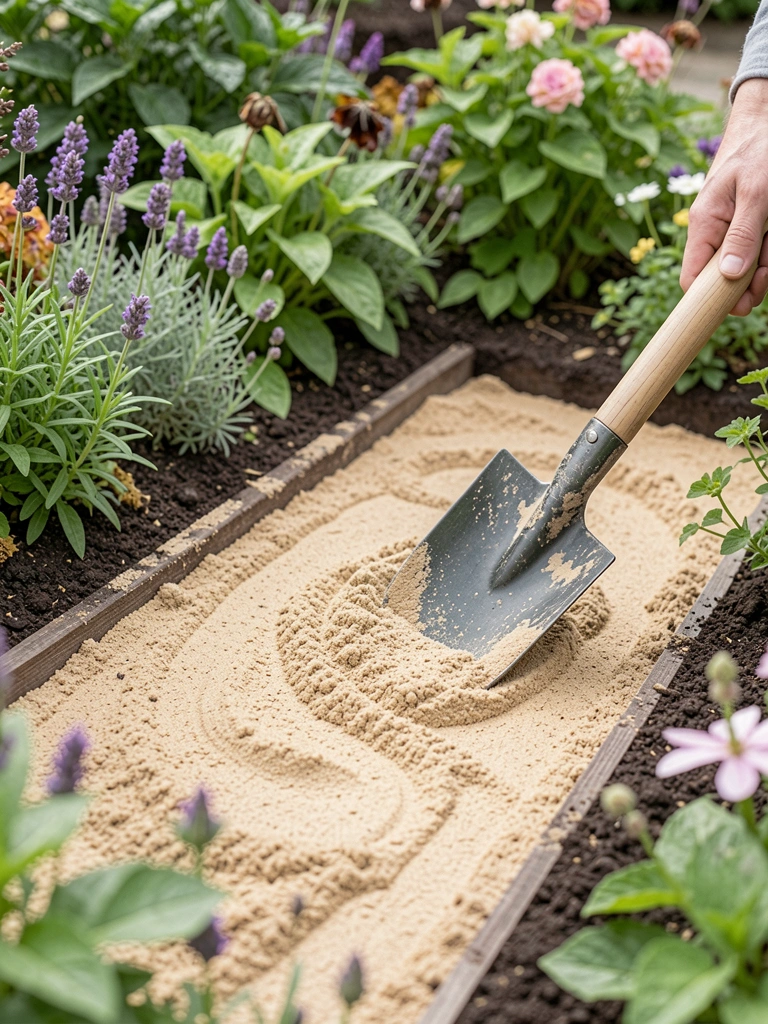
    I pour coarse sand into the trench. About two inches deep. Rake it even. Wet it lightly. Let it settle firm.

    Sand levels the stones easy. They shift less over time. The edge stays straight, plants stay put.
    Insight: Dry sand first, then tamp. It packs without air pockets. Avoid fine play sand—it washes away.
    I run my level across. Tap down high spots. Now it cradles the stones just right.

    Step 4: Lay and Level the Stones

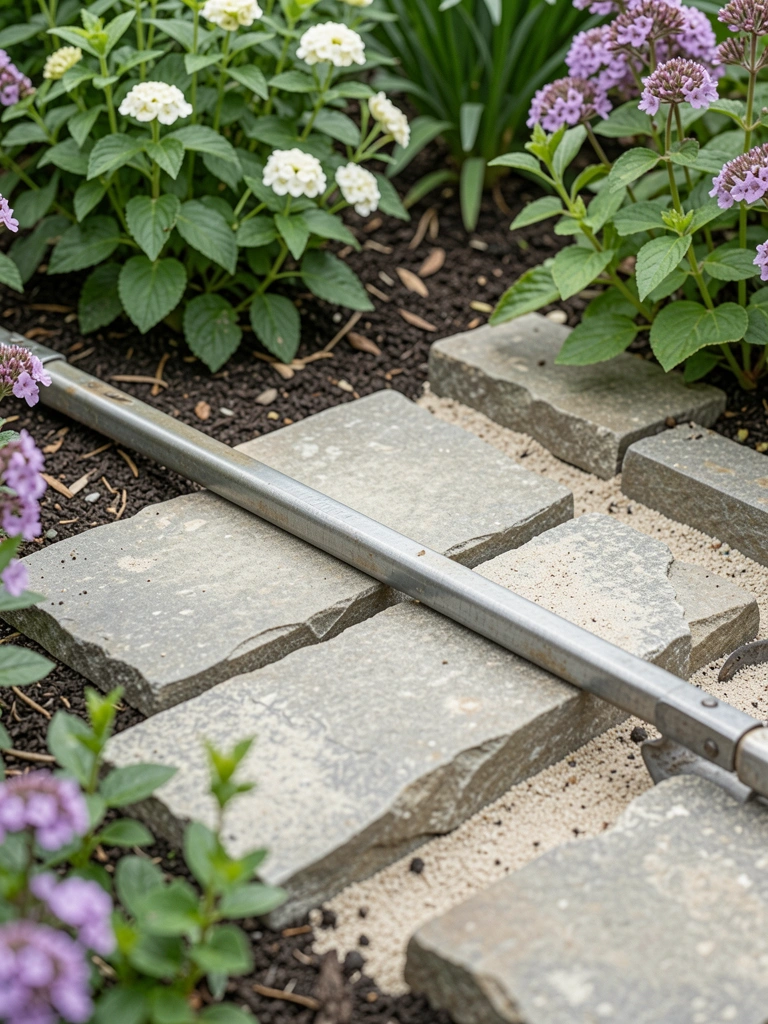
    I drop stones in one by one. Butt them close, no gaps. Check level side to side, front to back.

    They lock together snug. The border feels solid, like it grew there. Plants gain a frame that draws the eye.

    Missed tip: Vary heights slightly for a natural rhythm. All same size looks off. Don't force them—let gravity seat them.

    I nudge with my foot. Pin landscape fabric behind if weeds worry me. It's holding shape already.

    Step 5: Backfill and Settle

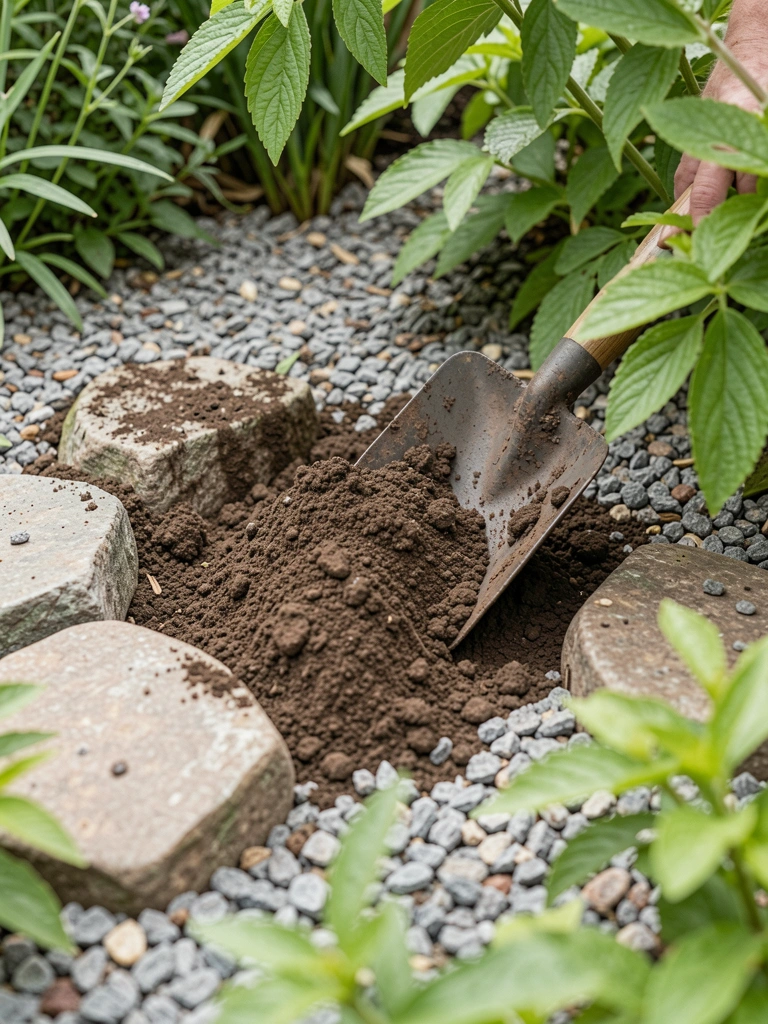
    I shovel soil against the front, gravel behind. Firm it down. Water gently to settle.

    Soil locks the stones tight. No wobble. The bed looks finished, balanced front to back.

    Common slip: Overpack soil—it pushes stones out. Light tamp only. And add mulch soon—weeds hate it.

    Stand back. The edge blends plants and path. Quiet, clean lines.

    Choosing Stones That Last

    I pick stones by feel in my hand. Rough texture grips soil better. Gray or beige blends with most gardens.

    Size matters for scale. 12-inch fits small beds without overwhelming.

    • Flat bottoms seat level easy.
    • Weathered edges look lived-in from day one.
    • Local stone matches your soil tones.

    Mix sizes for subtle curve. It holds better than uniform rows.

    Filling Behind for Clean Lines

    After stones set, I layer landscape fabric. Pin it down. Top with gravel or mulch.

    This keeps weeds out. Soil stays put.

    • 2 inches gravel drains well.
    • Mulch warms the bed look.
    • Skip fabric if you plant thick.

    The backfill makes the edge pop. Plants lean without spilling.

    Handling Curves and Corners

    Curves need flexible planning. Hose marks them best.

    At corners, overlap stones slight. No sharp cuts.

    • Miter edges gently.
    • Smaller stones fill bends.
    • Check flow from the path.

    It keeps the garden moving smooth. No awkward stops.

    Final Thoughts

    Start with one short bed. See how it settles your space.

    Stones shift little once placed right. You'll add more beds next season.

    Your garden feels held together. Simple lines, real balance. Just dig in.

  • 23 Rock Garden Edging Ideas for Natural Style

    23 Rock Garden Edging Ideas for Natural Style

    Last spring, my front bed edges had turned into a weedy blur. Grass crept in everywhere. I hauled home a bucket of smooth river rocks. Lining them along the curve stopped the invasion cold.

    The garden felt grounded right away. Cleaner lines let the plants breathe.

    Now, every time I walk by, it pulls me in. Simple rocks did that.

    23 Rock Garden Edging Ideas for Natural Style

    These 23 rock garden edging ideas come straight from my dirt-under-the-nails years. I've dug them in myself or fixed them in neighbor yards. Each one gives that natural border feel. Grab what fits your spot—no perfection needed.

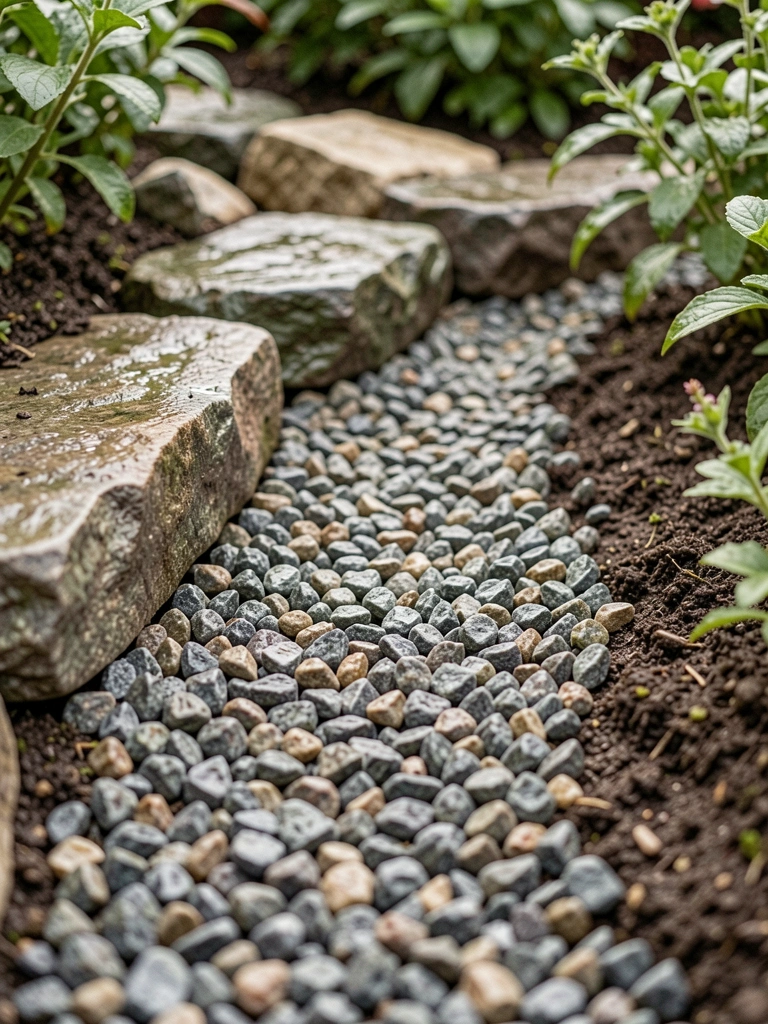
    1. Smooth River Rocks in a Shallow Trench

    I dug a shallow trench along my walkway last year, just six inches deep. Dropped in smooth river rocks I'd collected from a local stream. They settled unevenly at first, but that's what made it look real—not stiff like plastic edging.

    The rocks stopped grass from spilling over and gave the path a soft boundary. Walking on it now feels like stepping through a quiet creek bed. Flowers on one side pop against the gray tones.

    Pay attention to rock size—mix mediums so they lock together. Wet them down after placing; they shift less as they dry.

    What You’ll Need for This Look

    2. Stacked Flat Fieldstones for Low Walls

    My side yard sloped awkwardly, so I stacked flat fieldstones into a knee-high edge. No mortar—just gravity and a bit of soil wedged in gaps. It took an afternoon of trial-stacking to get them steady.

    Now, it holds back soil perfectly, and thyme creeps over the top. The wall adds quiet depth to the yard, framing perennials without shouting.

    Start with larger base stones; smaller ones wobble up top. Tamp soil behind for support.

    What You’ll Need for This Look

    3. Large Boulders Clustered at Bed Corners

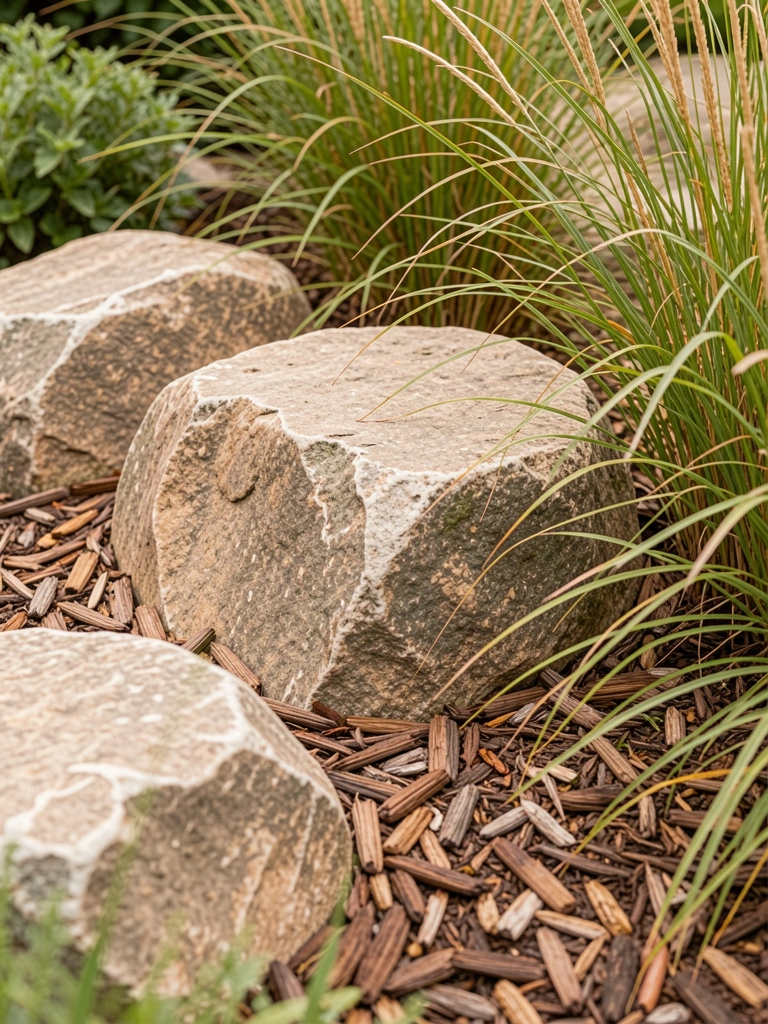
    I placed three big boulders at the corners of my veggie bed. Sourced them cheap from a quarry pile. They anchor the space, making the whole bed feel established overnight.

    No more loose dirt edges—boulders define turns sharply. Grasses sway around them, softening the bulk.

    Dig them in half their height for stability. Cluster odd numbers for natural flow.

    What You’ll Need for This Look

    4. Gravel-Filled Rock Border with Drainage

    Rain used to pool at my flower bed edge, rotting roots. I lined it with larger rocks, backfilled pea gravel. Water drains fast now, roots stay happy.

    The mix looks textured, like a dry riverbed. It edges cleanly without weeds taking hold.

    Layer gravel deep—three inches minimum. Top with finer rocks for grip.

    What You’ll Need for This Look

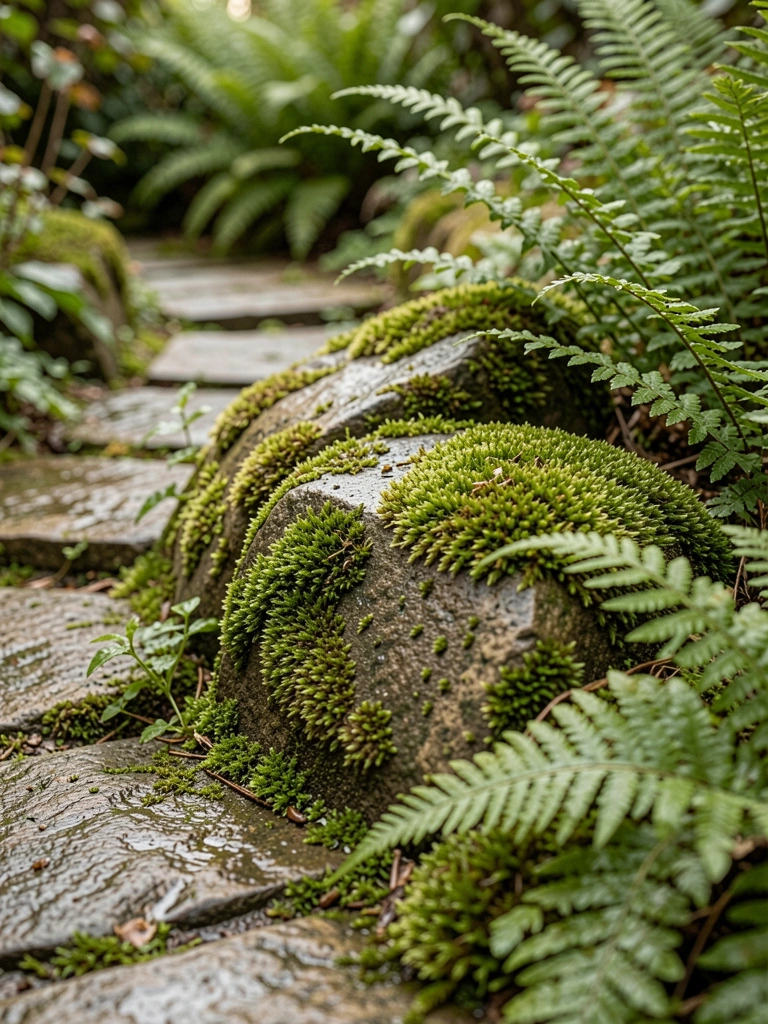
    5. Mossy Rocks Wedged into Soft Curves

    I wedged mossy rocks into a curving path edge, thinking it'd stay green forever. Mistake—direct sun dried half the moss. Live and learn; now I mist it weekly.

    The curves invite slow walks, moss adds that soft, forest touch. It holds soil back gently.

    Harvest moss from shady spots nearby. Curve loosely—no sharp bends.

    What You’ll Need for This Look

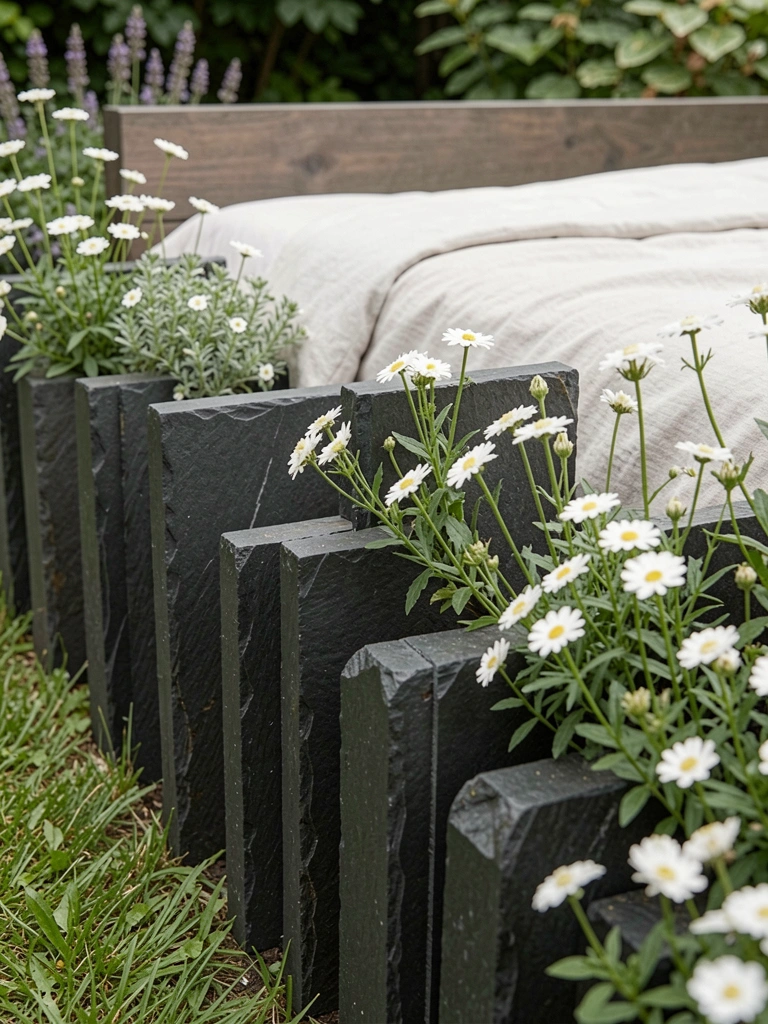
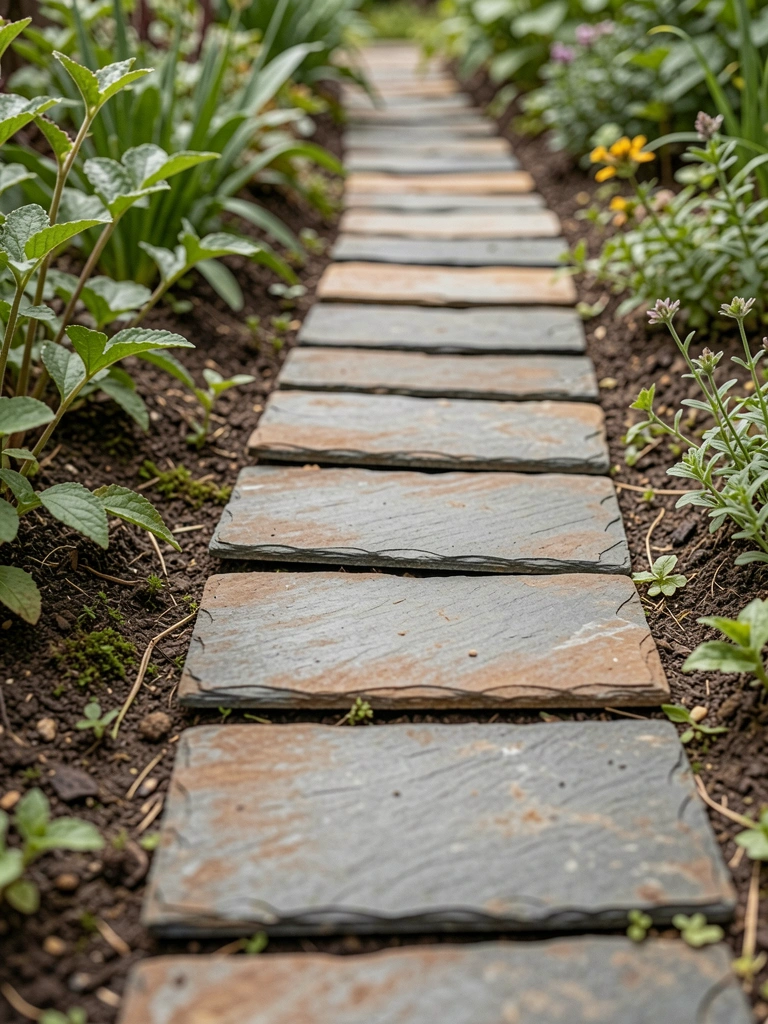
    6. Vertical Slate Slabs for Clean Lines

    Slate slabs pounded vertically gave my herb bed crisp edges. Buried a third deep, they stand firm against foot traffic.

    The dark slate contrasts herbs' greens, making small plants look tidy. Feels modern but grounded.

    Choose thin slabs—easier to drive in. Space them tight.

    What You’ll Need for This Look

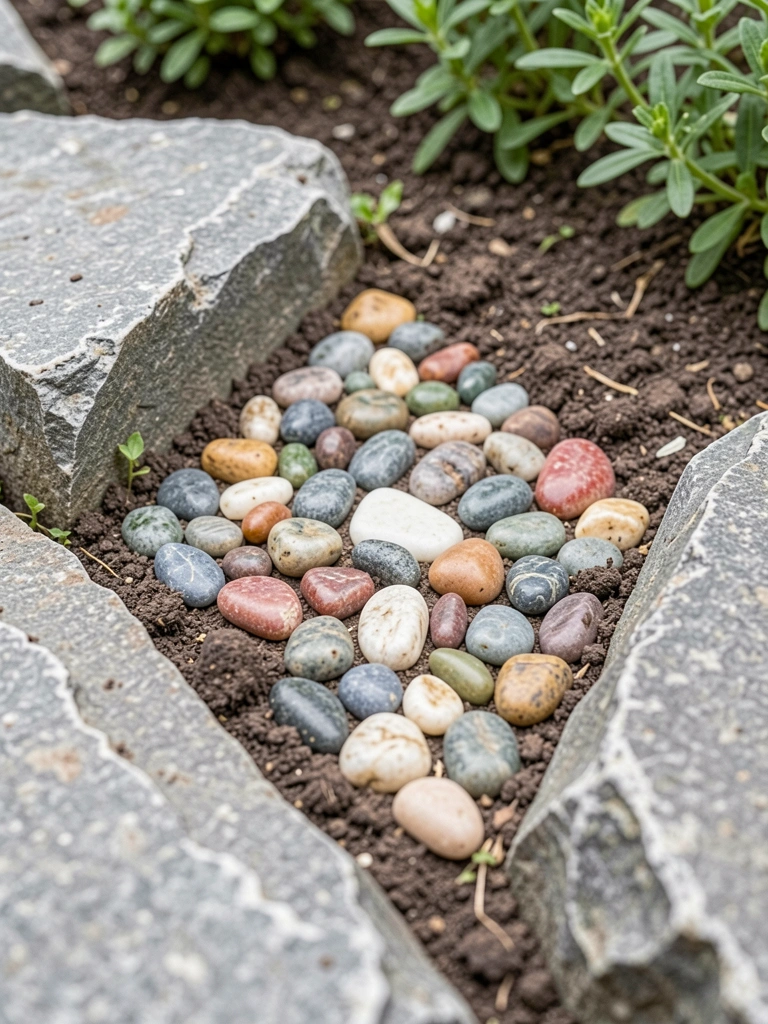
    7. Pebble Mosaic Inset Edges

    I set pebbles into a mortar base along my patio edge, mixing river rocks around. Subtle pattern emerged, drawing eyes without overwhelming.

    It edges firmly, pebbles lock in place. Adds quiet interest to plain stone.

    Use outdoor mortar; regular cracks outdoors. Press pebbles deep.

    What You’ll Need for This Look

    8. Limestone Chips in Wavy Borders

    White limestone chips in a wavy line brightened my shady bed. Easy to rake smooth after rain.

    Waves mimic natural contours, chips reflect light softly. Weeds struggle to root.

    Dump and rake—no digging needed. Refresh yearly.

    What You’ll Need for This Look

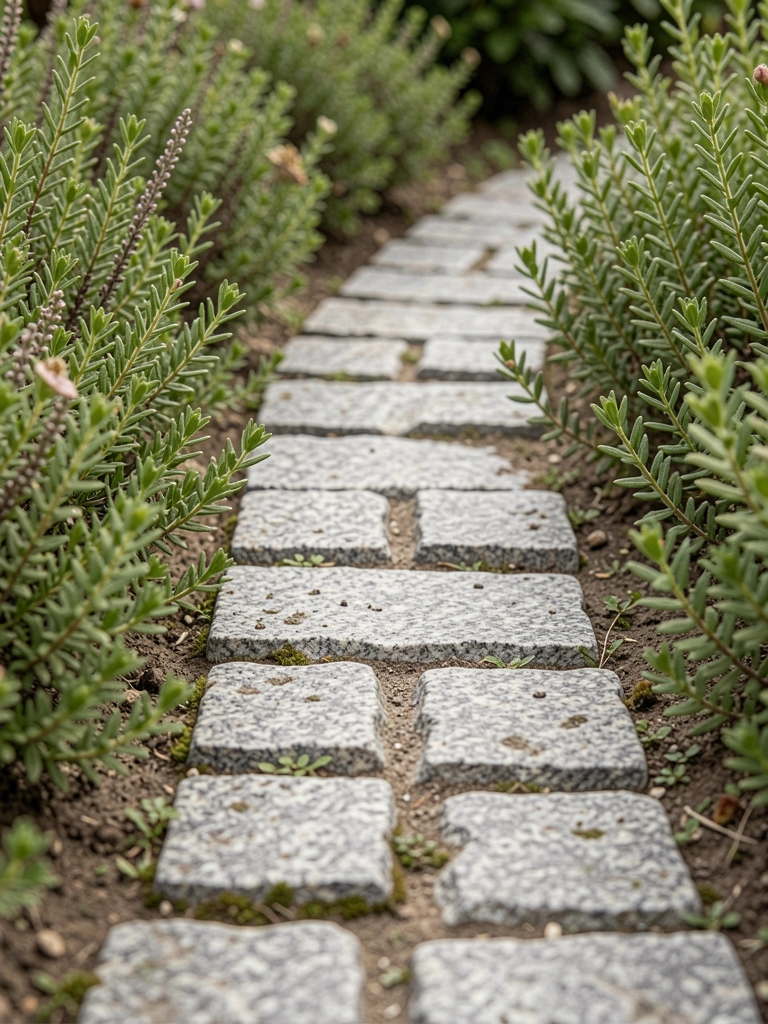
    9. Granite Cobbles for Rustic Paths

    Granite cobbles line my back path, rough texture underfoot. Butted them close for a seamless edge.

    Path feels old-world cozy, cobbles shed water well. Shrubs tuck in nicely.

    Source local for color match. Butt ends tight.

    What You’ll Need for This Look

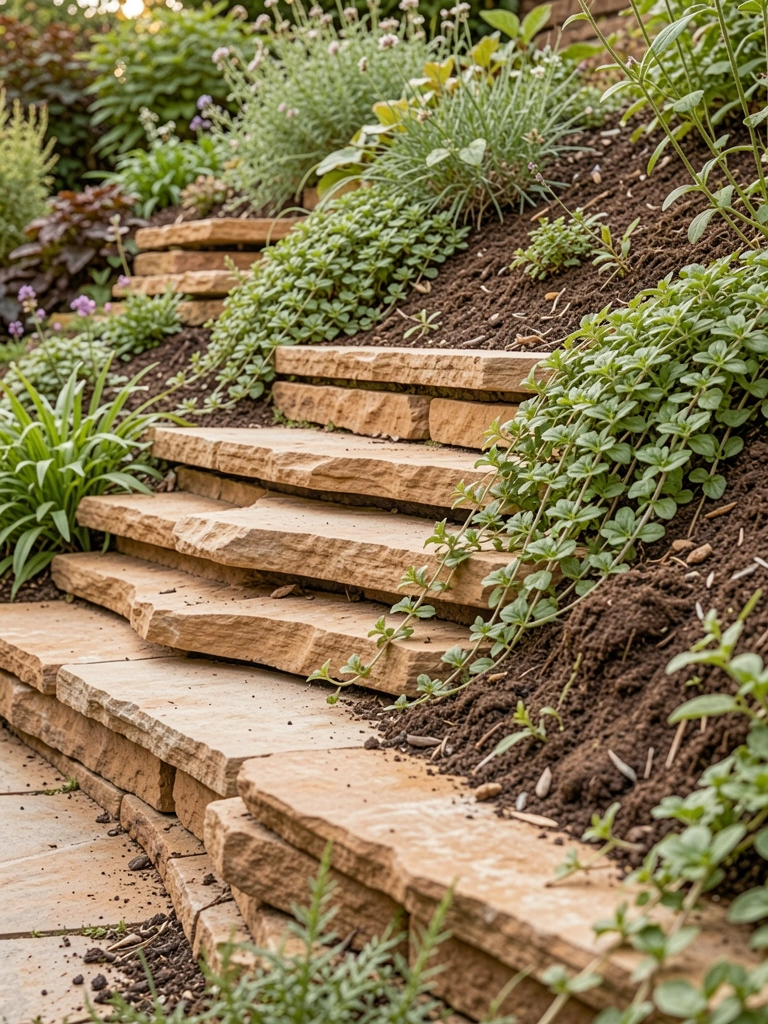
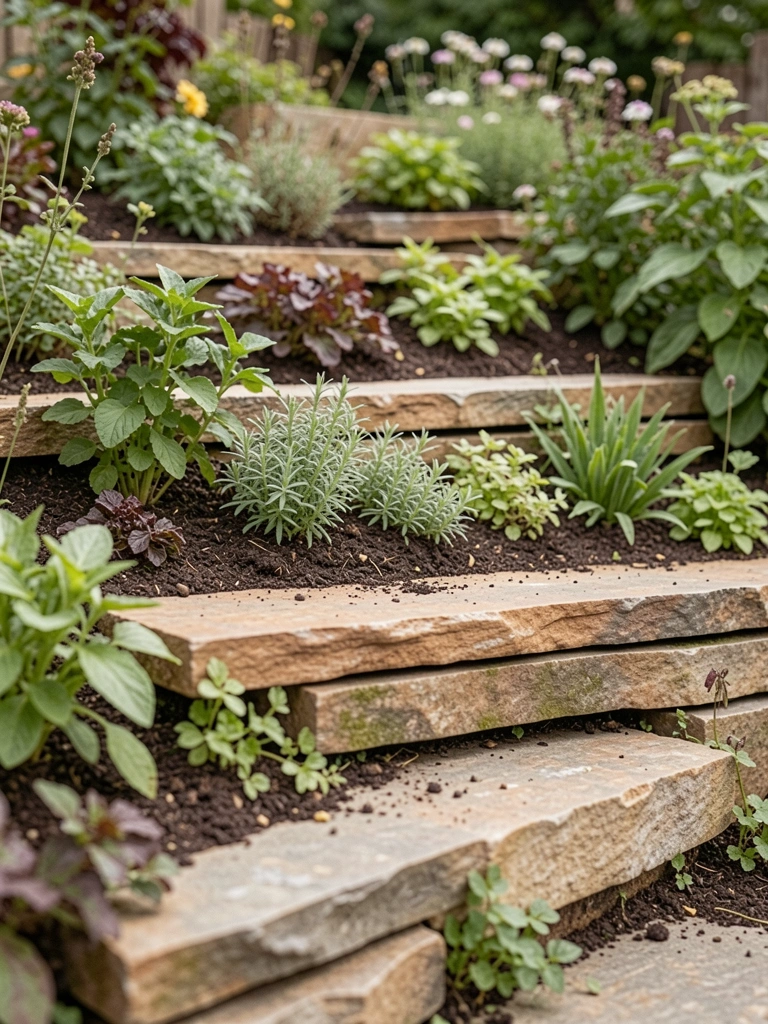
    10. Sandstone Layers Stepped Down Slopes

    On my slope, layered sandstone steps the edge down gently. Each layer overlaps slightly for hold.

    Sedum spills over, softening stone. Slope stays put, no erosion.

    Overlaps prevent slips. Plant trailers immediately.

    What You’ll Need for This Look

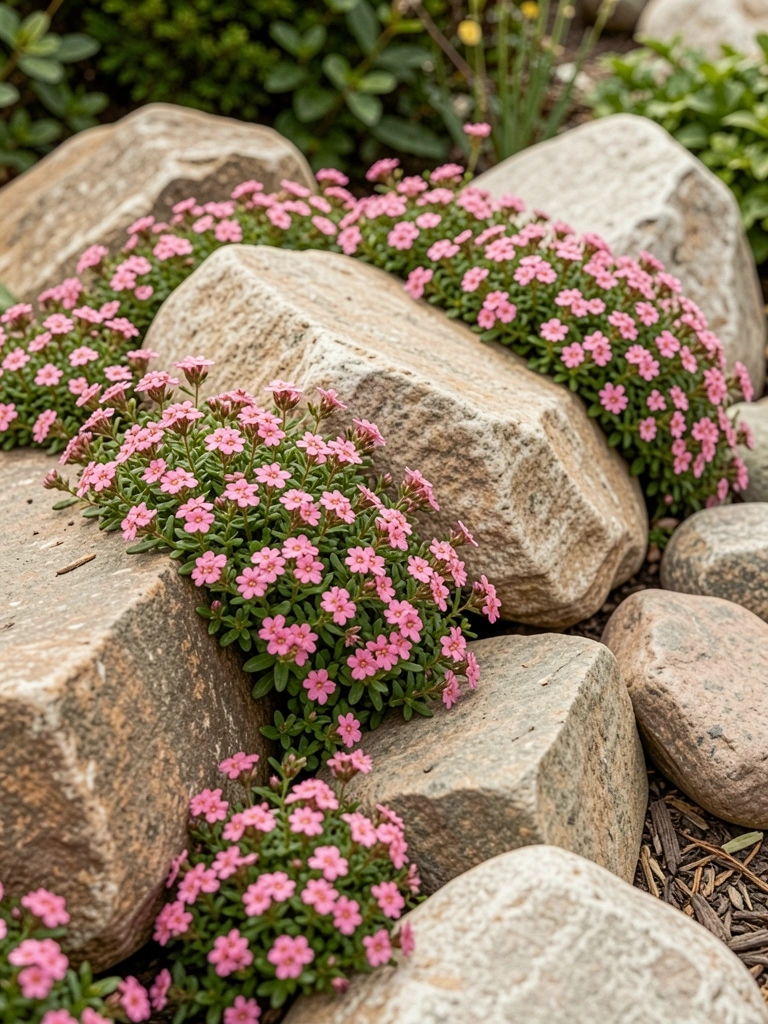
    11. Boulder Clusters with Creeping Phlox

    Clustered boulders with phlox threading gaps edge my front bed. Phlox blooms hide boulder bases.

    Spring pink against gray warms the yard. Edges feel alive, not static.

    Plant phlox shallow; it roots fast. Cluster boulders loosely.

    What You’ll Need for This Look

    12. Rock Ledges for Terraced Beds

    Terraced my hillside with rock ledges—too shallow at first, soil washed out. Added deeper backfill next time.

    Now tiers hold herbs level, easy to reach. Yard feels roomier.

    Dig wide bases. Backfill heavy.

    What You’ll Need for This Look

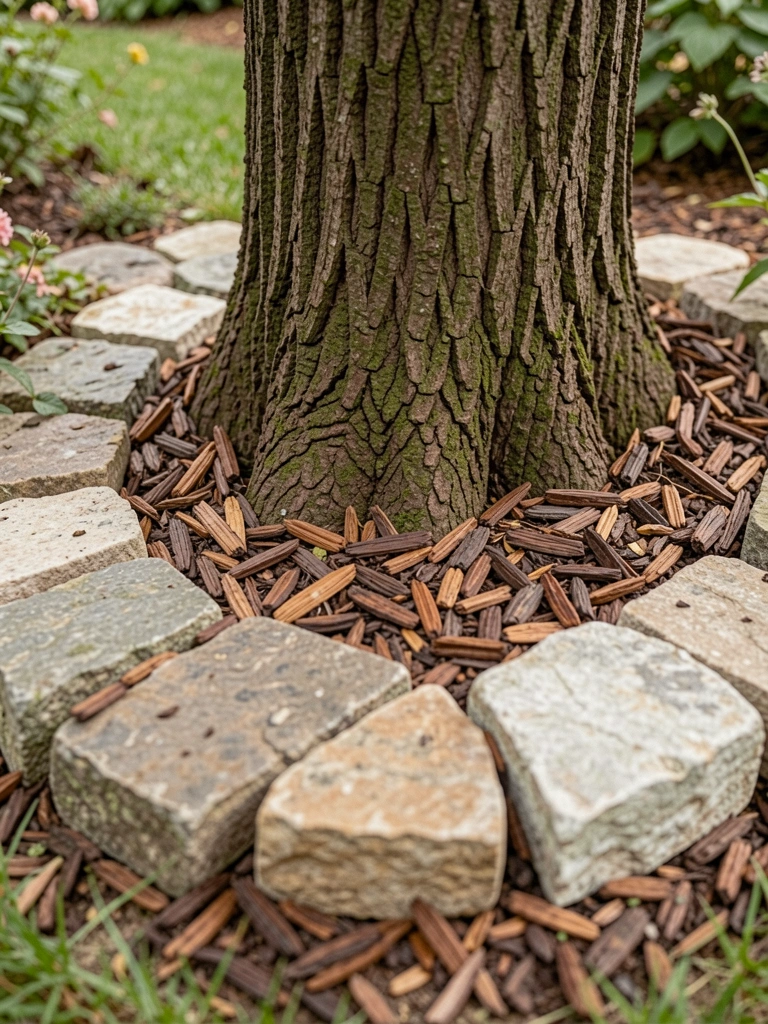
    13. Circular Rock Rings Around Trees

    Rocks in a loose circle around my oak keep mower away. Mulch inside stays clean.

    Tree base looks protected, circle guides eyes outward. No grass competition.

    Keep ring wide—three feet minimum. Mulch deep.

    What You’ll Need for This Look

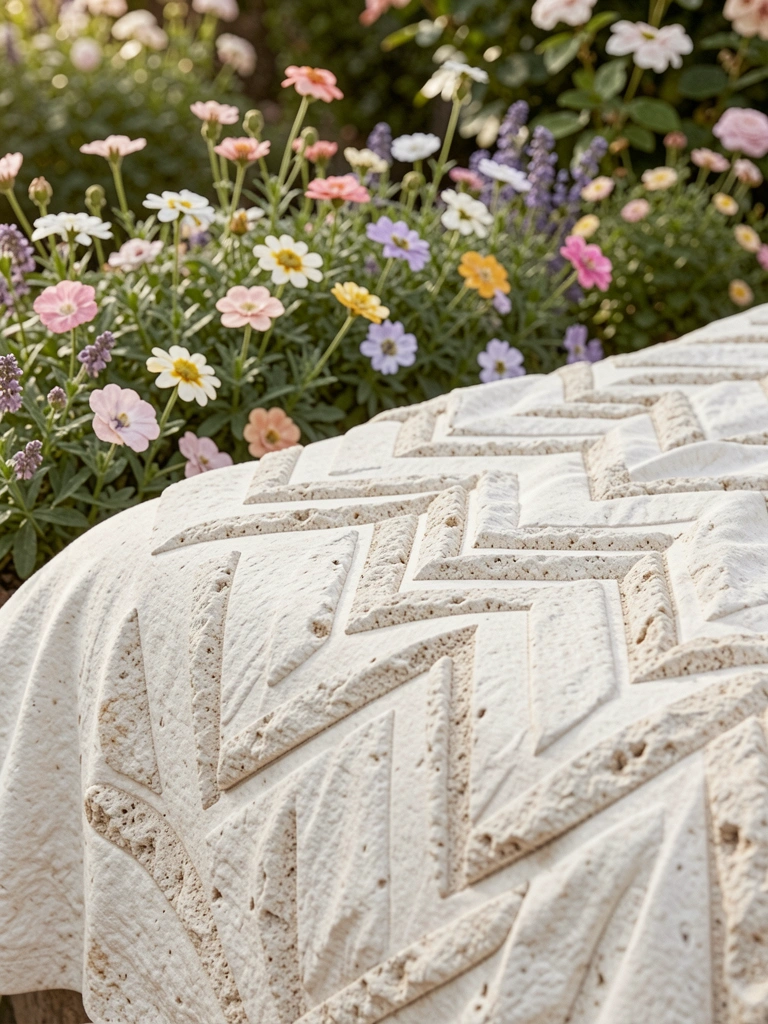
    14. Zigzag Limestone Lines for Interest

    Zigzag limestone broke up my straight bed line. Adds movement without chaos.

    Flowers nestle in zigs, line draws you along. Feels playful yet contained.

    Vary zig depth. Set low for mowing.

    What You’ll Need for This Look

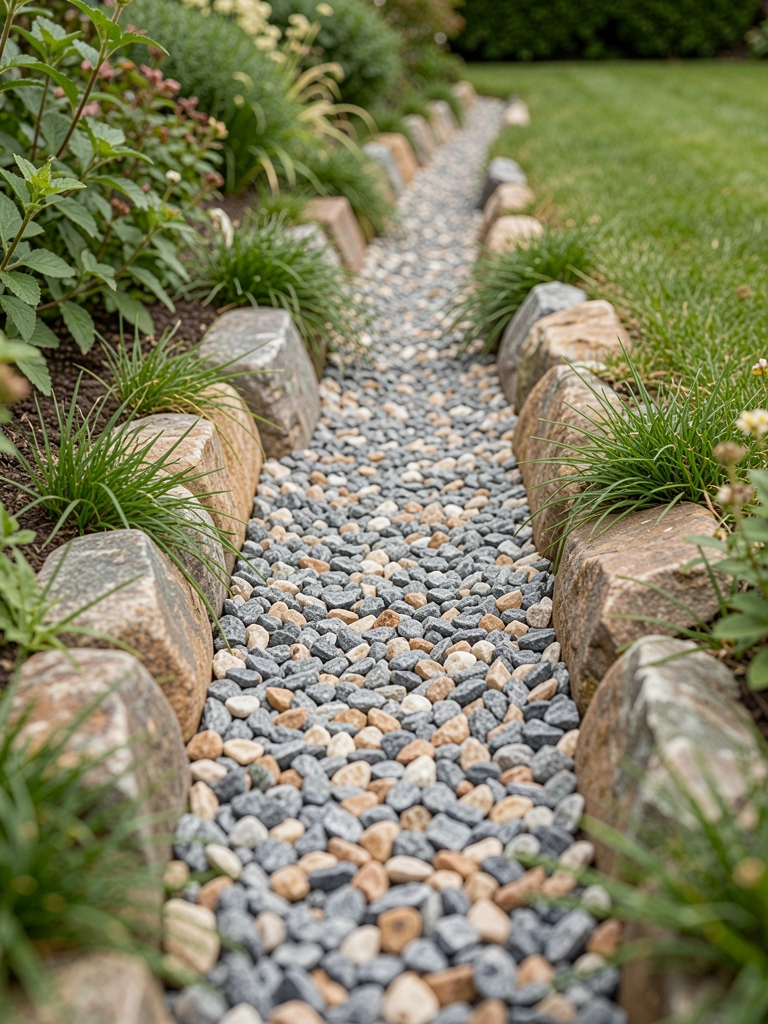
    15. Sunken Gravel and Rock Trenches

    Sunken trenches with rock sides, gravel fill, swallow weeds whole. Low profile blends in.

    Lawn edges sharp, trench drains excess water. Yard stays dry-footed.

    Dig even depth. Gravel to top.

    What You’ll Need for This Look

    16. Weathered Slate Pieces in Irregular Rows

    Irregular slate rows edge my shade bed, pieces vary in height for texture.

    Slate weathers to silver, blends with hostas. Edges feel hand-placed.

    Overlap slightly. No straight lines.

    What You’ll Need for This Look

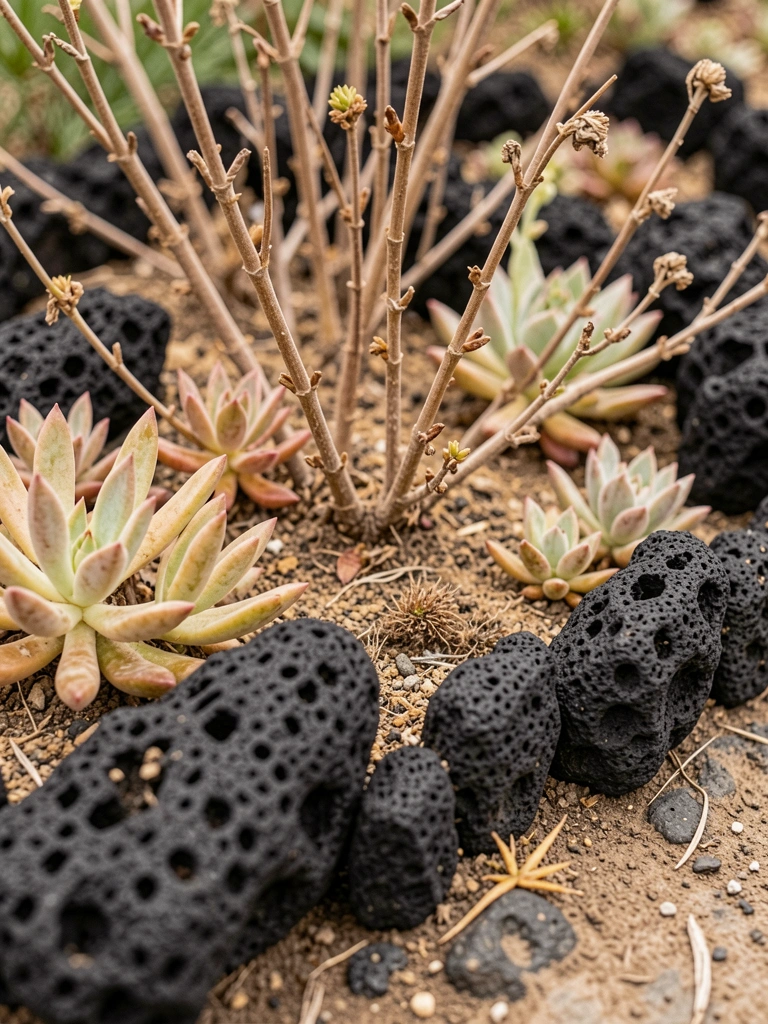
    17. Lava Rock for Dry, Warm Edges

    Lava rock edges my succulent bed, porous black holds heat, warms roots.

    Contrasts green pads sharply, low water needs match. Desert feel in suburbia.

    Rinse dust first. Layer two inches.

    What You’ll Need for This Look

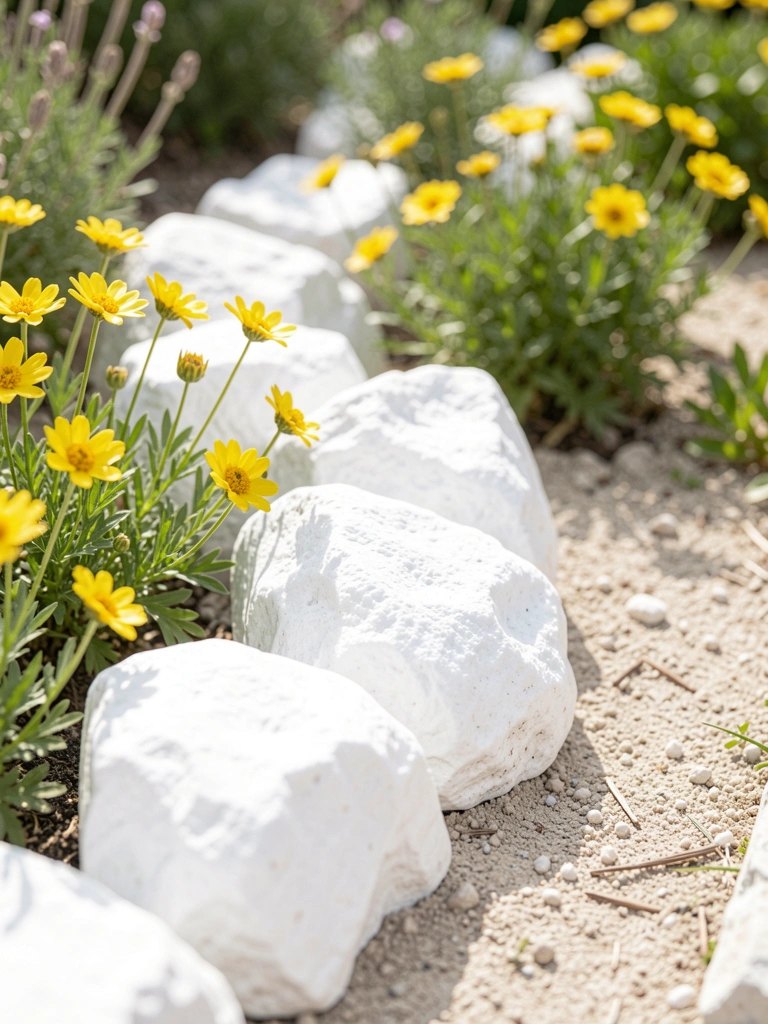
    18. Quartzite White Rocks for Bright Borders

    White quartzite lit my dark corner bed. Too bright at first—toned with dirt wash.

    Now glows softly, makes yellow blooms sing. Edges pop in shade.

    Bury half for subtlety. Hose clean yearly.

    What You’ll Need for This Look

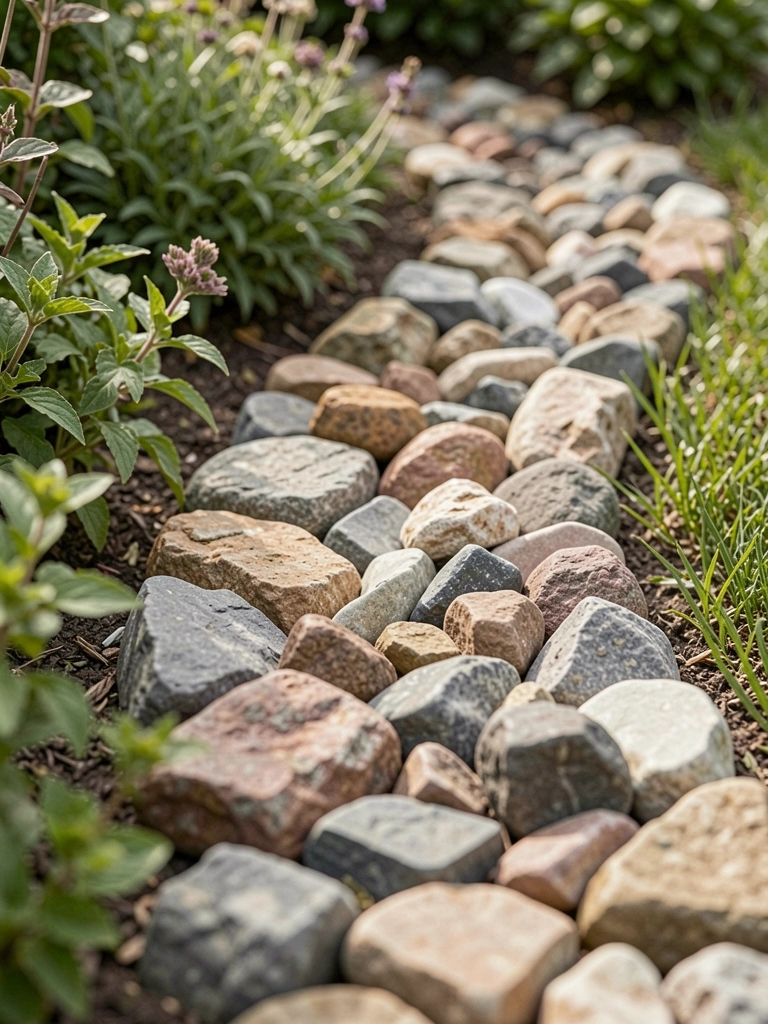
    19. Mixed Rock Sizes for Textured Curves

    Mixed sizes curve my island bed, larges anchor, smalls fill.

    Texture invites touch, curves flow with yard shape. Stable year-round.

    Sort sizes first. Nest smalls tight.

    What You’ll Need for This Look

    20. Flat Rocks Over Linen Fabric Base

    Fabric under flat rocks kills weeds long-term. Rocks sit secure atop.

    Clean edges persist, fabric fades unseen. Low fuss forever.

    Pin fabric well. Overlap seams.

    What You’ll Need for This Look

    21. Polished Pebbles for Subtle Modern Edges

    Polished pebbles edge my clean patio, subtle shine catches light.

    Modern without coldness, pebbles shift minimally. Ties stone to green.

    Rinse often. Thin layer suffices.

    What You’ll Need for This Look

    22. Stacked Rounds for Cottage Borders

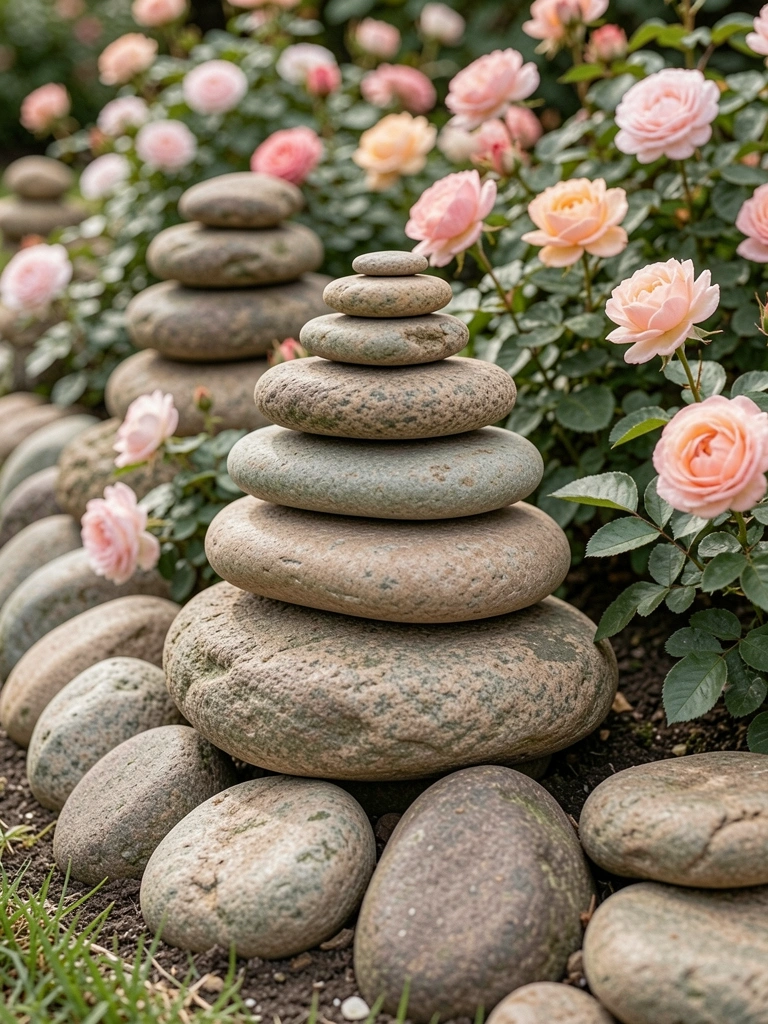
    Round rocks stacked cottage-style border my roses. Low walls cup plants.

    Feels homey, stacks lean slightly for charm. Holds mulch in.

    Stack stable bases. Plant right away.

    What You’ll Need for This Look

    23. Chunky Flints for Wild Edges

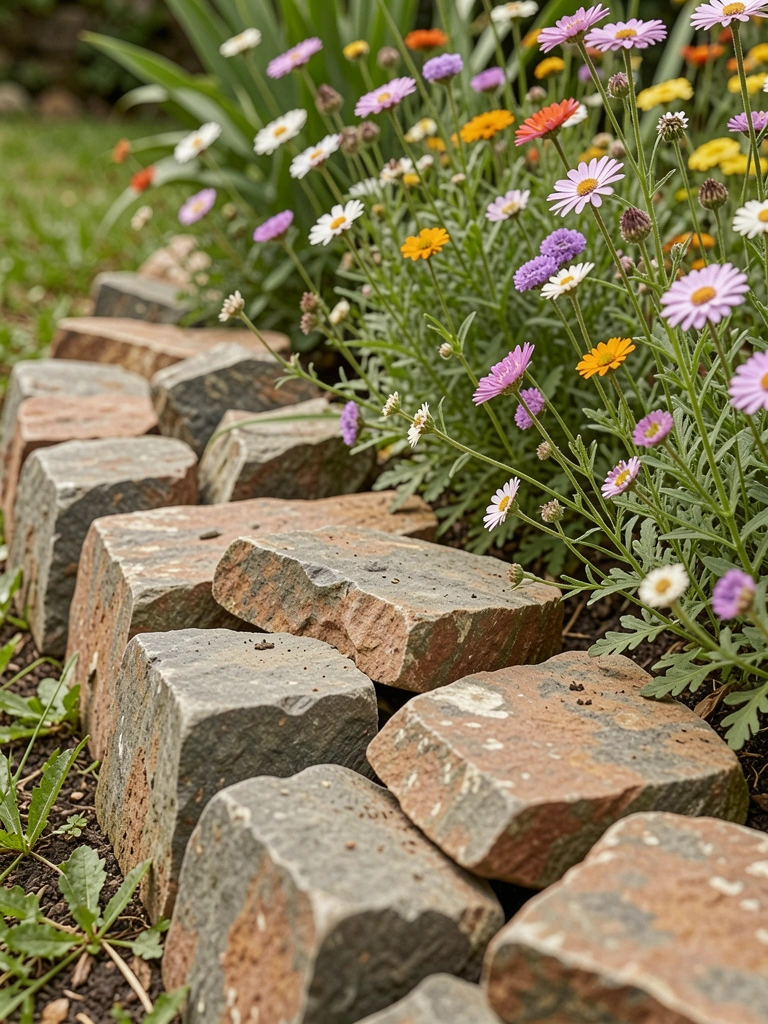
    Chunky flints edge my wild bed—flipped some too soon, scattered. Rebuilt tighter.

    Wild look matches flowers, flints gleam wet. Edges wander free.

    Toss loosely first, adjust. Let settle.

    What You’ll Need for This Look

    Final Thoughts

    Pick one or two ideas that match your yard's quirks. No need for all 23—start small, see how rocks settle.

    They'll age into place, feeling more yours over time. You've got this; dirt and stones forgive mistakes.

  • 17 Smart Small Garden Edging Ideas

    17 Smart Small Garden Edging Ideas

    I stared at my scrappy little backyard last spring. Weeds crept into every bed, and paths blurred into chaos. No edges meant no order. Then I started edging—simple lines that made the whole space breathe.

    One afternoon with bricks changed it. Suddenly, beds popped, and I could walk without tripping.

    Now my garden feels contained, like it belongs to me. If your small spot's a mess like mine was, these ideas will help you fix it fast.

    17 Smart Small Garden Edging Ideas

    Here are 17 smart small garden edging ideas I've used in my own tight backyard spaces. They're practical, forgiving for beginners, and make any garden feel pulled together.

    1. Brick Half-Moons That Hug Tight Curves

    Curves in small gardens eat space unless you edge smart. I laid bricks in half-moons around my front path roses last year. It softened the lines, kept mulch in place, and stopped grass invasion.

    The bricks settled uneven at first—I'd rushed the digging. But after a rain, they locked in. Now the bed feels cozy, not cramped.

    Pay attention to soil level; dig a shallow trench first. Stack them tight, no mortar needed.

    What You’ll Need for This Look

    Red clay edging bricks (8×4 inch)

    Landscape fabric pins

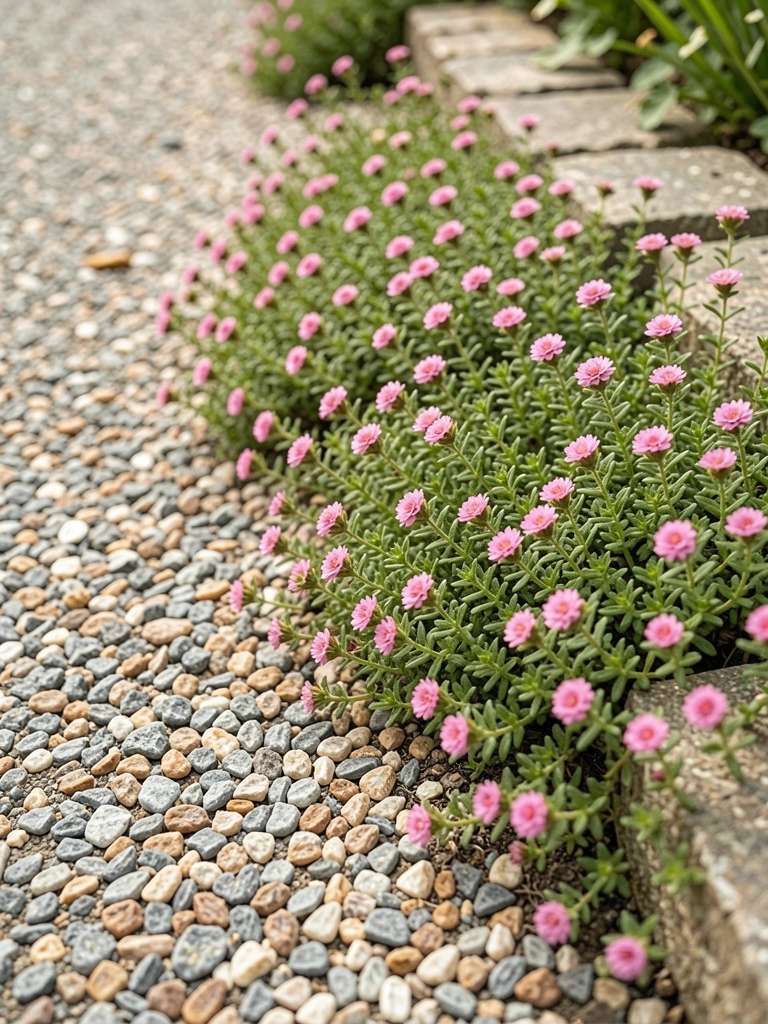
    2. River Rocks Lined for Winding Paths

    Paths in my side yard were muddy ruts until river rocks. I lined them along the edges, letting them peek above gravel. It guides your eye without walls.

    Rocks shift if not bedded right. Mine did once—lesson learned: tamp soil firm.

    Visually, it adds movement; emotionally, it invites walks. For small spots, source flats that fit your curve.

    What You’ll Need for This Look

    Smooth river rocks (2-4 inch assorted)

    Pea gravel bag (0.5 cubic ft)

    3. Sawn Logs for a Woodsy Border Feel

    Logs give small gardens that cabin vibe without bulk. I sawn pressure-treated rounds from scraps and buried half in my herb bed edge.

    They rotted faster than expected in wet soil—now I space them for drainage. But the warmth draws you in.

    It defines without stealing light. Sink them level, add chips inside.

    What You’ll Need for This Look

    Pressure-treated landscape timbers (4x4x48 inch)

    Wood chip mulch bag

    4. Lavender Strips That Double as Walkways

    Plants edge better than stone sometimes. Lavender lines my patio path—low, fragrant, bee-friendly.

    I planted too close first; they sprawled. Thinned now, perfect width.

    Brush past, smell hits you. For small yards, choose compact varieties. Trim yearly.

    What You’ll Need for This Look

    Lavender plants (1 gallon, compact)

    Stepping stones (12 inch round)

    5. Galvanized Steel for Sharp Modern Lines

    Steel cuts clean in tiny plots. I hammered strips into my side bed; holds soil like iron.

    Bent one panel wrong—use gloves, stake ends. Now it's crisp, low-maintenance.

    Makes plants stand out. Hammer 6 inches deep.

    What You’ll Need for This Look

    Galvanized steel landscape edging (1/8 inch thick, 40 ft)

    Edging stakes (12 inch galvanized)

    6. Pebble Trenches with Flat Stone Caps

    Trenches add depth without height. Pebbles in my front walk edge, capped with flats.

    Caps slipped once—heavy mortar fixed it. Drains rain fast.

    Quiet crunch underfoot. Dig 4 inches wide.

    What You’ll Need for This Look

    Decorative white pebbles (0.5 inch, 30 lb bag)

    Flat slate stepping stones (12×12 inch)

    7. Cedar Planks for Mini Raised Edges

    Planks lift edges subtly. Cedar ones border my kitchen herbs—holds soil, easy reach.

    Warped in sun—seal next time. Feels intentional.

    Plants thrive higher. Screw to stakes.

    What You’ll Need for This Look

    Cedar landscape boards (1x6x8 ft)

    Galvanized landscape screws (3 inch)

    8. Twisted Willow Branches for Organic Curves

    Branches feel alive. Willow twists edge my shade spot—free from prunings.

    Dried out fast—wire now. Blends natural.

    Sways in wind. Pound in fresh.

    What You’ll Need for This Look

    Flexible willow branches (6 ft lengths)

    Galvanized wire (12 gauge)

    9. Boxwood Clumps for Soft Green Frames

    Evergreens frame neat. Boxwood dots my patio—clips easy, year-round.

    Overgrew once—shear often. Holds shape.

    Frames flowers soft. Space 12 inches.

    What You’ll Need for This Look

    Dwarf boxwood plants (1 quart)

    Hand pruning shears

    10. Bamboo Poles Driven for Tropical Flair

    Bamboo adds height light. Poles line my dry bed—cheap, quick.

    Split in freeze—soak ends. Vertical interest.

    Exotic yet simple. Drive 18 inches deep.

    What You’ll Need for This Look

    Bamboo garden stakes (1 inch x 36 inch)

    Succulent mix soil (8 qt bag)

    11. Concrete Paver Halves for Budget Straight Lines

    Pavers halve costs. Broke mine for lawn edge—straight, sturdy.

    Chipped edges—sand smooth. Clean divide.

    Affordable scale. Level trench key.

    What You’ll Need for This Look

    Concrete paver blocks (12x12x2 inch)

    Masonry chisel

    12. Thyme Carpet Edging That Stays Low

    Groundcovers edge forever. Thyme carpets my gravel walk—walkable, blooms.

    Spread too far—edge yearly. Fragrant steps.

    No mow needed. Plant dense.

    What You’ll Need for This Look

    Creeping thyme plugs (72 pack)

    Landscape gravel rake

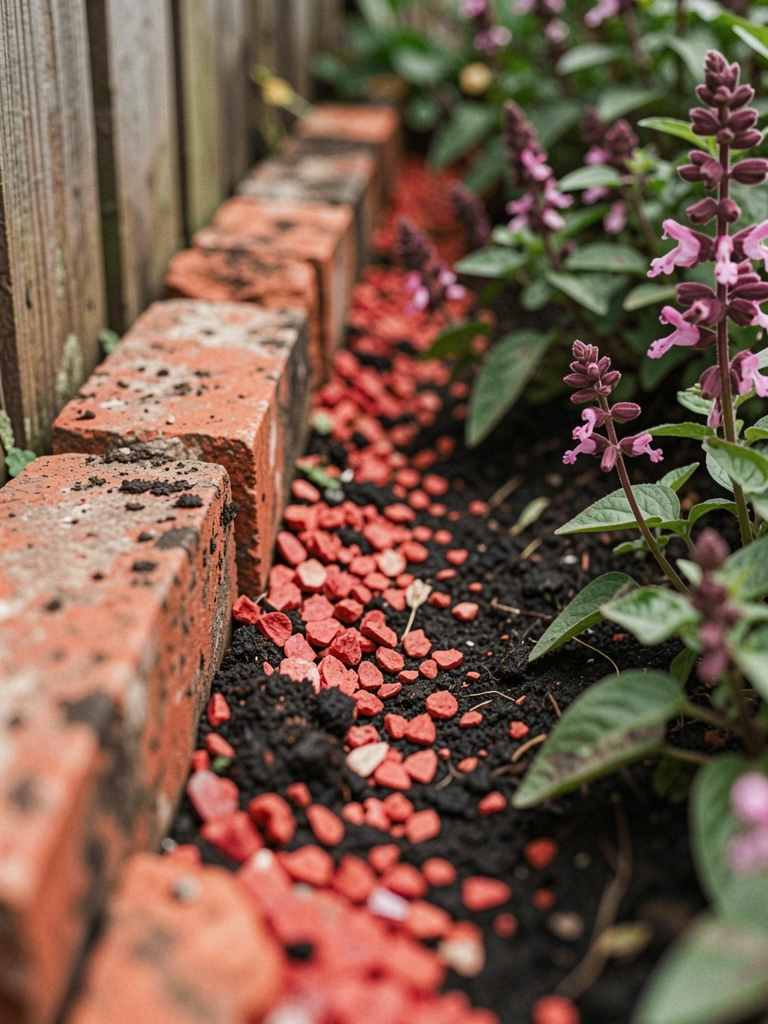
    13. Recycled Brick Chips for Textured Bands

    Chips reuse old bricks. Layered mine thin—texture without height.

    Washed out—landscape cloth under. Rustic pop.

    Matches house. Compact 2 inches.

    What You’ll Need for This Look

    Crushed brick mulch (50 lb bag)

    Landscape fabric (3 ft x 50 ft)

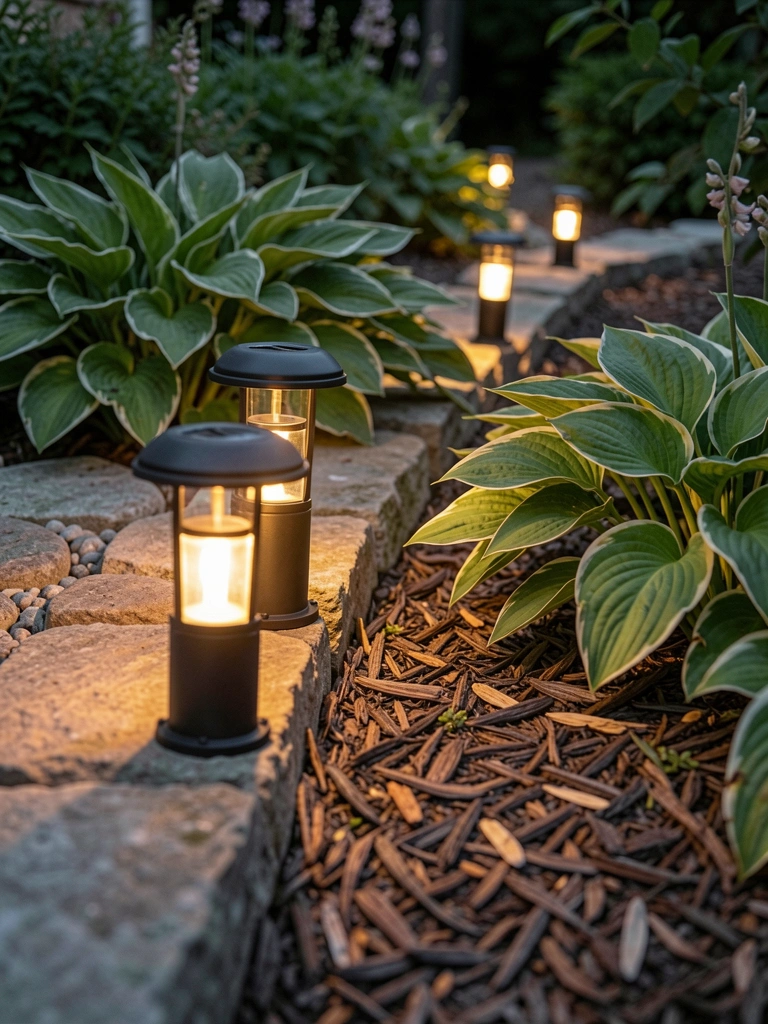
    14. Solar Lights Buried Along Stone Edges

    Lights define night edges. Solar ones tuck behind stones in my path.

    Dimmed in shade—angle up. Glow guides soft.

    Magic after dark. Space 2 feet.

    What You’ll Need for This Look

    Solar pathway lights (warm white, 8 pack)

    Natural fieldstone flats (assorted)

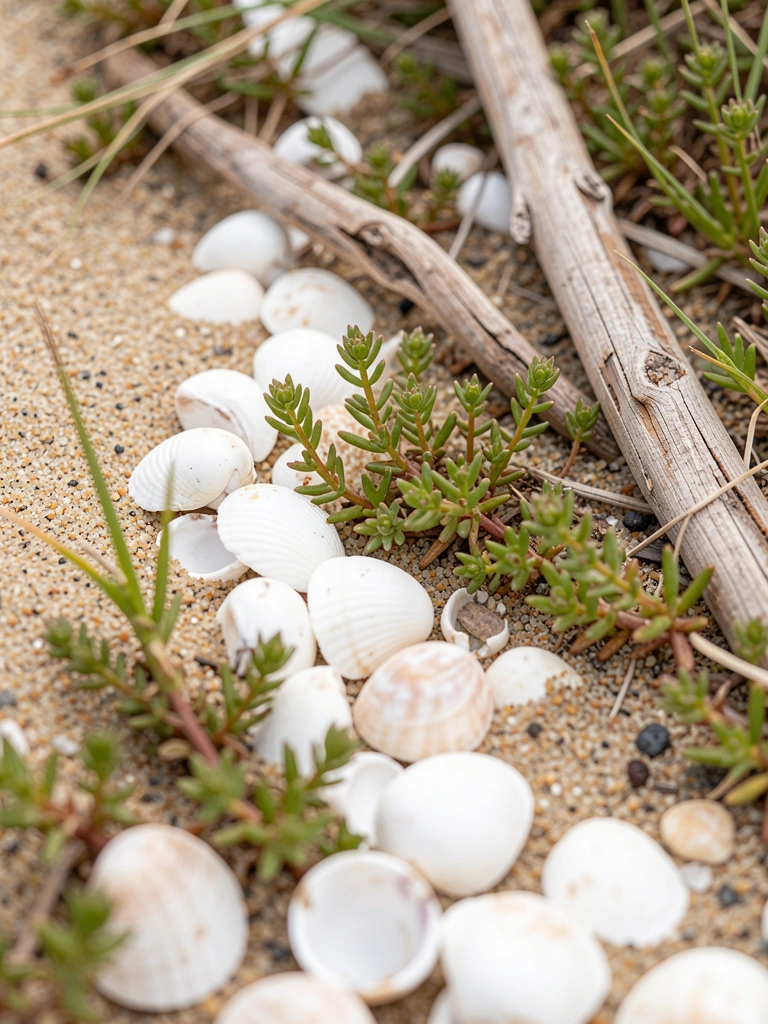
    15. Shell Borders for Coastal Cottage Vibes

    Shells sparkle subtle. Collected and lined my beachy bed—light, drains.

    Scattered in wind—glue spots. Beach feel inland.

    Whims—wait, no banned. Cozy touch.

    What You’ll Need for This Look

    Assorted seashells (5 lb bag)

    Landscape adhesive (10 oz tube)

    16. Herb Mix Strips for Edible Frames

    Edibles edge useful. Chives and parsley frame my tomatoes—pick as you go.

    Bolted hot summer—shade cloth helped. Fresh always.

    Ties kitchen to yard. Perennials best.

    What You’ll Need for This Look

    Herb plant collection (chives, parsley, 4 pack)

    Shade cloth (6×20 ft)

    17. Flagstone Pieces for Irregular Charm

    Flagstone fits odd shapes. Pieces puzzle my wild bed—natural flow.

    Heaved in frost—deeper trench now. Rugged comfort.

    Hides weeds well. Hunt thrift sizes.

    What You’ll Need for This Look

    Irregular flagstone pieces (assorted flats)

    Heavy duty garden trowel

    Final Thoughts

    Pick one or two ideas that match your dirt and light. My garden's edges evolved slow—no rush.

    They make small spaces feel bigger, yours too. Grab tools, dig in. You'll see the change by next week.

  • How to Edge a Garden Bed

    How to Edge a Garden Bed

    I stared at my side yard bed last spring. Grass had invaded the edges, blurring everything. The plants looked crowded, the whole space felt sloppy. I’d tried mowing close, but it never held.

    Edging fixed it. One clean line, and the bed breathed. Suddenly, the perennials stood out, the lawn neat.

    You can do this too. It takes an afternoon.

    How to Edge a Garden Bed

    This is the method I use every time a bed feels off. You’ll end up with a crisp line that makes plants pop and keeps grass at bay. Simple, lasting balance.

    What You’ll Need

    Step 1: Walk the Bed and Feel the Flow

    I start by walking the bed slowly. Barefoot if it’s warm. I feel where the bed wants to curve—gentle sweeps near taller plants, straighter by paths. This sets the flow.

    Visually, the bed shifts. Plants gain space, the lawn pulls back. It feels balanced already.

    Most miss how the eye follows curves. Straight lines work on small beds, but waves suit perennials. Avoid forcing sharp bends; they chop the view.

    Don’t rush marking yet. Let the shape settle in your mind first.

    Step 2: Lay Out Your Line

    Next, I grab the hose and drape it along the bed. Follow your walk’s feel—soft arcs where plants lean out. Pin it lightly with stakes if windy.

    The line appears. Grass meets bed cleanly; no more blur. The space looks intentional.

    People overlook hose flexibility. It shows true flow better than string. Mistake: pulling it too tight. Keep it loose for natural rhythm.

    Stand back. Adjust until it feels right from the path.

    Step 3: Cut the First Pass

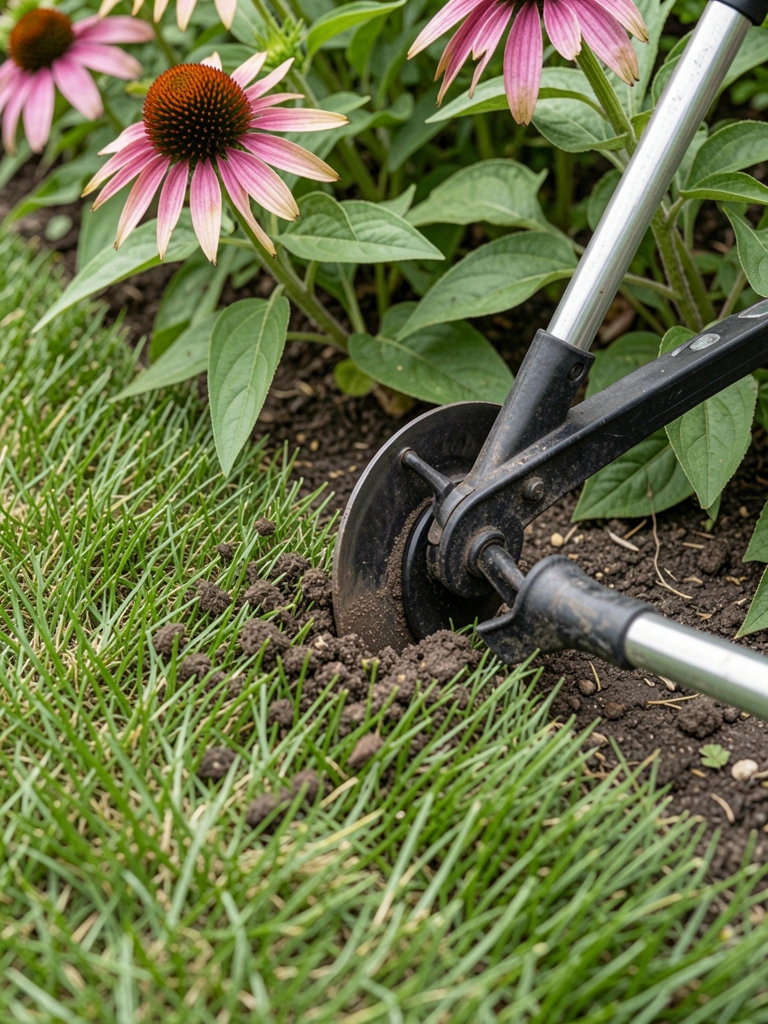
    I take the half-moon edger and slice along the hose. Vertical cuts, 4 inches deep. Lean into curves; let the tool guide.

    Turf lifts slightly. A clean trench forms, separating worlds. Beds pop, lawn firms.

    Insight: depth holds shape through rain. Most cut shallow—edges crumble. Avoid angling the blade; straight down prevents crumbling sides.

    Pause at obstacles. Plants stay safe.

    Step 4: Dig and Define the Trench

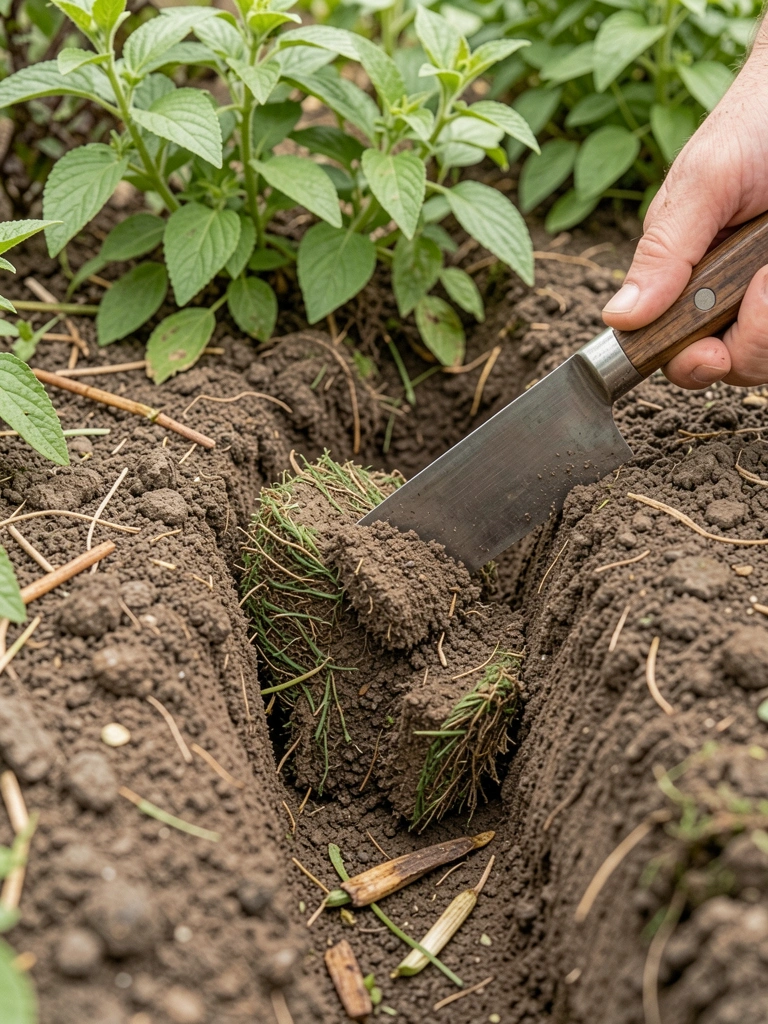
    Now the edging knife widens the trench to 6 inches. Pry out grass roots fully. Wheelbarrow hauls debris.

    The bed breathes deeper. Shadows define the line; plants frame it.

    Missed tip: fork soil back from roots. It prevents air pockets. Don’t leave roots dangling; they regrow fast.

    Smooth walls gently. Feels solid.

    Step 5: Backfill and Settle

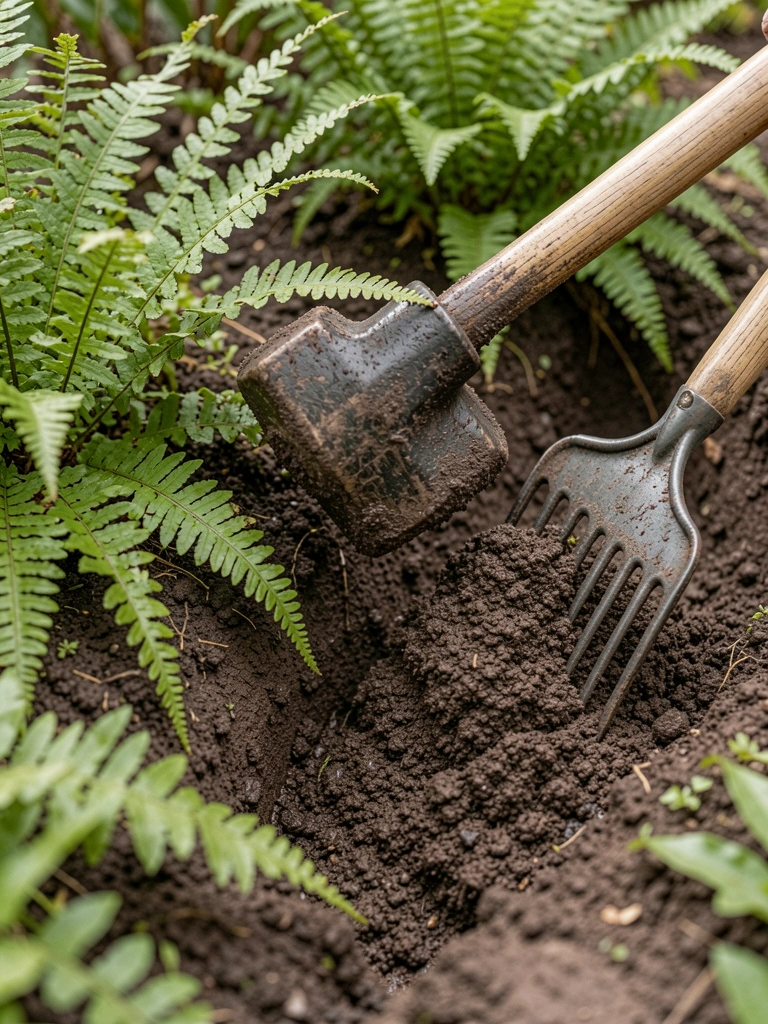
    I rake soil from the bed side into the trench. Tamp with the mallet. Top with a thin mulch layer.

    Edge settles firm. Line sharpens; no gaps. Whole garden flows.

    People forget tamping. It locks shape. Avoid overfilling; slight dip catches clippings.

    Water lightly. It bonds.

    Step 6: Clean and Check Balance

    Rake clippings away. Walk the bed again. Tweak soft spots.

    Everything aligns. Plants stand tall, space calm.

    Insight: check from house view. Edges unify. Mistake: ignoring corners—they fray first.

    It’s done. Simple hold.

    Picking the Perfect Edge Shape

    Curves work best in my perennial beds. They echo plant forms. Straight lines suit formal paths.

    Waves add movement. But match your space:

    • Soft sweeps for large beds
    • Gentle repeats for repetition
    • Subtle dips near focal plants

    Test with hose. It reveals what fits.

    Blending Edges with Plants

    I let low growers hug the edge. Creeping phlox softens lines.

    Taller ones pull back. This layers depth.

    • Sedum for spill-over
    • Lavender for contrast
    • Grasses for feathery touch

    Avoid overcrowding. Space lets edge shine.

    Year-Round Edge Maintenance

    I refresh twice yearly. Spring and fall.

    Quick passes keep it crisp. Rain softens soil then.

    • Mow high on lawn side
    • Mulch annually
    • Spot-treat invaders

    Feels like minor tuning. Lasts seasons.

    Final Thoughts

    Start with one bed. The clean line builds confidence.

    You’ll notice how it quiets the garden. Plants get room.

    Edge when soil’s moist. It’s straightforward work with real payoff.

  • 15 Modern Garden Edging Ideas to Copy

    15 Modern Garden Edging Ideas to Copy

    A few years back, my front bed edges were a disaster—grass creeping in, dirt spilling out. I felt defeated every mow. Then I started experimenting with simple borders. Suddenly, the garden breathed easier, lines held firm. Plants popped against the neat frames.
    If your edges blur like mine did, stick with me. These fixes feel right in real dirt.

    15 Modern Garden Edging Ideas to Copy

    These 15 modern garden edging ideas pulled from my own messy trials will sharpen your borders without perfection. Easy to source, forgiving to install. Copy what fits your yard.

    1. Thin Black Aluminum Strips for Crisp Lawn Lines

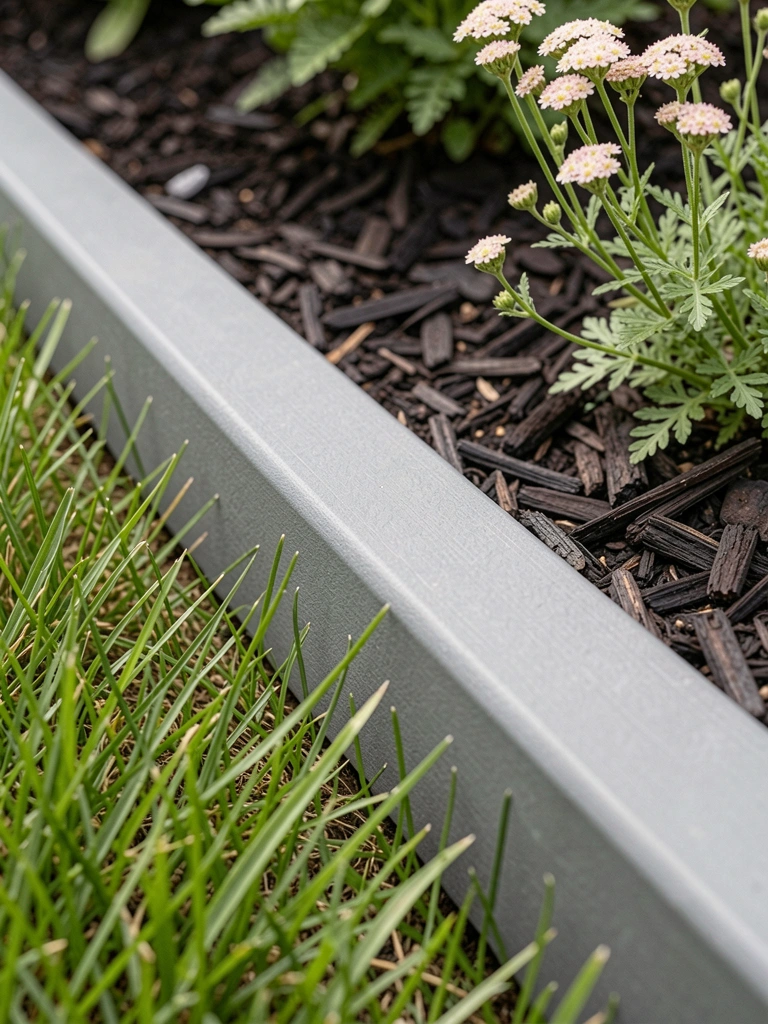
    I hammered in these slim aluminum strips around my back lawn last spring. The black finish blends without stealing show, holding grass back like a quiet guard. Mowing's a breeze now—no more trimming strays. Visually, it pulls the eye along the curve I never noticed before.
    The garden feels longer, more intentional.
    Watch the depth: go 6 inches down to stop roots sneaking under. I skimped once, regretted it.
    Bend them gently for sweeps; straight sections for paths.

    What You’ll Need for This Look

    2. Corten Steel Curves for Rustic Depth

    Corten steel went in my side yard beds two summers ago. That slow rust builds character, warming the modern edge. It grips curves tight, framing perennials like they belong there. The beds feel grounded, not boxy.
    Emotionally, it's satisfying—watching the patina deepen with rain.
    Cut with a reciprocating saw for your shape; overlap ends slightly. Bury halfway to let it settle.
    Pairs best with gravel or mulch inside.

    What You’ll Need for This Look

    3. Composite Timber Sleepers for Low Pathways

    I laid composite sleepers along my veggie path, thinking they'd rot like real wood. Nope—three years strong, no warp. The faux grain looks real up close, guiding steps cleanly. Plants spill just right over the top edge.
    It made the path feel wider, safer at dusk.
    Mistake: I didn't level first; one dipped. Shovel out, tamp gravel base.
    Stack single layer for modern flatness.

    What You’ll Need for This Look

    4. Pebble Moat with Metal Liner

    Dug a shallow moat around my front roses, lined it thin metal, filled with pebbles. No digging overgrowth anymore—weeds drown out. The shimmer draws you in, softens hard lines. Beds stand out crisp.
    Feels calm, like a dry creek bed.
    Line prevents stones sinking; 4-inch wide trench. Rake smooth after rain.
    White pebbles pop against green.

    What You’ll Need for This Look

    5. Brick Paver Zigzags for Geometric Pop

    Zigzag bricks edge my herb bed now—cut pavers at angles for the pattern. It breaks monotony, leads the eye playfully. Herbs hug the warm red without spilling.
    The yard gained rhythm I didn't plan.
    Set in sand bed; no mortar needed for flex. I glued once—froze wrong.
    Half-brick height keeps it low.

    What You’ll Need for This Look

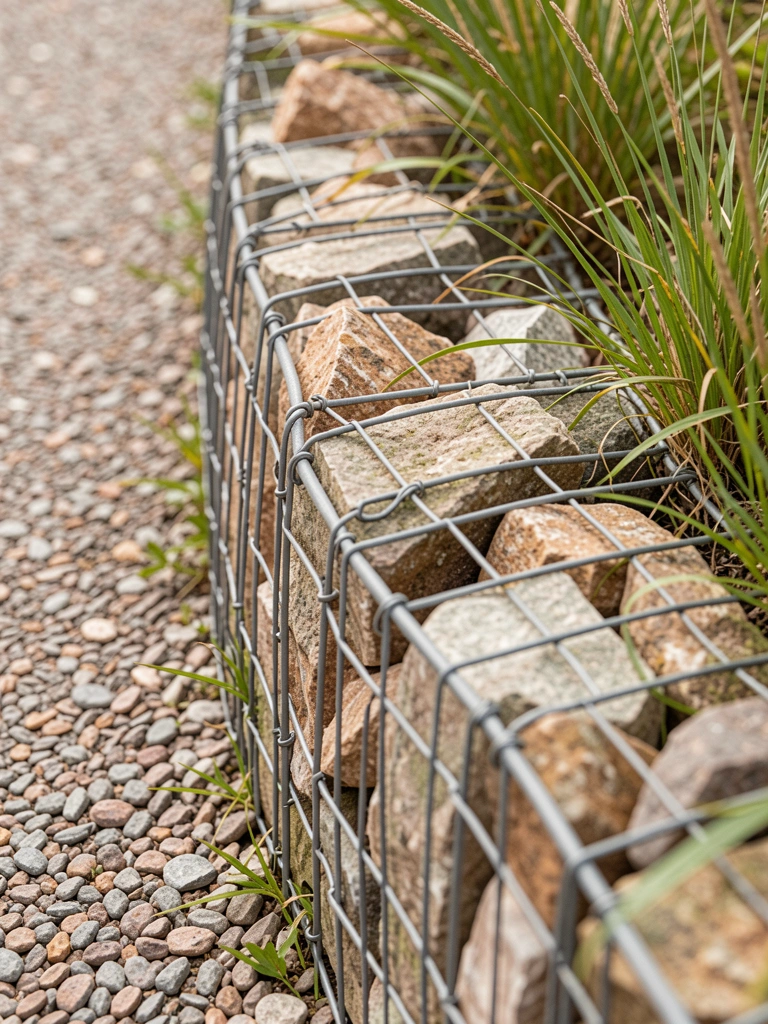
    6. Gabion Basket Stone Walls

    Filled gabion baskets line my driveway edge—heavy stones inside wire cages. Sturdy against cars, modern industrial vibe. Plants tuck into gaps naturally.
    It anchors the whole front, feels solid.
    Pack tight bottom-up; river rock drains best.
    One basket high for subtlety.

    What You’ll Need for This Look

    7. LED-Lit Timber Edges for Night Glow

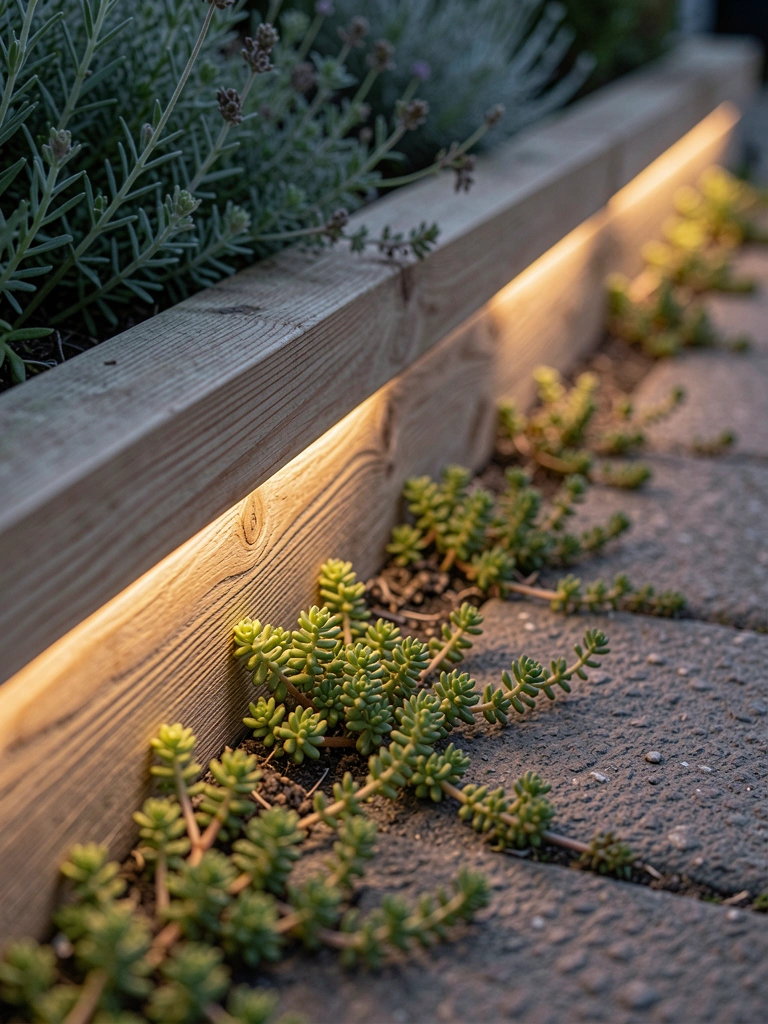
    Timber edges with low LEDs went in my patio border. Glow outlines at night, safe steps. Daytime, wood warms it modern. Sedums catch the light soft.
    Evenings changed—cozy without glare.
    Mistake: buried wires shallow; critters chewed. Sleeve in conduit first.
    Solar tops for ease.

    What You’ll Need for This Look

    8. Bamboo Pole Clusters for Textured Screens

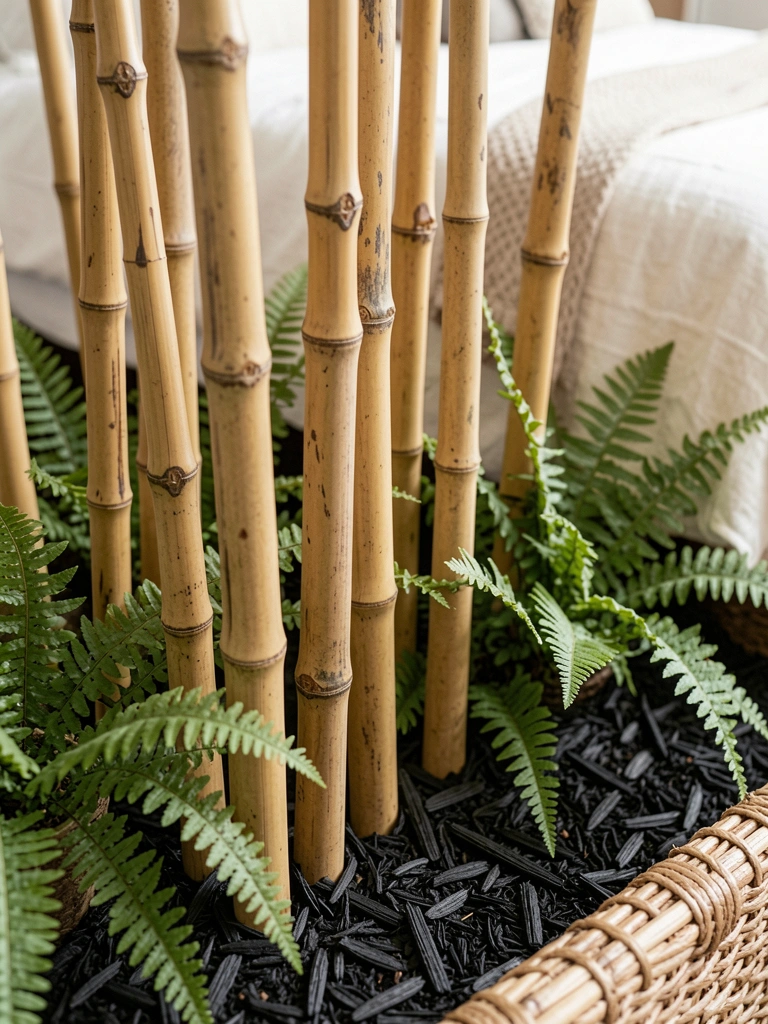
    Bamboo poles clustered tight edge my shade bed—split lengths for height play. Textures sway gentle, block weeds soft. Ferns weave through.
    Feels alive, not stiff.
    Hammer in 18 inches; bind tops loose. Varnish ends against rot.
    Mix thick and thin poles.

    What You’ll Need for This Look

    9. Recycled Plastic Lumber Strips

    Recycled plastic strips border my play yard—no splinter, no fade. Mimics wood grain light, holds forever. Kids run edges safe.
    Practical joy; cleans with hose.
    Stake every foot; flexes for curves.
    Gray tones modern without cold.

    What You’ll Need for This Look

    10. Polished Pebble Rivers with Flanks

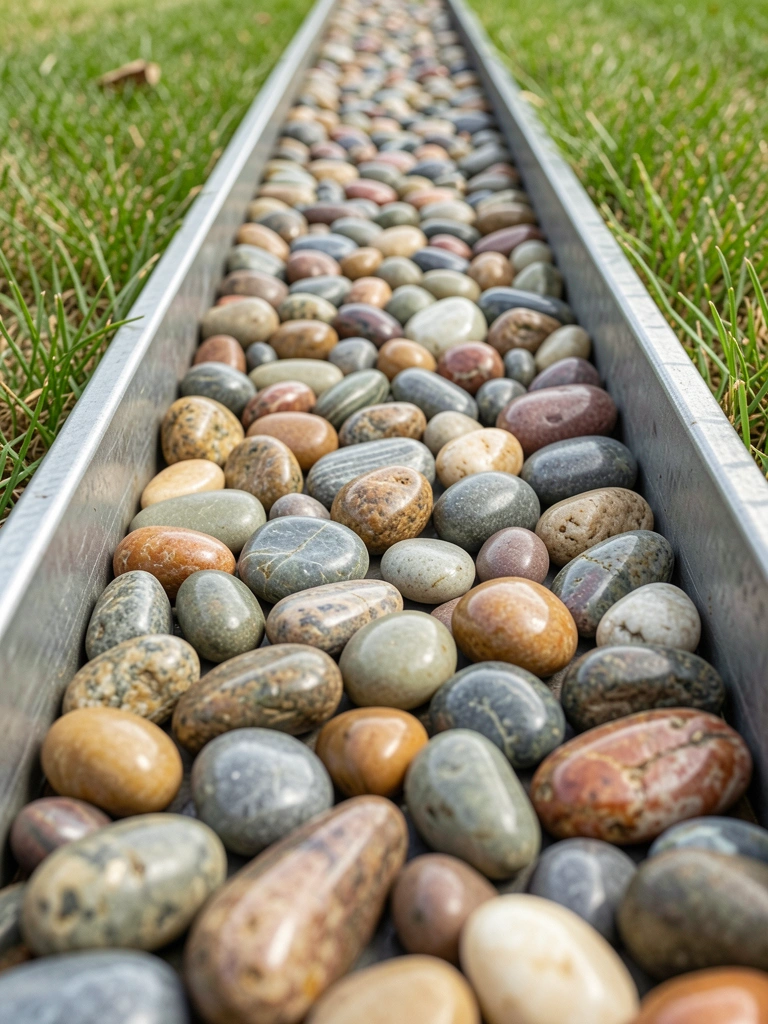
    Pebble river snakes my walkway, flanked low metal. Pebbles gleam rain-wet, path feels flowing. No mud tracks.
    Yard moves better now.
    Insight: sift pebbles uniform; big ones shift underfoot. Landscape fabric under.
    Flanks keep it contained.

    What You’ll Need for This Look

    11. Laser-Cut Metal Panels for Artful Lines

    Laser-cut panels screen my succulent strip—slits let light filter, shadows dance day-long. Modern without fussy. Plants peek artistic.
    Bed feels gallery-quiet.
    Bolt to stakes; powder coat lasts.
    Panels 12 inches high max.

    What You’ll Need for This Look

    12. Vertical Slat Timber Frames

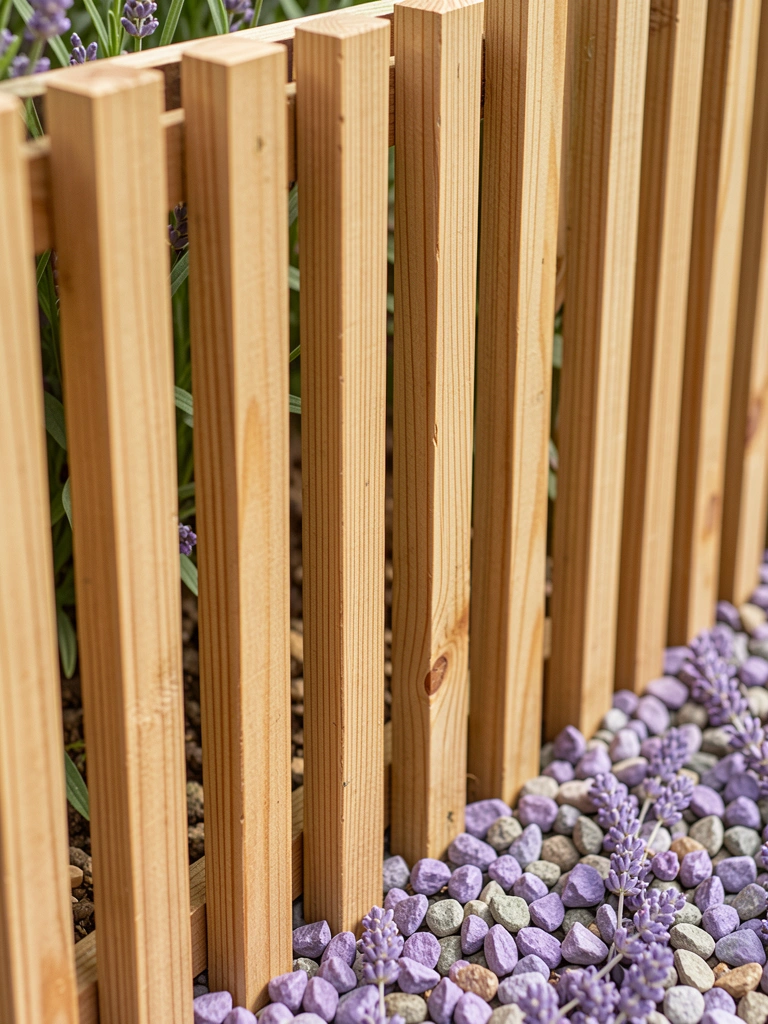
    Vertical cedar slats frame my herb edge—1x2s spaced half-inch. Light stripes through, air flows. Herbs thrive shadow-free.
    Clean yet woody warm.
    Pre-drill to avoid split; sink posts 12 inches.
    Stagger heights subtle.

    What You’ll Need for This Look

    13. Black Mulch Trenches with Stone Caps

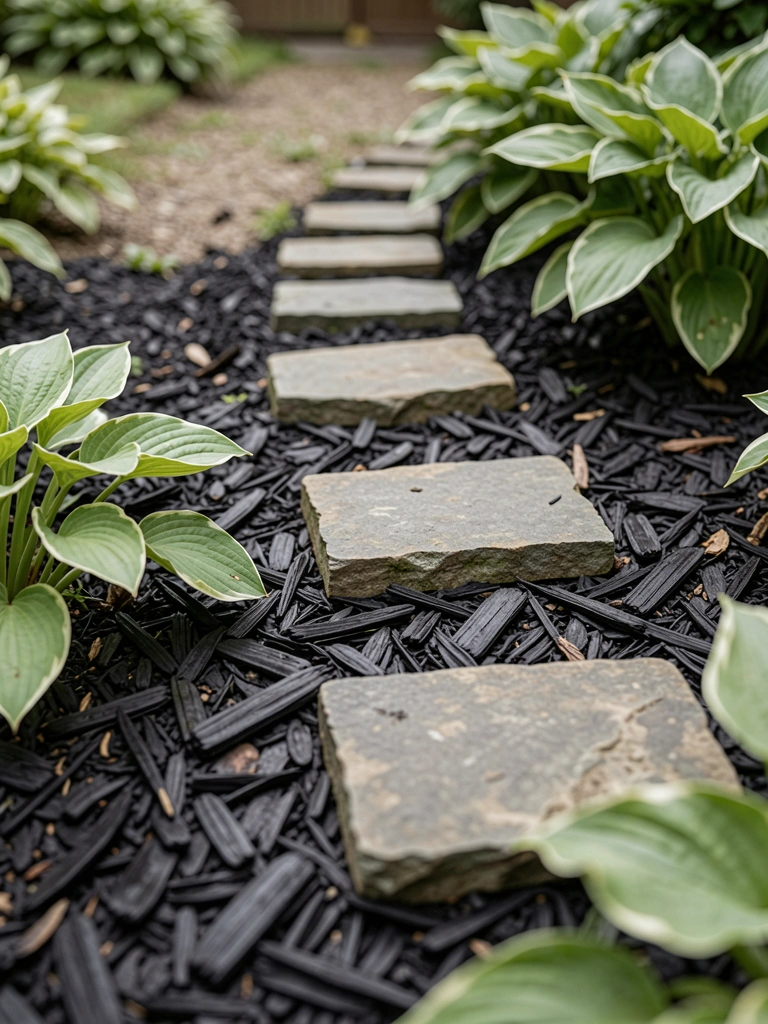
    Black mulch trench caps my front beds with flat stones. Mulch stays put, weeds hate dark. Stones ground it flat modern.
    Beds recede soft, plants forward.
    Tamp trench 4 inches deep; cap overhangs.
    Rubber mallet sets stones.

    What You’ll Need for This Look

    14. Log Slice Circles for Organic Curves

    Log slices circle my tree bed—fresh-cut rounds laid flat. Organic curve hugs roots perfect. Moss creeps in natural.
    Feels forest-modern blend.
    Mistake: green wood shrank gaps; kiln-dry next. Bury half deep.
    Varied sizes fit puzzle.

    What You’ll Need for This Look

    15. Succulent-Filled Concrete Troughs

    Concrete troughs hold succulents along my walk—split rail style low. Plants fill slow, drought-proof edge. Textures mix rough-smooth.
    Path feels framed alive.
    Drill drainage; gritty soil mix. Space troughs tight.
    Gray concrete ages nice.

    What You’ll Need for This Look

    Final Thoughts

    Pick one or two ideas that match your dirt and light. My garden's a mix, not all at once. They'll hold up through seasons, save your back.
    You've got this—start small, watch it settle. Your edges will feel right soon.